Idea 30: Observatory

04.21.dp.Observatory.CraftyTime

Crafty Time

By Dave Pierik, Shelton-Mason County Journal

Observatory

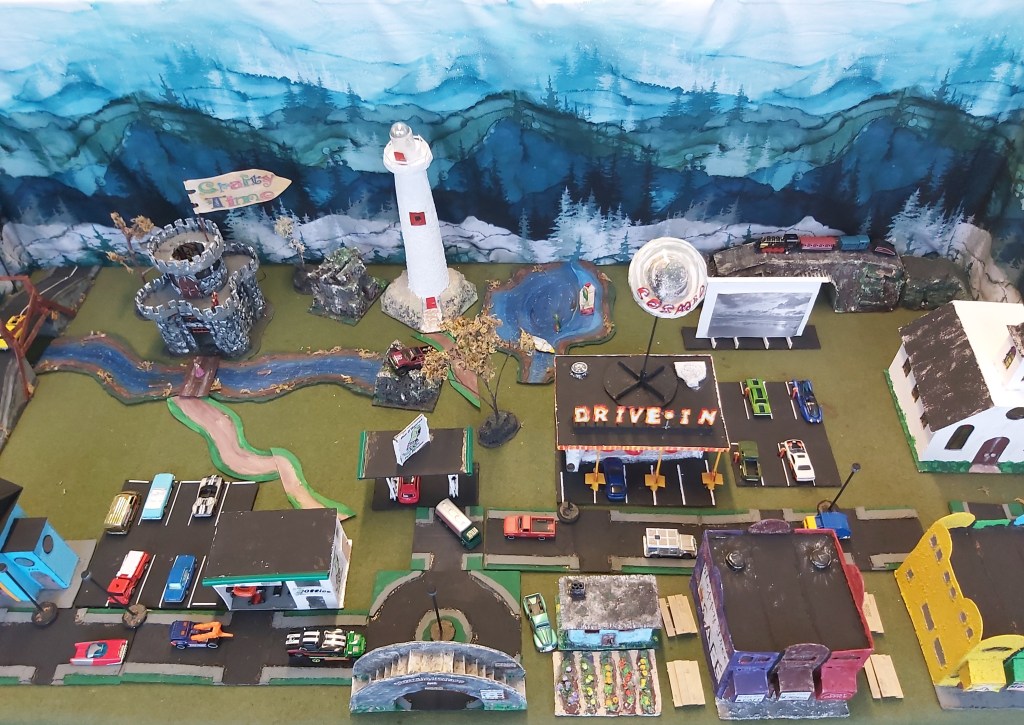
From Happy Tree Observatory, astronomers study planets, moons, stars, nebulae, galaxies and comets.

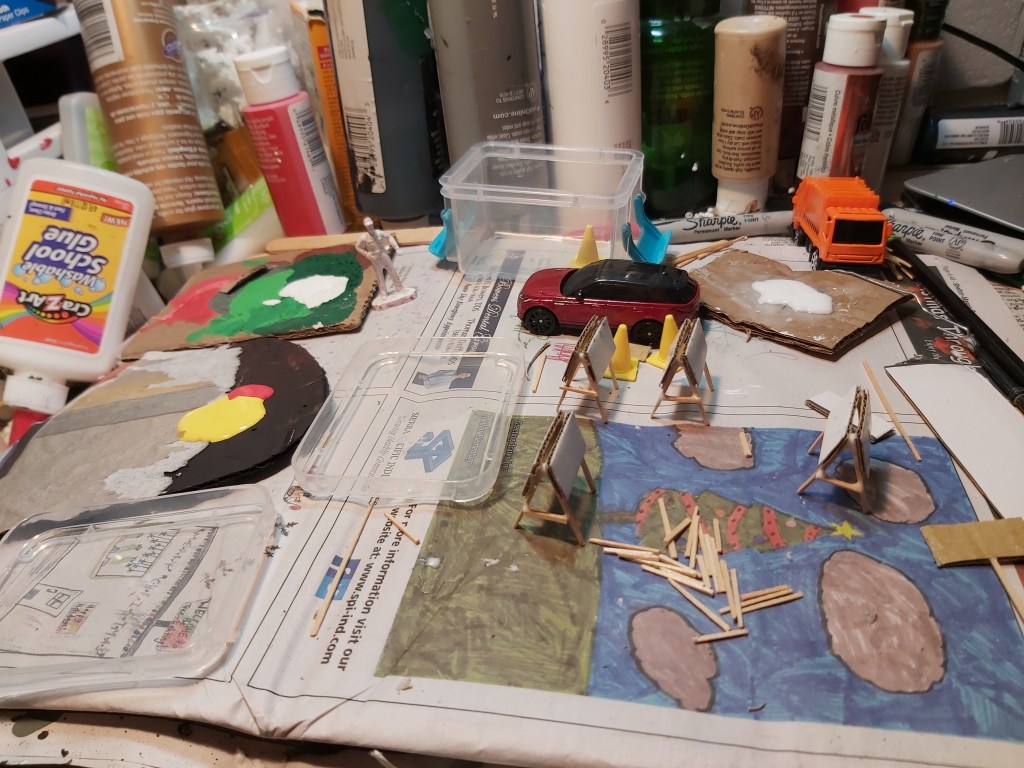
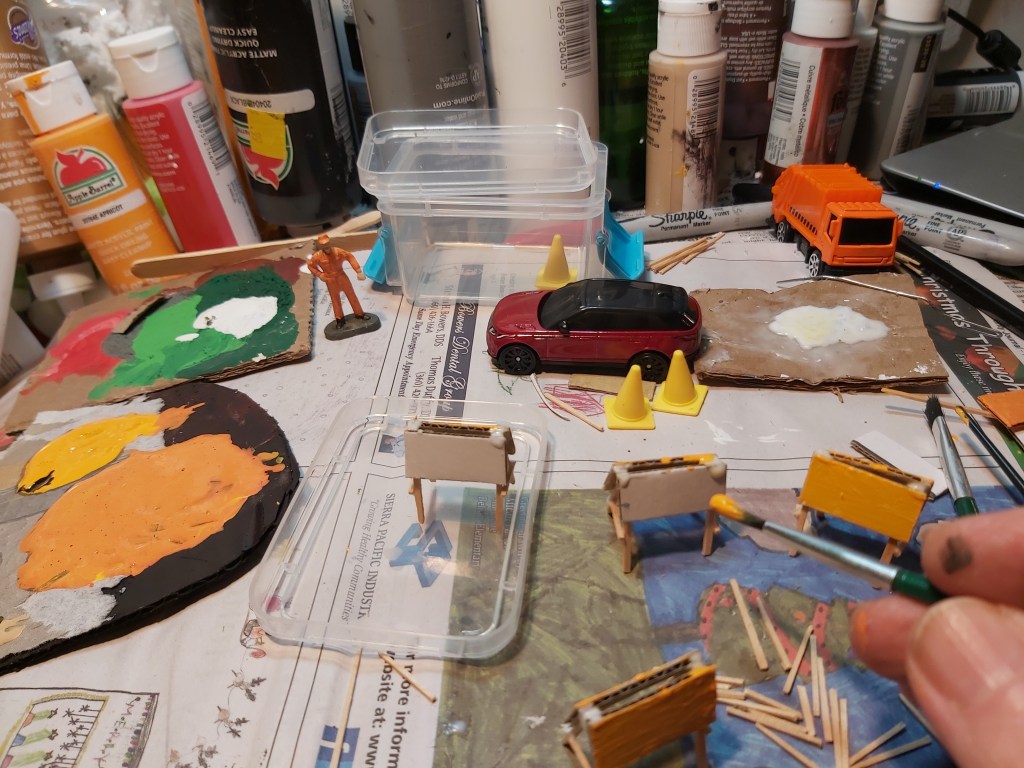
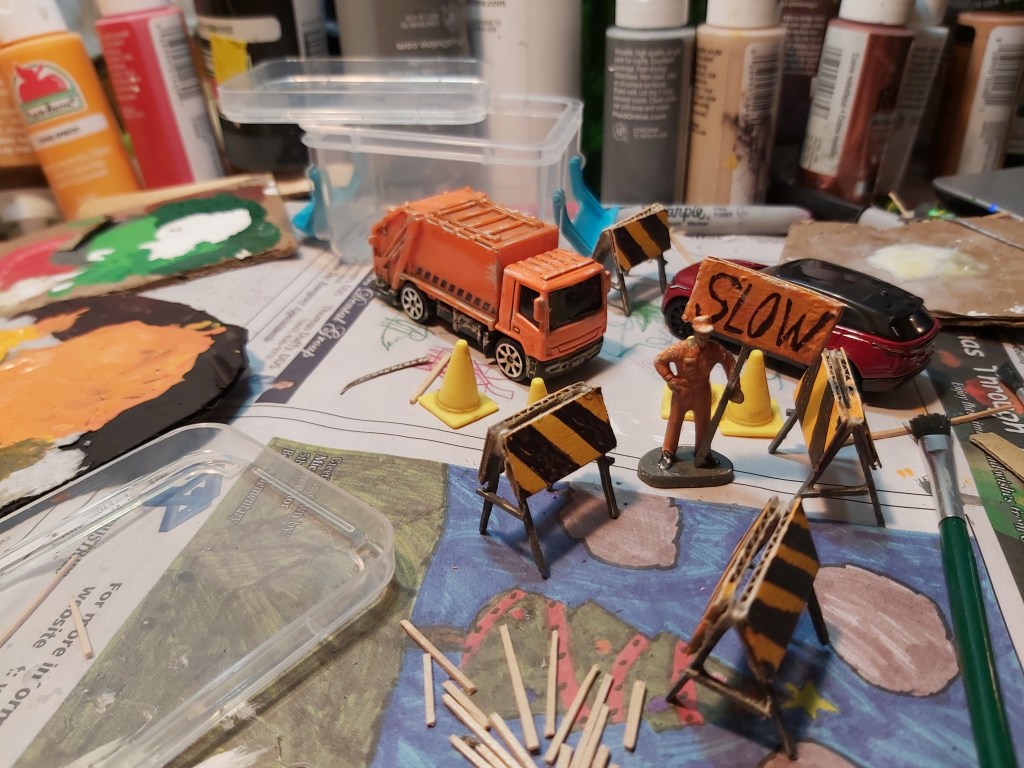
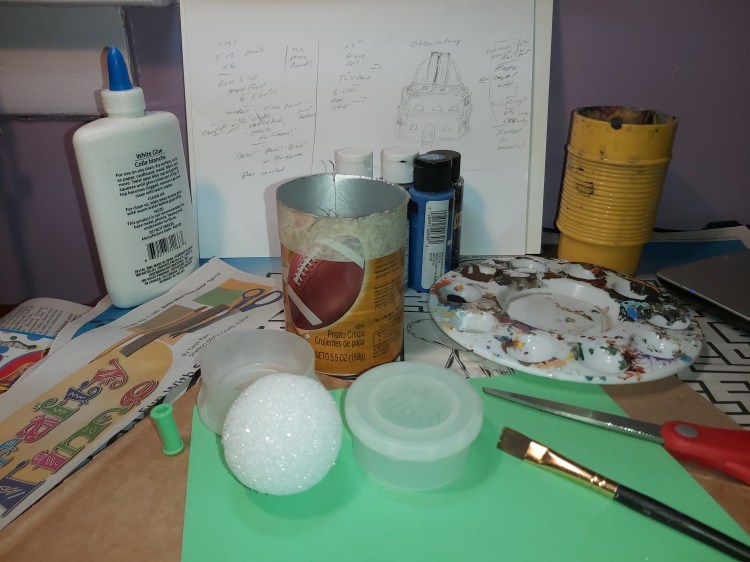
Tools: compass, ruler, scissors, paint brushes, marker. Optional: craft knife or old steak knife

Materials: 2” craft ball, mason jar ring, oat milk lid, Pringles® can, straw, cardboard, flat toothpicks, masking tape, white glue, baking soda, paint. Optional: rubberized craft foam sheet

Cost: about $1-$3 including paint and glue   Time: two to four hours or so

1. Entry level

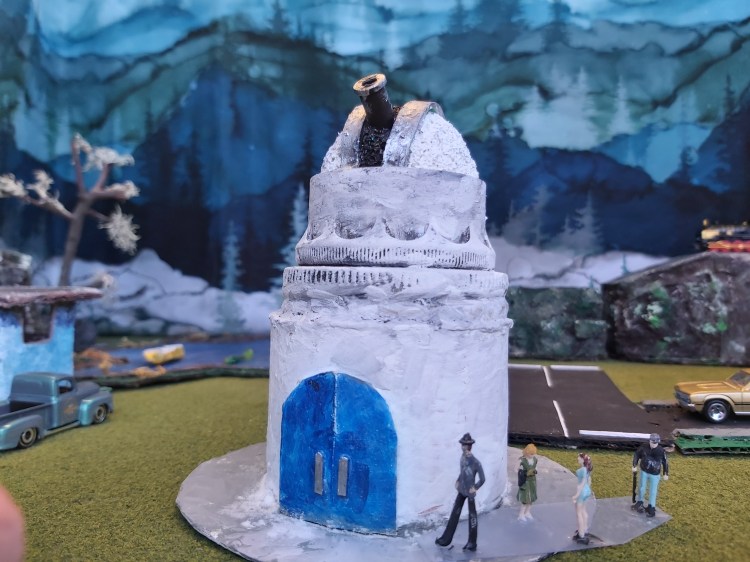
Measure Pringles® can, 2” height from bottom. Mark in several places. Follow marks with masking tape. Carefully cut along the edge. Test fit regular mason jar ring oat milk lid (inverted) and craft ball.
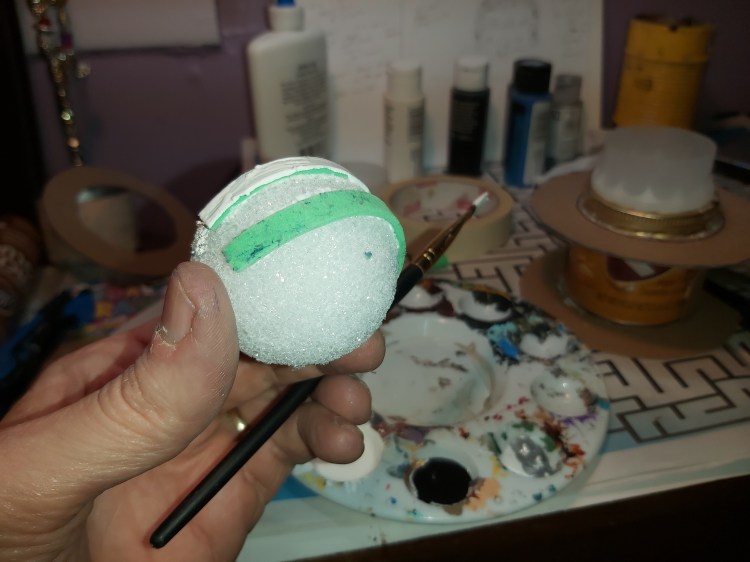
2. Telescope dome

Keeping the ball intact, wrap the craft foam halfway around and mark it. Cut two lengths, ¼” wide, to that mark. Glue the two parallel strips halfway around the ball. Hold in place with masking tape and set aside to dry.

3. Walkway & doors

Trace the bottom of the can over cardboard. Measure 2 ½” and mark, then use compass to mark a 5” circle, so there is a circle in a circle. Glue the pieces together. For doors, measure a 1 ½” wide x 1 3/4” tall rectangle; mark a line down the middle. Use compass to mark top curve and craft knife to score the middle. Bend to fit, glue in place. Cut toothpicks and glue on for door handles.
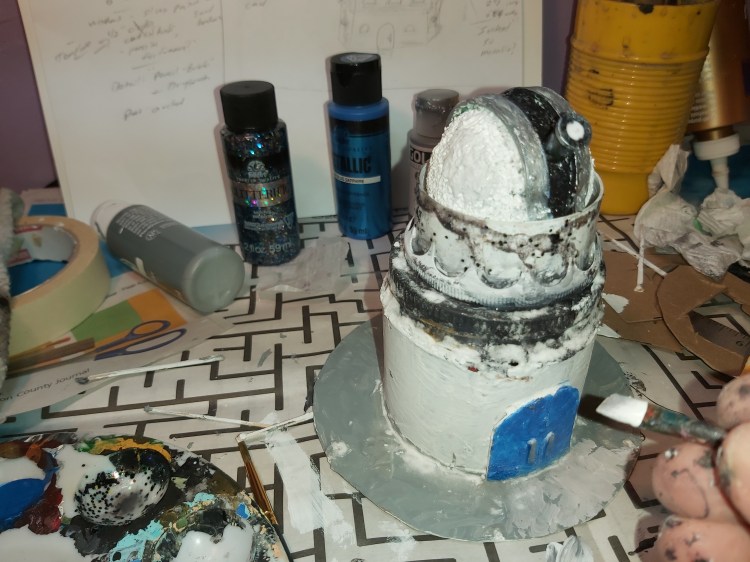
4. Paint

Add 50% white glue to white paint to prime everything. Let dry. You can add more glue and dust with baking soda to fill small gaps; just blow any excess away. Paint the telescope and opening black, and water down black to bring out detail, then drybrush white. Paint the door blue. Paint the door handles, dome opening, and telescope highlight silver, and the sidewalk grey, with tan details.

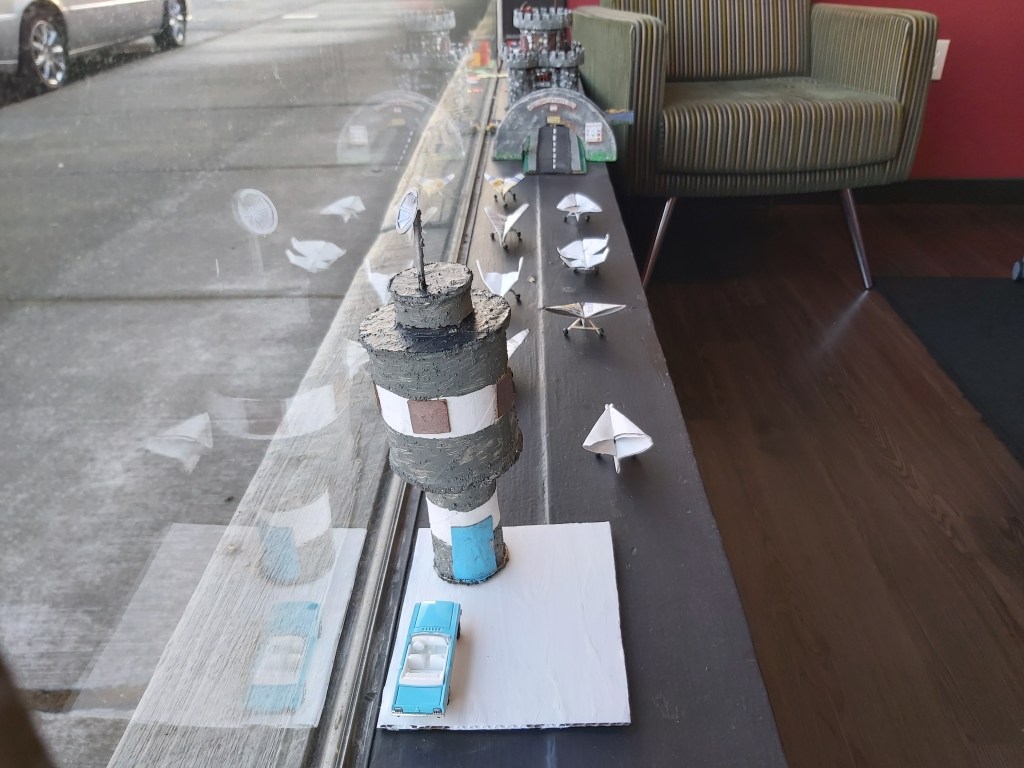
5. Happy Tree Observatory

The Happy Tree Astronomy Club meets at night, unless it’s too cloudy.

What would you like to see next in Crafty Time? Visit www.craftytimewithdave.com for more photos and project ideas.  Please email your feedback to dave@masoncounty.com or call 360-426-4412. Visit our office to see the display!

What’s up?
The Happy Tree Astronomy Club recently upgraded the old observatory.
“It was upgrade, or rebuild. We didn’t have the budget to start over,” said Carol Diggens-Starr, club president. The club meets for stargazing at 10pm each new moon, unless it’s too cloudy.
–Happy Tree Times

Idea 29: Construction Site

03.21.dp.Construction.CraftyTime

Crafty Time

By Dave Pierik, Shelton-Mason County Journal

Construction

New construction vehicles are clean and shiny, but at work, they show a lot of grit! Weathering is fun and easy to do. Let’s create a construction site!

Tools: ruler, scissors, paint brushes, fine black marker

Materials: construction vehicles, cardboard, school glue, flat toothpicks, sand, acrylic paint. Optional: old dry white or grey paint from a palette

Cost: about $3-$10 including vehicles, paint and glue   Time: two to four hours or so

1. Barricades

Measure and cut eight cardboard rectangles, each 1” wide x ¼” tall. Trim 16 flat toothpicks to 1 ¼” length for legs, and eight to ½” for side supports. Place cardboard flat and glue legs to the sides. Allow to dry, and then glue the tops and sides. From the side view, they make the letter “A.” Prime in white, then grey legs, orange sign. Let dry, then use a black marker for stripes.

2. Site

Add layers of glue and sand to cardboard, and paint black. Let dry. Add more glue, sand and bits of dry white and grey paint from an old palette, for the look of asphalt and broken concrete. Lightly paint highlights of brown and tan for dirt and tire tracks. For the port-a-potty, paint a cardboard box, ¾” on each side and 1 ½” tall then add detail with a marker.

3. Paint wash

Mix black and brown paint with water and a bit of white glue, and work it in to all of the low spots on each item you are weathering. Let it dry a bit, then dab off the excess with a paper towel.

4. Highlights

Starting with a dry brush and light tan paint, dab some of the excess paint moisture into a newspaper or paper towel. Then, brush over the high spots of each figure to bring out more detail. This is known as drybrushing. Pick out the highest spots with a few touches of white paint.

5. Happy Tree Road Dept.

The crew is hard at work on something. What could it be? We’ll have to wait until another time…

What would you like to see next in Crafty Time? Visit www.craftytimewithdave.com for more photos and project ideas.  Please email your feedback to dave@masoncounty.com or call 360-426-4412. Visit our office to see the display!

Road building progress
Work on the Match Wheel Bypass continues. Completion is targeted for two months from now, weather permitting. “We’re ahead of schedule now,” said Bob Joeman, foreman. In the meantime, expect delays.
–Happy Tree Times

Projects Review

01.21.dp.Projects Review.CraftyTime

Crafty Time

By Dave Pierik, Shelton-Mason County Journal

Projects Review

In 2020, Crafty Time tutorials made Happy Tree Village, one thing at a time. Along the way, we’ve built fine scale modeling skills. It’s fun, safe and very affordable! All you basically need is cardboard, scissors, glue, tape, paint… and your imagination!

Idea  1 – Buildings

April 9, 2020 we made our first basic buildings from cardboard. Roads and trees followed, April 23rd and 30th.

Idea  4 – Bridge

This bridge used wooden clothespins, cardboard and Styrofoam. It ran in the Journal May 7. The pond and stream followed in the May 14th edition.

Idea 6 – Castle

The stained glass is made from window envelopes. This ran May 28, 2020.

Idea 7 and 8 – Cosmic Drive-In

Craft sticks, a bamboo skewer, a drink lid and candy packaging were incorporated in this over the June 4 and June 11 editions.

Idea 9 – Fishing

Corrugated cardboard made a tin roof for Happy Tree’s bait shop June 18th.

Idea 10 – Park

Getting outside is important. This multi-part project included trails, play equipment and streetlights June 25th.

Idea 11 – Picnic

An entire Crafty Time tutorial was committed to making picnic tables for outdoor dining, using craft sticks. It ran July 2, right before Independence Day.

Idea 14 – Lighthouse

After making 2 kinds of fences July 9th, and a swing set July 16th, a Pringles® container and Styrofoam formed the core elements of this lighthouse.

Idea 15 – Footbridge

This “Welcome Walkway” gets the imagination going about Happy Tree’s community life. It ran August 6th.

Idea 16 and 17 – Businesses

Using time-saving templates, two city blocks went up in a jiffy August 13th and 20th. Vehicles are store-bought, Hot Wheels® scale.

Idea 18 – Full Service Gas Station

Gas-O-Saurus, including the sign art and mechanic’s creepers was scratch-built and included beads and straws. It ran September 3rd.

Idea 19 – Farm House

This beloved house from September 10th is a fan favorite. The crops were made from shreds of newspaper, beads and sand.

Idea 20 and 21 – Police and Fire

New toy vehicles inspired these. The fire station with fireman’s pole ran September 24th, and the justice center ran October 1st.

Idea 22 – Airport

This newspaper was the main component of the paper airplanes. Adding landing gear and a tower finished the look October 15th.

Idea 23 – Military Museum

For exhibits, the cheapest possible plastic soldier kit, plus paint was starting place for this. It ran November 5th.

Idea 24 – University

Happy Tree University (HTU) appeared November 19th, featuring concentric shapes.

Idea 25 – Church

Happy Tree Worship Center features a lot of stained glass, made from window envelopes. It ran December 3rd.

Idea 28 – Tunnel

Snow and lights were added December 10th, and hills December 23rd. This tunnel ran December 31st

Review – Happy Tree

The display at the Shelton-Mason County Journal is always changing. Here’s how it stands today. It’s on rotation now because it won’t all fit on the table! Look for more tutorials regularly in the Activities pages of this paper!

What would you like to see next in Crafty Time? Visit www.craftytimewithdave.com for more photos and project ideas.  Please email your feedback to dave@masoncounty.com or call 360-426-4412. Visit our office to see the display!