


47.20.dp.2pg.Happy Tree U Crafty Time
Crafty Time by Dave Pierik, Shelton-Mason County Journal
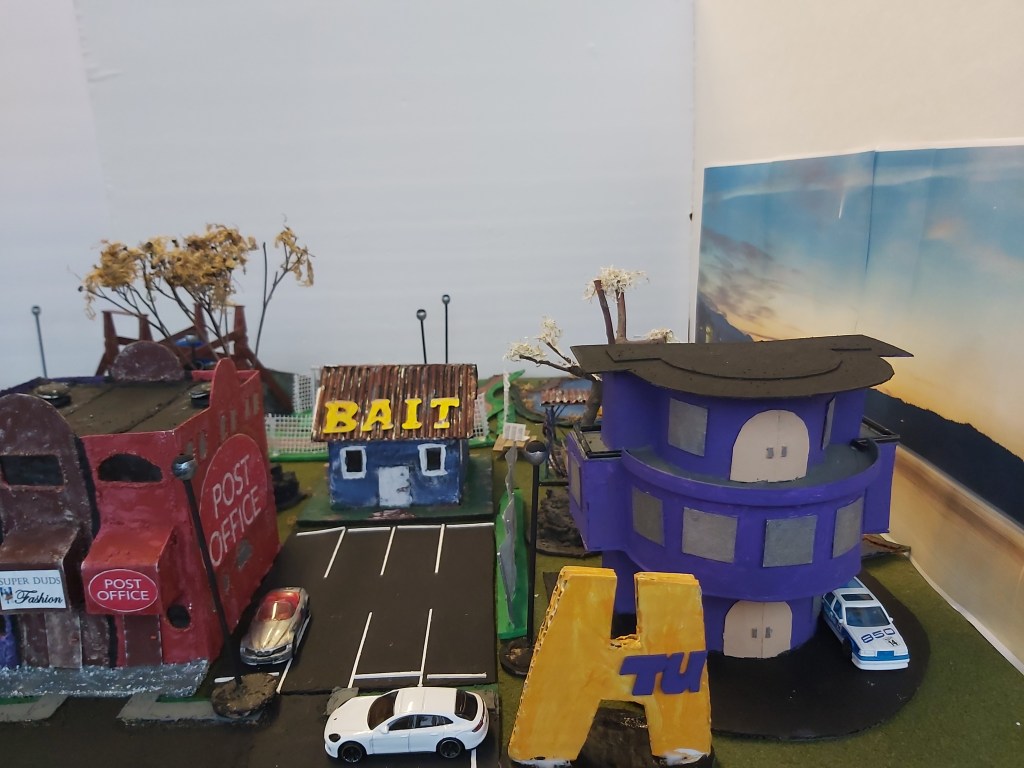
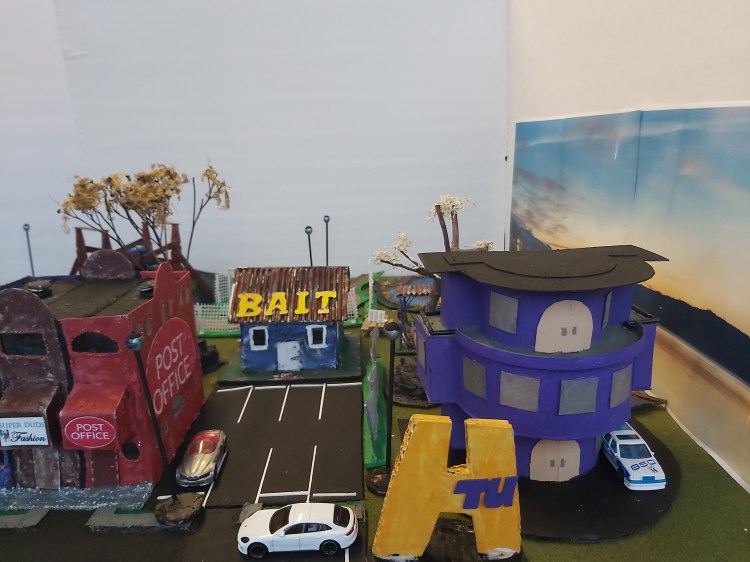
Happy Tree University
Mix round and rectangular concentric shapes for that institutional building look.
You will need:
Tools: ruler and marker, scissors, paintbrushes
Materials: cardboard including two sizes of cylinders with lids, masking tape, sand, school glue, acrylic paints, toothpicks, straws.
Cost: about 75 cents worth of glue and paint. Time: about six hours total.
1. Measure and mark
Measure 2” of height on each of two different sizes of cardboard cylinder. Oatmeal containers work well. Mark in several places and carefully run masking tape all the way around so that you will get an even cut. Place ruler across container to make halfway marks, and mark those also with straight perpendicular lines.
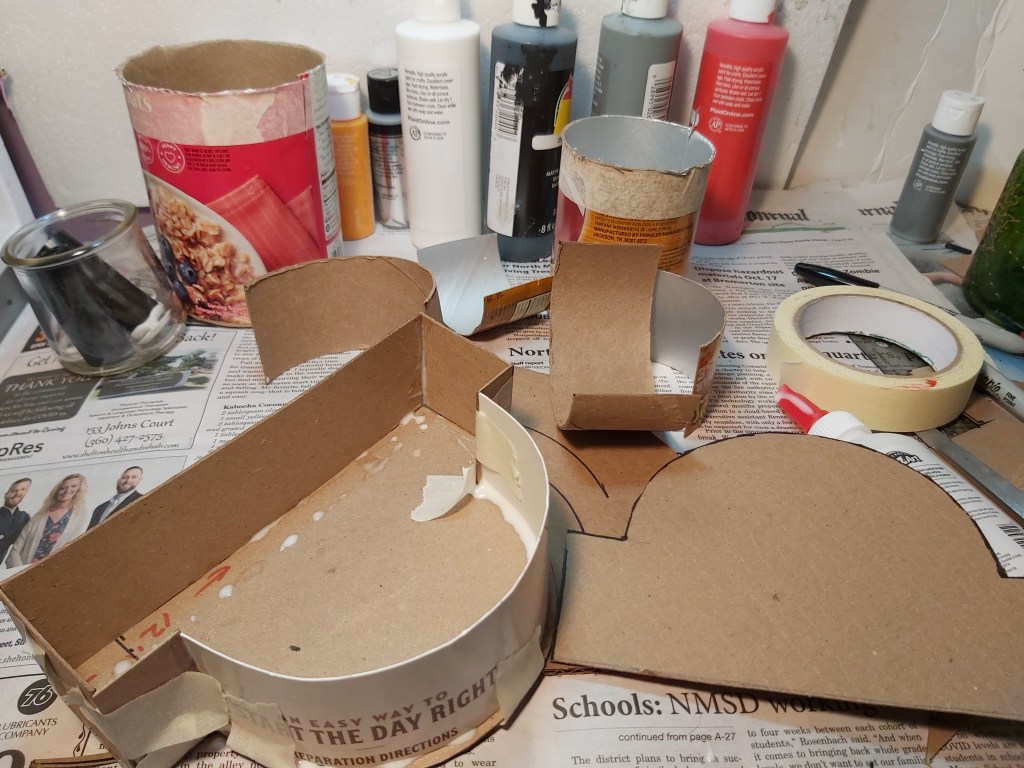
2. Cut cylinders
Carefully cut along the lines you made and the edge of the tape to get several 2” tall half-circles of cardboard of different sizes. Trace the shape they made on flat cardboard.
3. Cut cardboard
The base should be 8” to 9” along the back. For floors and roofs, add 1” to the sides and back of each semi-circle. Measure and cut, then trace and cut 2 more of the larger shapes. Match wall section measurements to the floors. You will need lots of 1” x 2” rectangles for the sides and 1” squares for windows.
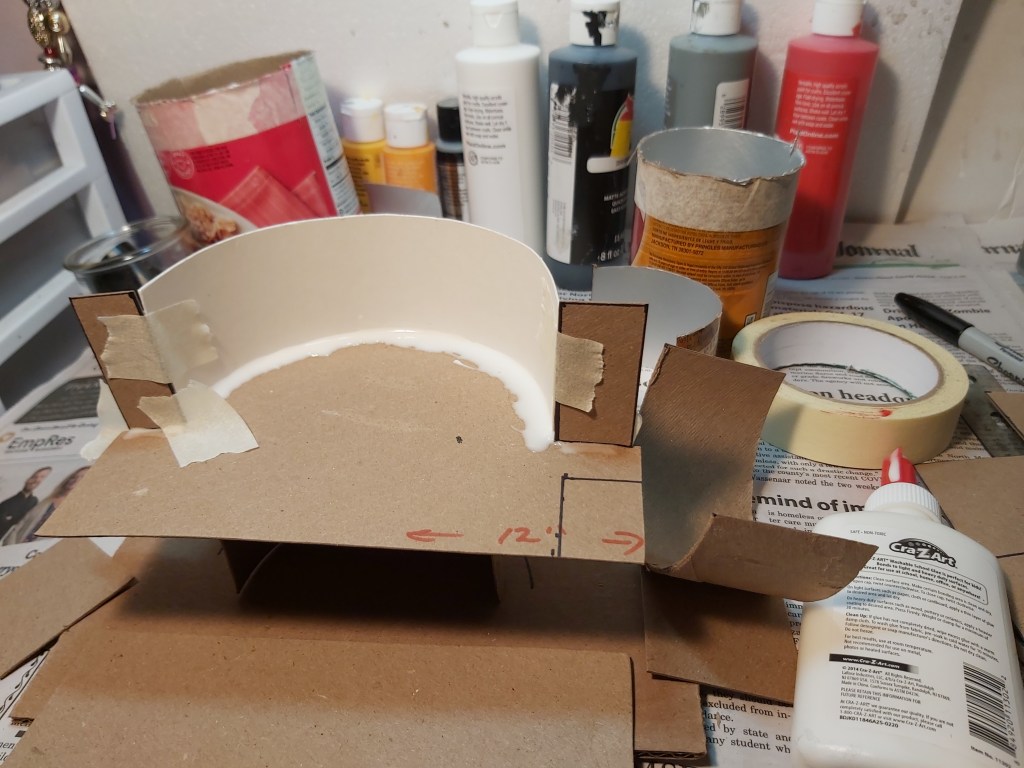
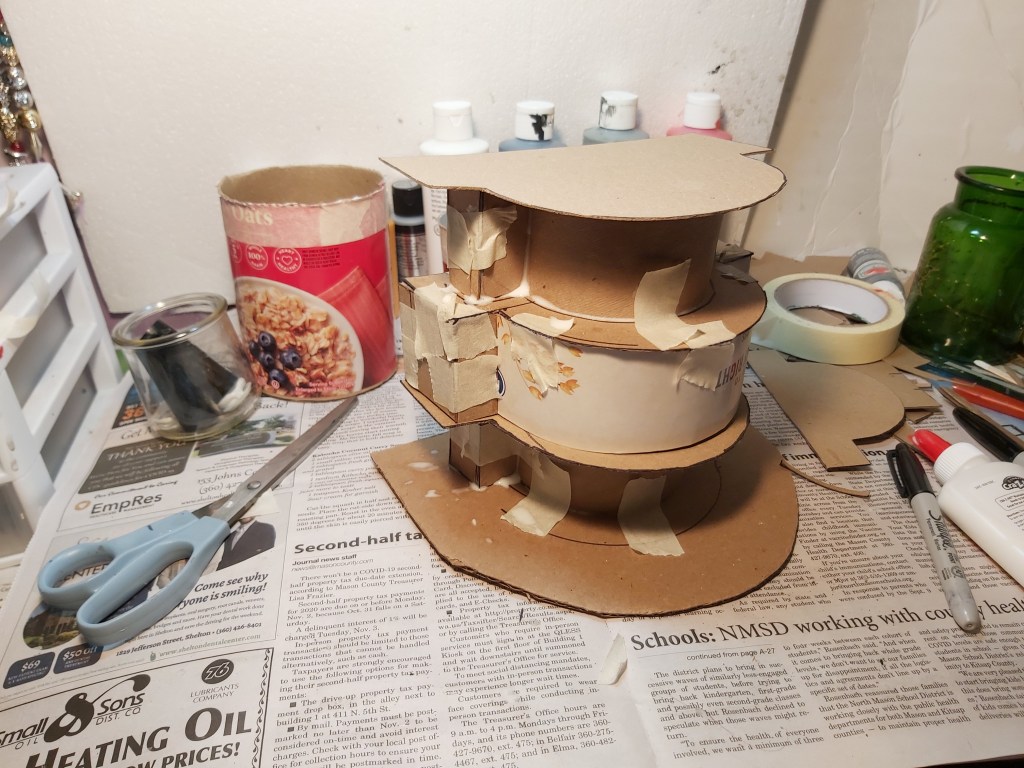
4. Assemble and glue
Stack, test fit and adjust parts. Glue along edges and add masking tape as you go, starting from the half-circle and adding edges. Once you’re happy with where it is, you can reinforce the glue with a bit of sand to add strength and texture and to help fill any gaps. Set aside to dry.
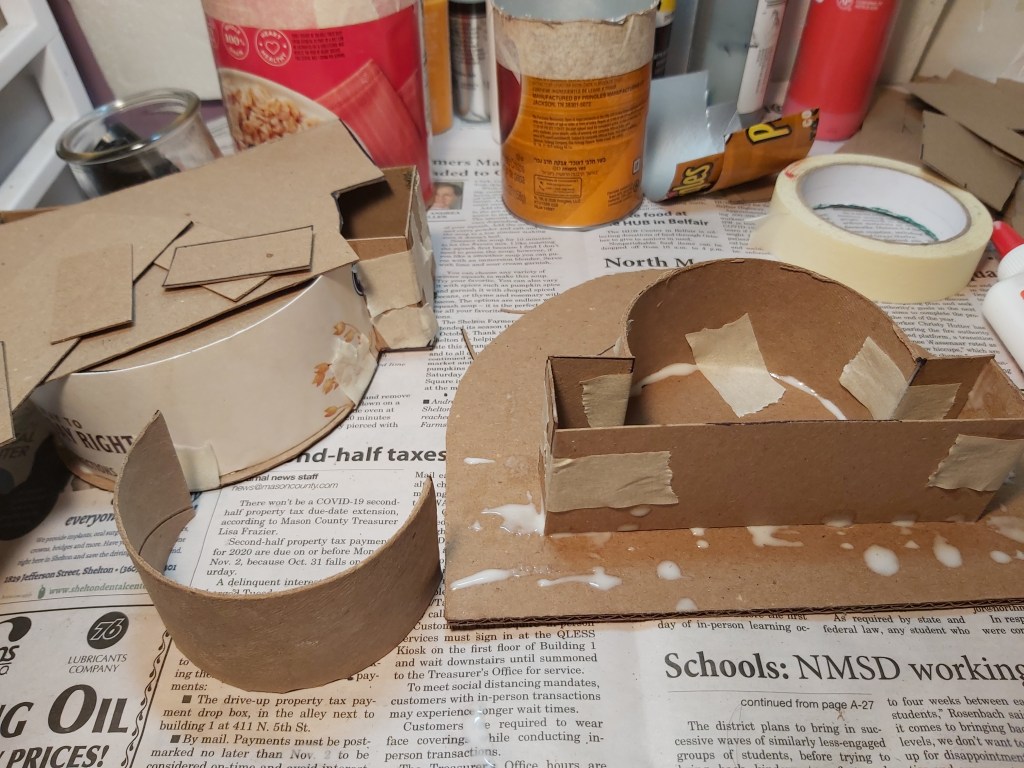
5. Repeat smaller
Repeat the above steps twice for the smaller shapes. Let dry.
6. Trace and place
The roof of the 2nd floor is the floor of the 3rd floor. Trace the smaller template so that it will be centered.
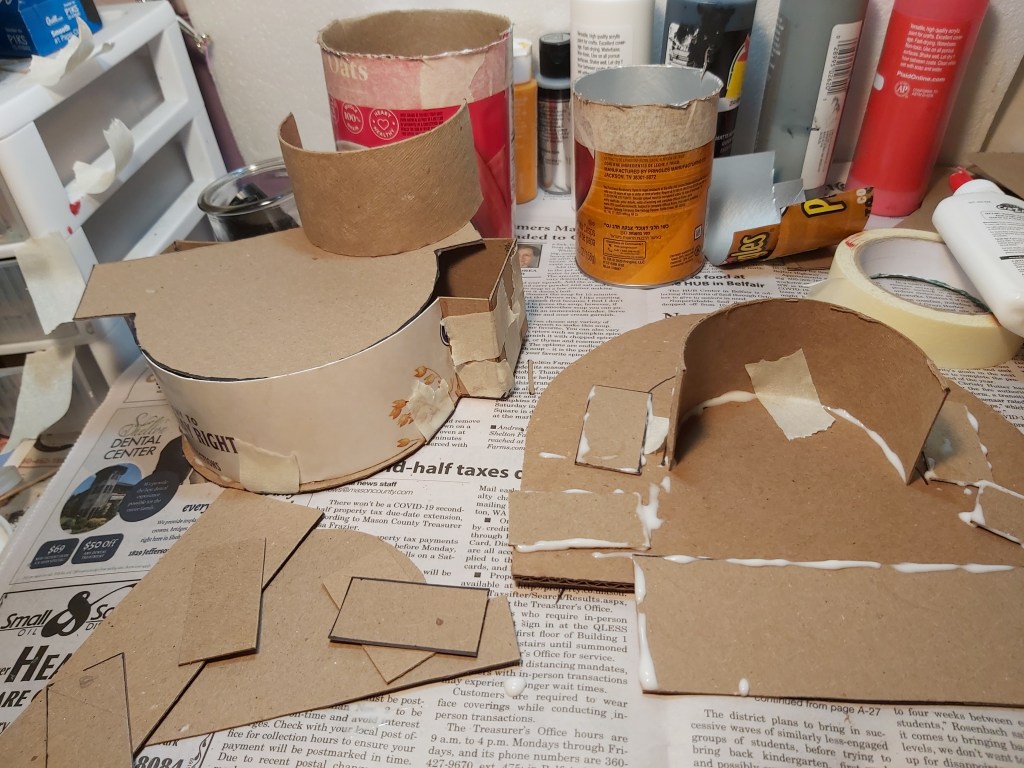
7. Ground floor
Here is another view. Note that the ground floor is glued to the base. Once you have your shape, you can easily mark and cut wall sizes starting from that.
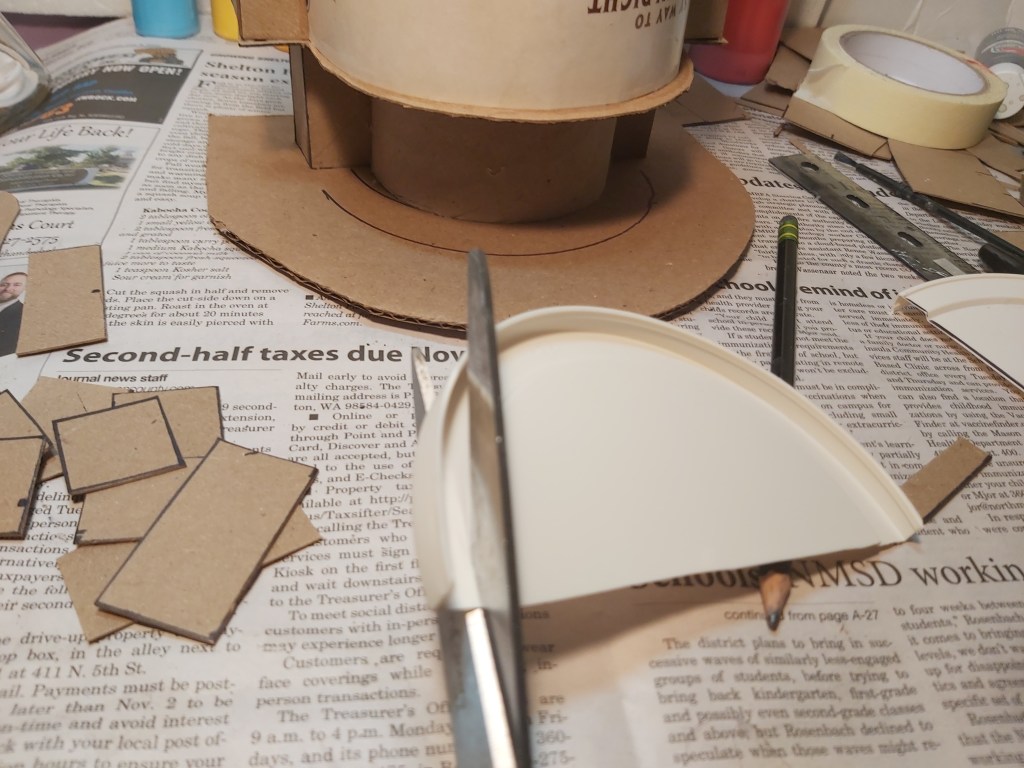
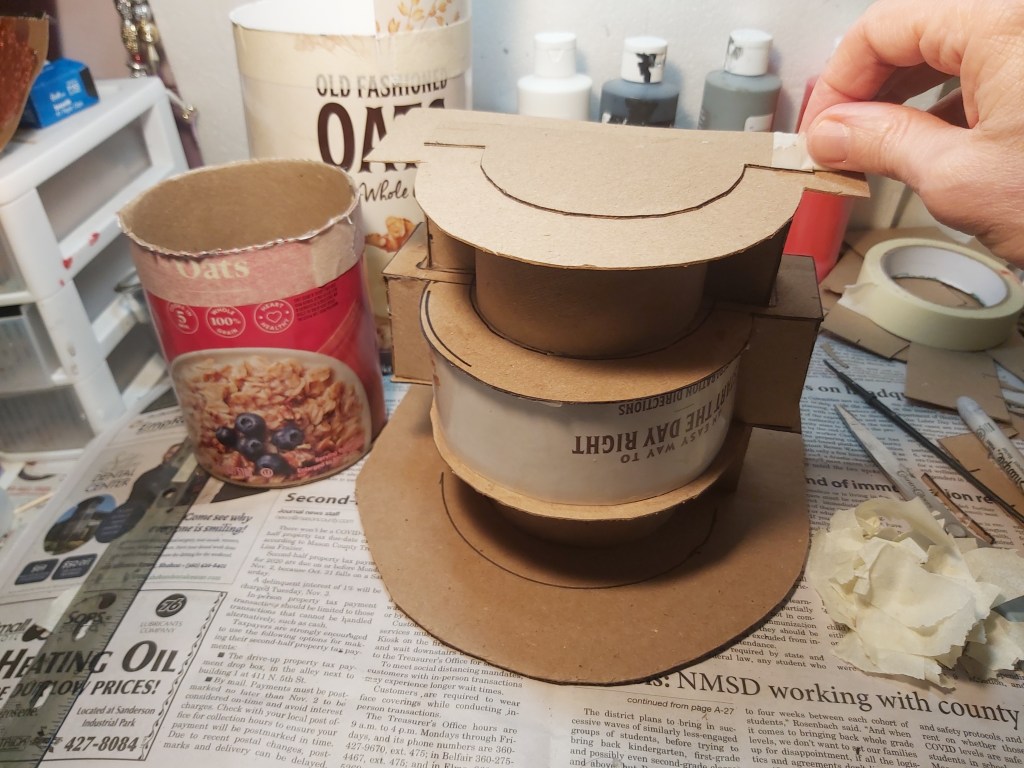
8. Stack up
Test fit and check angles, looking from different sides and down from the top to line up. Glue levels together and tape in place. Let dry.
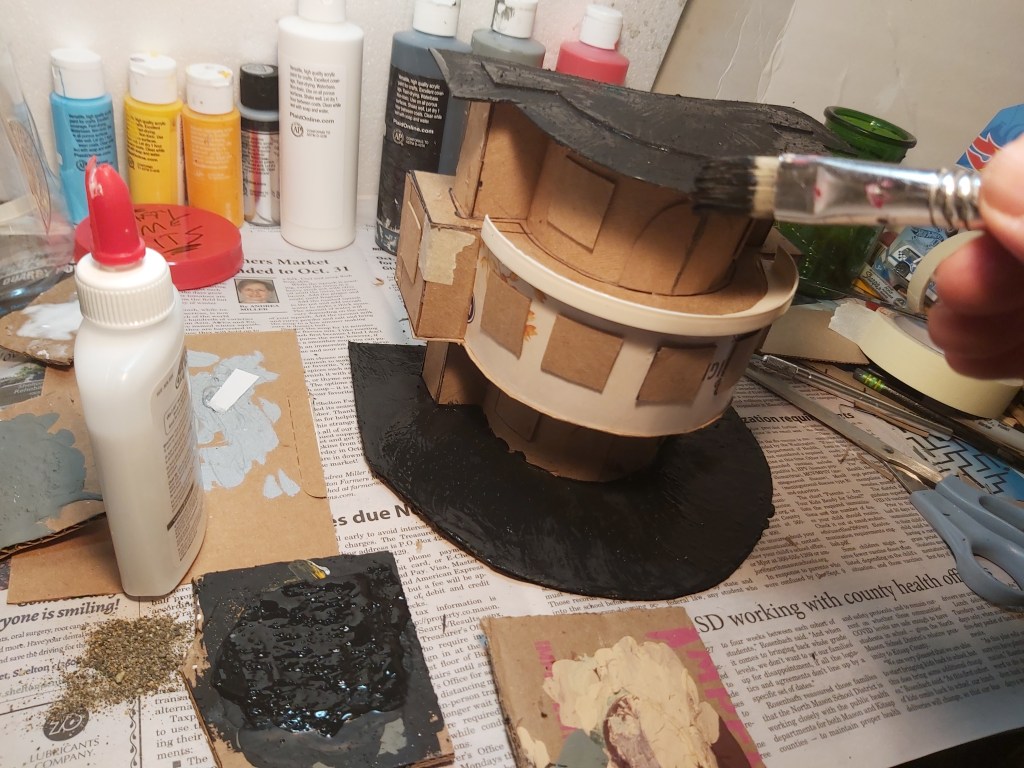
9. Railing
Cut the lid of the oatmeal container to make a nice railing. It’s worth trying ideas like this and it worked out well in this example. For railing on the sides and back, cut and glue black straws along the edge.
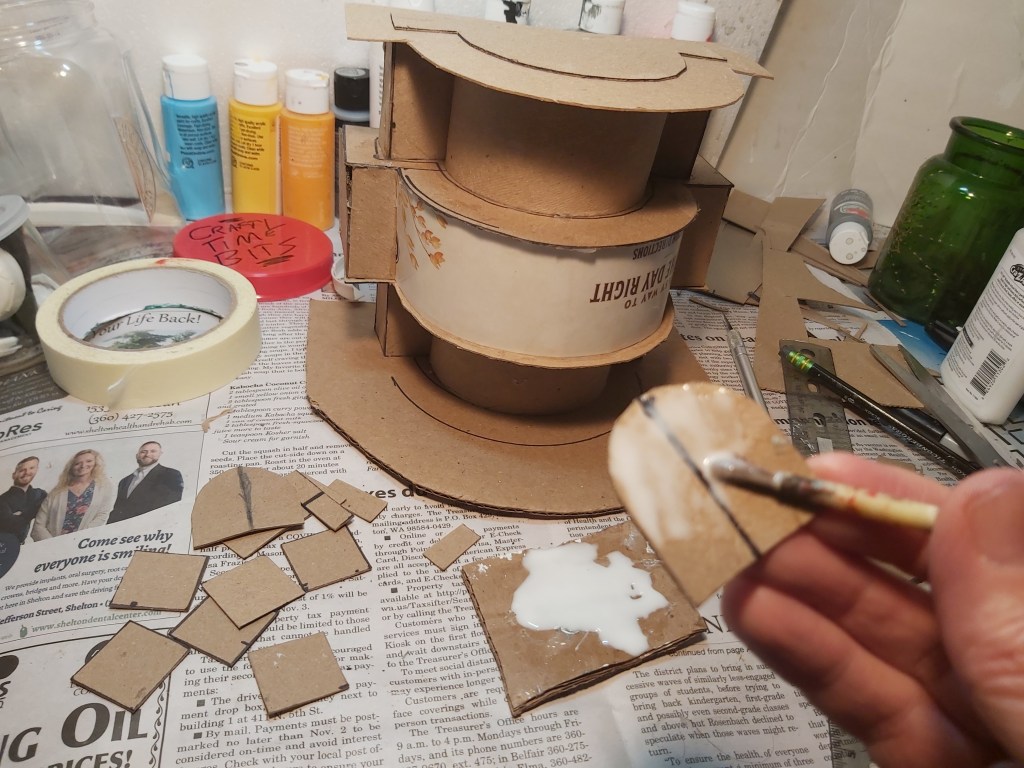
10. Windows and doors
Windows are 1” square. Single doors are ¾” wide x 1.5” tall and double doors are 1.5” x 1.5” with rounded tops and a score down the middle. For windows and doors along the curved parts, bend the cardboard, paint glue on and place. Add masking tape and let dry.
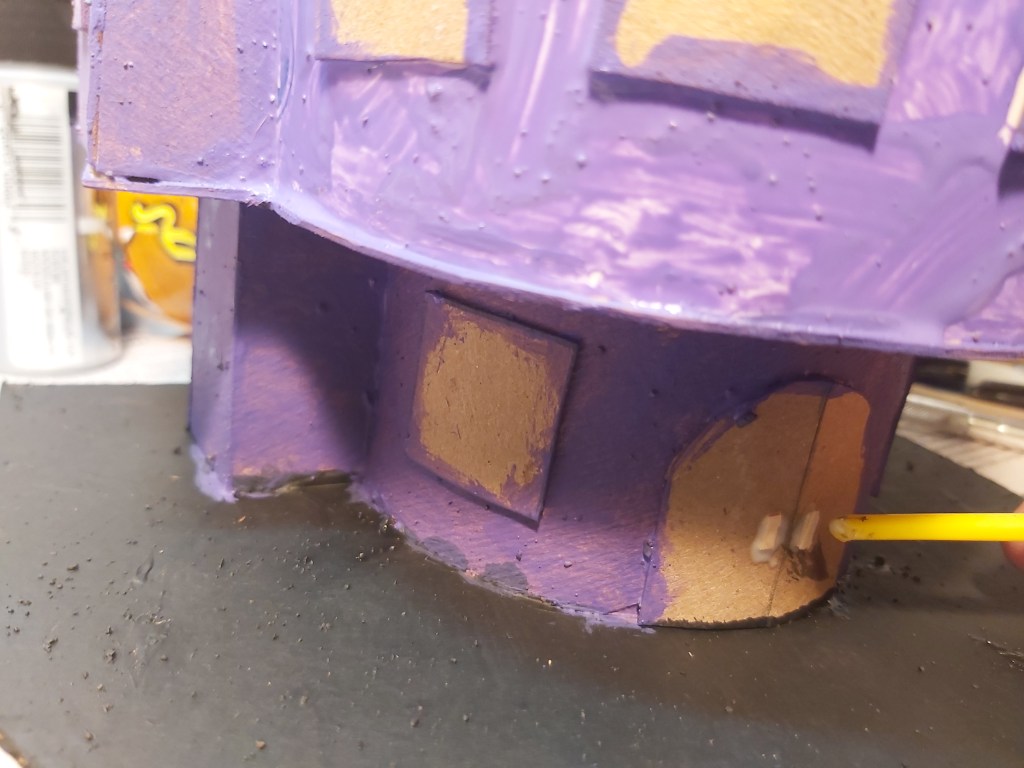
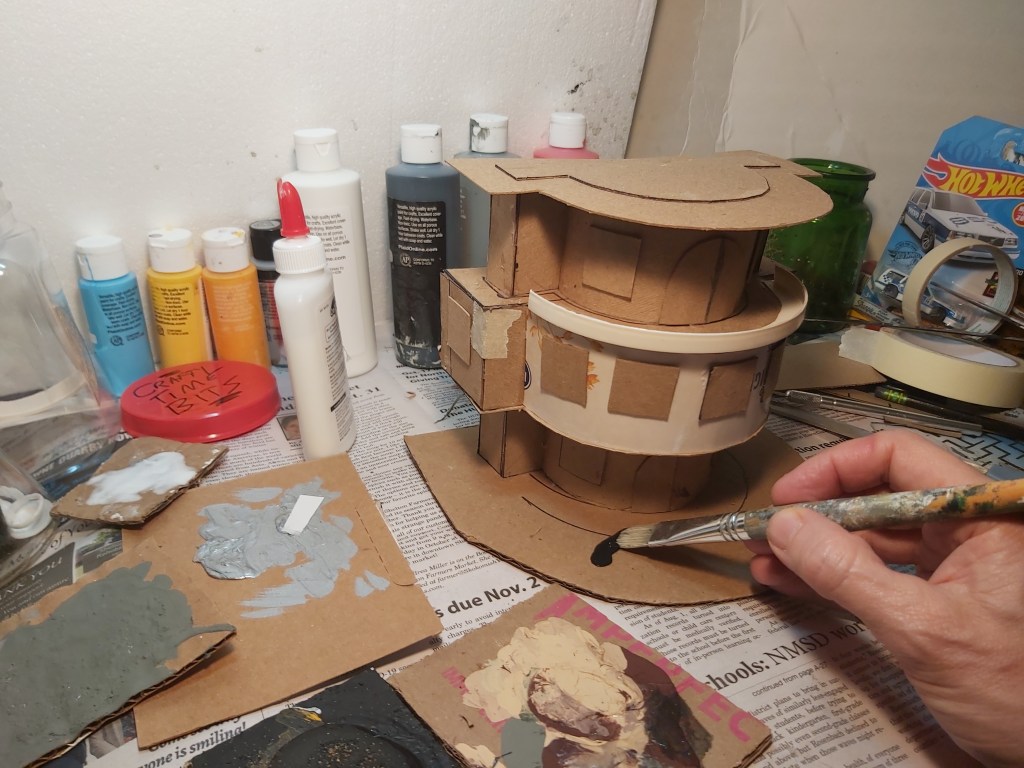
11. Paint and details
Start painting, you will need more than one coat and some touching up. Cut toothpicks for door handles and glue in place. The back end of a brush can help adjust placement. Let dry before painting in metallic color of your choice.
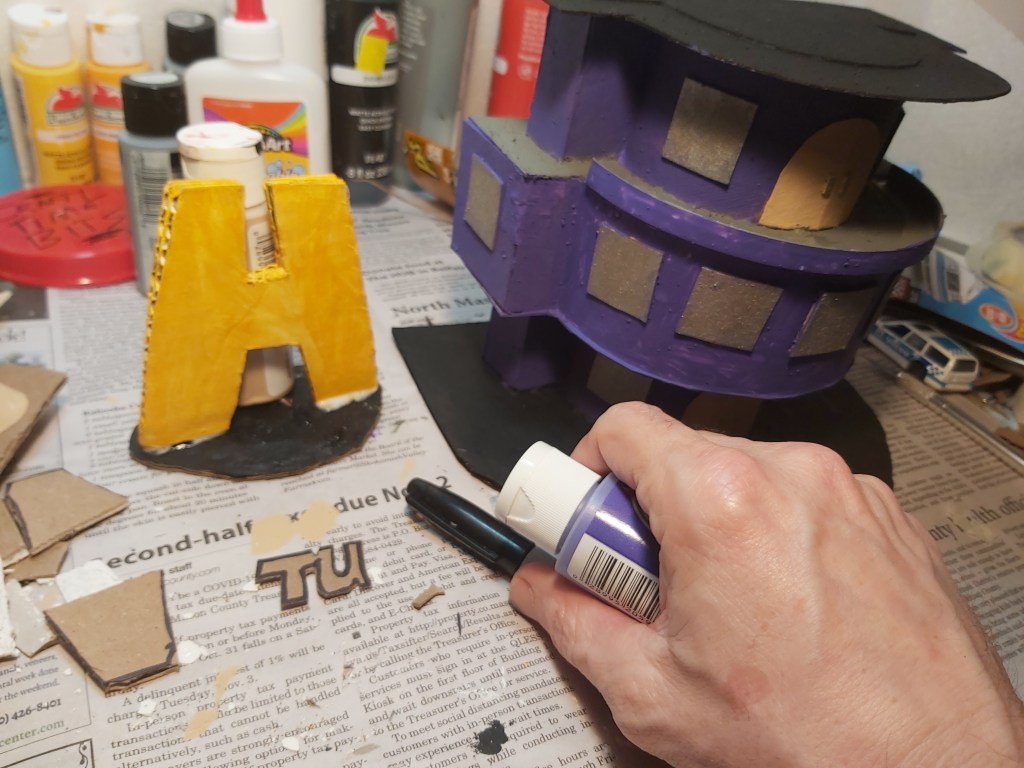
12. Final touches
The HTU sign is from 2 layers of corrugated cardboard.
13. Happy Tree University
Happy Tree village now has a center for higher education. Who knows, maybe students at HTU are making Happy Tree villages of their own in those tiny classrooms!
What would you like to see next in Crafty Time? Visit www.craftytimewithdave.com for more photos and project ideas. Please email your feedback to dave@masoncounty.com or call 360-426-4412. Visit our office to see the display!

Happy Tree University’s land survey science department has been granted a surplus helicopter from HTTV Channel 3. The former traffic helicopter has been refitted with sophisticated surveying sensors and cameras.
“Regionally, this will help us learn more about our landscape. That knowledge will help everything from agriculture, to mining, to finding dinosaur bones,” said HTU President, Dr. Theopolis Brittel.
–Happy Tree Times
