
This information first appeared as the first Crafty Time, as two activity pages in the April 9, 2020 Shelton-Mason County (WA) Journal.


Crafting.pierik. 15.20
Crafty Time
By Dave Pierik
Shelton-Mason County Journal
Cardboard buildings – fun to make, fun to have!
Or – a beautiful day in the neighborhood
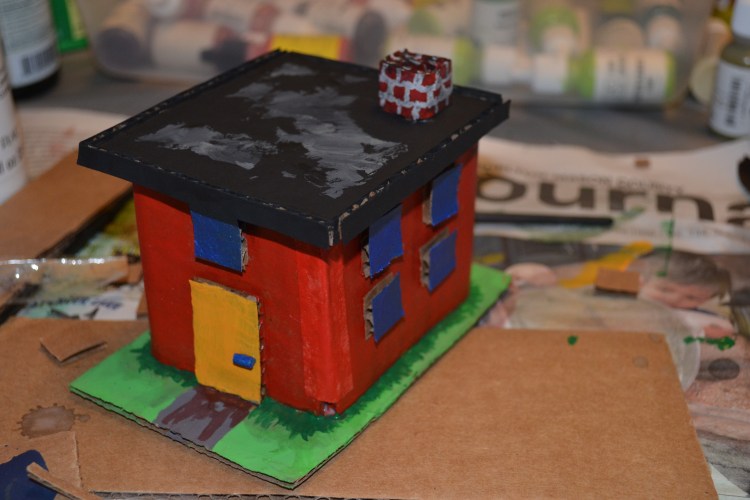
- The building above was made with leftover cardboard and paint from the example below –
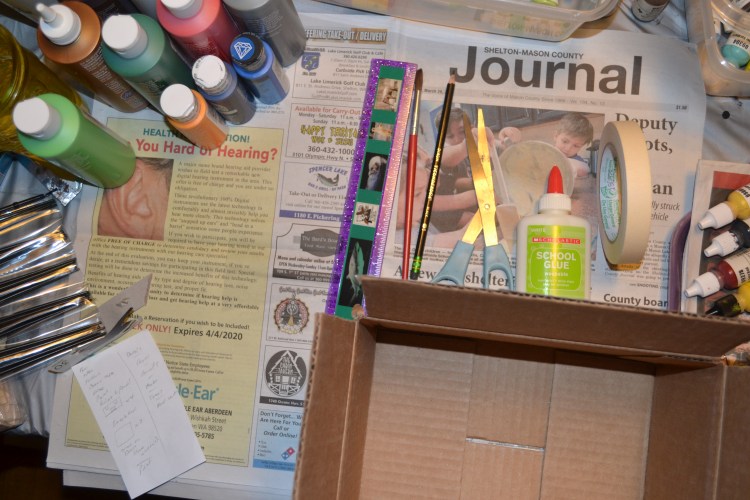
- You will need:
- A corrugated cardboard box
*Ruler & pencil, pen or marker - Scissors
- Glue
- Masking tape
- Acrylic paints and Paintbrush
Optional: * Toothpick
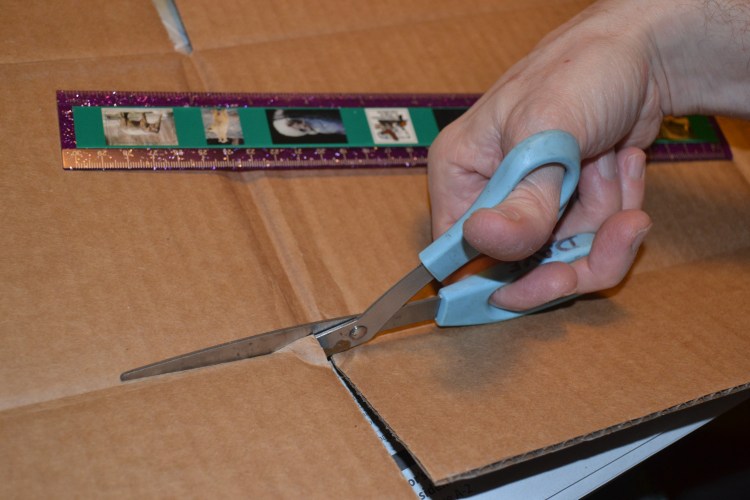
- Open the box, pull it apart, cut off all the flaps, and …
- Cut it into pieces along all of the folds.
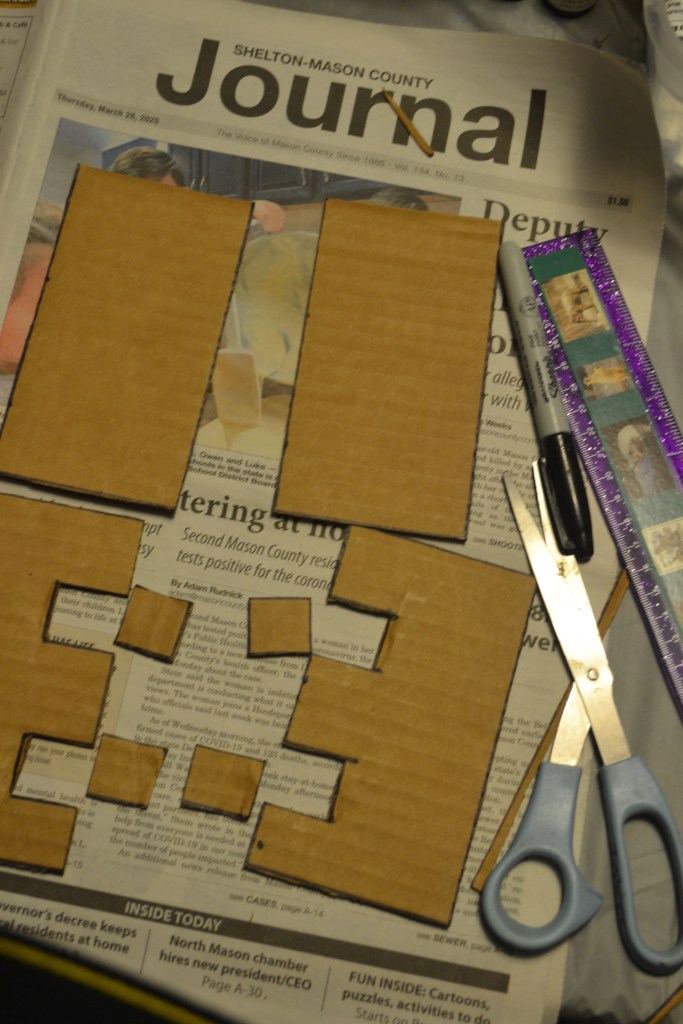
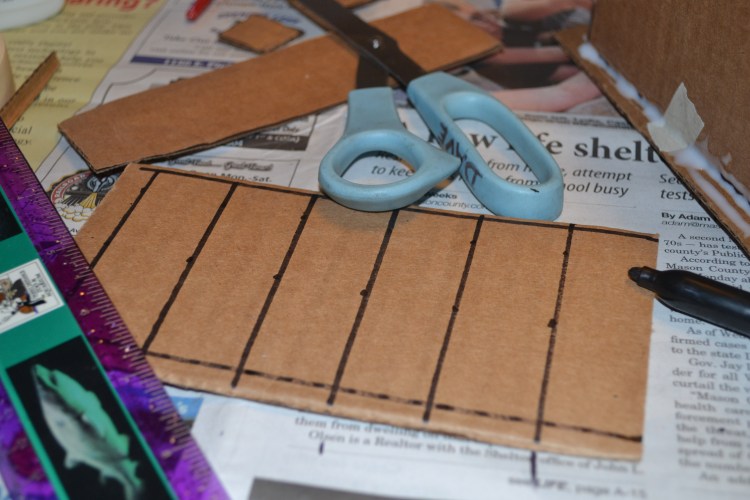
- Measure and mark the walls. For this example, each of them is 5.5” wide x 3” tall. You can also cut out any windows or doors at this stage.
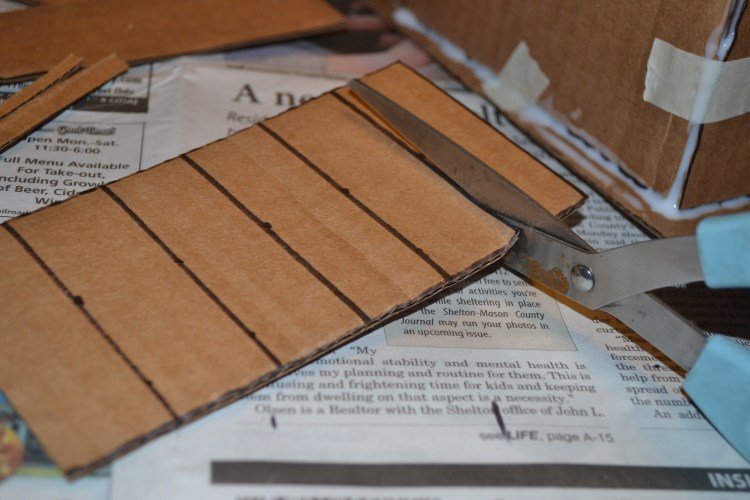
- Cut along the lines.
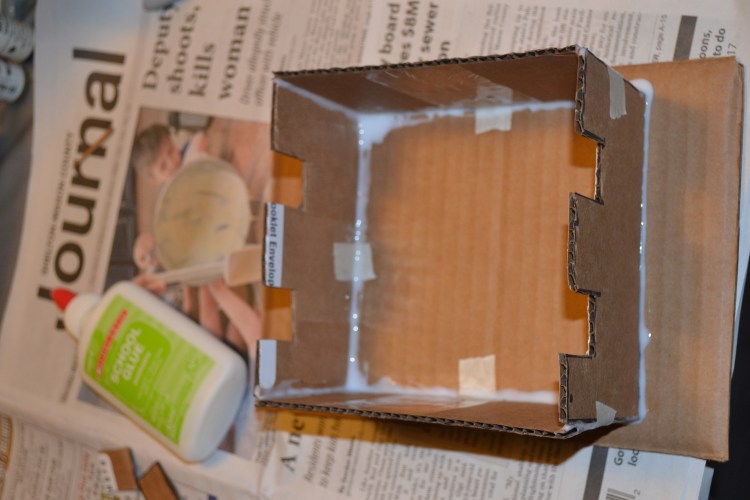
Lay out the walls on a larger floor piece and hold in place with masking tape. - Use more tape to hold the walls to the floor.
- Run a bead of glue along all of the seams. Leave the tape right where it is for now. Let it dry.
- Flip everything over.
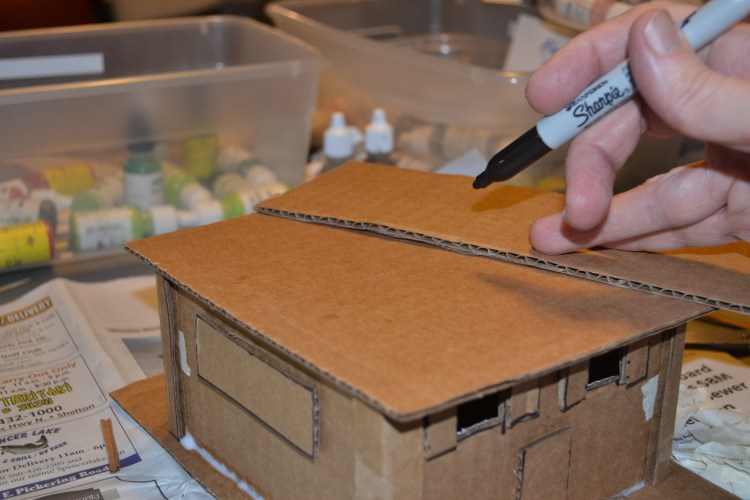
- Tape and glue the roof, as you did the walls and floor.
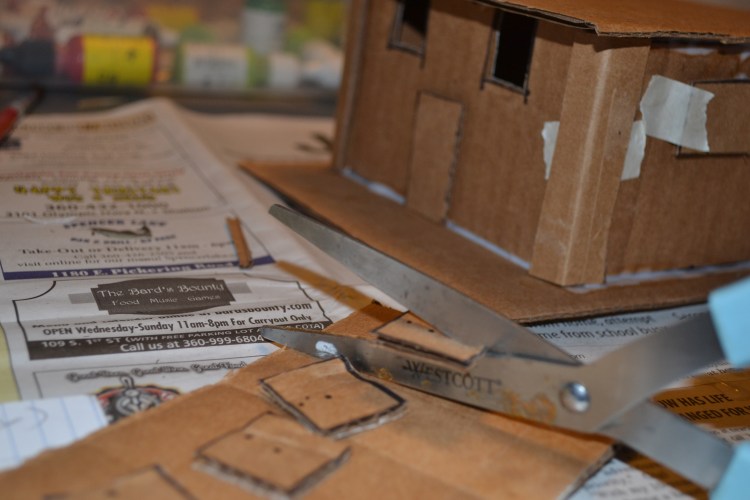
- Measure and mark doors, windows and other details as you see fit.
- Here, six 1” x 3” strips are marked out. Four of them will add details to the corners of the building, and two will make long windows.
- Cut them out.
- Fold four of them for the corners.
- Put glue on the corners, and then clamp them on with masking tape.
- While you wait for the glue to dry, move on to the next step.
- The front and back doors should be about 1” wide x 1 ½” tall. For small windows, about 1” square works.
Side Note: Think about what other details you would like for your building. This building is approx. 1/35 scale, so 1” = 5’. Experiment and play with your favorite details!
- Cut Nice & Straight
- Time to start putting the details together. Shown above are the big side windows.
- If you saved the cutouts from the windows, you can cut them in half to make storm shutters.
- Storm shutters and a door coming together. It’s okay to leave the tape and work over the top.
Note the lone piece of masking tape that was not removed – don’t worry about this kind of thing, you can remove it later or leave it and paint over it after you’re sure the glue is all the way dry. In this example, the glue was still drying as other parts came together, so rather than risk pulling the building apart, it worked better to leave it there.
- It’s coming together at this point. For a more finished look, some gutters would be nice. You can measure directly along the roofline and cut them very carefully, ¼” width works pretty well.
- Take your time when measuring, marking with dots and then connecting them with lines for cutting.
- Cut, glue, and place the gutters, then use the masking tape to keep them in place until the glue dries.
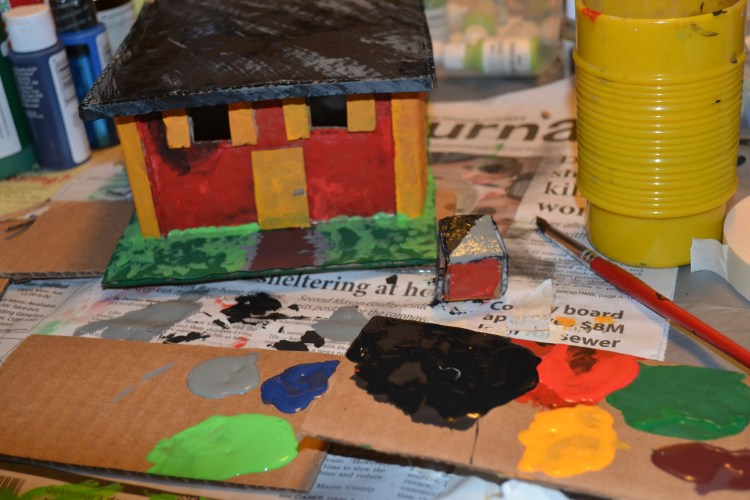
- For the door handle in this example, a bit of a wooden toothpick was used. Acrylic paints work great, start with a base coat and build up from there.
- Pick out the detail using different colors.
- Change up the sizes, colors, shapes and details, and over time you can create a little town, great for staging model cars, superhero or fantasy figures, or for decoration.

Giant Speculation: hand sighted moving buildings
Happy Tree locals continue to report occasional sightings of giants so big they can move city buildings with one hand and rearrange them. This of course is utter nonsense.

Test
LikeLike