
Crafty Time


By Dave Pierik, Shelton-Mason County Journal
In last week’s Crafty Time, we had fun creating cardboard buildings.
Some readers asked about roads, so they could play with their cars among the buildings (the brand rhymes with Wot Heels). So, here we go, let’s make some roads!
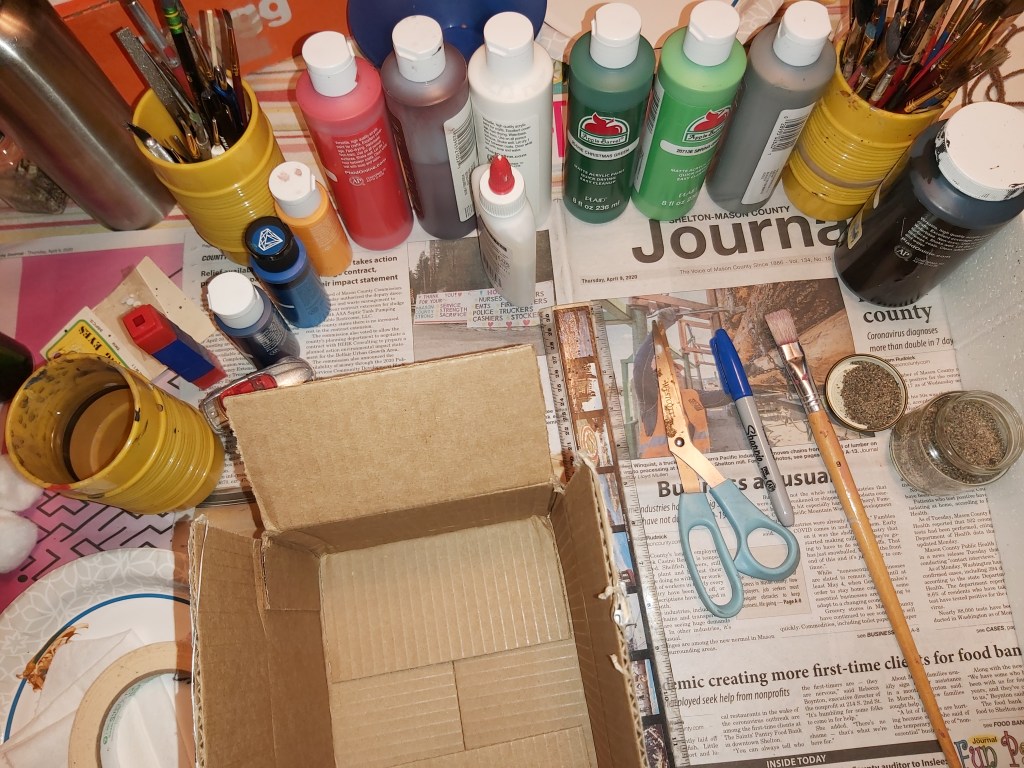
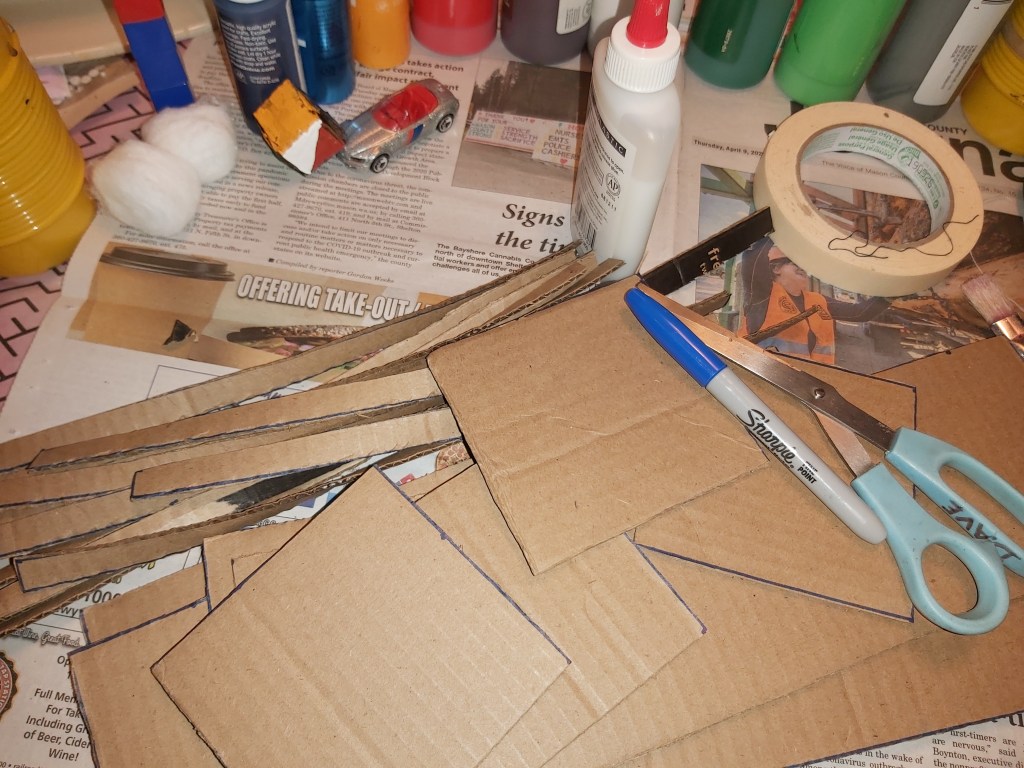
1 You will need:
Cardboard (a fairly big box)
Ruler and marker
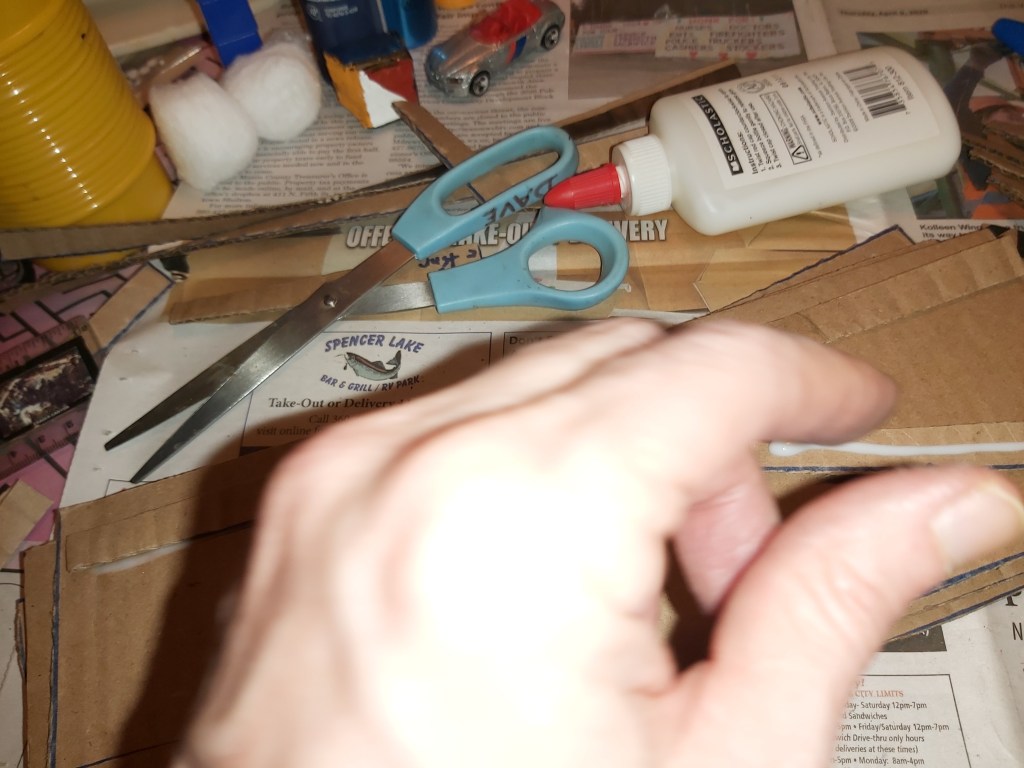
Scissors
Masking tape
White glue
Sand
Paint and brush
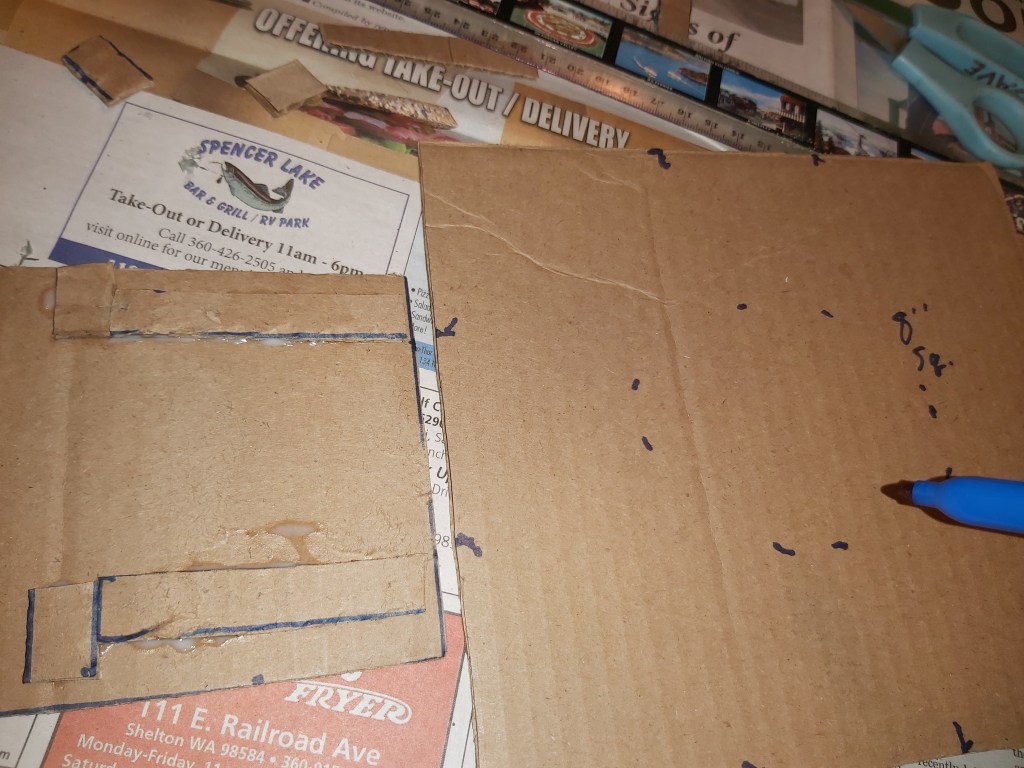
2. Cut a fairly big corrugated cardboard box to flat pieces. It’s up to you how much to use. Round up – cut extra!
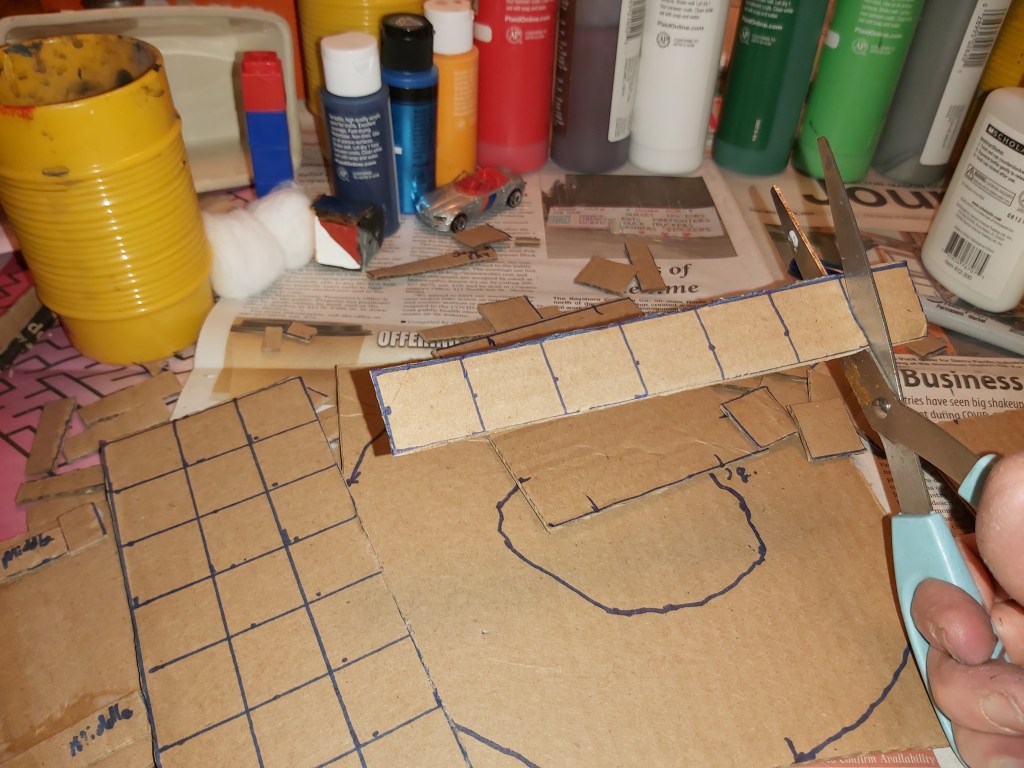
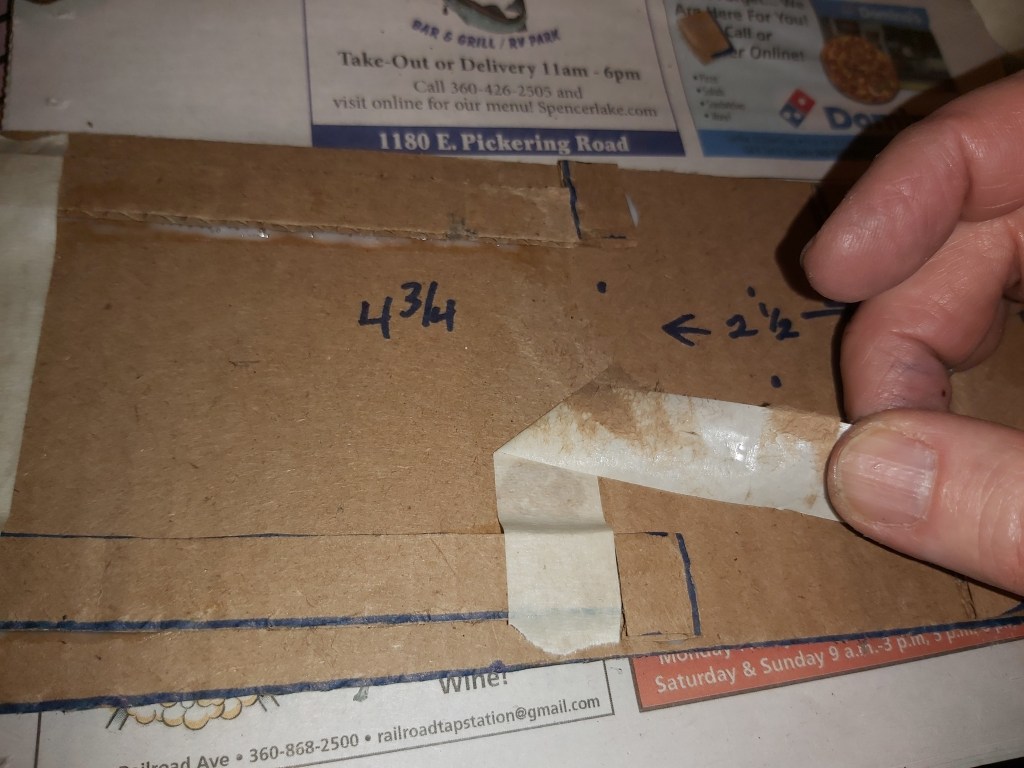
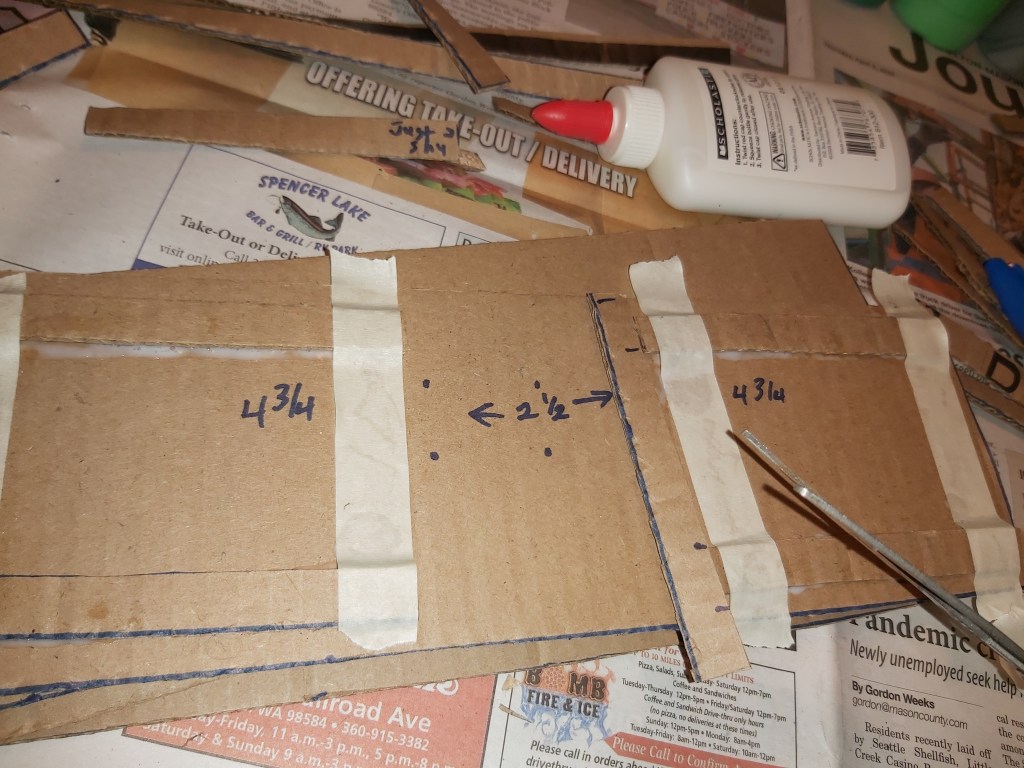
3. Measure!
Grab your marker and ruler.
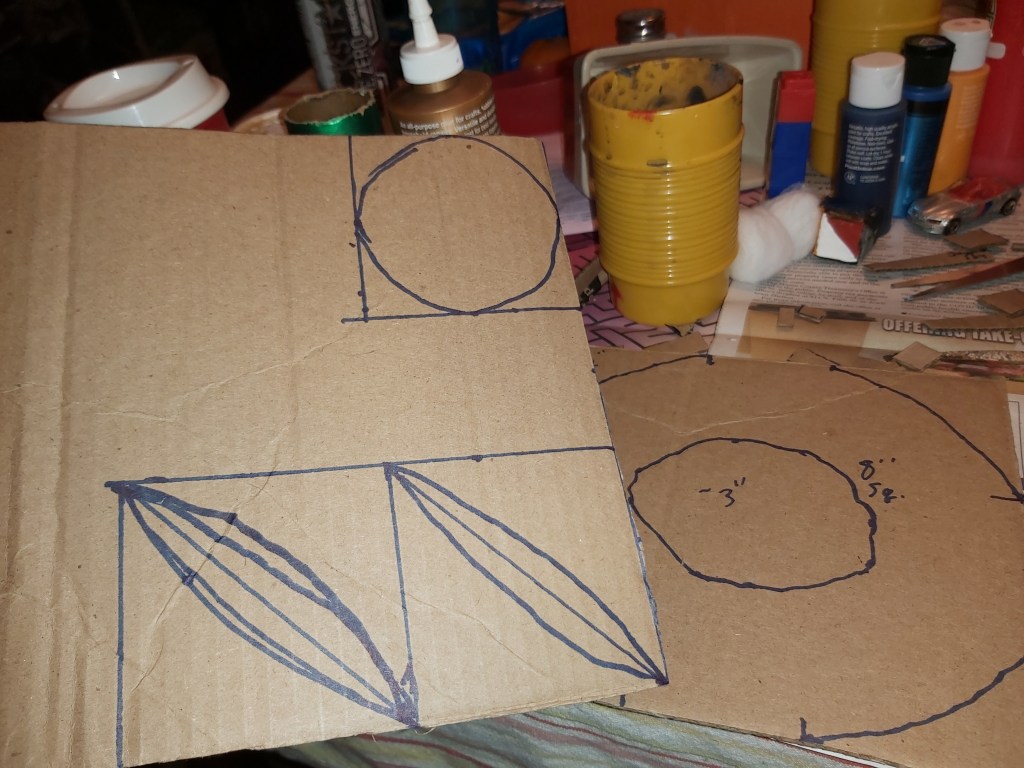
For this example, you will need the following measurements:
6 of: 12″ x 4″ (for 2 Highway, 2 Main Street, and 2 Residential roads)
12 of: One-half inch (1/2″) wide x 11.5″ strips (for the curbs and curb cuts. Make extra to allow for errors)
4 of: 4″ x 4″ squares (for intersections)
1 of: 8″ x 8″ square (for roundabout)
16 of: 1″ x 1″ squares (for the corners of the intersection pieces)
1 of: 3″ circle (for the middle of the roundabout)
2 of: 3″ squares (the cut into triangles with curved middles to shape for the roundabout corners – will make 4)
4. Measure, mark and cut
(shared caption with 3.)
5. Measure, mark and cut – Template tip to save time
Mark right on there, how you want it to be. They say measure twice, cut once. There’s a way to measure once and cut twice – or more! Make one template, and then use it to cut more pieces to that same size!
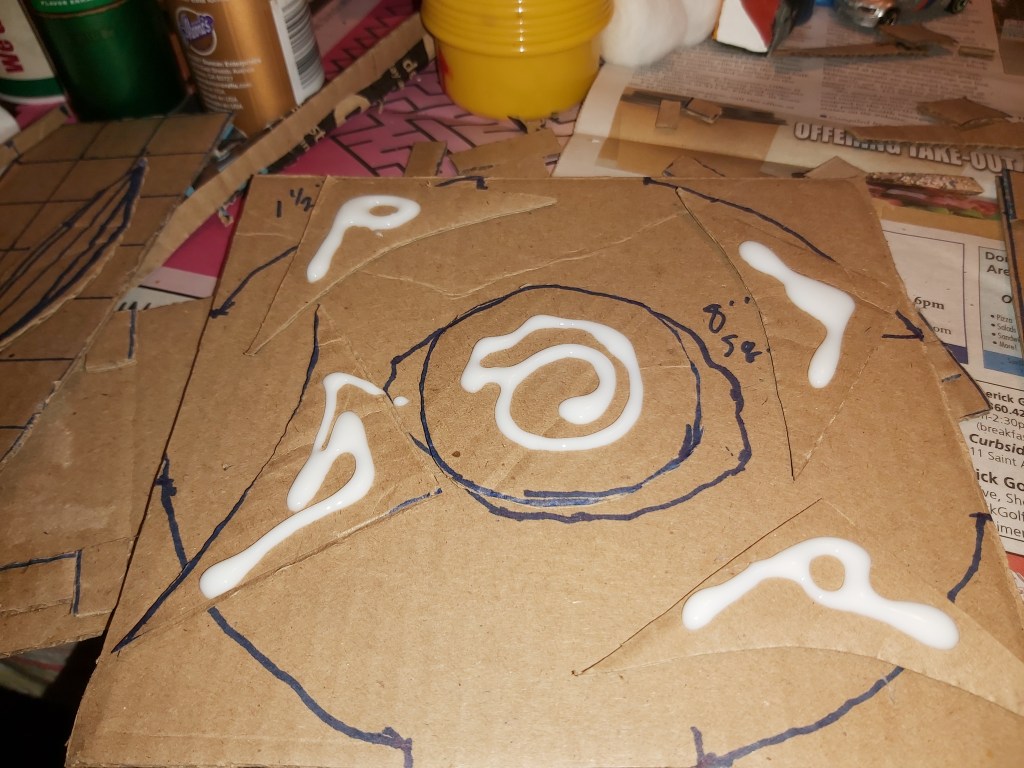
6. Cut along the lines you made. Don’t lose track of your pieces, and what goes where, or you’ll have to cut more pieces.
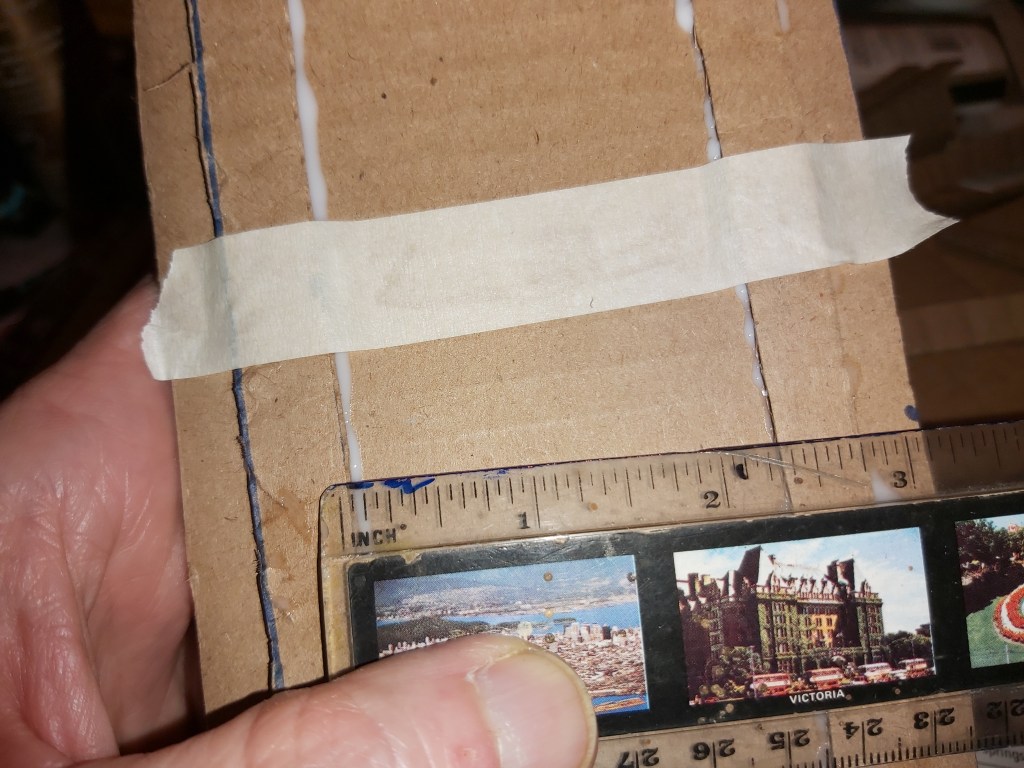
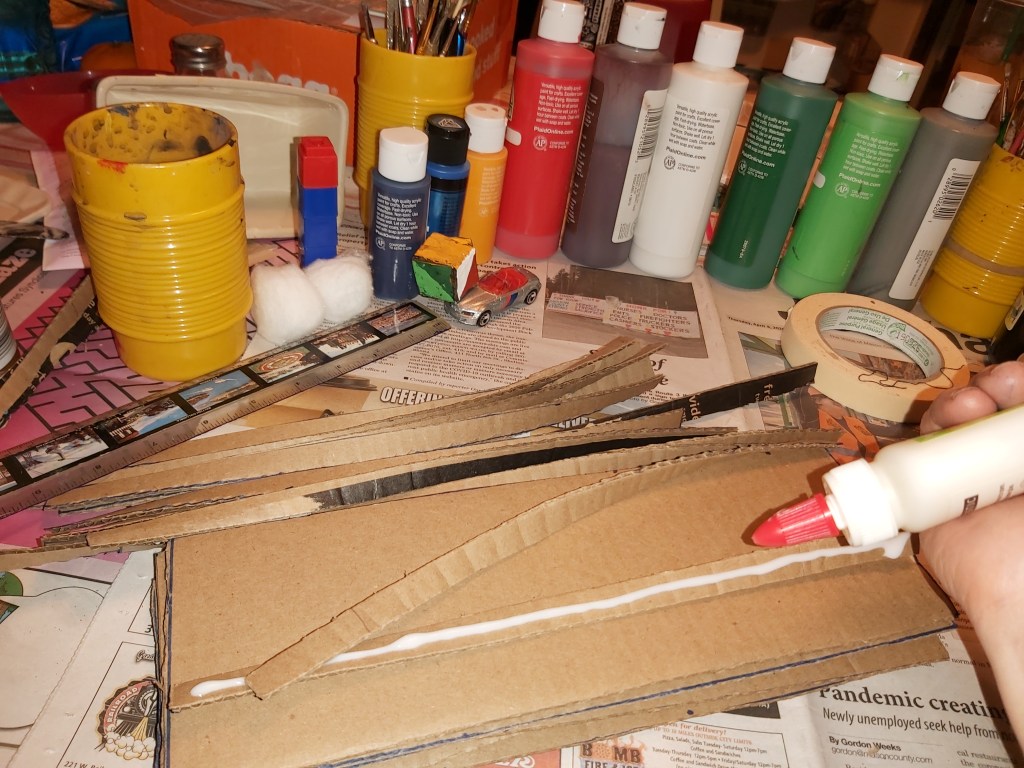
7. Gluing. For roads, the main things going on are the curbs. It’s tempting to put the curbs right up to the outside edge, but don’t. It will look better and be more durable if you leave a quarter-inch to half-inch margin on the outside, to show some green on the outside of each of the 12″ x 4″ roads.
8 Gluing the Roundabout
You will need the 8″ square, the 3″ round in the middle, and the four 1 and a half inch curved-middle triangles for the corners. Glue it all up, flip it over and clamp it with masking tape.
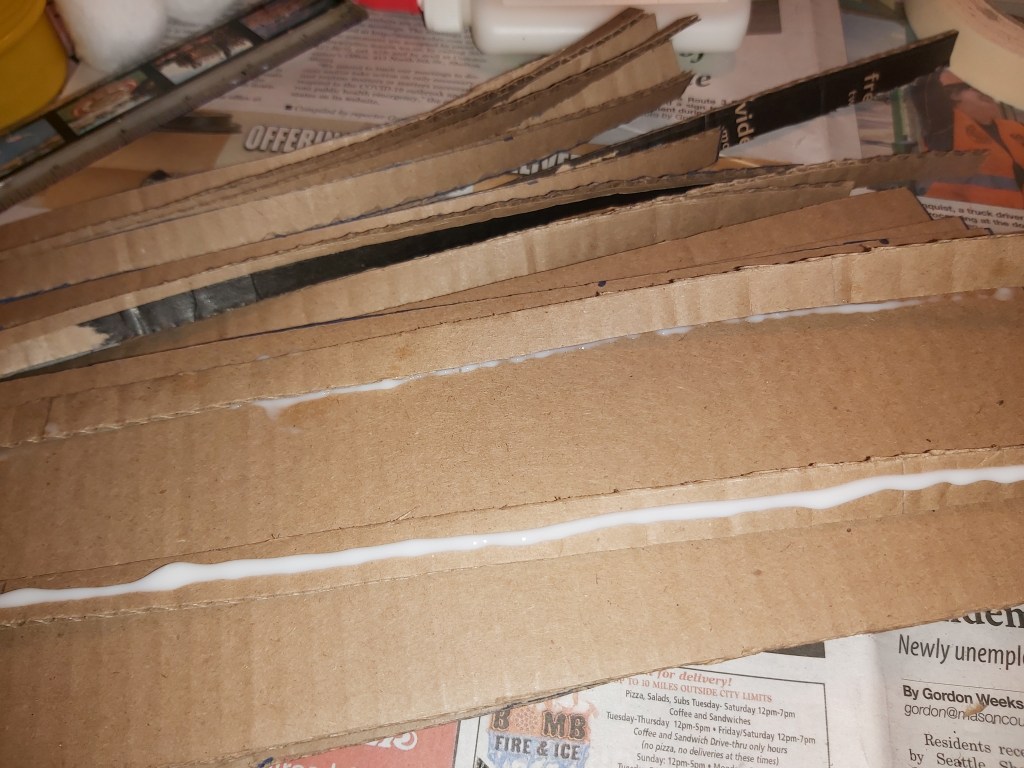
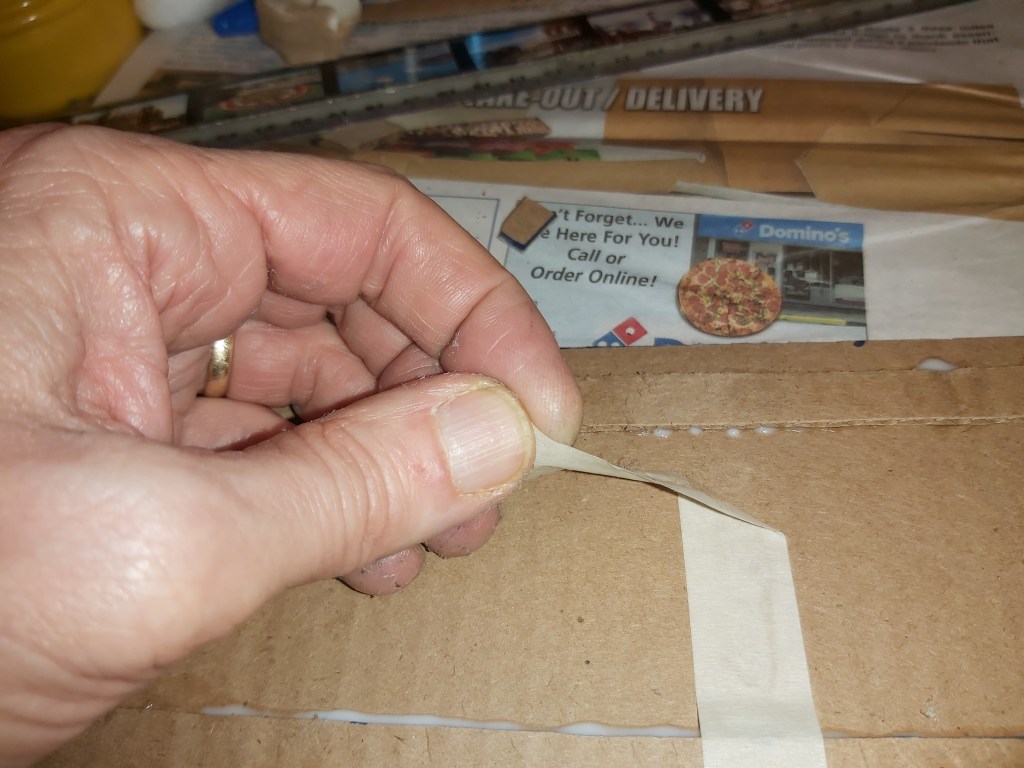
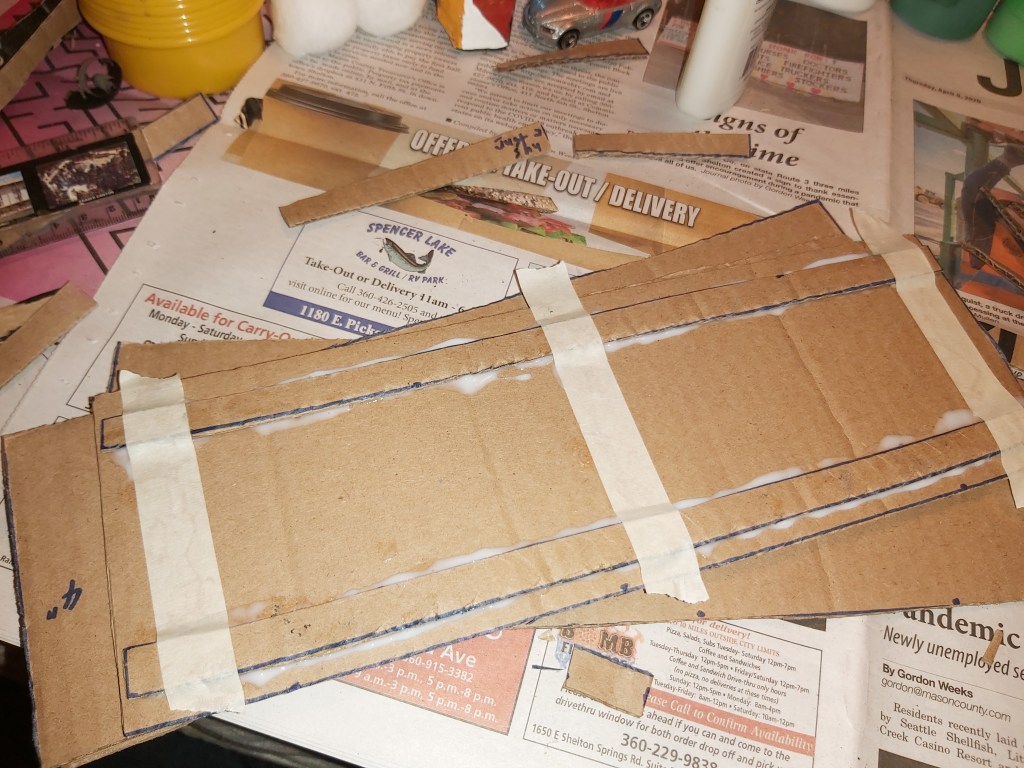
9. Clamping the curbs
You will find that the 1 half inch wide strips like to bend around, especially when you put wet glue on them. Not to worry! Masking tape will hold it down until the glue dries.
10. Removing the tape.
The masking tape worked great. Once the glue is dry, carefully pull it off. It’s only cardboard underneath, so don’t worry too much about ripping some of the top layer off, because you will be painting it later anyway.
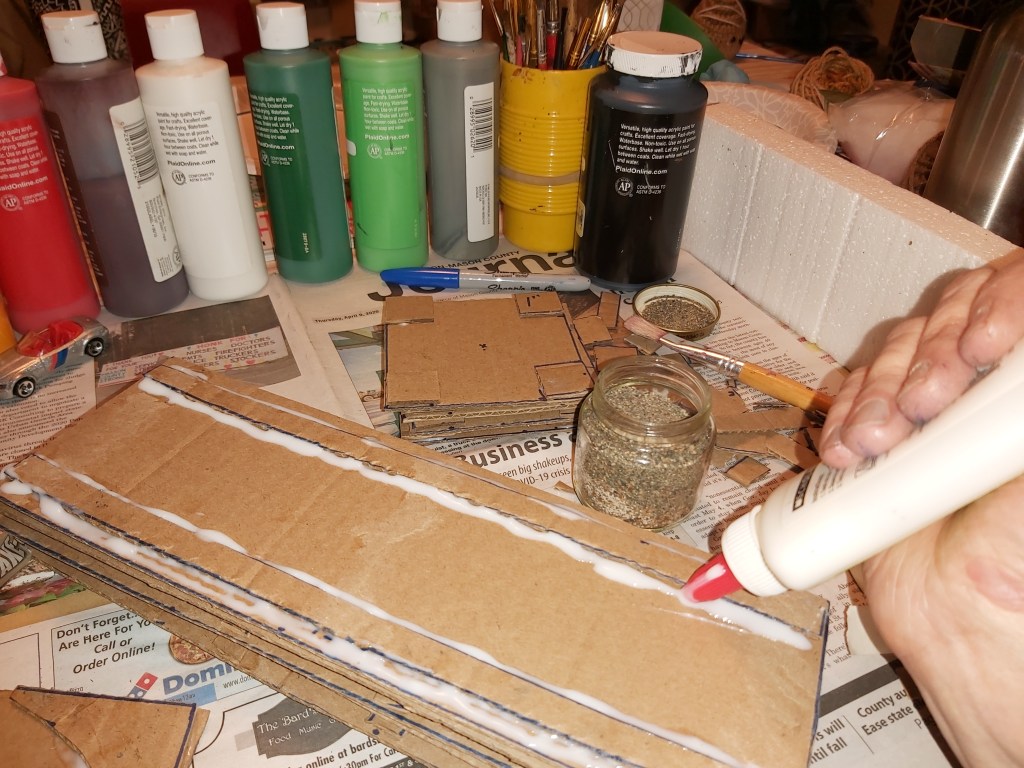
11. Sand.
Why Sand? It fills the gaps on the edges of the curbs, looks great, and strengthens the road. Run glue along both sides of all of your curbs, then add sprinkle or dump sand onto the wet glue. Tip the rest back into your work area and keep going. This technique is called flocking.
12. Sand – flock style
Here, the sand is sprinkled along the glue line, with the road piece tipped. Sand that does not stick will fall right back to the work area.
13. Sand – Highway curbs
This is a great photo of how sand and glue will finish the sides of the curb lines. The tough part is waiting for the glue to dry!
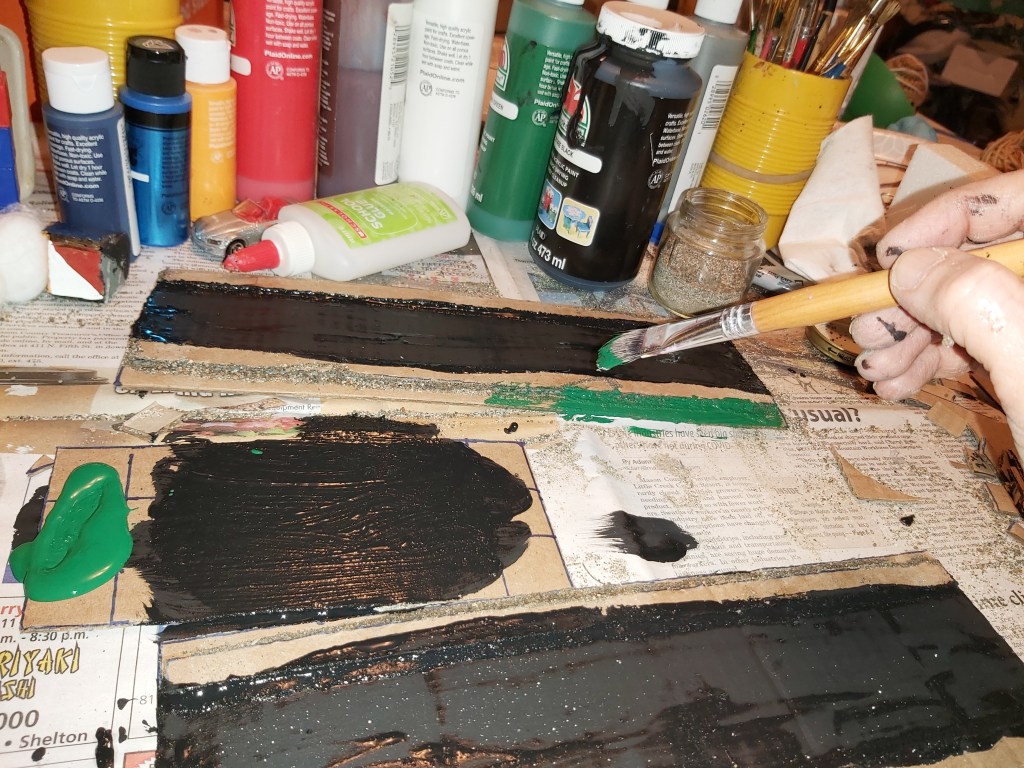
14 I want to PAINT IT BLACK!!
Here, we are getting the basecoats of paint underway. Use acrylic paint, a nice big brush. Have water and a paper towel handy. Black is only needed for the road itself, and you’ve got ready-made borders on the sides with those wonderful curbs. I like to have everything ready at this point so I can just go and go with the paint.
15 – Green basecoat
Now you can see why we left that gap on the outside of the curbs. A nice dark green base coat really pops. You can always add more detail and touch things up later.
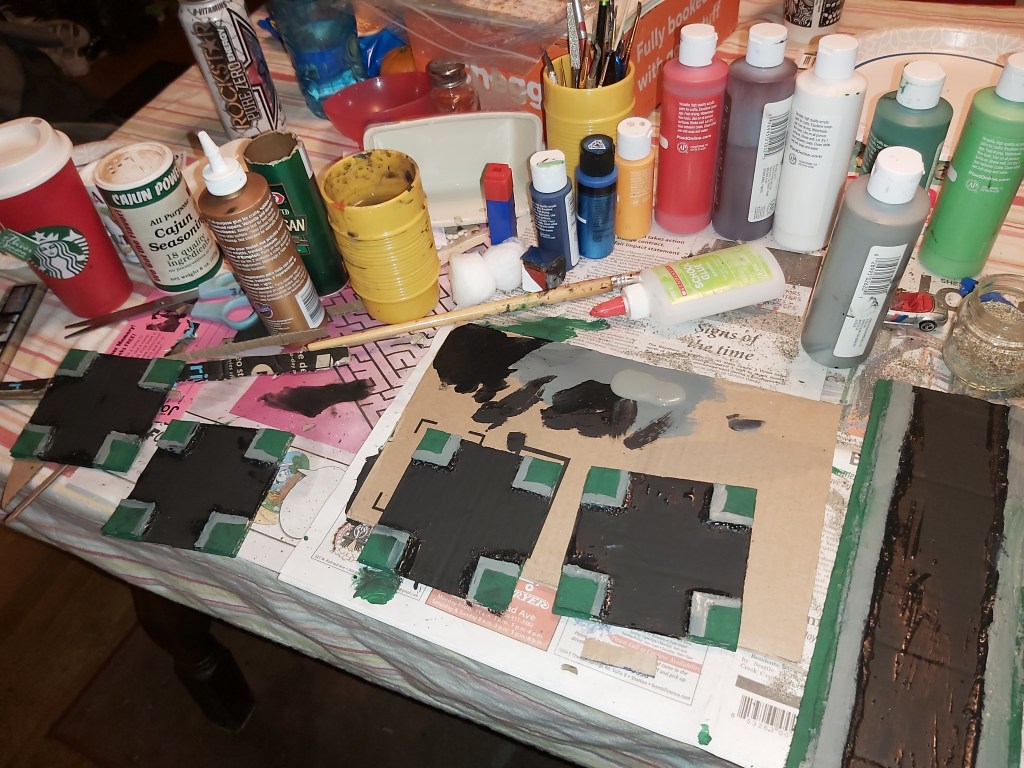
16 Paint – grey curbs basecoat
Concrete is grey (or you can spell it gray) so that’s what I did here. You could add yellow or red areas, especially on the main street curbs. Do that later. This is a base coat, so if the yellow or red does not cover well or chips – it will look like concrete underneath!
17 – Touch Up paint
It’s fine if basecoat is a bit sloppy. This second coat is your chance to go back and fix all of those spots. You know where they are. It is worth the time.
18. Highway stripes – prep
After the black paint is dry, with 2 pieces of masking tape, leave an even, narrow strip down the middle of the highway pieces. Press the tape down a bit to keep the paint from getting underneath it.
19. White paint – highway stripes
The stripes are that one bit of white. Try to paint evenly and not too heavy. Use a couple of thinner coats rather than one heavy one, before you pull the masking tape off.
20. White paint touchup. Use black paint to touch up any areas where the masking tape did not cover, or you did not want white paint. A flat brush works great for this, and the black can even add a touch of realistic road wear and tear if some of it goes over the stripes.
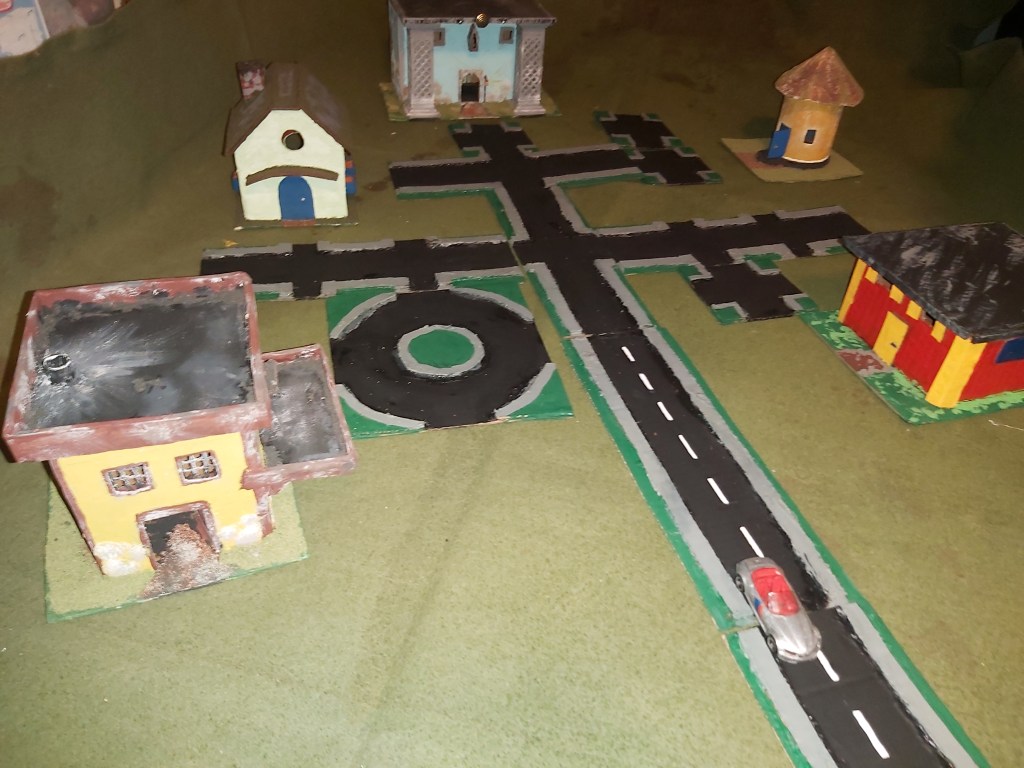
21 Overview of road pieces with buildings
So altogether we now have:
2 Highway pieces
2 Main street pieces
2 Residential road pieces
4 Intersection pieces
1 Roundabout
It looks nice, and you know how to touch up, replace, or add as many pieces as you want! You can also protect it from wear and tear with 2 coats of a clear matt finish spray paint on both sides.
Along with the cardboard buildings we created last week, this is a great start for a “Whot Heels” or other scale-model figures.
What would you like to see in the next Crafty Time? I’m thinking trees would be a good addition. Email me at dave@masoncounty.com with your comments, project photos and suggestions. Until then, have fun!
