


crafty time.Park.pierik.26.20
Crafty Time
By Dave Pierik
Shelton-Mason County Journal
Fun at a Park!
Nice weather, childhood and Father’s Day inspired the idea of a park. Happy Tree Village has a bait shack, a drive-in movie spot & restaurant, a castle, a bridge, water, trees, roads and buildings. This park will enhance our village – which is now growing into more of a town.
0. You will need: (Will – there is not to be a photo for this, it’s not a “step”)
Tools: pencil/pen & ruler, scissors, wire cutters, paintbrushes. Optional: Mini-clothespins and a craft knife.
Materials: cardboard (corrugated and thin card), school glue, sand, flat toothpicks, bamboo skewers, craft sticks, acrylic paints, masking tape, colorful metal paper clips, beads, and one plastic bottle cap. Optional: inexpensive necklace chain (for swings, not shown), straws (for slides, not shown).
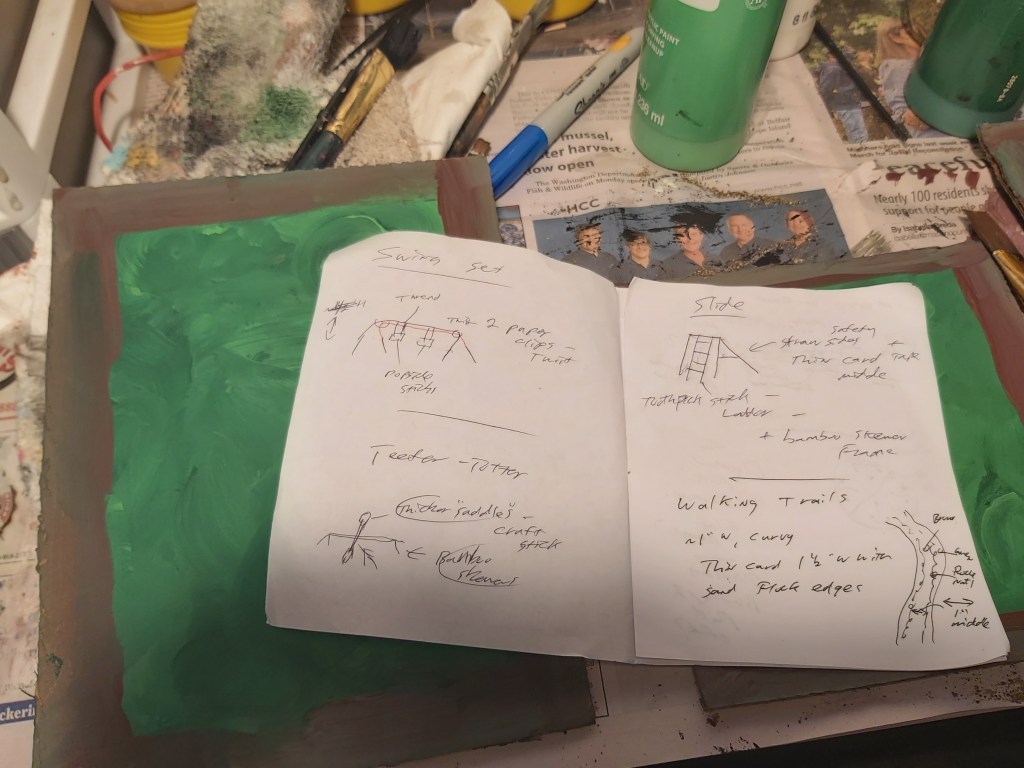
1. Plan
We could go so many ways with this! I did a quick Google image search, and then made quick sketches later. Concept sketches don’t have to be pretty; getting them on paper helps. You’ll have far more than enough inspiration to get started on a couple of park creations.
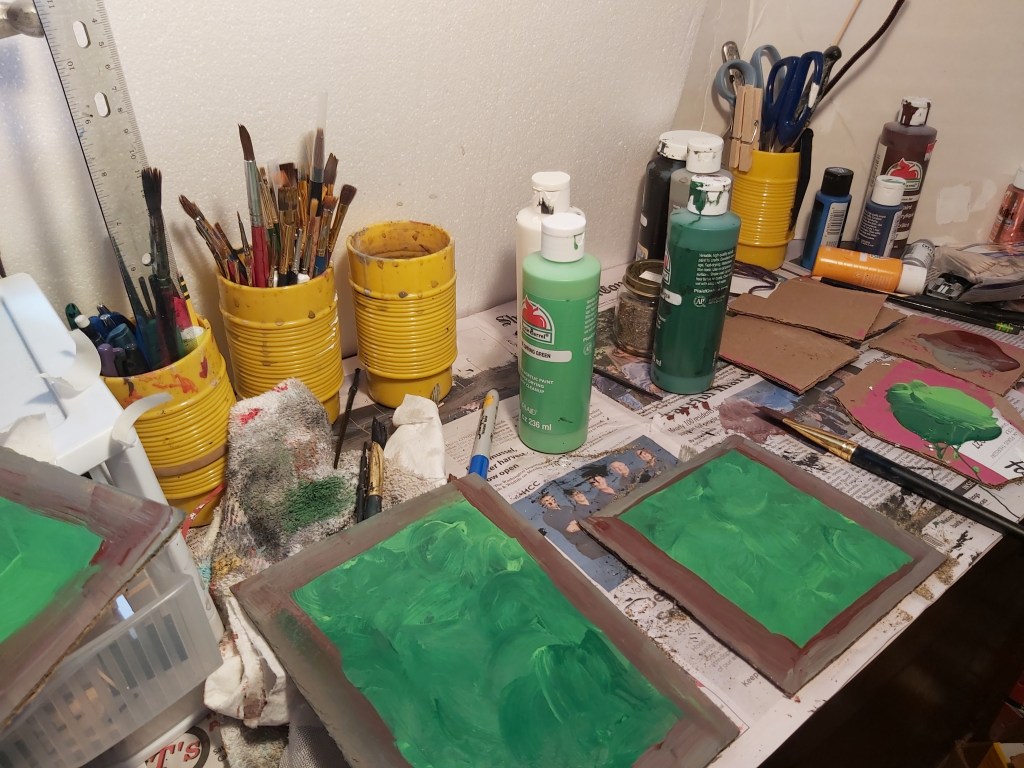
2. Measure mark & cut
Let’s cut corrugated cardboard to make three playfields, two of them 6” square, and one 6” x 8”. Using the inner part of a masking tape roll, I traced a circle for the merry-go-round (3” diameter). Tracing around a bottle cap lid gave me the bases for 10 street lamps (about 1” diameter).
3. Twisty trails
On thin card, I drew several twisty trail pieces approx. 2” wide. The dotted lines are about half an inch from the outside, allowing about 1” wide for the trail itself. Cut more than you think you need, cardboard is inexpensive!
4. Lamps
Cut 10 bamboo skewers to 5” lengths from the pointy side. Test-fit beads. With a sharp pencil, round toothpick or craft knife, poke holes in the middle of each base. Glue the poles in, let dry then glue the beads on, let dry. Add a pool of glue to the center of each base and cover with sand. Let dry then shake off the excess.
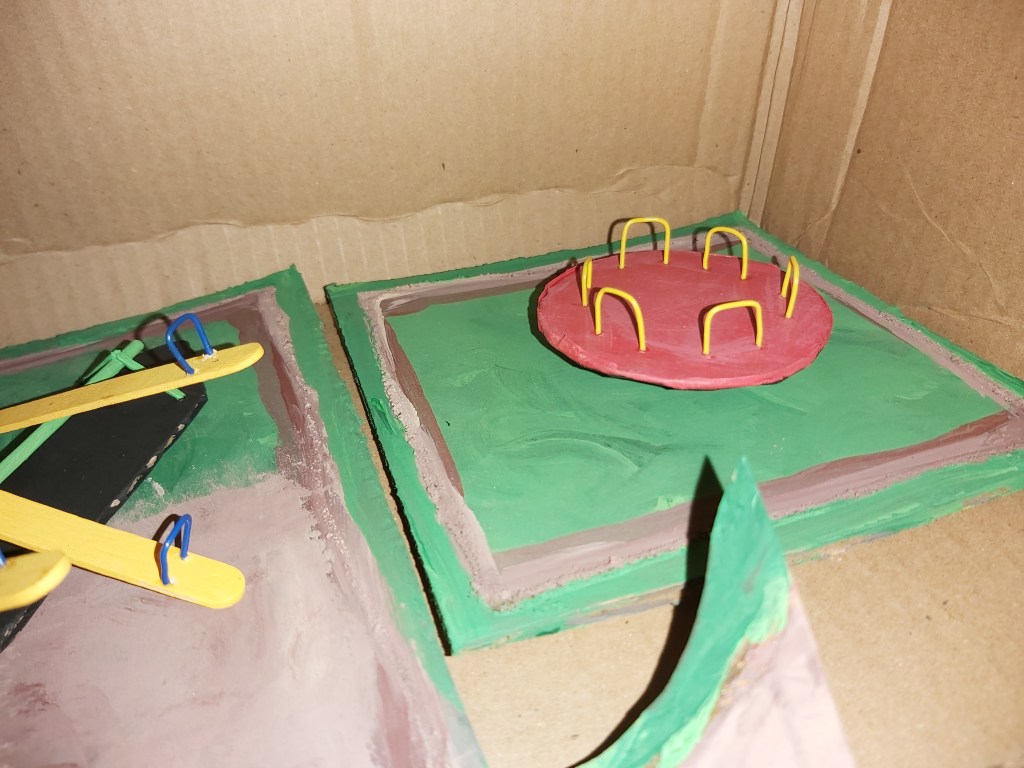
5. Merry-go-round
Trim masking tape and wrap it around the outside to cover the corrugated edge, wrapping any excess to the bottom side to leave the top flat. Glue the bottle cap to the center of the bottom side and let dry. Paint the bottom black and the top red. Bend and cut six yellow paper clips for handles.
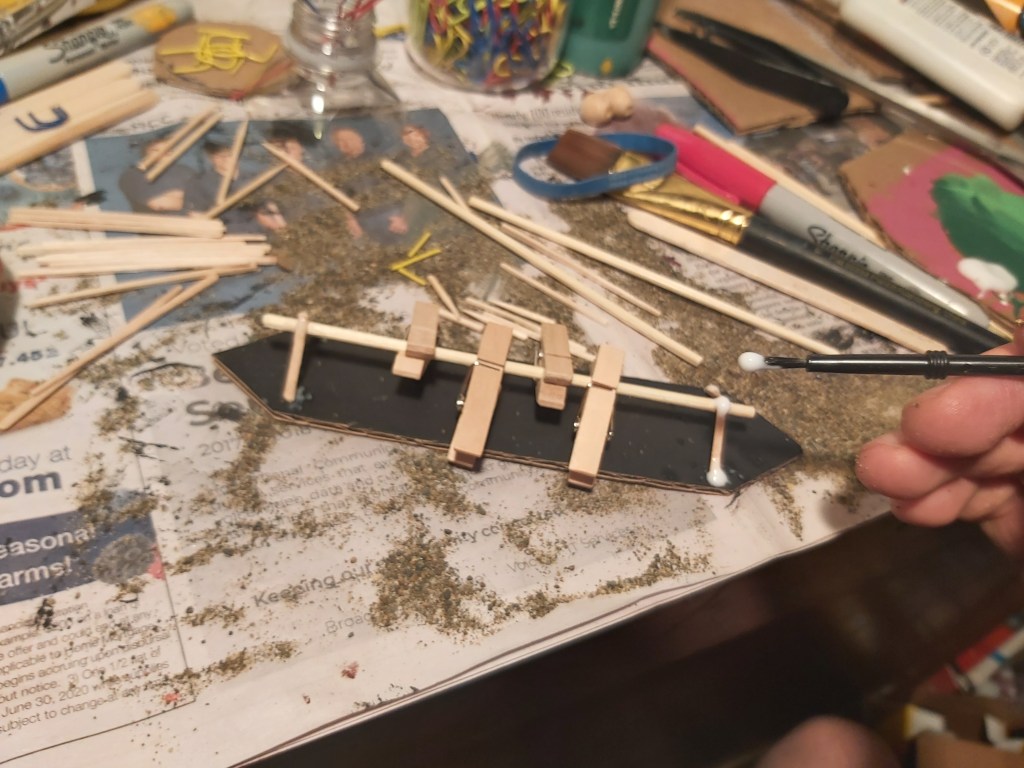
6. Teeter-totter
Paint three craft sticks yellow and set aside. Cut and paint a corrugated cardboard base, black. Cut a 5” long piece of bamboo skewer for center pole. Cut four flat toothpicks down to 1” lengths. Prop the center pole in place (I used mini clothespins) and glue the legs to the base. Let dry.
7. Flocking
Run beads of glue along the dotted lines of your trails and other items you need to flock. Drop sand over the top, with a box underneath. Set aside to dry, and then shake of any excess into the box. This adds weight, a raised surface, strength and texture. Keep extra sand in a container for future use.
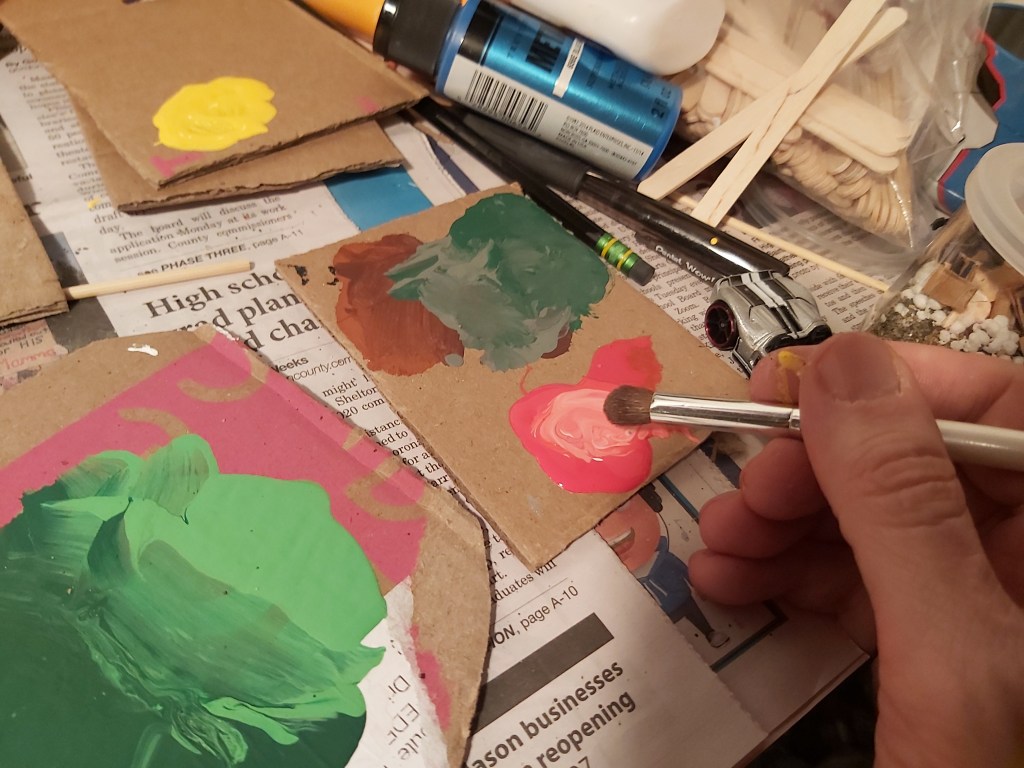
8. Color
Things in the natural world are colorful. Is a blade of grass green? Look up close. It is lots of colors. So, for the browns in the trails, use a light and a dark but don’t mix them – include a bit of each on the brush. Do the same with the greens on the trail’s edge. Dust a bit of light red on the merry-go-round deck.
9. Painting
Flip the merry-go-round upside down and paint the bottom black. Paint the teeter-totter center pole and legs bright green. Use leftover black to touch up the teeter-totter base.
10. Handles
Make indentations for the paper clips (I used a craft knife, be careful with sharp objects). Test-fit and adjust, then poke & glue your handles in, on the teeter-totter and merry-go-round. Use masking tape to hold in place while they dry.
11. Check it
While the glue is wet, you can still adjust. Check your work as you go. While drying, bits are delicate. Once things are in place, set it aside so you won’t bump it until it is dry!
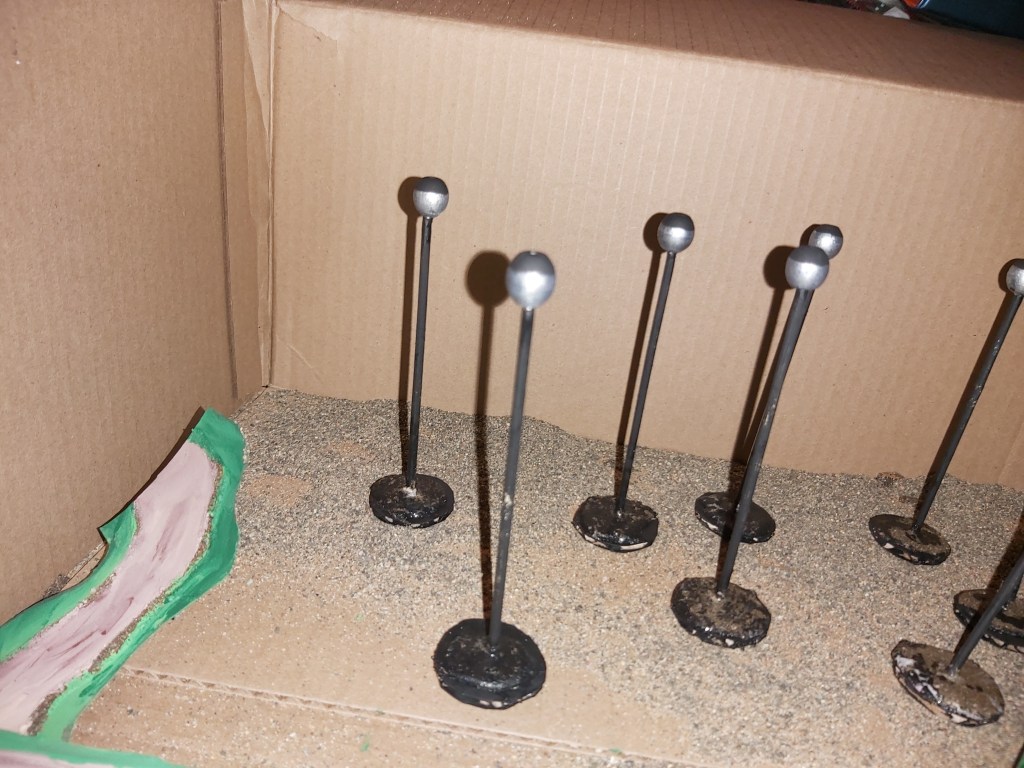
12. Silver streetlights
Basecoat completely in black, then paint the top 2/3 of each light in silver. You can leave some of the sand showing on the base if you like. Note, the sand and glue at the base help these to balance.
13. Happy Tree Park
Our Happy Tree Village looks like a great place to relax! We can move and add to these park elements as we go.
