


Dp.CraftyTimePicnic27.20
Crafty Time
By Dave Pierik, Shelton-Mason County Journal
Picnic Table Fun!
Ants came to visit and that got me thinking. Picnic tables will look great with our Happy Tree Village diorama. Let’s do it!
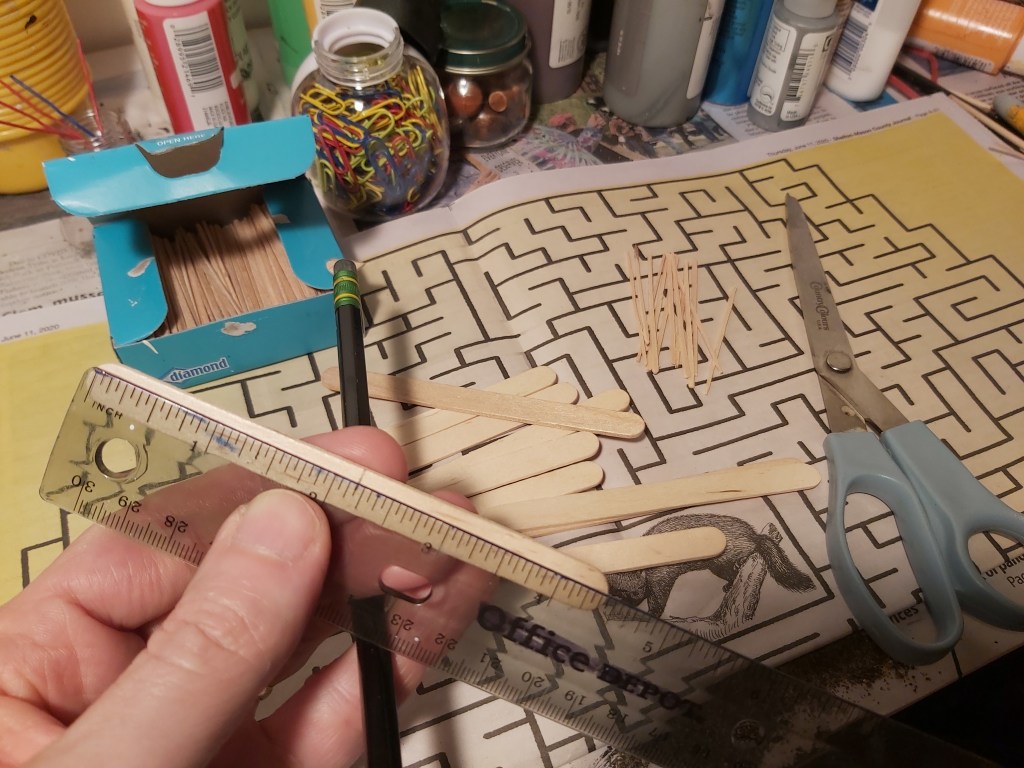
Tools: ruler & markers, scissors, paintbrush
Materials: craft sticks, toothpicks, masking tape, glue, cardboard, paint wash
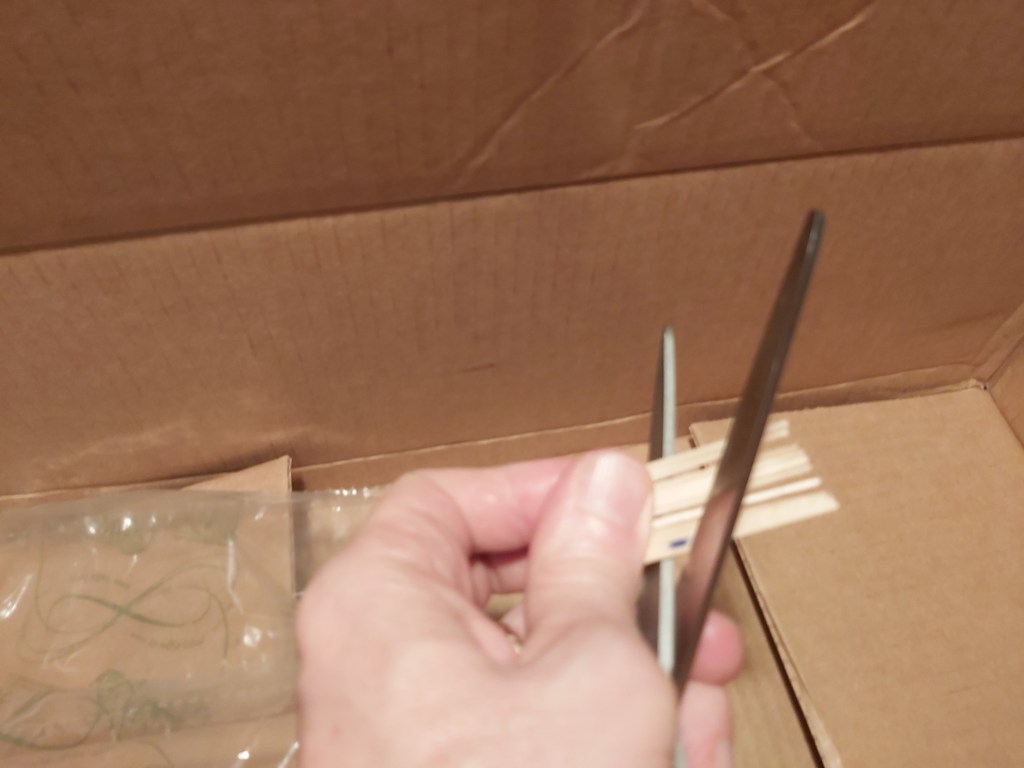
- Measure, mark & cut
Cut the round edges off of the craft sticks and cut them in half to about 2 ¼” wide. Glue two together lengthwise, support with masking tape and set aside. Cut flat toothpicks down to 1 ¼” for the bench supports and ¾” for the legs.
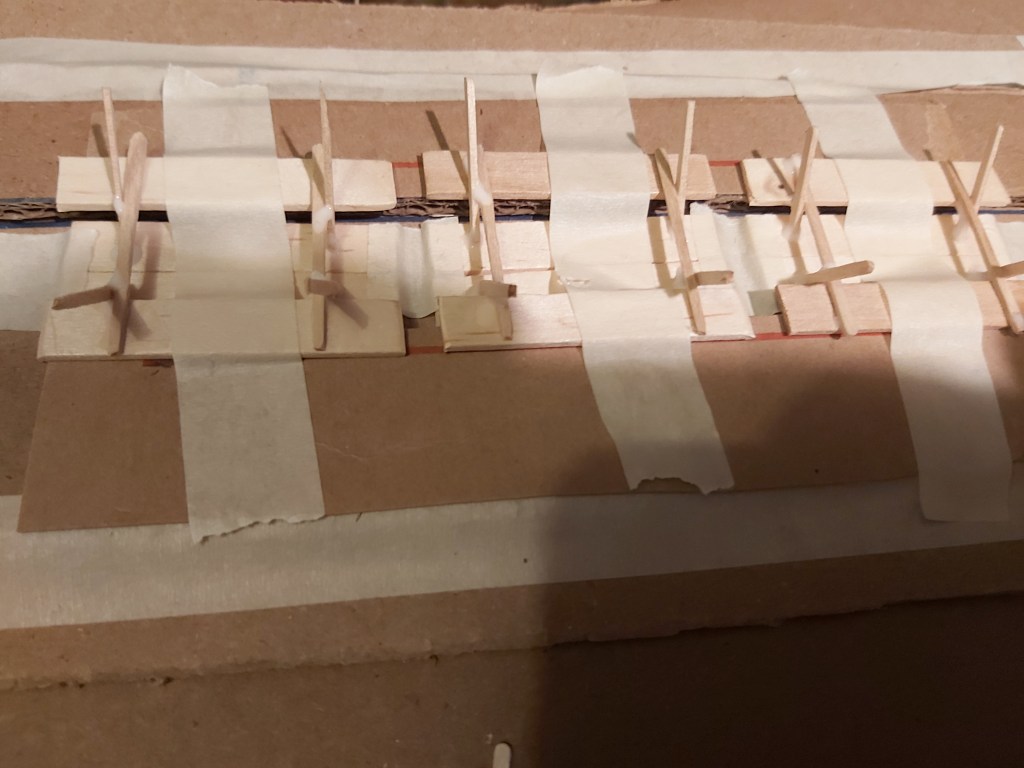
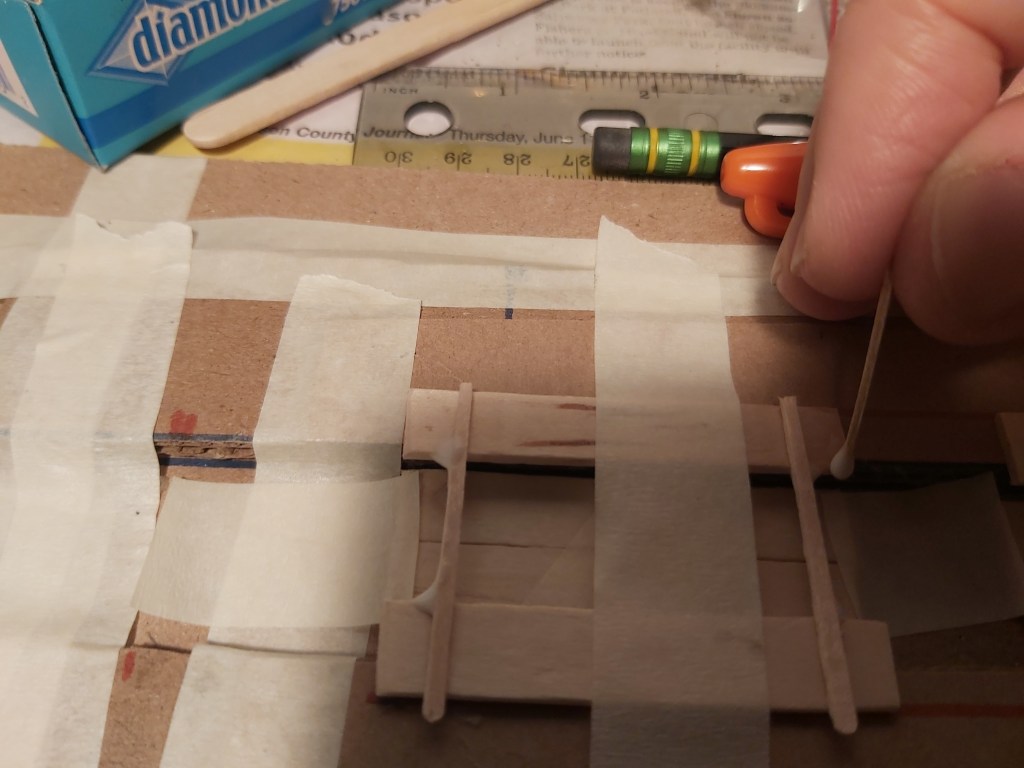
- Cardboard ‘R’ helper
I was inspired by woodworker jigs and concrete forms. Make a 1” wide valley, the thickness of a piece of corrugated cardboard plus one layer of thin card. This is to get consistent distance and alignments between the bench and tops, and also to support them while they dry.
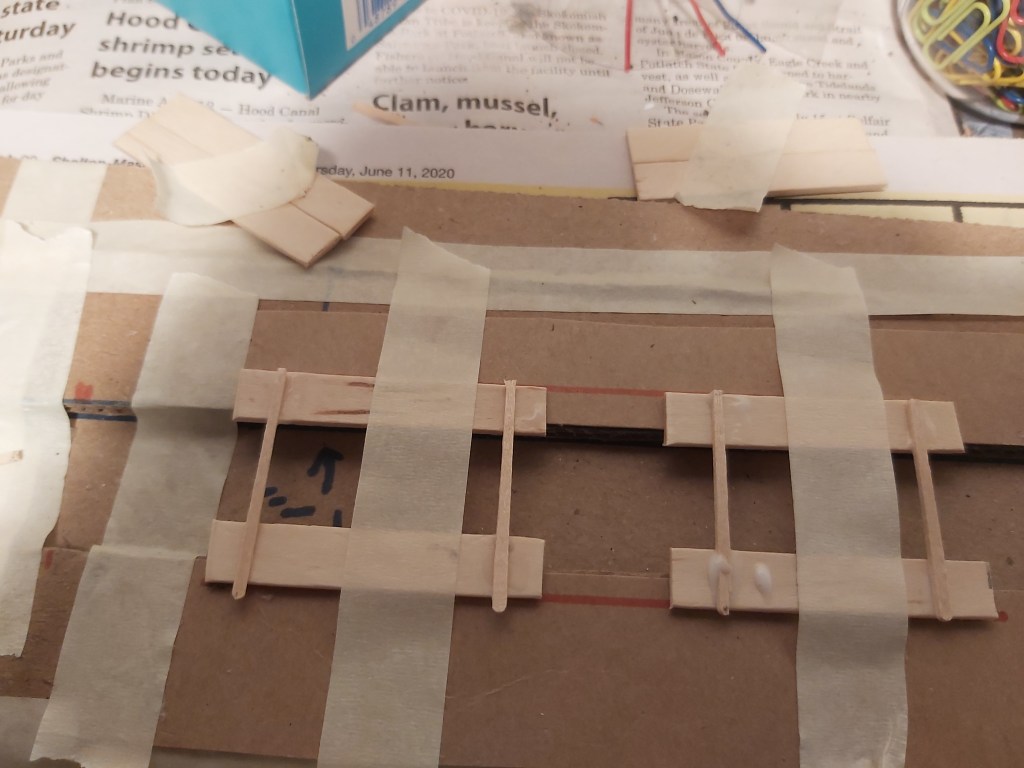
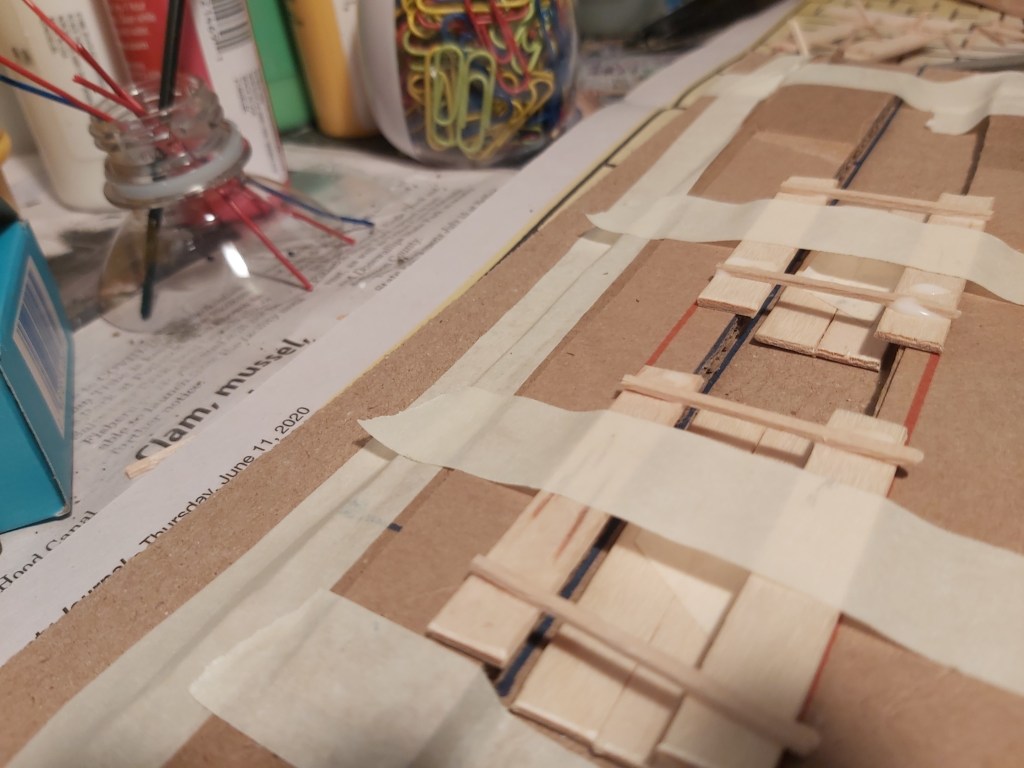
- Upside-down
Center the table tops at the bottom of your cardboard valley. Tape down. Test, mark and place the benches. Glue toothpick horizontal bench supports, then diagonals, using an old brush to place the glue. Adjust as needed. When dry, trim down legs and bits as needed with scissors.
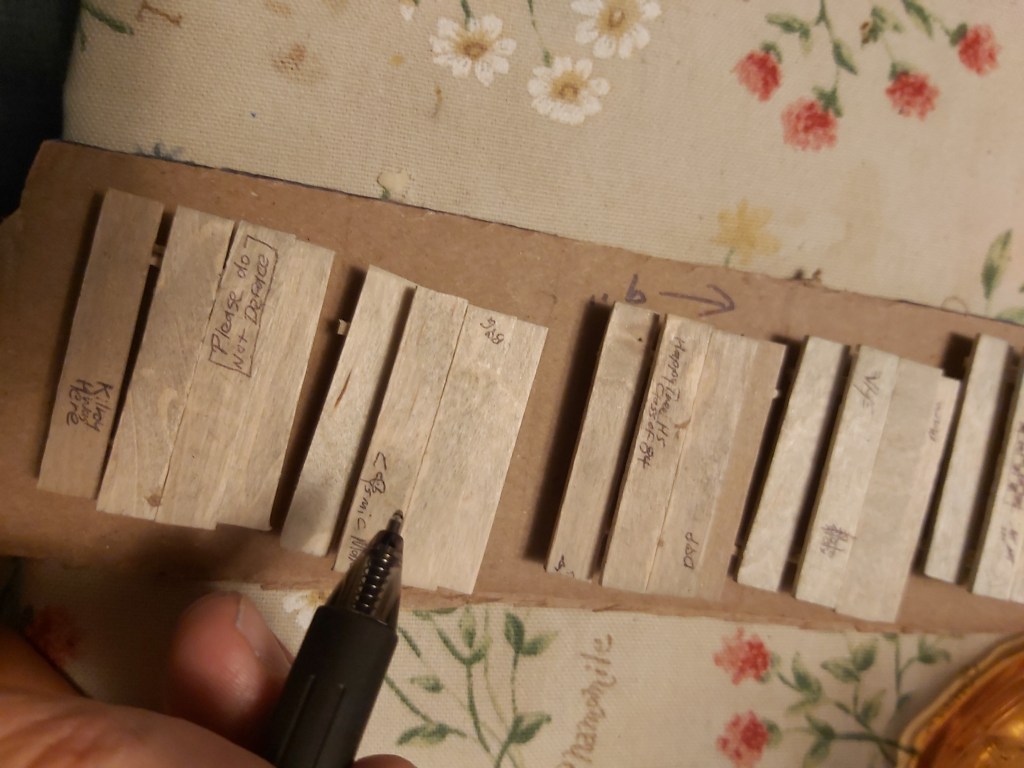
- Wash & detail
You can rough up the tops and benches with a fingernail or a knife. Then, paint dirty paint water on there to age the surfaces and bring out detail. This is what they call a “wash”. When dry, add some character with a ballpoint pen.
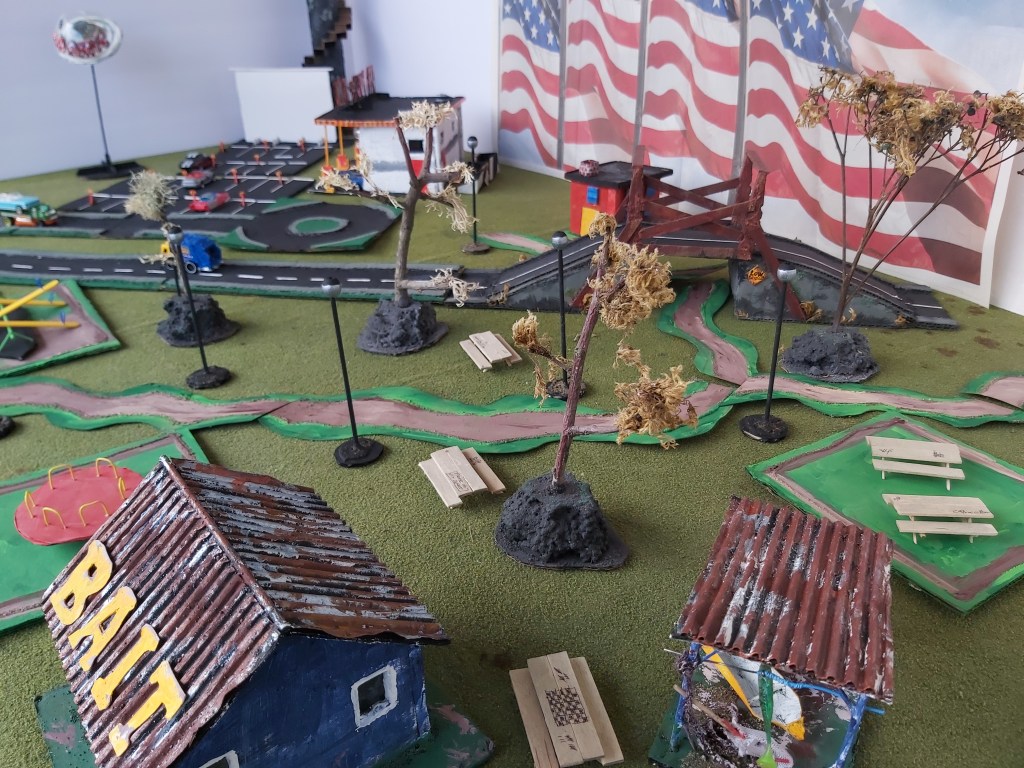
- Happy Tree picnic
Happy Tree Village now has picnic tables, the logical next thing the park needed. They fit and work so nicely they feel like they’ve been there for years. It’s hard to believe I made them yesterday.
What would you like to see in an upcoming Crafty Time? Email dave@masoncounty.com with your input! Have you created anything crafty? If so, we’ll share it here if you like.
