


dp.CraftyTimeFences28.20
Crafty Time
By Dave Pierik, Shelton-Mason County Journal
Fun with Fences!
Happy Tree Village is missing fences. They are easy to make, so let’s get started.
Tools: ruler & markers, scissors, paintbrush
Materials: corrugated cardboard, round toothpicks, wide and fine acrylic mesh, masking tape, school glue, acrylic paint.
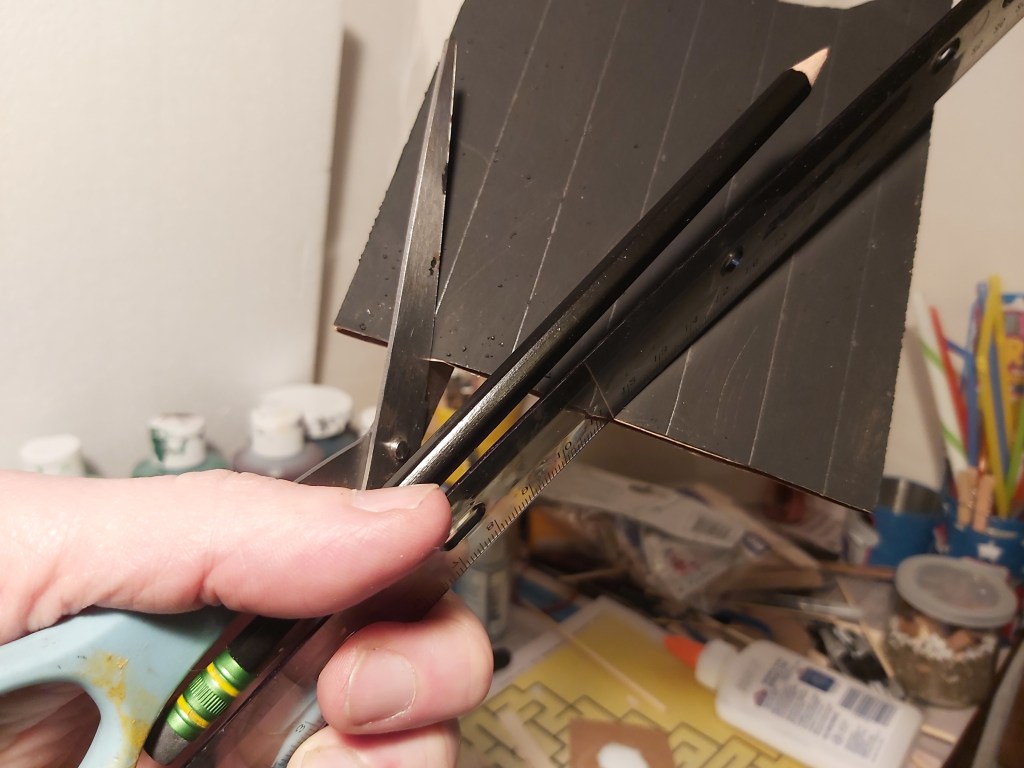
- Measure, mark & cut
For this example, cut four bases 5” long x 1” wide, and two bases 8.5” long x 1” wide. Poke three pilot holes in each of the smaller bases, and five in each longer base. Cut 22 toothpicks to 2” for posts.
- Glue fence posts
Squeeze a blob of glue over each pilot hole and set up your fence posts. Sprinkle with regular sand, adjust and set aside to dry.
- Mesh it up
Test fit and cut down nylon mesh. Place masking tape on the back side of the fence posts, and paint glue on the front side. Press into place and set aside to dry.
- Details & paint
Mix glue into white paint for the wide mesh, water into silver paint for the fine mesh. Paint two coats of fencing. Cut masking tape to half-width and cover the side edges of the corrugated cardboard bases. Paint bases with a mix of greens. Leave some sand showing near the poles.
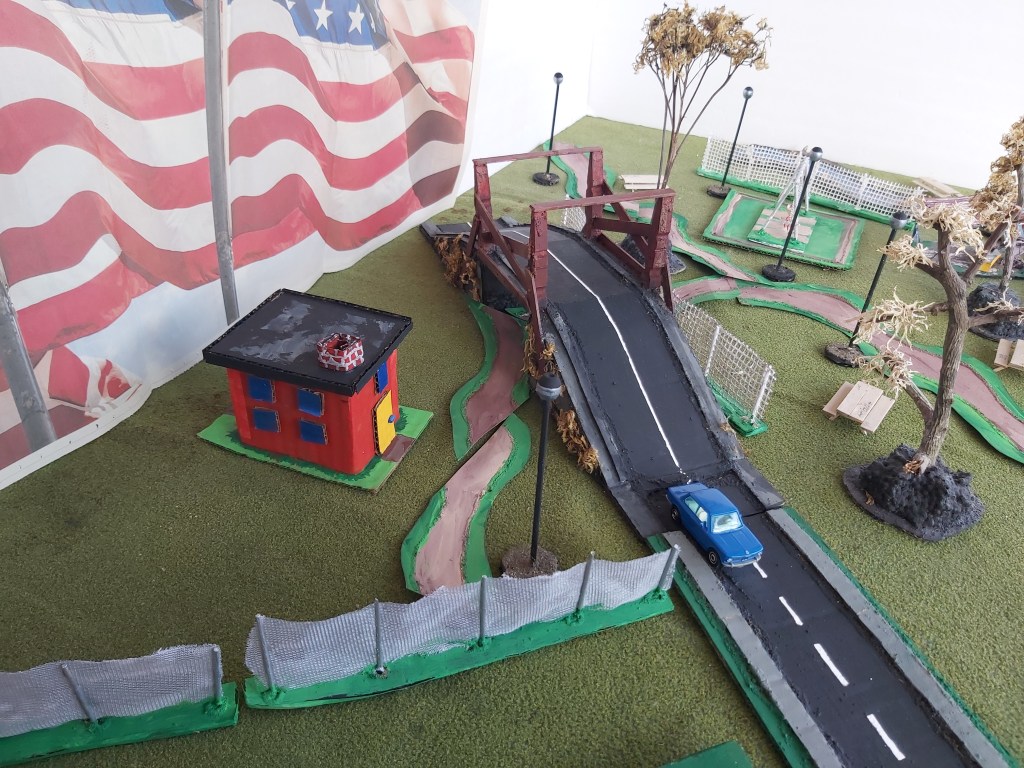
- A diorama element
Happy Tree Village now has chain link and wooden fences! They add a realistic touch to everything around them.
What would you like to see in an upcoming Crafty Time? Email dave@masoncounty.com with your input! Have you created anything crafty? If so, we’ll share it here if you like.
