


crafty time.Drive-In.pierik.23.20
Crafty Time
By Dave Pierik
Shelton-Mason County Journal
Fun with a Drive-In
Previously, we’ve made a castle, water, trees, roads, and buildings. Now our village needs a restaurant!
0. You will need: (Will – there is not to be a photo for this, it’s not a “step”)
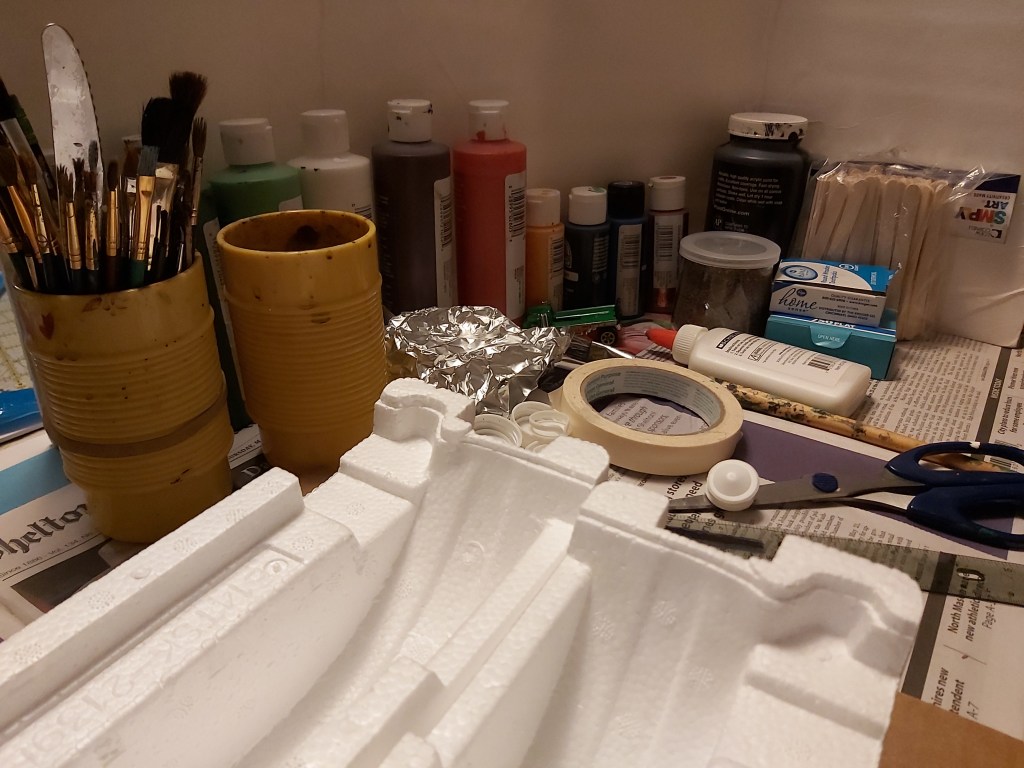
Tools: ruler, scissors, craft knife, paintbrushes.
Materials: cardboard (both corrugated and thin card), Styrofoam, milk pulls, bottle caps, bendy straws, masking tape, sand, school glue, round and/or flat toothpicks, craft sticks, acrylic paint (black, white & red).
1. Storefront
Find interesting-shaped Styrofoam, and with your craft knife, carefully cut away the parts you don’t need.
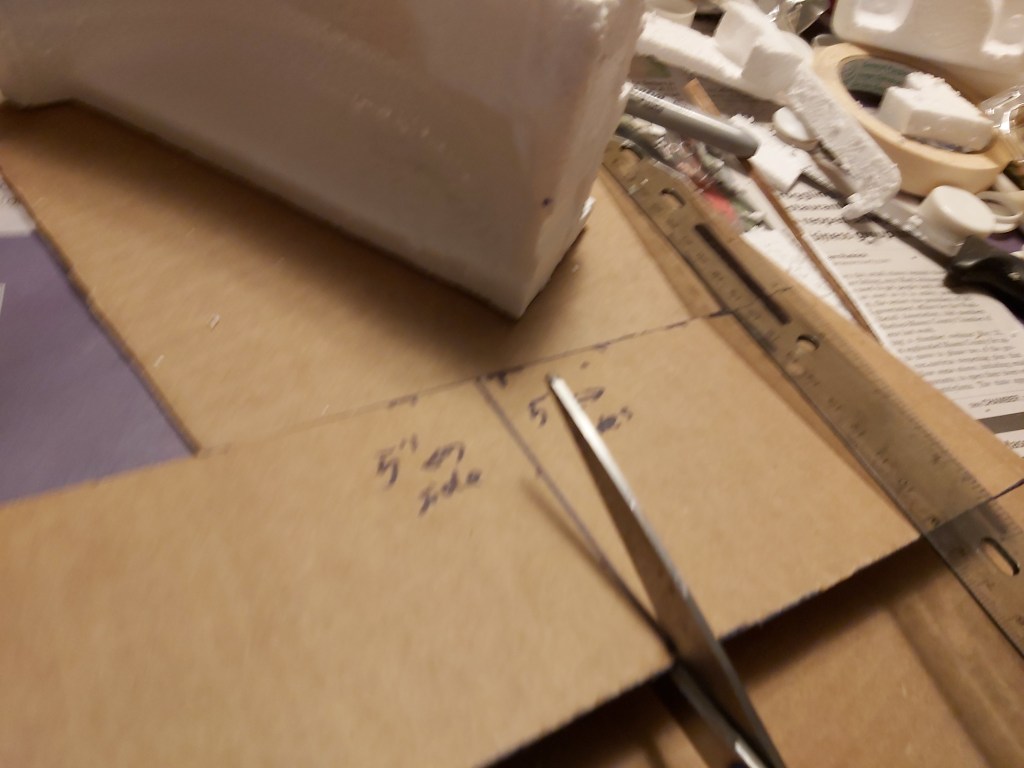
2. Walls
Mark the height of your Styrofoam on a piece of cardboard, then cut a long piece (or pieces) of cardboard to that height with scissors.
3. Floor Plan
Set the Styrofoam on a base of cardboard, allowing room for where the parking area will be. Think about the footprint you want for the building. I chose to make the Happy Tree Drive-In about five inches deep by about nine inches wide and about four inches tall. Adjust as needed.
4. Structure
Line everything up. Run beads of craft glue along all the edges, and clamp in place with masking tape. Let dry. Flip over and repeat steps for the roof, allowing about half an inch overhang on the sides and back, and up to about two inches in the front for the awning.
5. Sign Prep
Line, measure and pencil sign lettering onto the cardboard, knowing you will need to trim it all out with a craft knife. Be careful and patient. Alternate option: use extra/old refrigerator magnet letters.
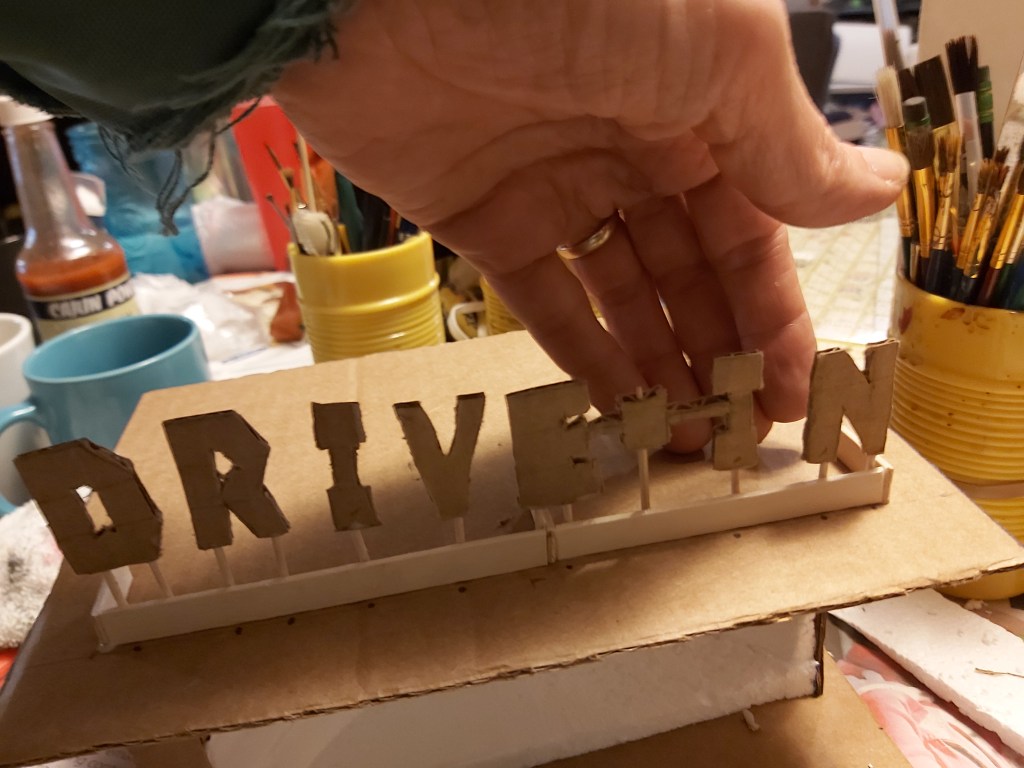
6. Set Up Sign
Set the letters on the roof, then eyeball and mark positions. Cut and glue craft sticks to make a base, then cut and glue toothpicks, and stick them through the cardboard. Let dry, glue again and flock with sand, let dry then shake off the excess.
7. Adjust Sign
As the glue dries, you will find you need to adjust the height and angles of the sign. The craft sticks at the base help keep the toothpicks vertical, so that helps.
8. AC Roof Detail
Trim bits of Styrofoam that look great for extra details. This piece looks like an air conditioner, so why not use it? Be sure the bottom is flat so when you glue it to the roof it will be flush with it.
9. Gutters and Doors
Thin card, in this case a seltzer box, works great for details. Measure and cut roof edging/gutters and doors. Glue on.
10. Downspouts
Speaking of gutters, bendy straws make wonderful downspouts. Cut them down and glue them on the back corners of the building. Let dry.
11. Basecoats
Mix some glue, water and sand into your black paint. Coat the parking lot, roof, and windowframes in black. Let dry. Repeat with white for the building, and sign letters. Let dry.
12. Details
While paint dries, make three tables using bottle caps and cut down toothpicks. Paint the outside edges red, the tops white and the legs black. Paint the doors of the building red. Mix colors, make stripes, and have fun!
13. Happy Tree Drive-In
A burger, shake and fries, please! Our village now has a hangout for us cool kids.
What would you like to see next on Crafty Time? How about a drive-in movie setup featuring a stand for your phone or tablet device? I would love to hear from you. Please email your thoughts, ideas and photos to dave@masoncounty.com or call the Shelton-Mason County Journal office, 360-426-4412.
