


crafty time.CosmicMotorTheatre.pierik.24.20
Crafty Time
By Dave Pierik
Shelton-Mason County Journal
Movies Fun!
Previously, we’ve made a drive-in restaurant, a castle, water, trees, roads, and buildings. Now our village needs a movie spot!
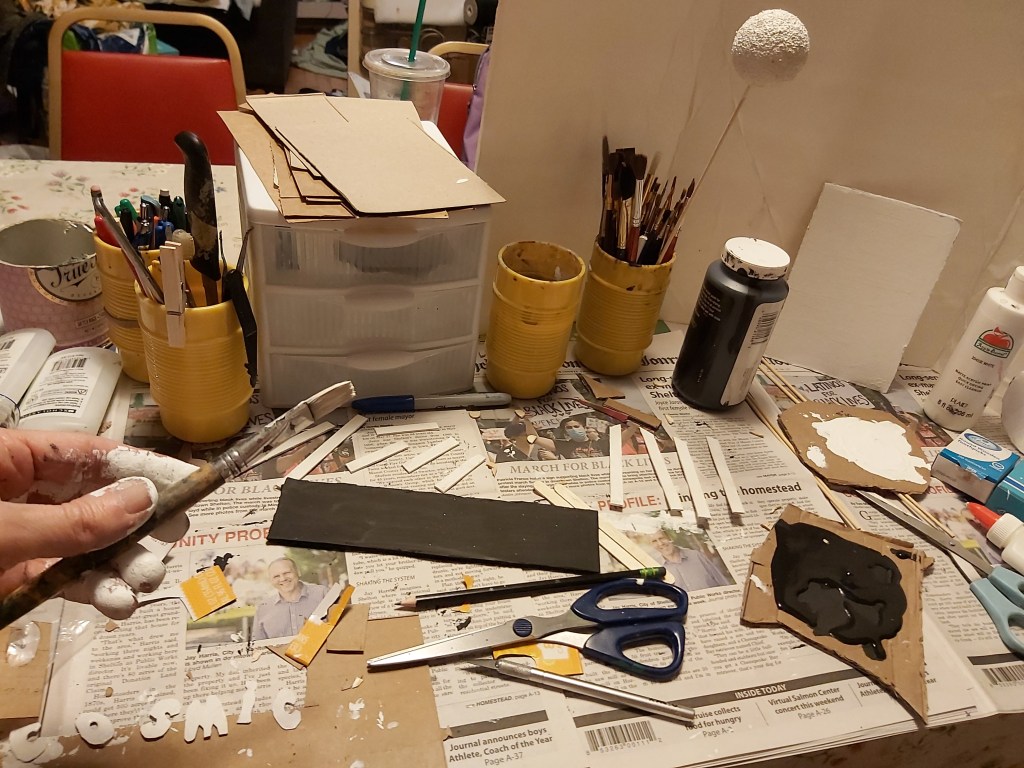
0. You will need: (Will – there is not to be a photo for this, it’s not a “step”)
Tools: ruler, scissors, craft knife, paintbrushes.
Materials: cardboard (corrugated and thin card), school glue, round toothpicks, craft sticks, acrylic paints, masking tape. Optional: 2” craft ball (Styrofoam), bamboo skewer, clear dome drink lid.
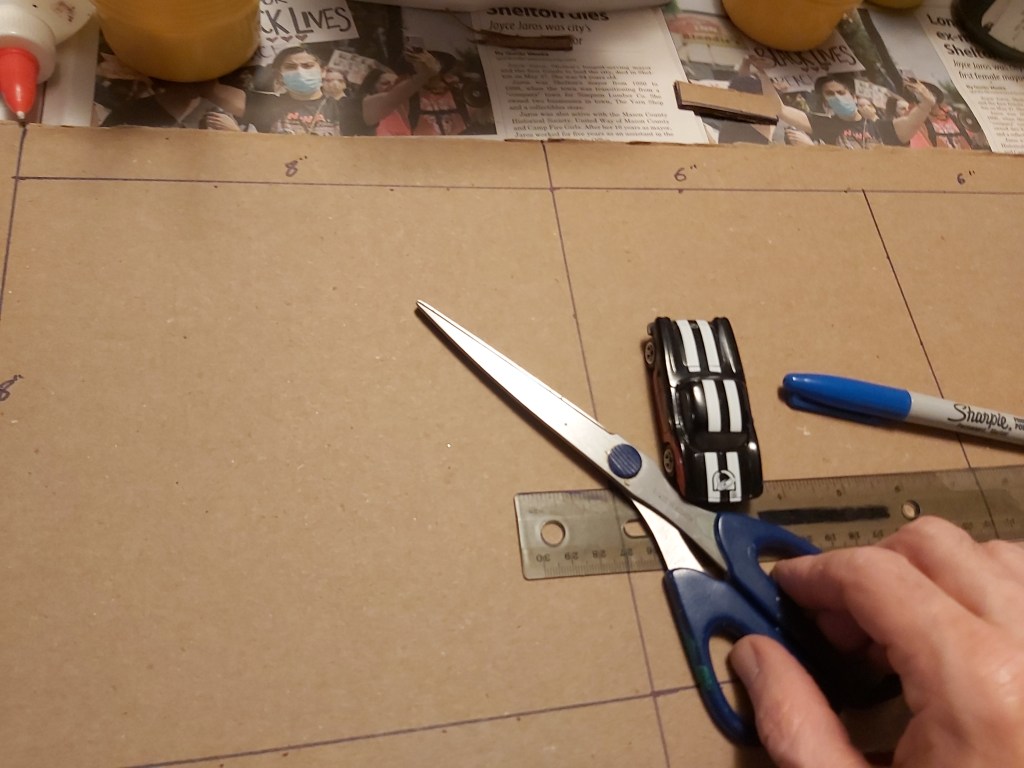
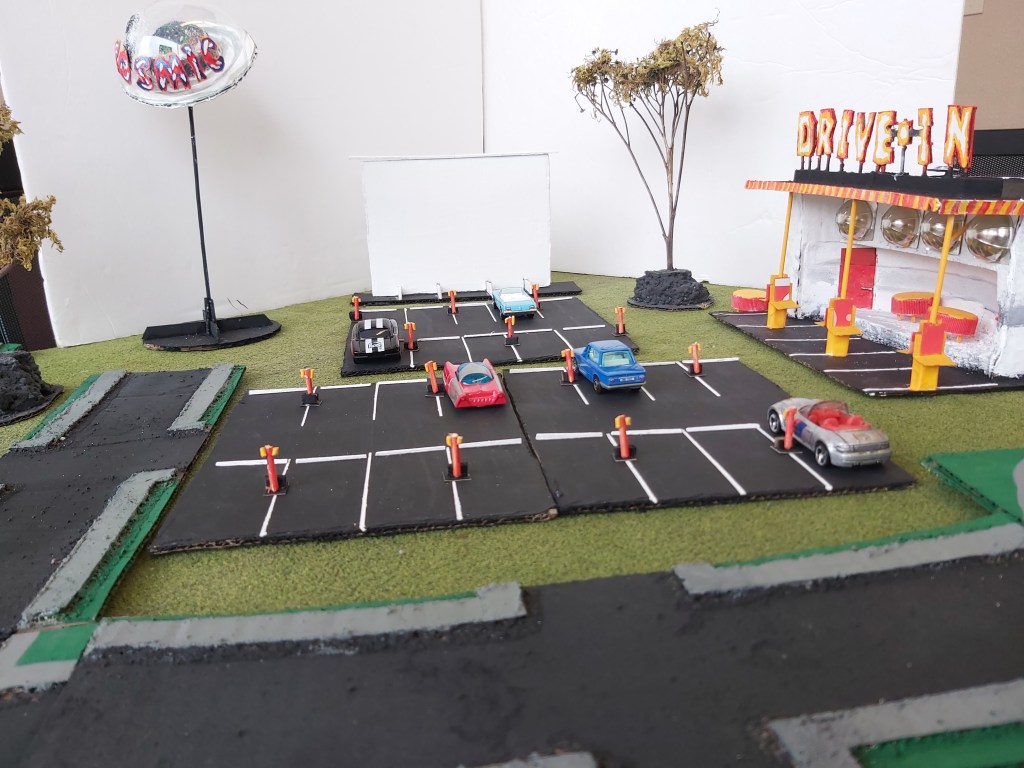
1. Screen & parking lot
As always, think and plan what you want first; get vehicle and screen dimensions. Measure and cut corrugated cardboard for the screen (7” wide x 5” tall), three parking lot sections (one 8” square and two 8” x 6”, and one screen base, 8” x 2”.
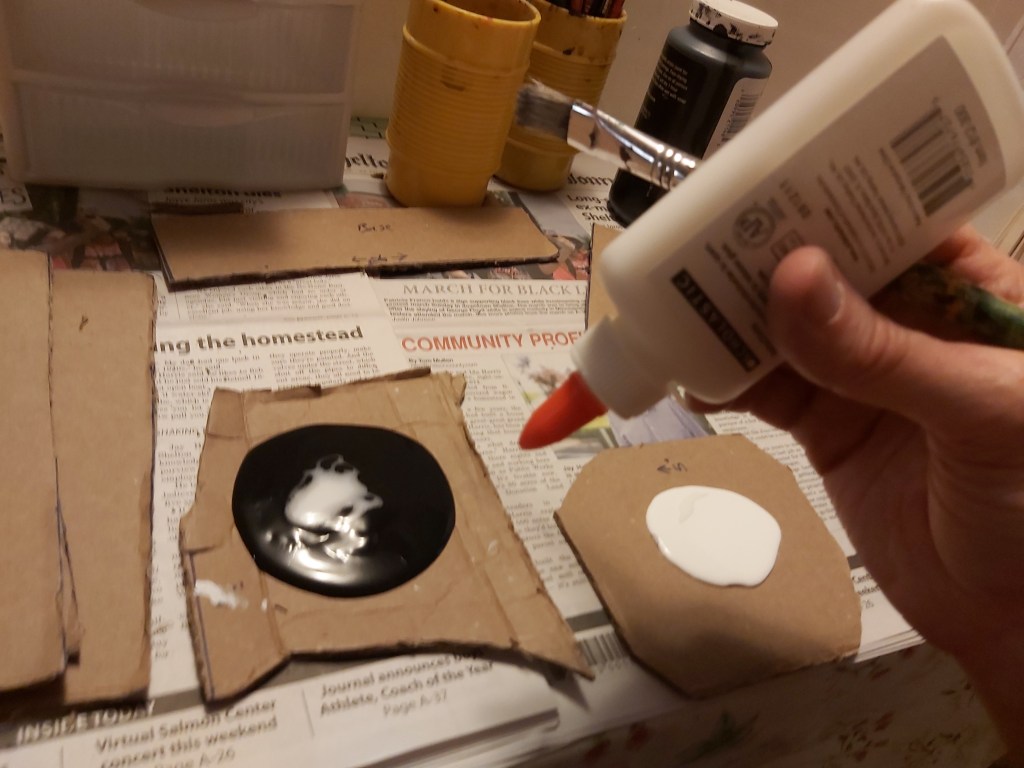
2. Base coats
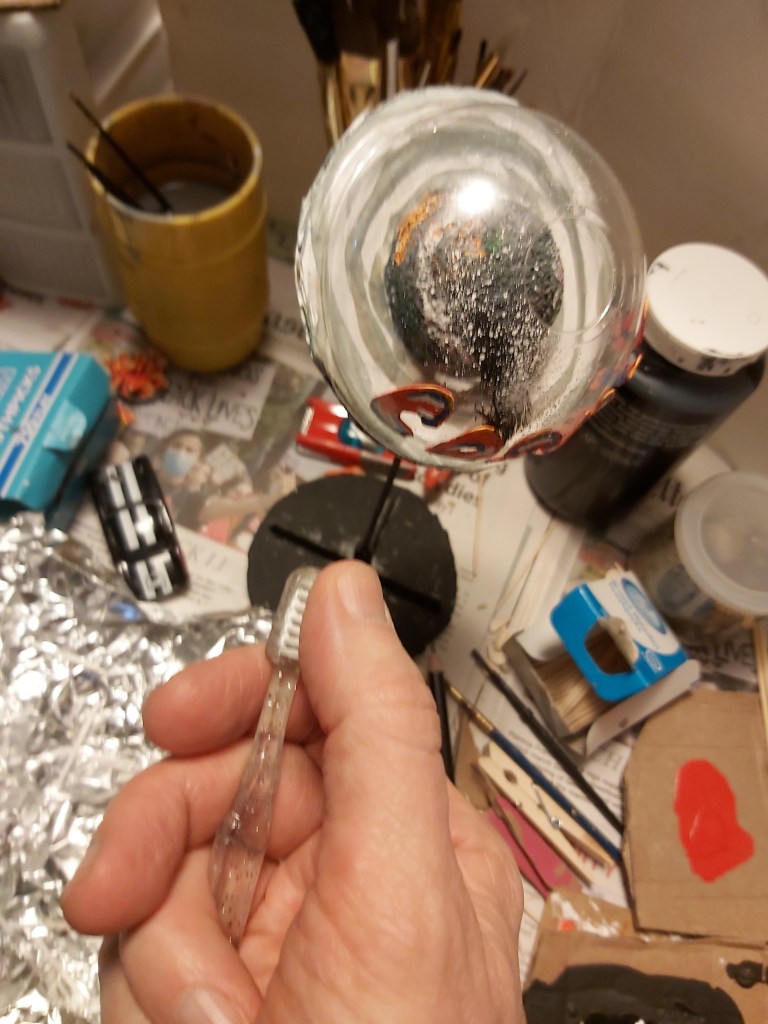
Mix a bit of glue into your paint and basecoat the screen (on both sides) and Syrofoam ball with two coats of white. Basecoat everything else with one thick coat of black (on one side is fine). Set aside to dry.
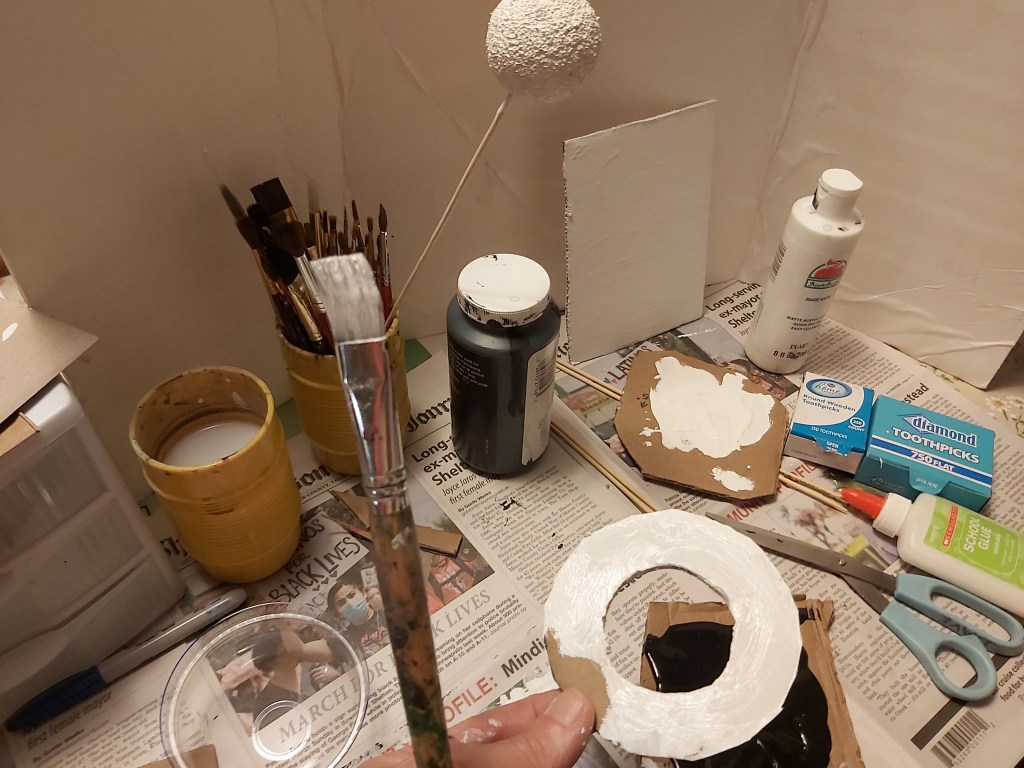
3. Cosmic, man
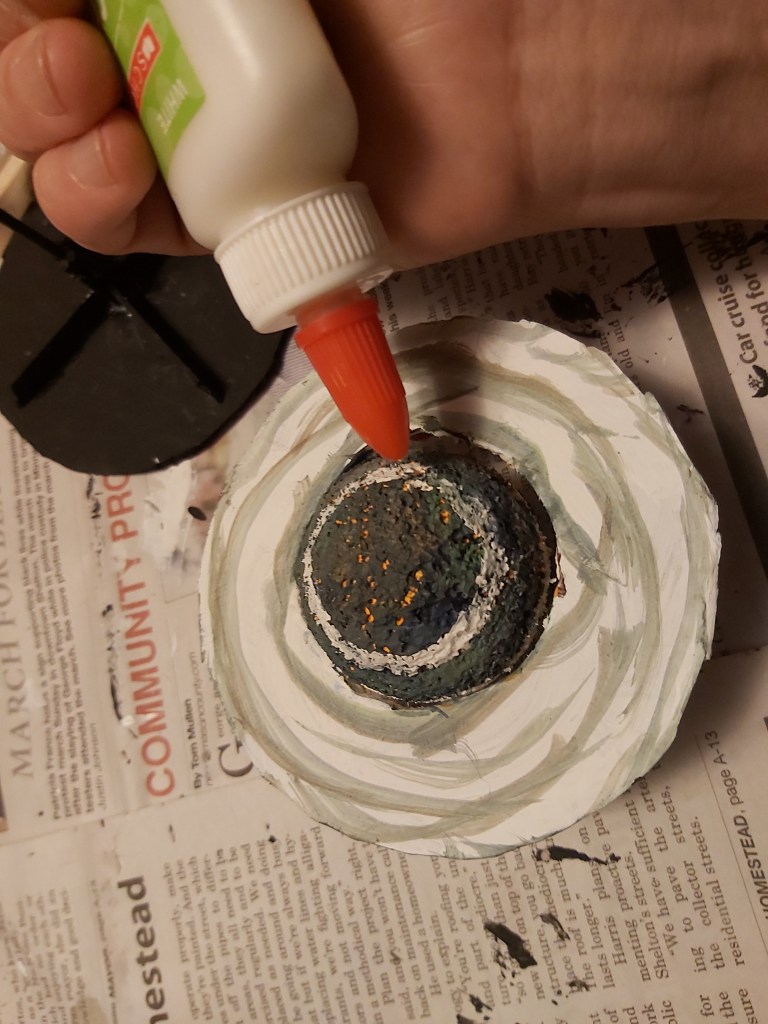
You don’t have to be an astronaut to go to space. Fine-scale modeling takes you anywhere! Measure and cut a cardboard ring for your planet, with a 2” inner and 4” outer diameter. Basecoat in white, and glue on. Masking tape and your brush holder work great for holding your planet while it dries.
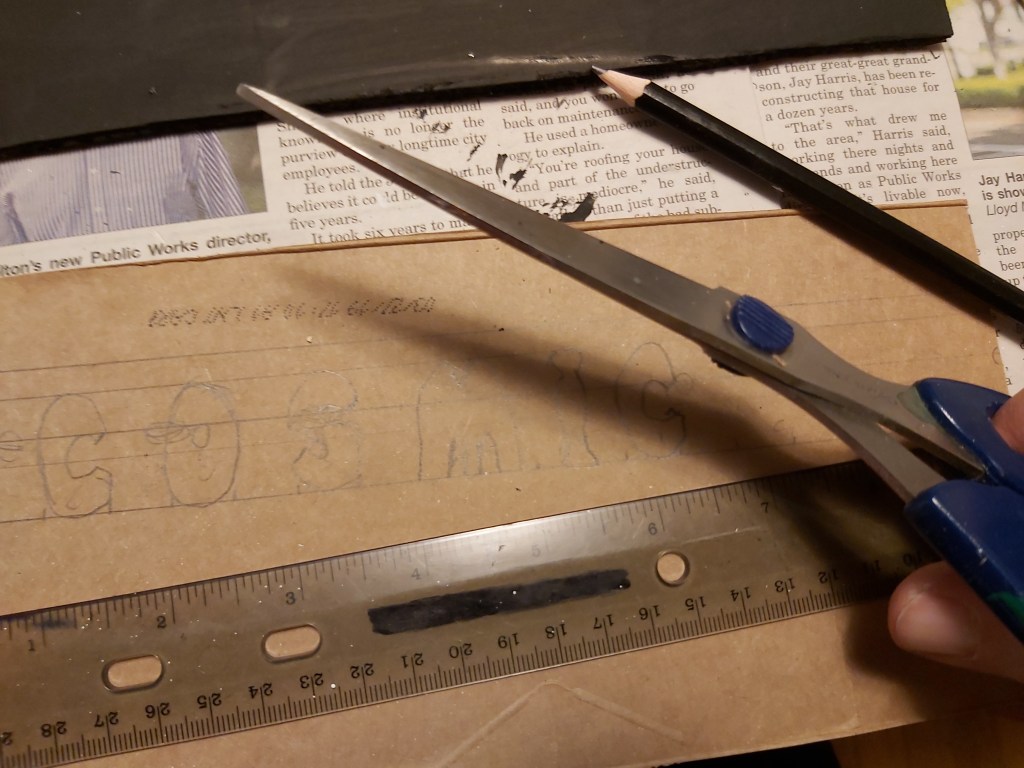
4. Sign prep
Line, measure and pencil sign lettering onto thin cardboard. Most of this can be cut out using scissors. To cut out the middle of the “O” you will need a craft knife. Be careful and patient. Base coat on both sides with two coats of white. Let dry.
5. Stand sticks
For screen stand, cut the rounds off of several craft sticks. You will need four 2” pieces 2” long, and four 4” pieces with angles cut on one end. Base coat them all white. Let dry. Repeat for sign stand and base coat in black over a 4” round base with a bamboo skewer in the middle.
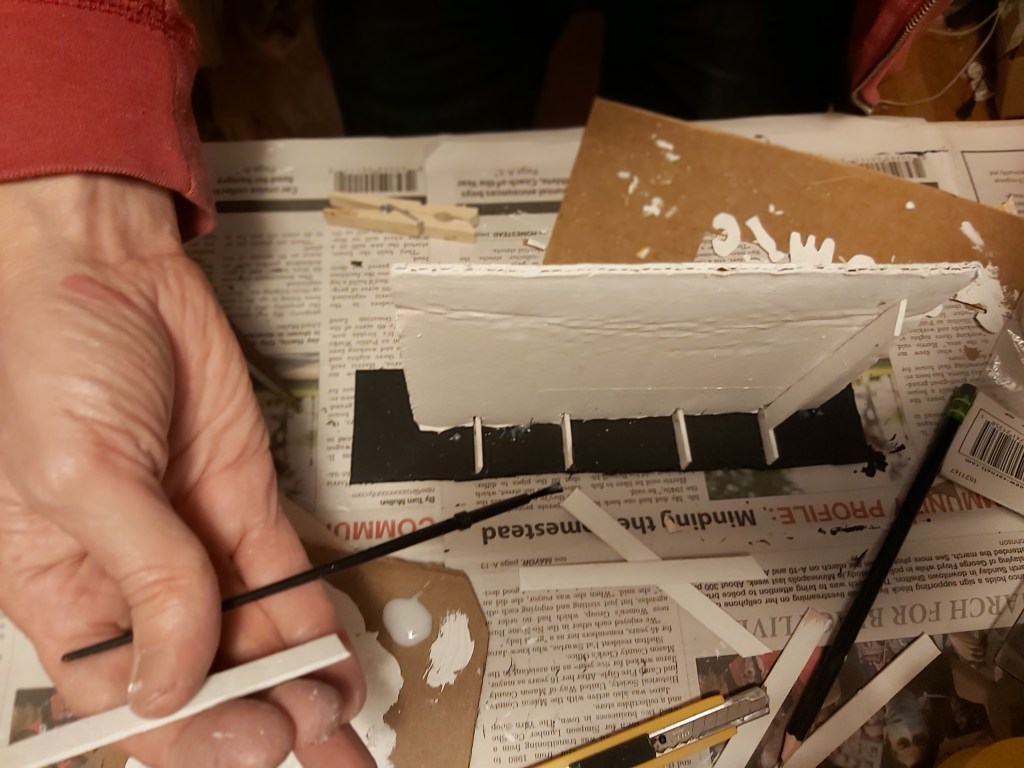
6. Movie screen – stand
Measure mark and cut four narrow notches in the bottom. Turn upside-down and glue the white 2” craft sticks to them, flush with the cardboard. Run a bead of glue along the bottom edge of the cardboard and craft sticks. Center and place on the base. Gently bend cardboard to be flush with white 4” angled craft sticks. Glue them to the top of the base sticks and up the back of the screen.
7. Dome sign
Paint color and detail on both sides of the sign lettering. Let dry. Trim the outer lip of the dome lid, then glue the letters on. Glue that to the top of the planet ring. Set a light weight such as a glue bottle on top, and let dry.
8. Tilt
Decide how much tilt you want on the ring before you attach the planet to the top of the sign base. Test fit, then flip upside down and glue.
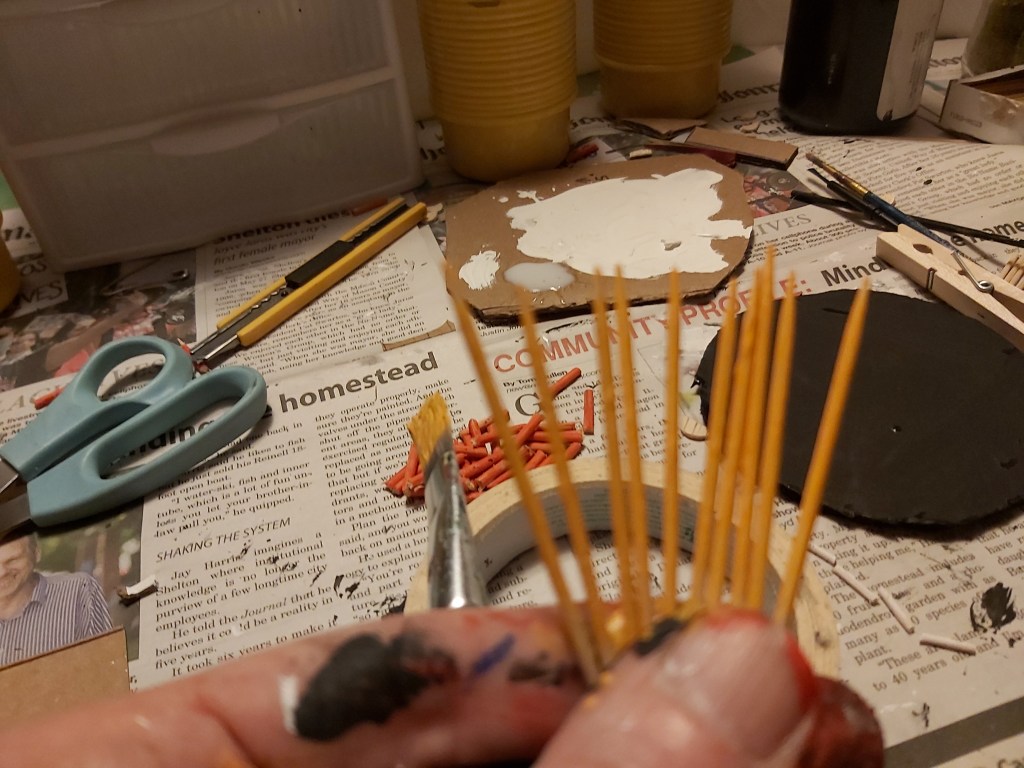
9. Sticks & scale
The height of regular masking tape is about right for the speaker stands. Paint two bamboo skewers red, then mark short lengths with a pencil. You will need 20 or so of these. Cut red car pole lengths into the middle of the tape roll. The inner tape roll sides help catch the bits so they don’t fly everywhere as you go.
10. Down to size
Repeat the process with round toothpicks. You will need four similar height ones, in white (glue to front of screen base) and about 50 very short yellow ones, a little taller than they are wide. Set everything in bottle caps until needed. Paint glue on the tops of the red poles, and place a yellow “car speaker” on each side. Set aside.
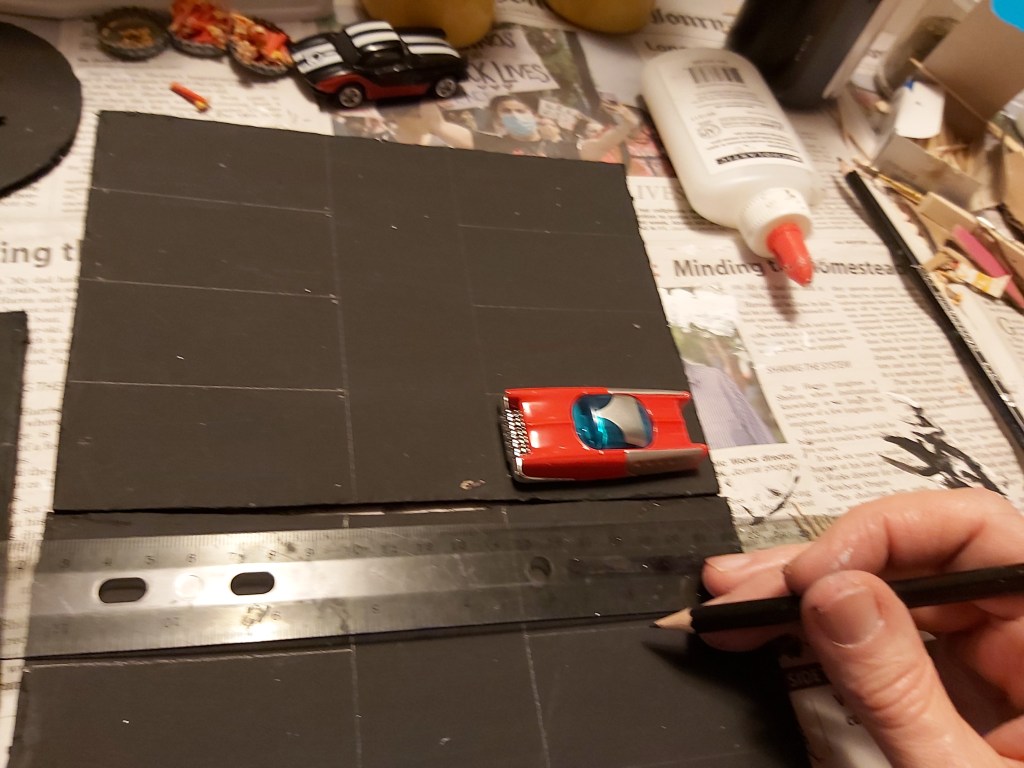
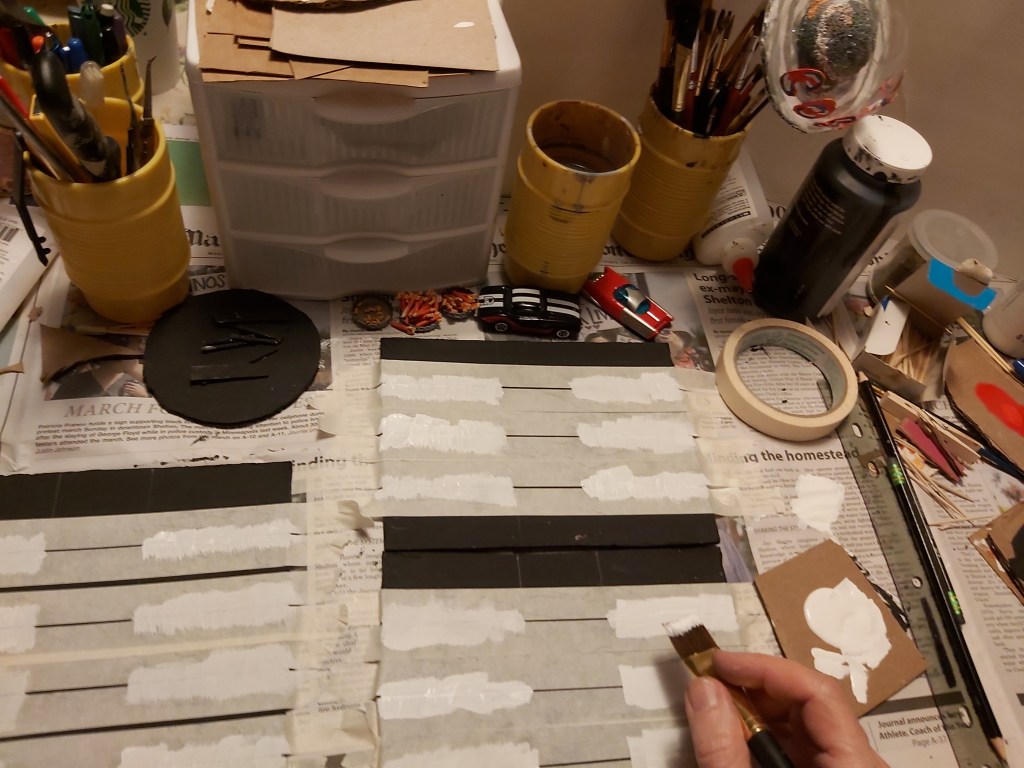
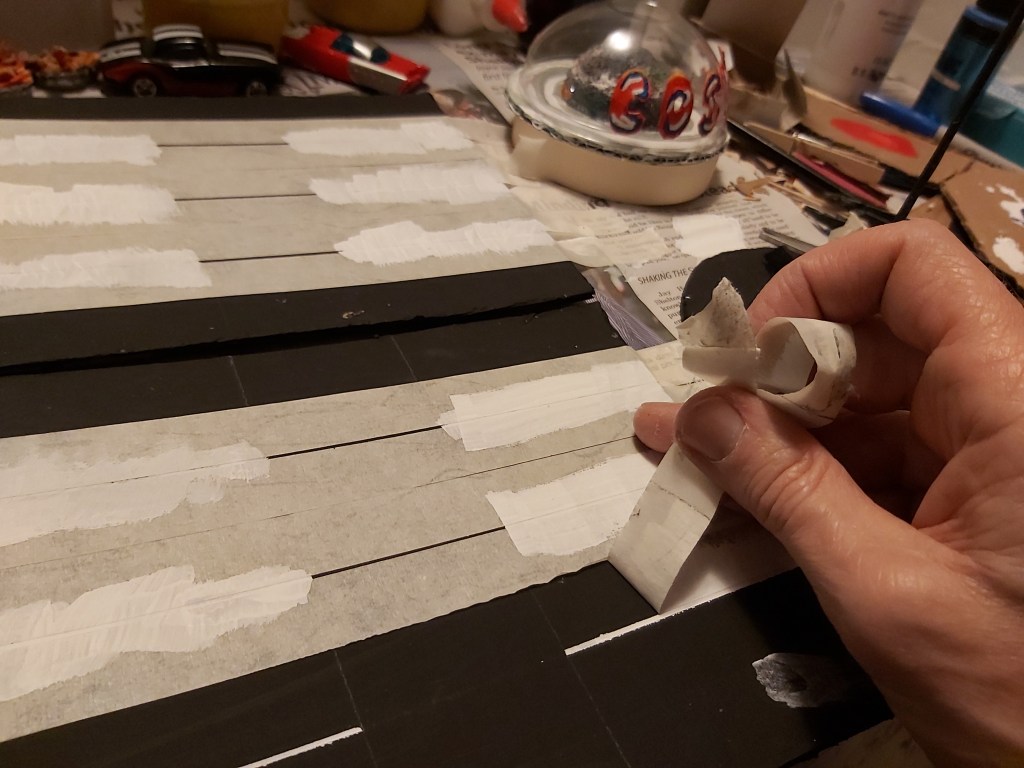
11. Parking lot stripes
Test fit parking spots with a car you will use. In this case they are about one and a half inches wide. Mark lengths in pencil and use that as a guide. Mask off. Paint white, let dry, and remove tape. Touch up with black. Let dry.
12. Speaker poles & parking blocks
Glue two yellow “speakers” to the sides of each red pole. Let dry. Basecoat black cardboard for the bases. Use thin card at the bottom and small corrugated bits to support each pole. Cut flat toothpicks to one and one-quarter inch lengths and paint parking blocks white.
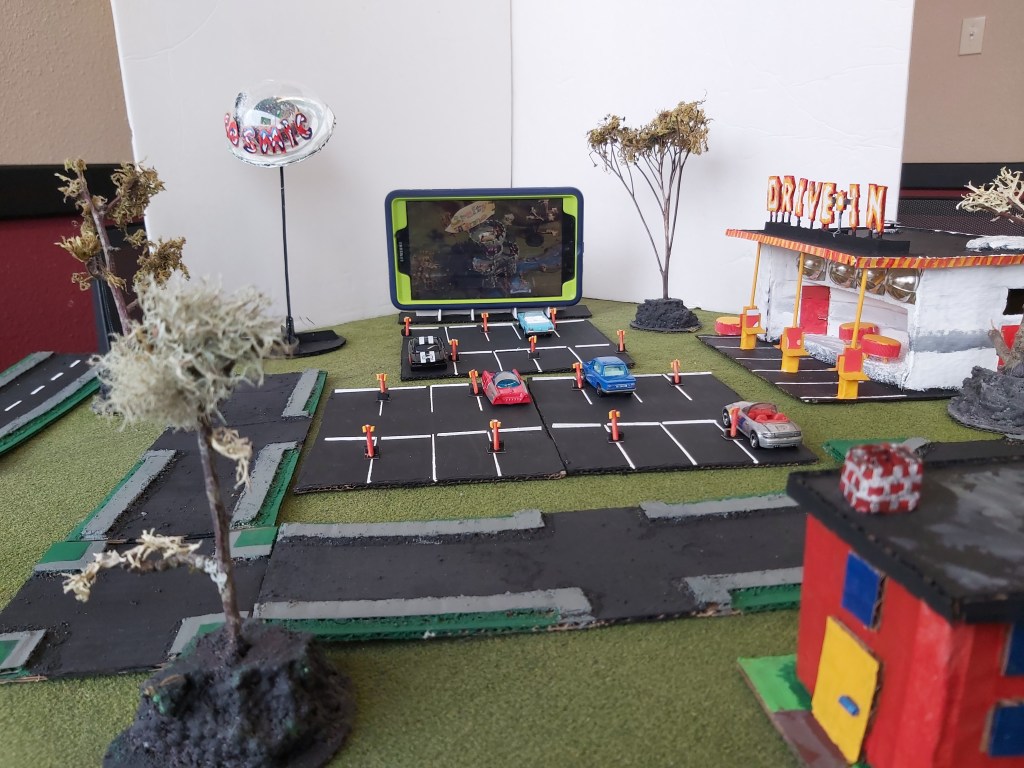
13. Cosmic movies
You can set your phone or device on the front screen holders and watch along with your Happy Tree Village friends!
