


Crafty Time
By Dave Pierik, Shelton-Mason County Journal
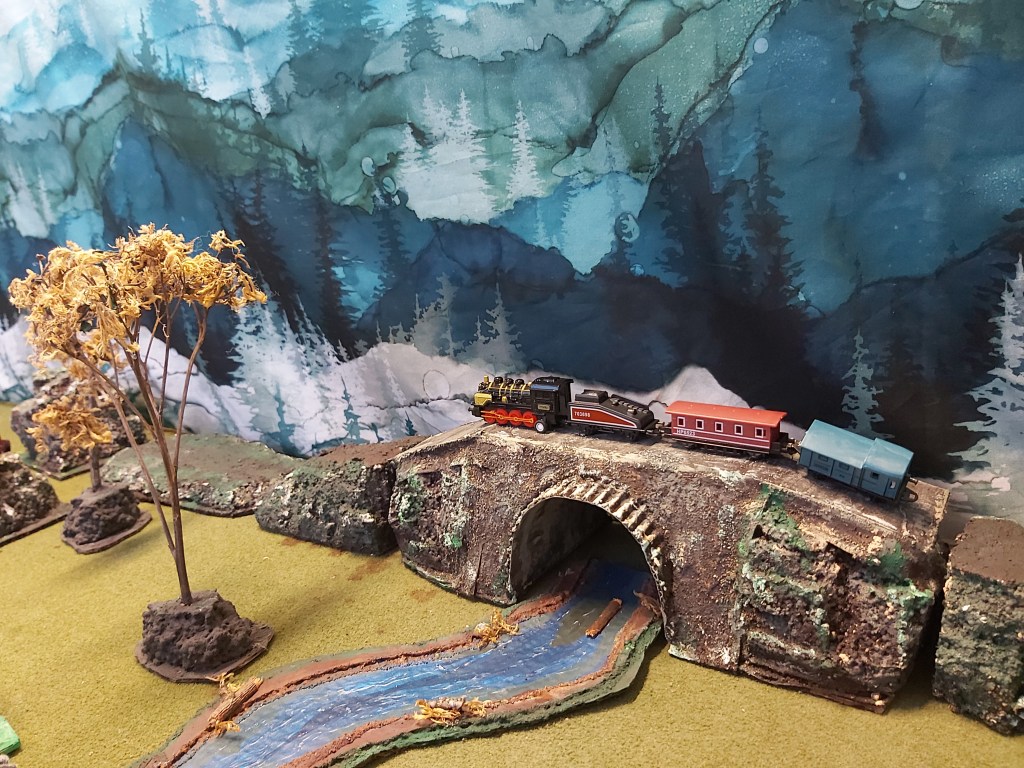
Tunnel
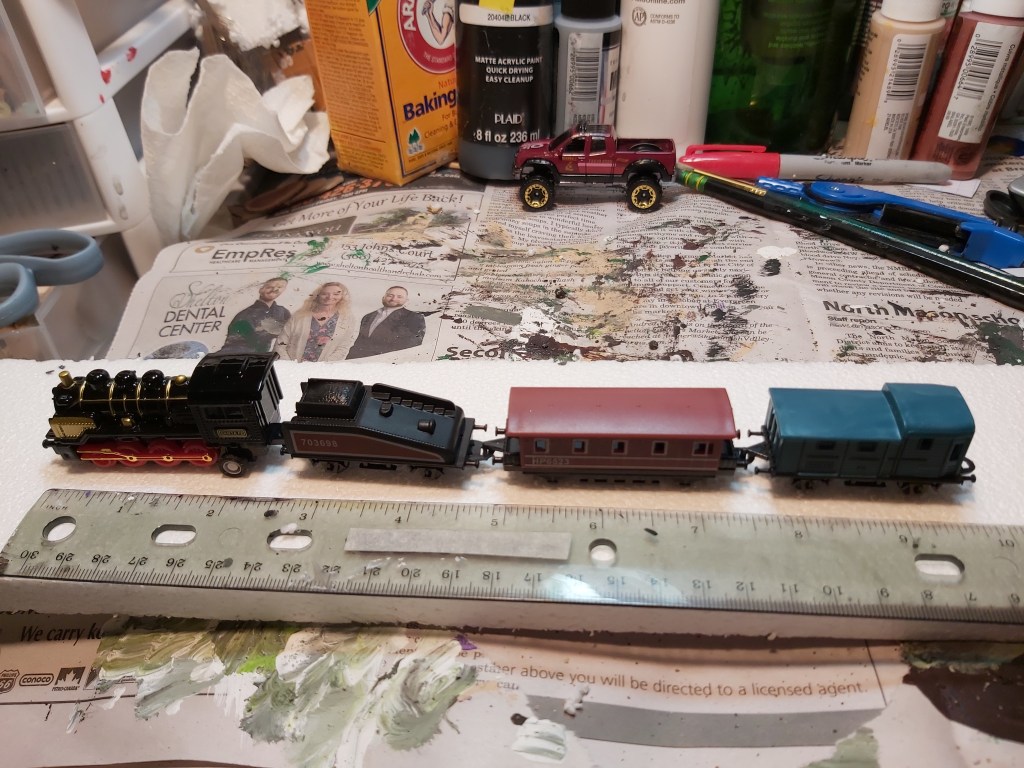
Happy Tree village is car, boat and plane-friendly. So, now for trains!
Tools: compass, ruler, scissors and (optional) an old steak knife, paint brushes
Materials: cardboard, newspaper, Styrofoam, school glue, masking tape, sand, acrylic paint
Time: two to four hours.
1. Mark
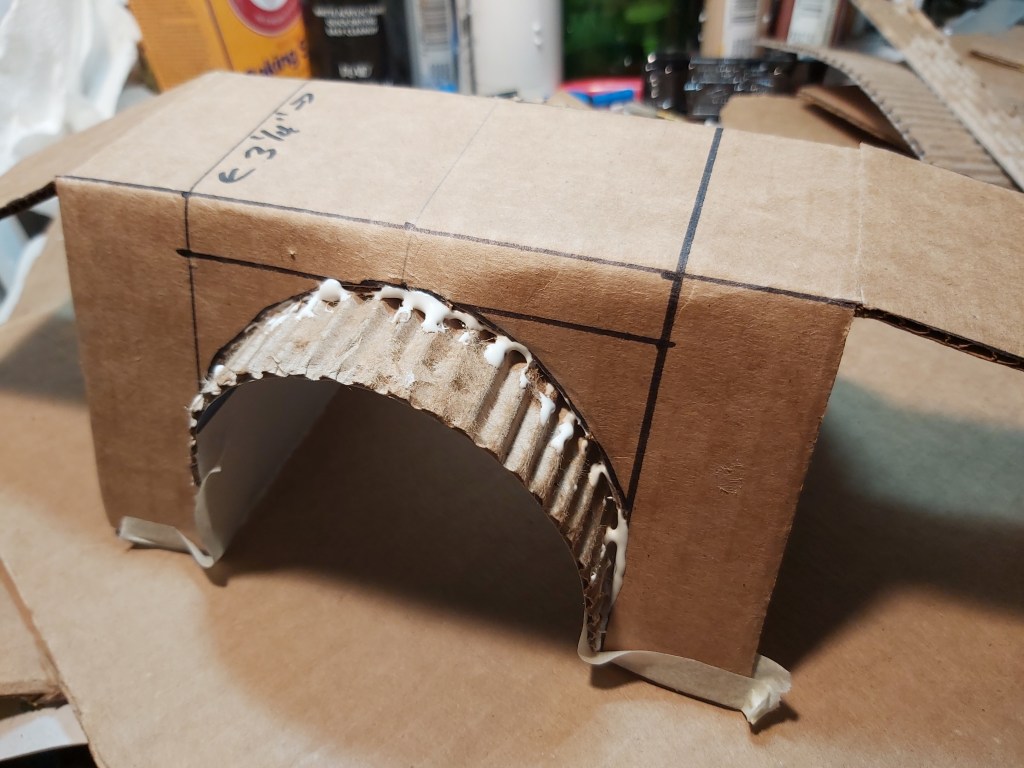
Mark and cut a clean piece of corrugated cardboard with two semi-circles 3” tall x 4” wide, allowing a 3 ¼” central area with ½” gaps and about 5” extra on each side to allow for the road or tracks on top. Allow 1” of width on each side of the tunnel, cut and fold.
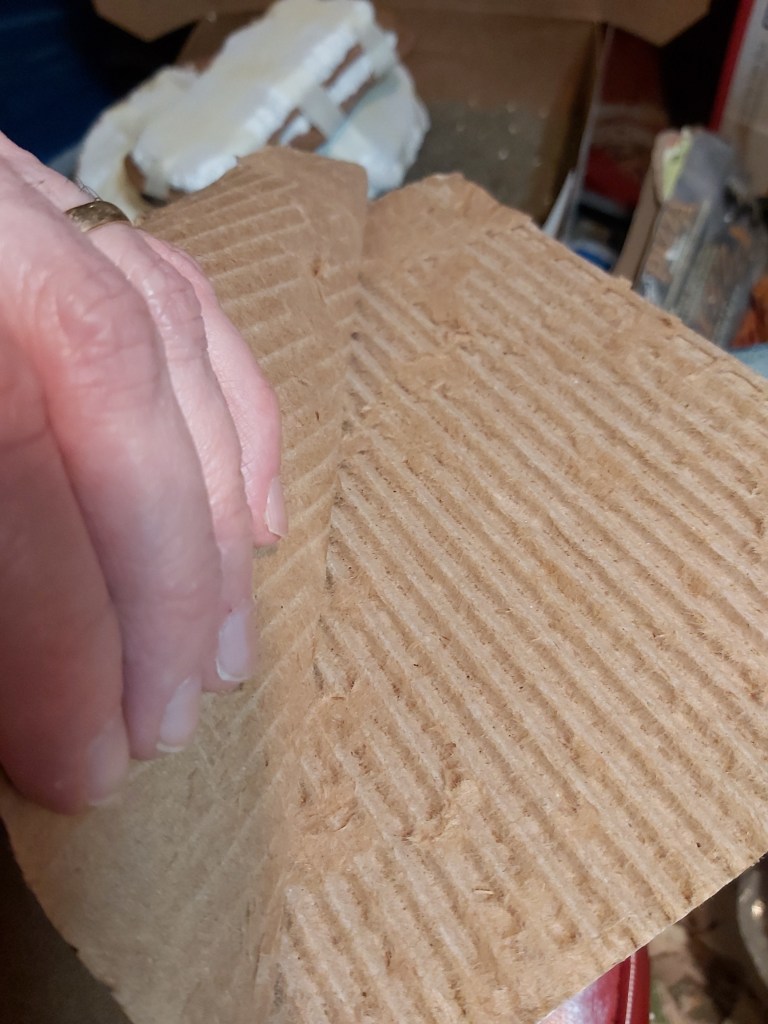
2. Peel
Peel the top layer off of a piece of cardboard. These corrugated, wavy shapes are cool to work with and fun to paint. Bend and test fit this for the tunnel. Stuff the interior gap areas with wadded up newspaper. Glue in place.
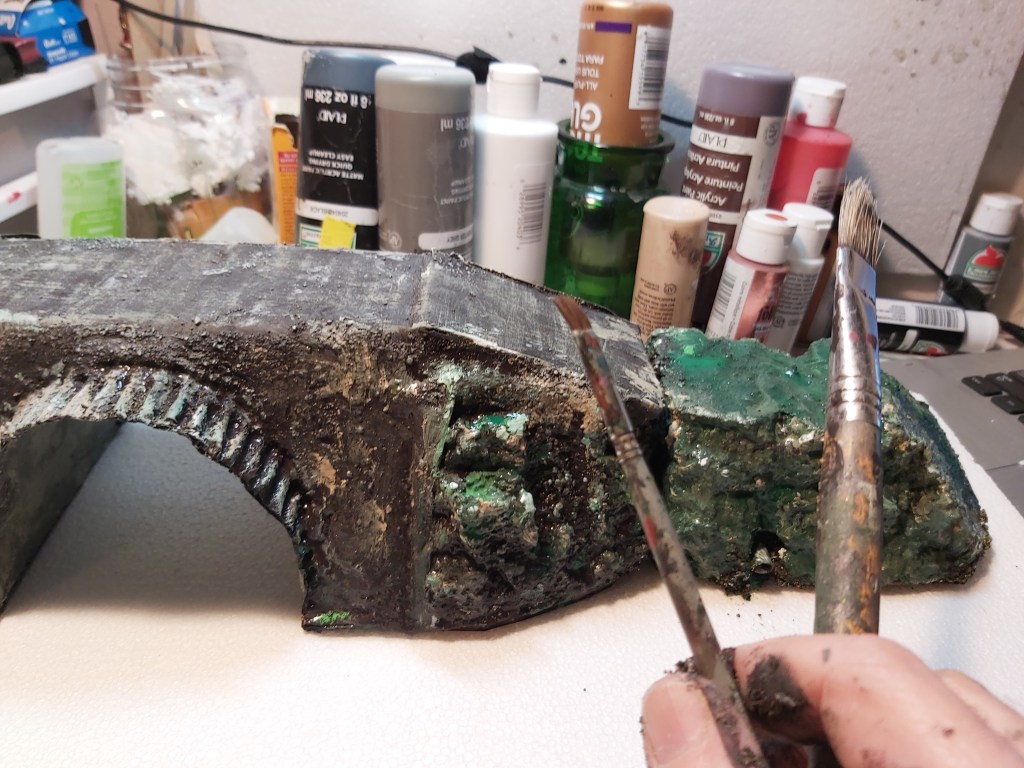
3. Assemble
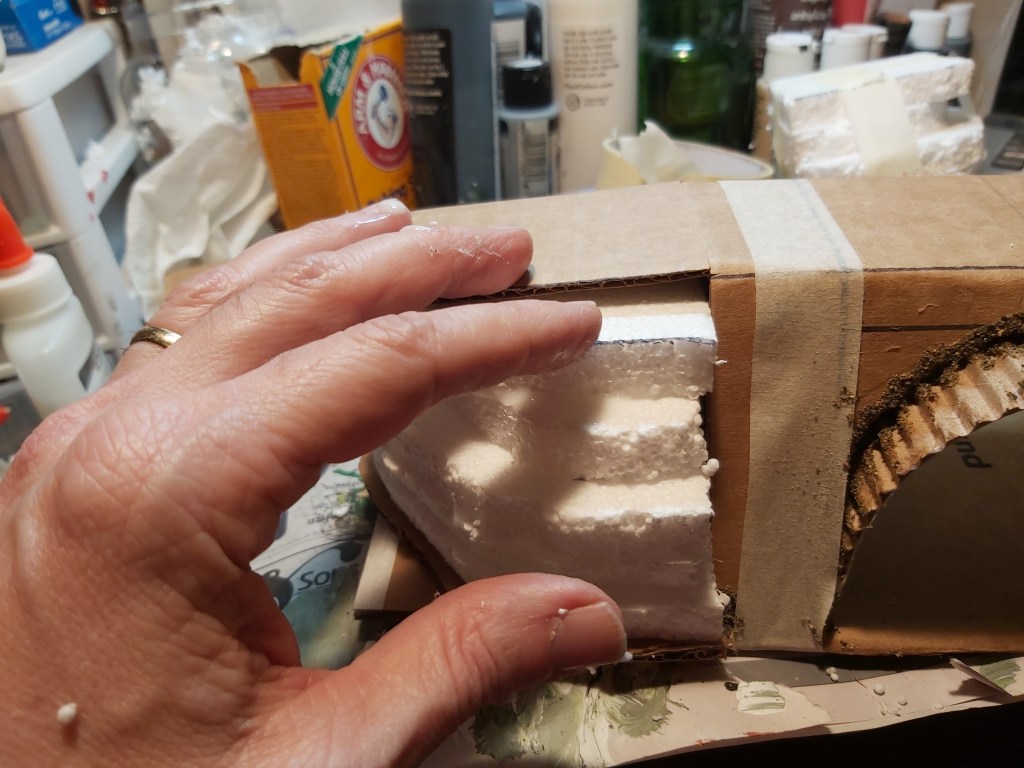
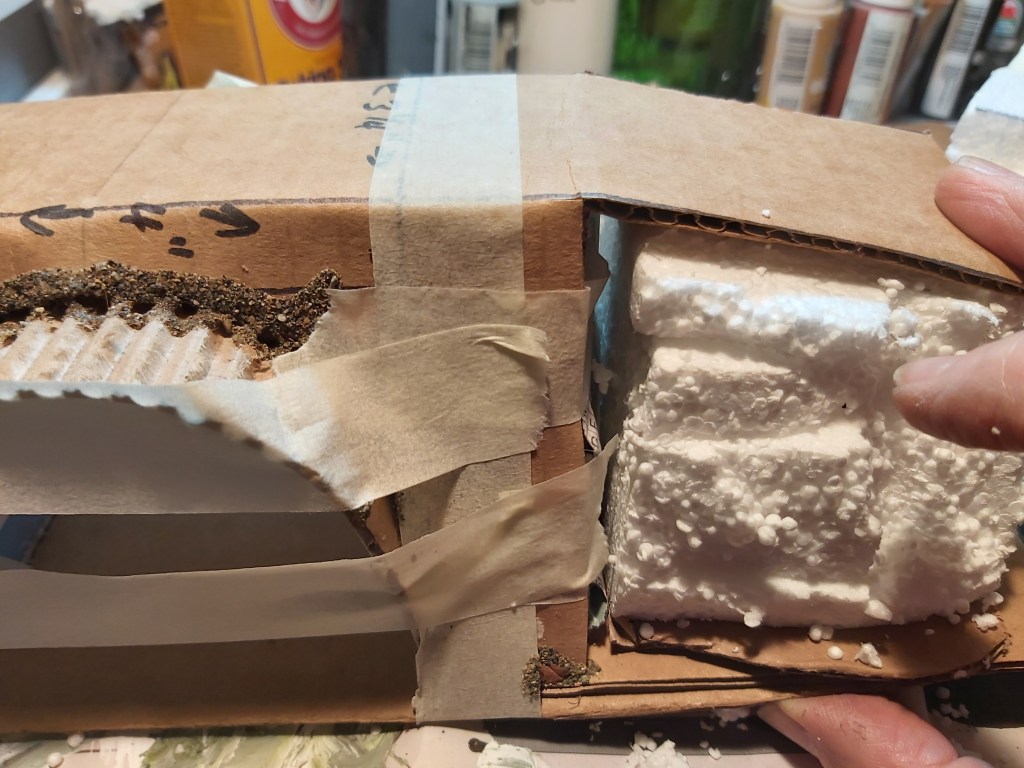
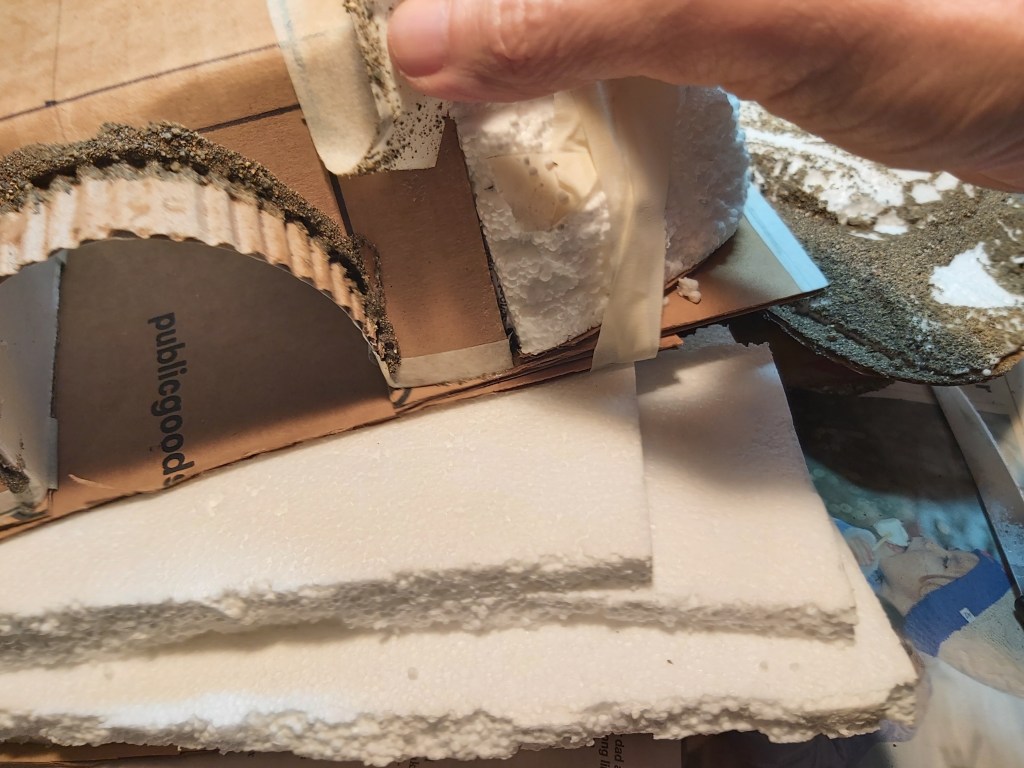
Carve and test-fit Styrofoam hills for each side. Glue each in place. Fill gaps with glue, sand and masking tape. Tip: if you have snacks, eat them now before you get paint on your fingers!
4. Paint
Work dark to light in natural and earth tones. The base coat is black and brown, middle coats are grey and dark green. Pick out the edges with the lightest colors, tan, light green and light grey. Use pure white last and sparingly for a few highlights.
5. Happy Tree Tunnel
Choo choo! Chugachugachugachuga…
What would you like to see next in Crafty Time? Visit www.craftytimewithdave.com for more photos and project ideas. Please email your feedback to dave@masoncounty.com or call 360-426-4412. Visit our office to see the display!
