


Crafty Time
By Dave Pierik, Shelton-Mason County Journal
Hills
Happy Tree village is kind of flat. That’s fine, but let’s make some hills.
Tools: scissors and (optional) an old steak knife, paint brushes.
Materials: cardboard, Styrofoam, school glue, masking tape, sand, acrylic paint.
Cost: mostly free but maybe $1 worth of glue, paint and masking tape.
Time: one to three hours.
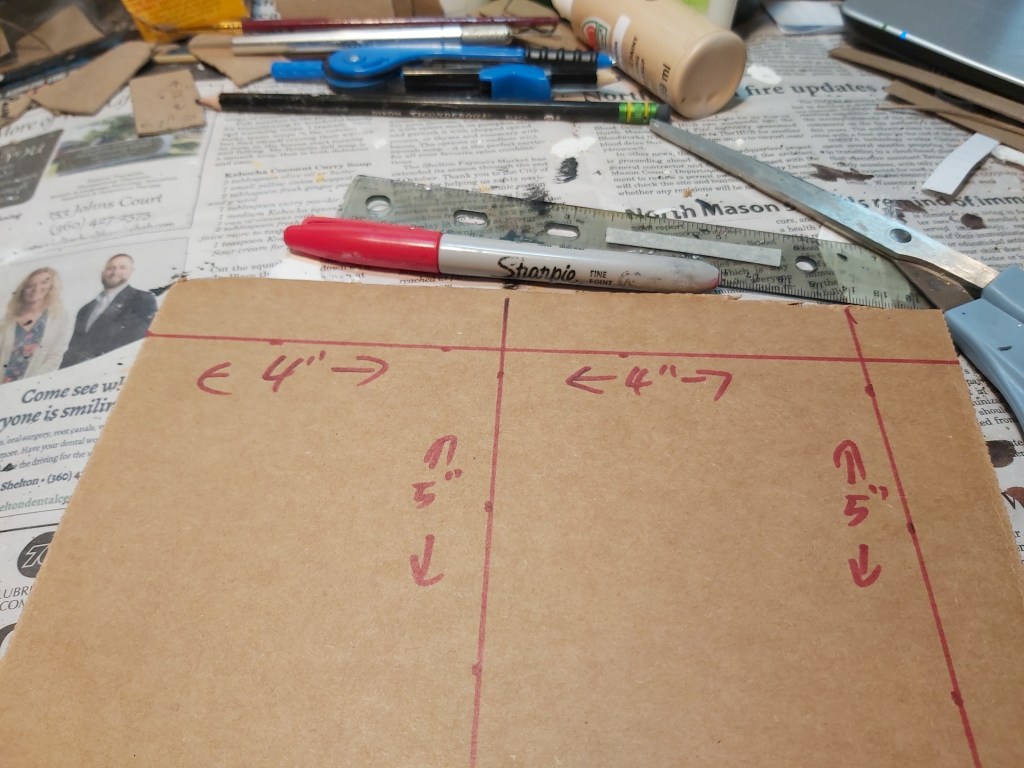
1. Cut and glue
Mark and cut corrugated cardboard to each hill’s base size and shape. Cut or break Styrofoam to that size or smaller and glue it down. For taller hills, add extra layers of Styrofoam. Wrap the entire structure tightly with masking tape and set aside to dry.
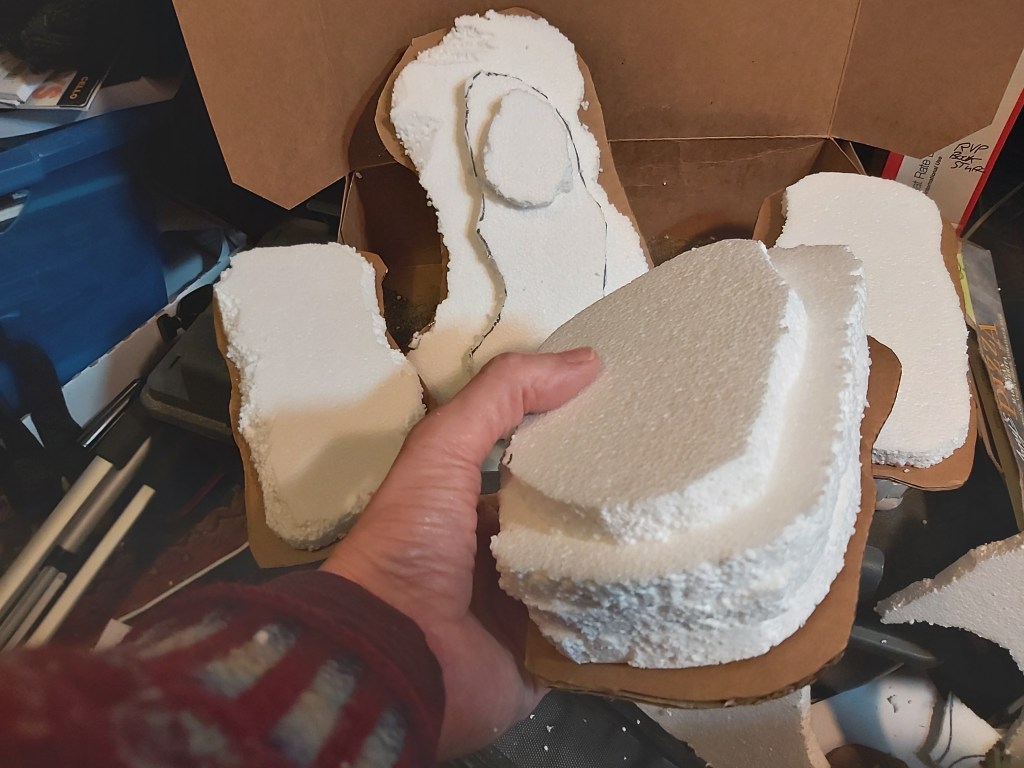
2. Shape
With your fingers and/or an old steak knife, break and/or cut and carve the Styrofoam into the hill shapes you want. It makes a huge mess which honestly is part of the fun.
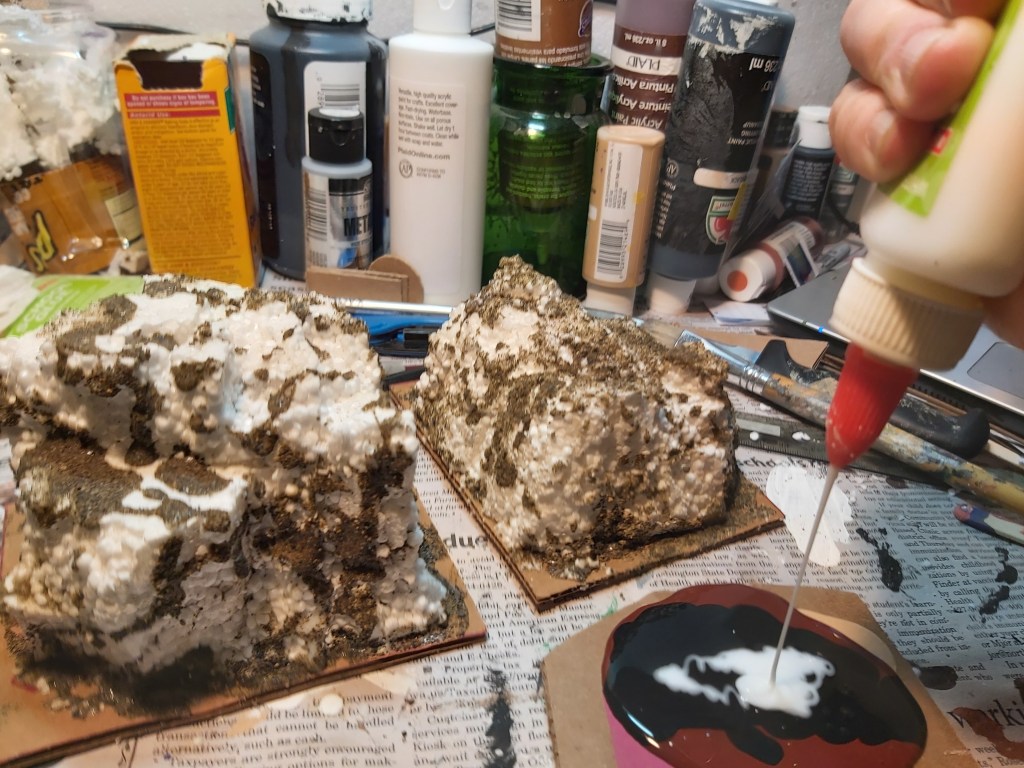
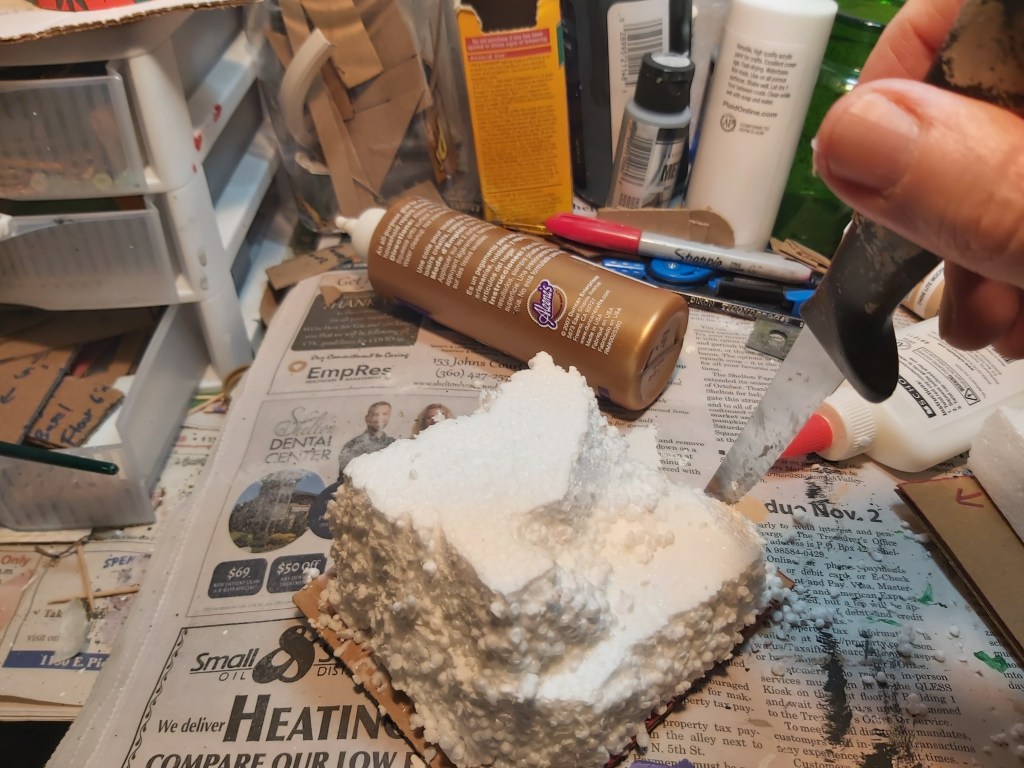
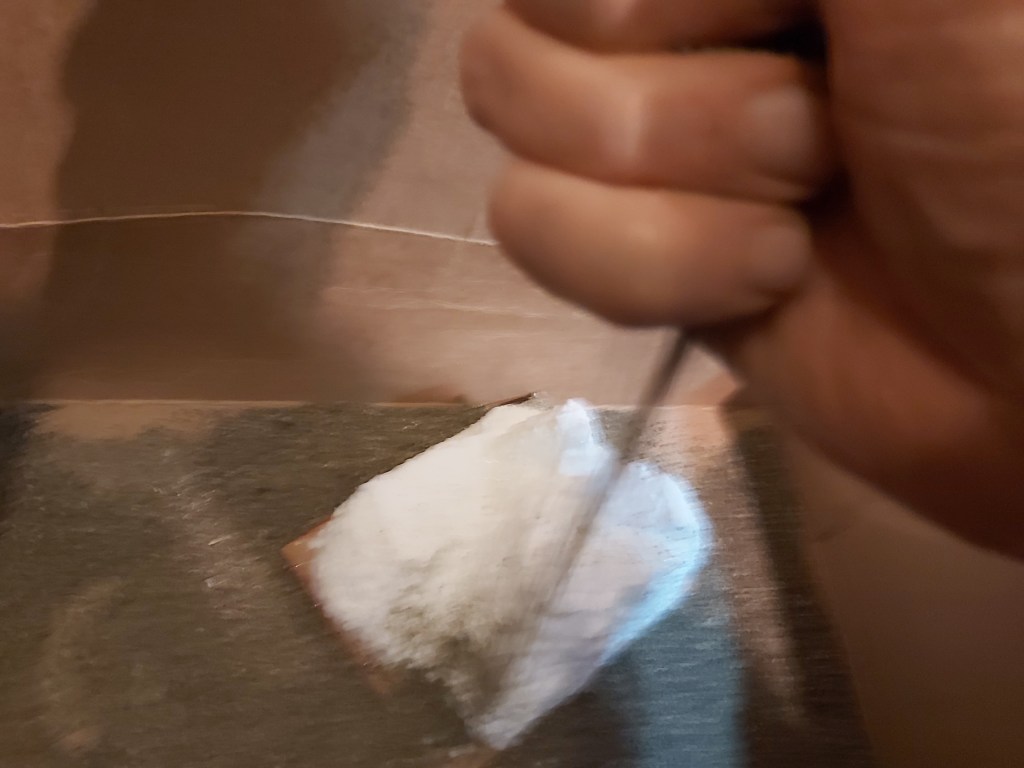
3. Sand
With an old brush, paint glue on areas desired, especially any seam lines or areas that don’t look natural yet. While the glue is wet, grab handfuls of sand and drop it on there. Gently shake off the excess. Let dry. You can also add a bit of sand to your black and brown paint/glue mix for the base coat.
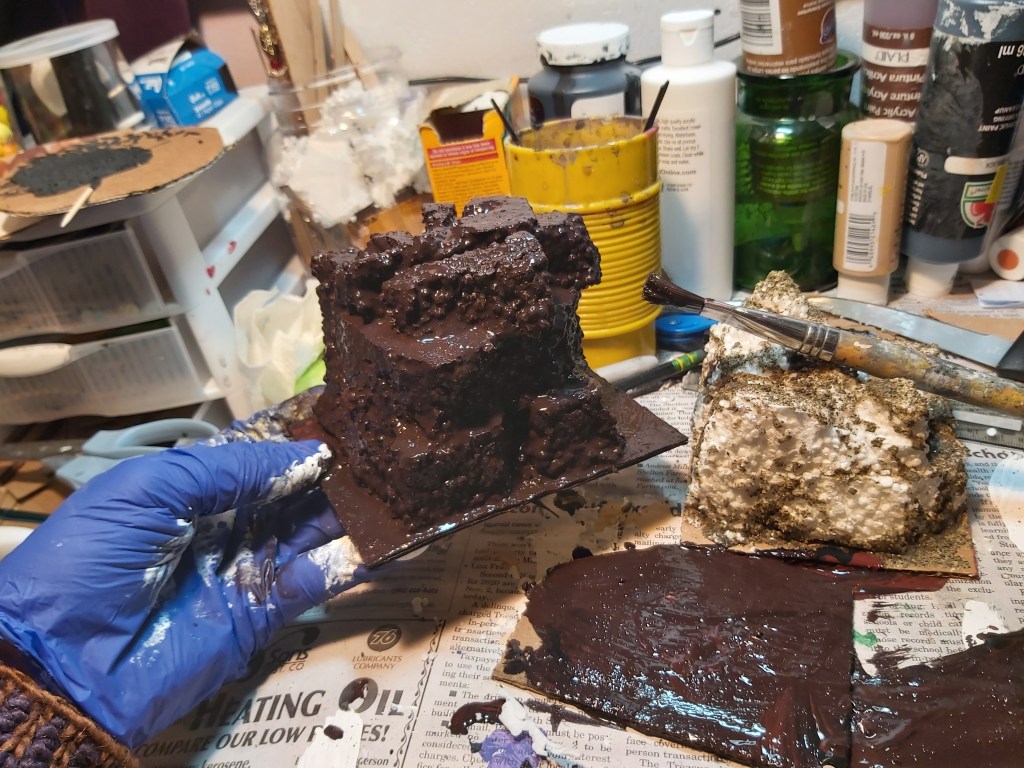
4. Paint
Work dark to light in natural and earth tones. The base coat is black and brown, middle coats are grey and dark green. Pick out the edges with the lightest colors, tan, light green and light grey. Use pure white last and sparingly for a few highlights.
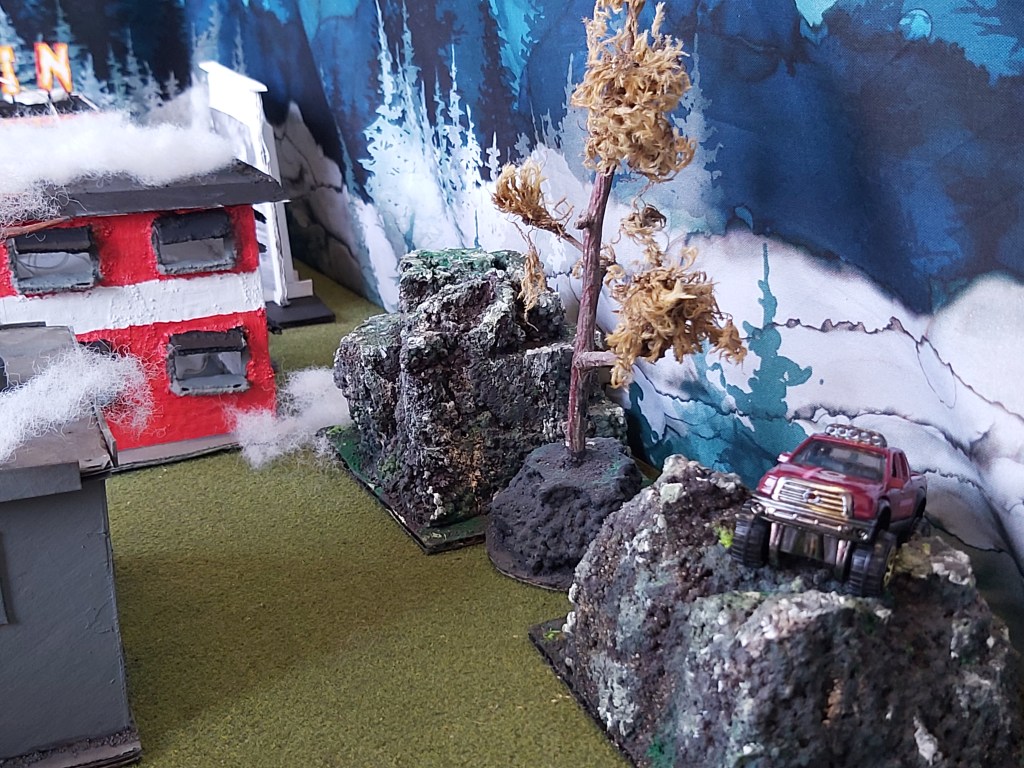
5. Happy hills
Now I’ve got more fun terrain for that 4×4 Santa brought me!
What would you like to see next in Crafty Time? Visit www.craftytimewithdave.com for more photos and project ideas. Please email your feedback to dave@masoncounty.com or call 360-426-4412. Visit our office to see the display!
