
Wouldn’t a cool penholder be fun to make, and nice to have? Let’s do this!
Tools: ruler & marker, scissors, paint & brushes, rubber band
Materials: Plastic containers & lids, white glue, sand, 3-4 toothpicks, bendy straw
Difficulty: easy
Cost: about $1 including paint and glue Time: two to five hours (can vary)
1. Measure
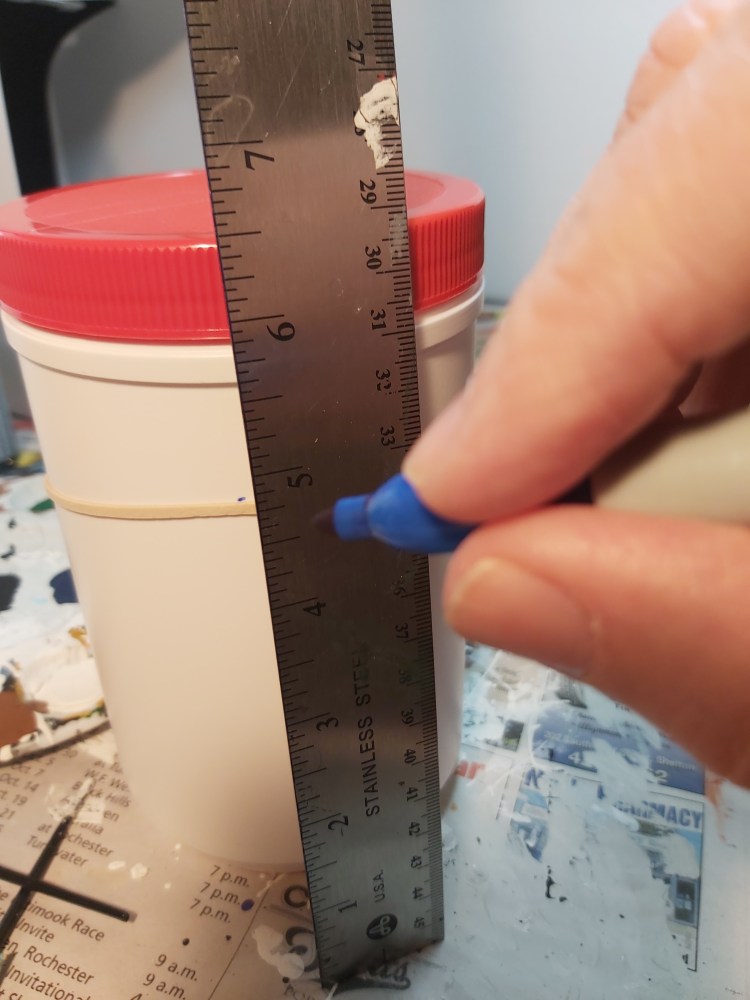
Measure and mark a flat-bottomed plastic container using a rubber band, a ruler and a permanent marker. The low side will be 3.75” tall and the taller end will be 4 ½” tall. Carefully cut along the line.
2. Assemble
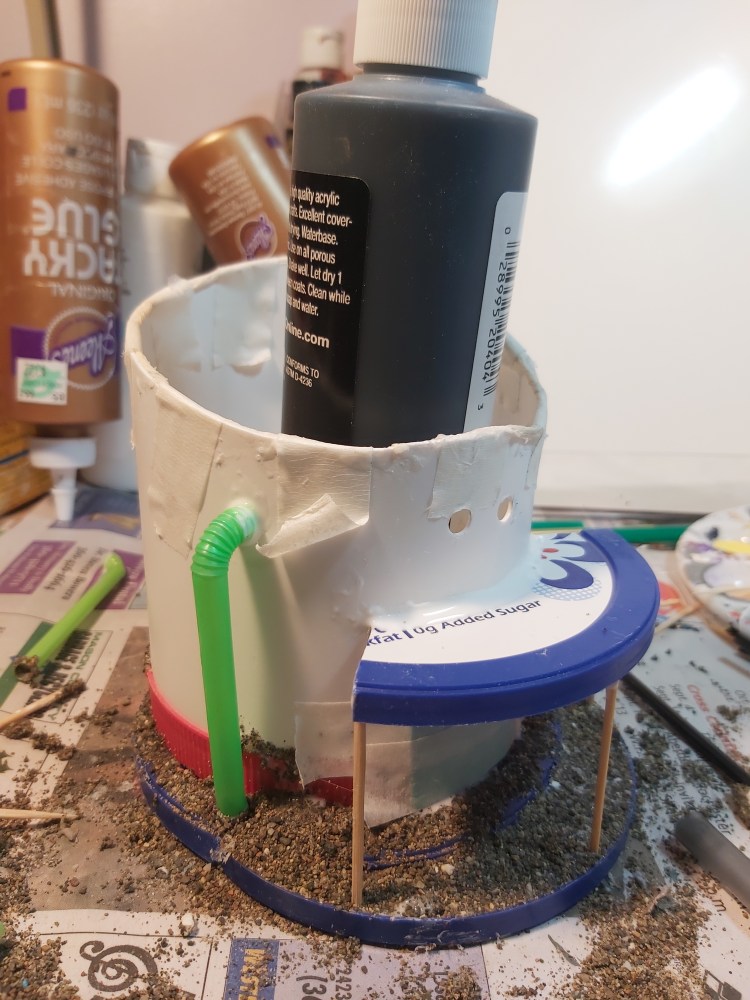
\Plastic lids with glue and sand form the base. The bendy straw will be a downspout. Cut down another plastic lid and support it with toothpicks for the awning. Glue everything together and add masking tape to hold it all in place. Set aside a full day to dry, then remove masking tape.
3. Prime

Examine the structure and make any changes now, for example adding the top portion of another container to the top. Mix white glue with white paint. Paint the entire structure, inside and out. Including the glue with the paint will help strengthen it.
4. Basecoat
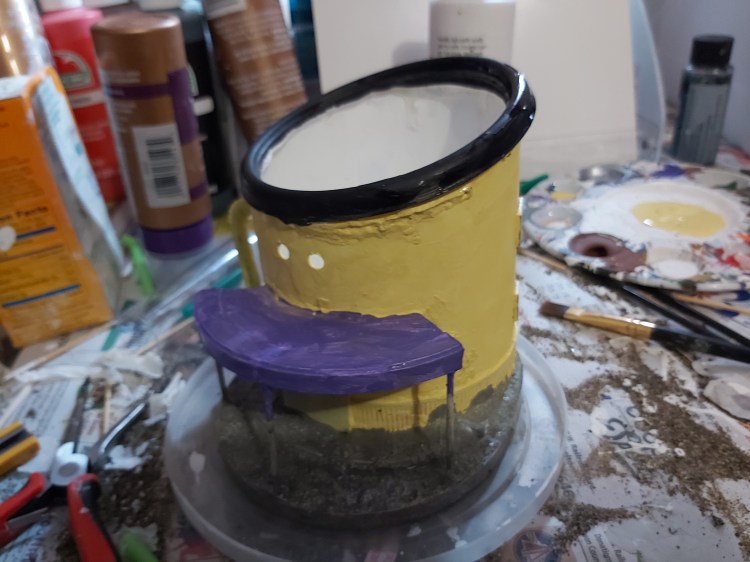
Paint the building yellow, the awning blue or purple, and the roof black. Use washes, grays and earth tones to bring out the high and low parts of the sand for the street &/or sidewalk. Add a second coat. For windows, base coat in black, then add metallic or glitter paint. Add details of your choice.
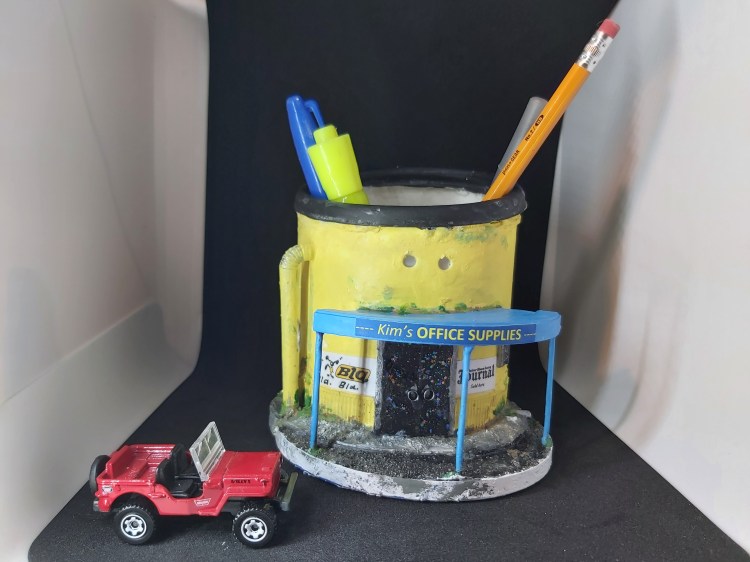
5. Office Supply
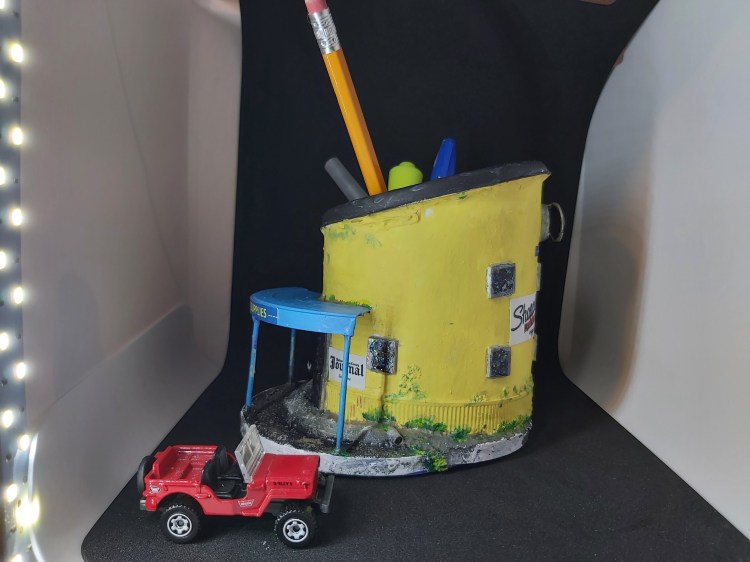

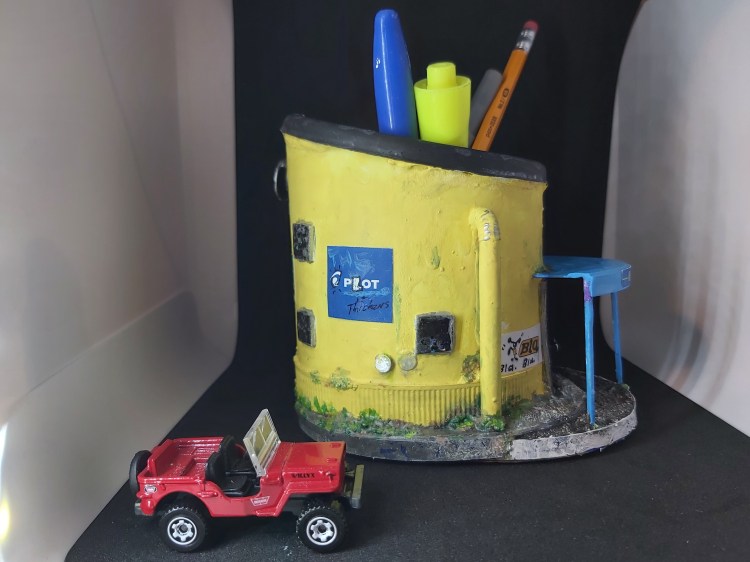
Imagine shopping here for your school supplies!
What fresh ideas would you like to see next in Crafty Time? Visit www.craftytimewithdave.com for more photos and project ideas. Please email your photos and feedback to dave@masoncounty.com or call 360-426-4412. Visit our office to see the display!
