

Next stop: No-Worries Lane & Art Getaway Avenue.
Crafty Time with Dave Idea 43: Bus Stops – Tutorial
Materials: clear plastic, flat plastic &/or cardboard, craft sticks, glue, masking tape and paint.

1. Plan, measure, mark and cut. This bus is about 2” long, so each bus stop will need two clear sides 1 ¾” H x 1 ¼” deep, a back 1 ¾” H x 2” wide, a sidewalk base 3” wide x 2” deep and a roof 2” wide x 2” deep. Keep the fronts open to allow access for figures.
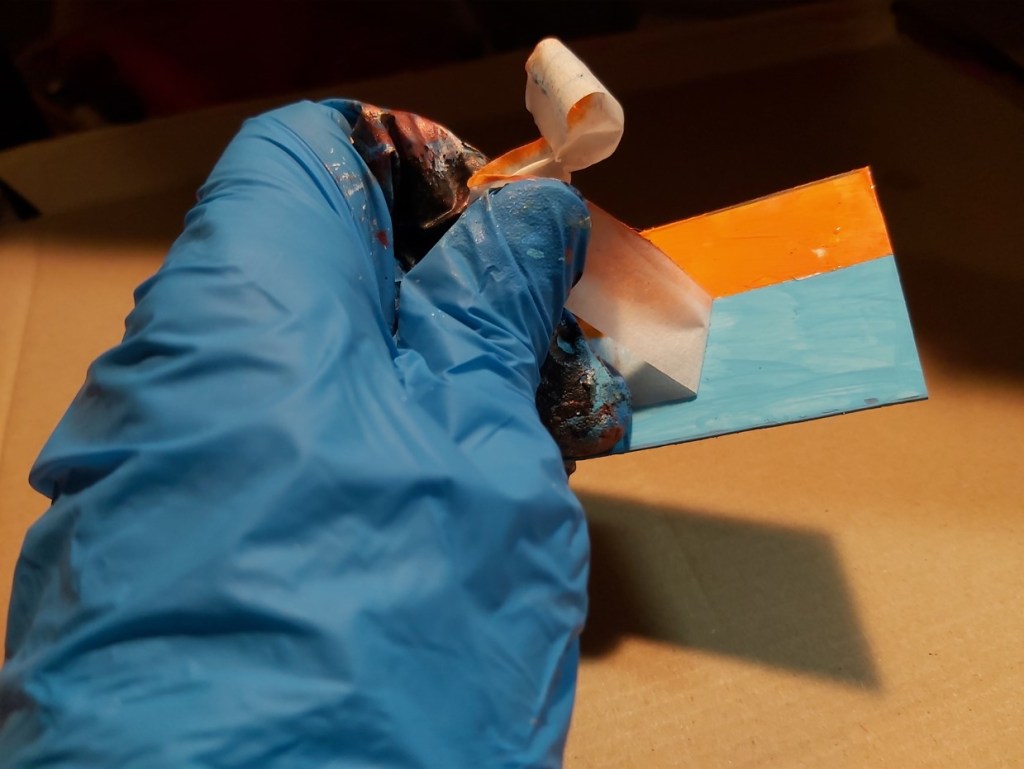
2. Pre-paint. Avoid getting paint on the clear pieces. Paint the sidewalk gray and white, the back in colors to match your buses and the roof. Use masking tape to paint straight lines. Paint a second coat also.
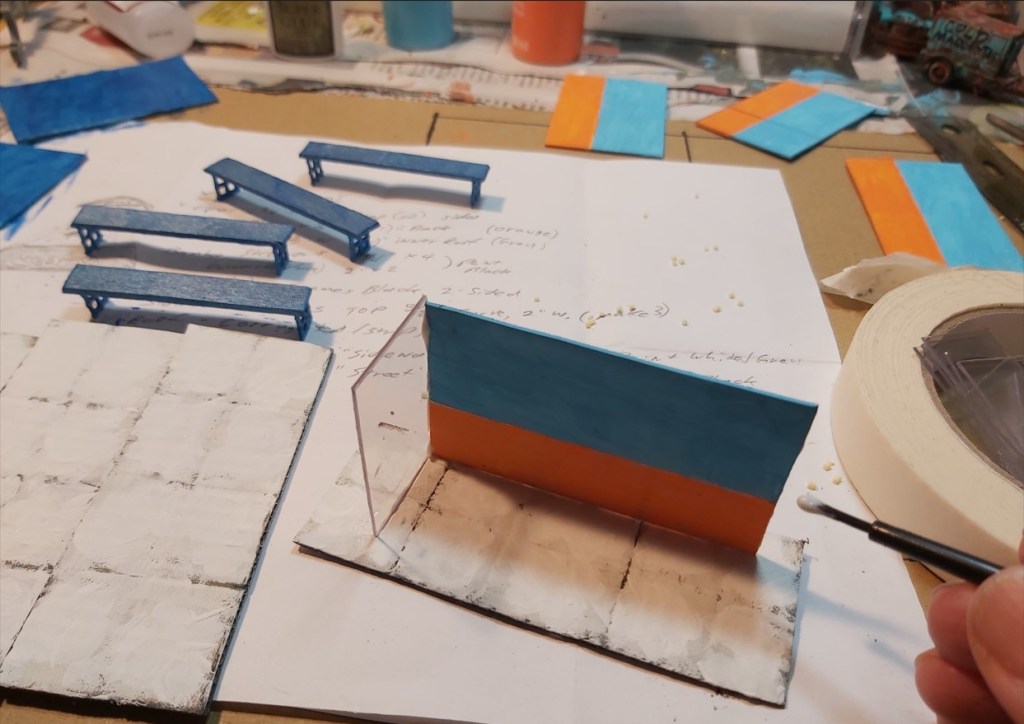
3. Assemble. Once paint is dry, assemble by brushing glue along the edges. For benches, cut craft sticks or cardboard to 1 ½” long x ¼” wide, glue legs on and let dry, then paint the same color as the roof. Once dry, paint glue under leg edges and place carefully.

4. Add details such garbage cans, newspaper racks, vending machines, shrubs and sculptures about 1/2”. Shown: color printouts are glued to material painted to match.
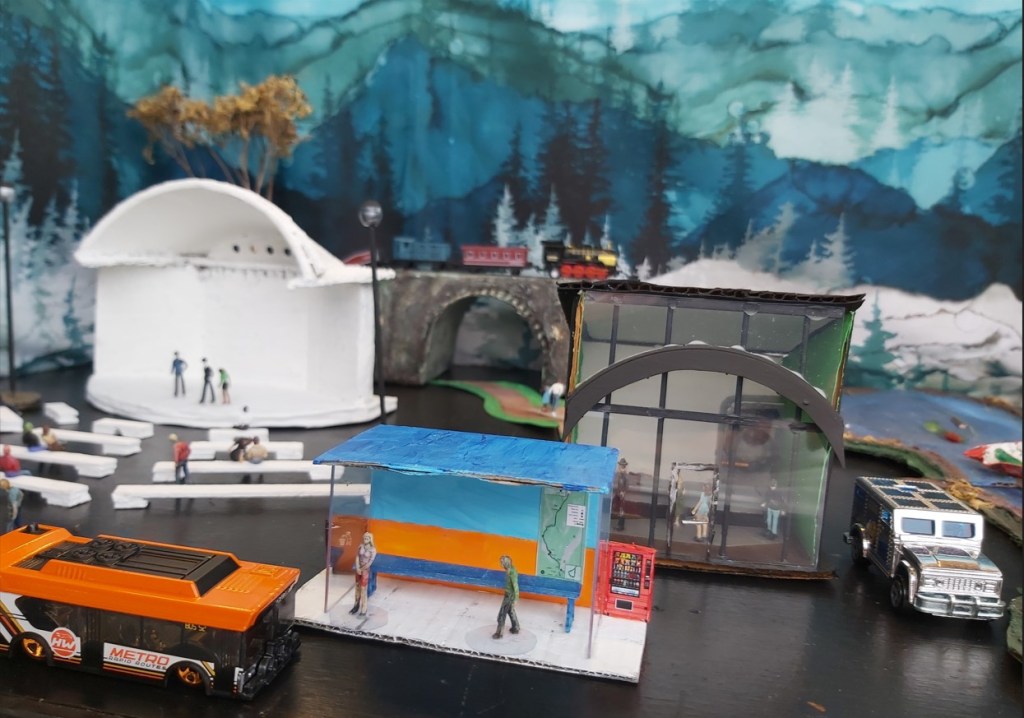
5. Enjoy! The Happy Tree Transit system now covers many destinations, with bus stops all over town!
See the display in at 3rd & Cota St. in Shelton, WA or visit www.craftytimewithdave.com for more crafty ideas to try at home!
