
crafty time trees.pierik.18.20


Crafty Time
By Dave Pierik
Shelton-Mason County Journal
Fun with trees
Previously, we made buildings and roads out of cardboard. Now our village needs trees!
You will need:
Glue
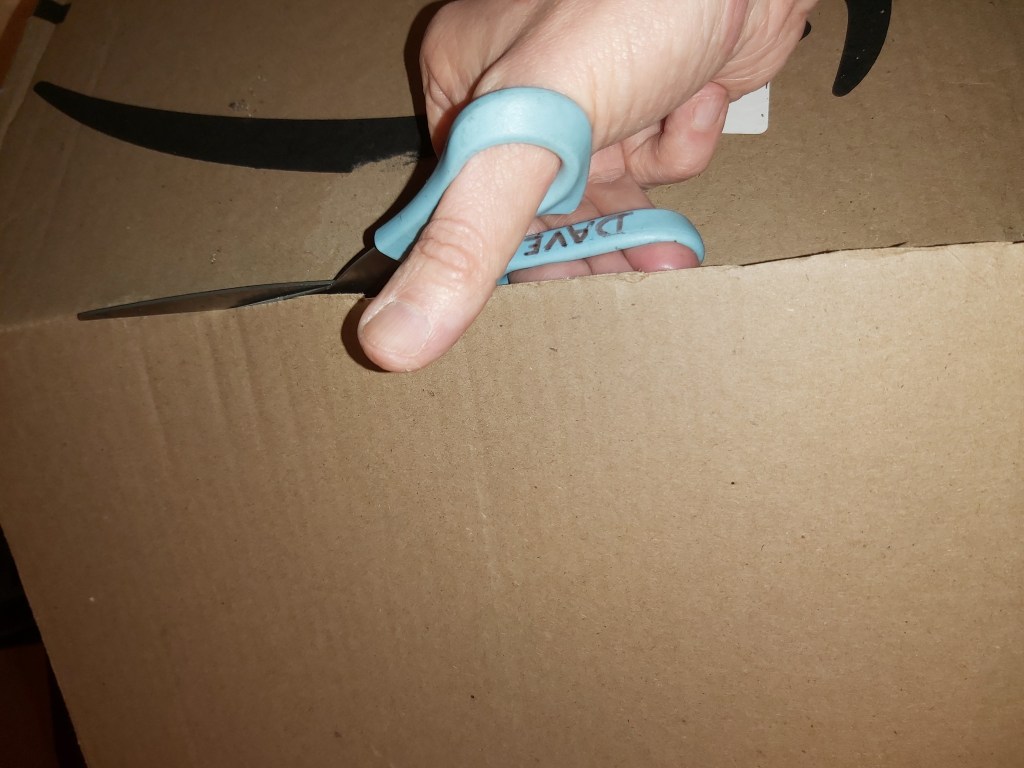
Scissors
Paint and brushes
Cardboard
Styrofoam
Sand
Moss &/or lichen and Sticks (see below)
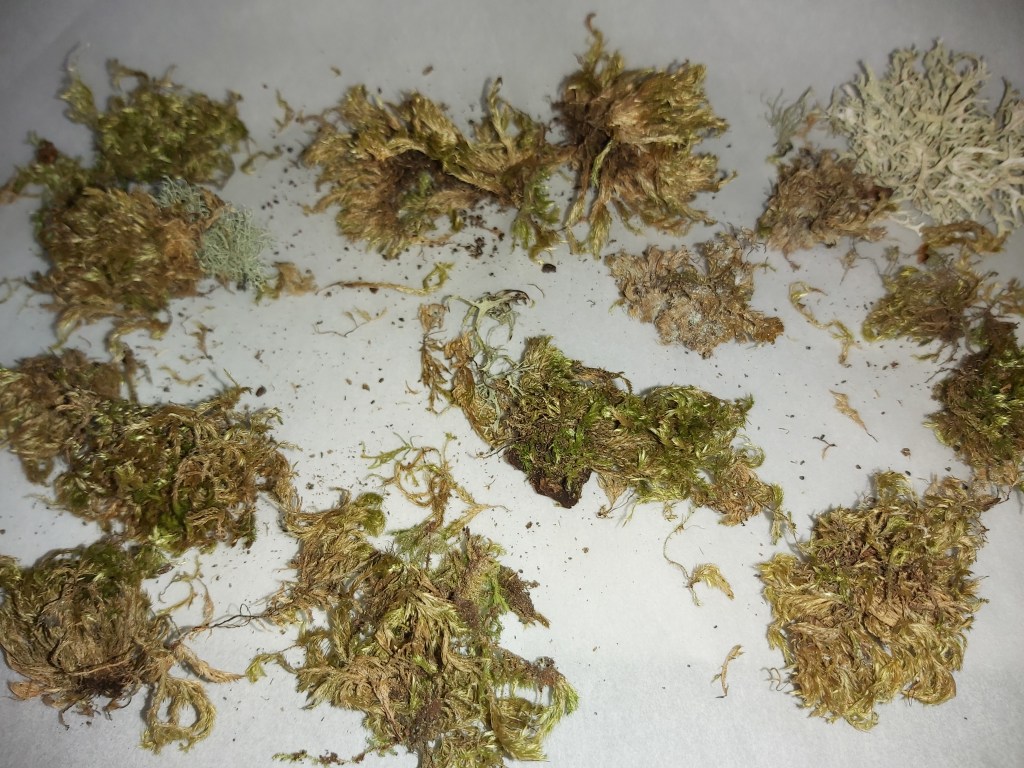
1. Gather moss
They say a rolling stone gathers no moss. But you do! Go outside, where from just about anywhere in Mason County I’m guessing you should be 100’ away or so from some moss and lichen if you look around. In this example, it was right in my backyard. Moss is more abundant but both moss and lichen work great for tree foliage.
2. Pick up sticks
While you’re getting the moss, look down for a few dead branches that look interesting. It’s easier than you think. Break them down a bit, to a foot long or so each. I found four different sticks with branches for this example. You don’t need a lot and you don’t need to be too picky at this stage.
3. Dehydrate foliage
Before you begin, start dehydrating the moss and/or lichen now. I used parchment paper and the oven just above the “Warm” setting. Not too hot! At about 150 degrees, you can dehydrate your moss and lichen in about six hours in the oven. You will want it nice and dry for the steps at the end.
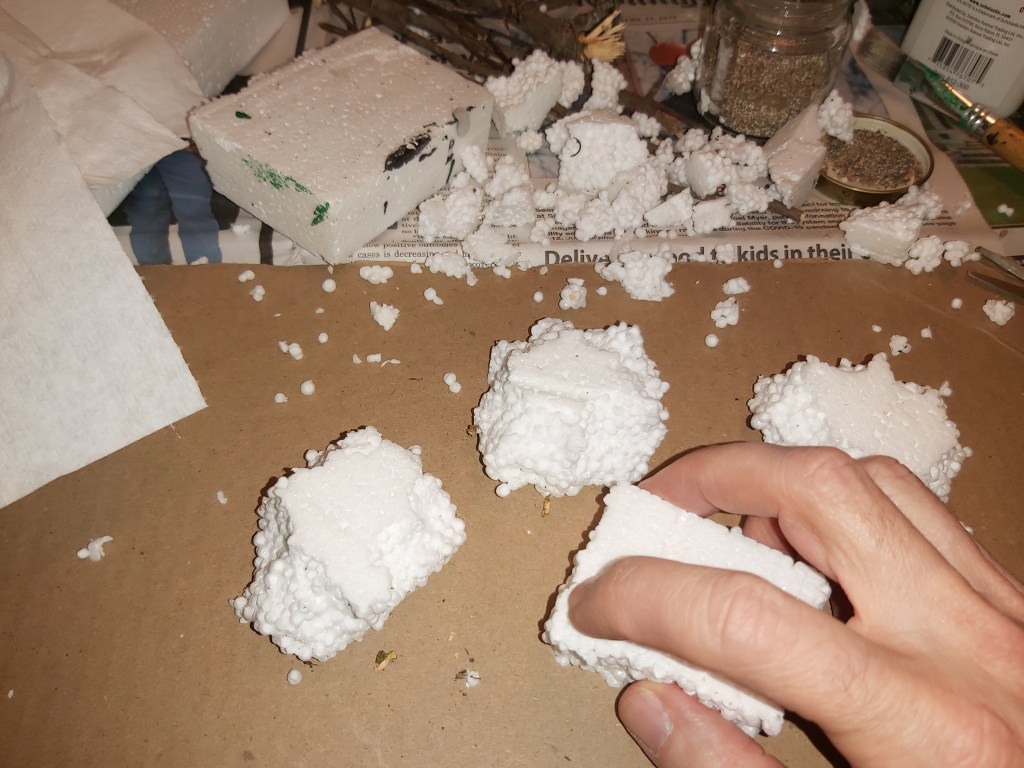
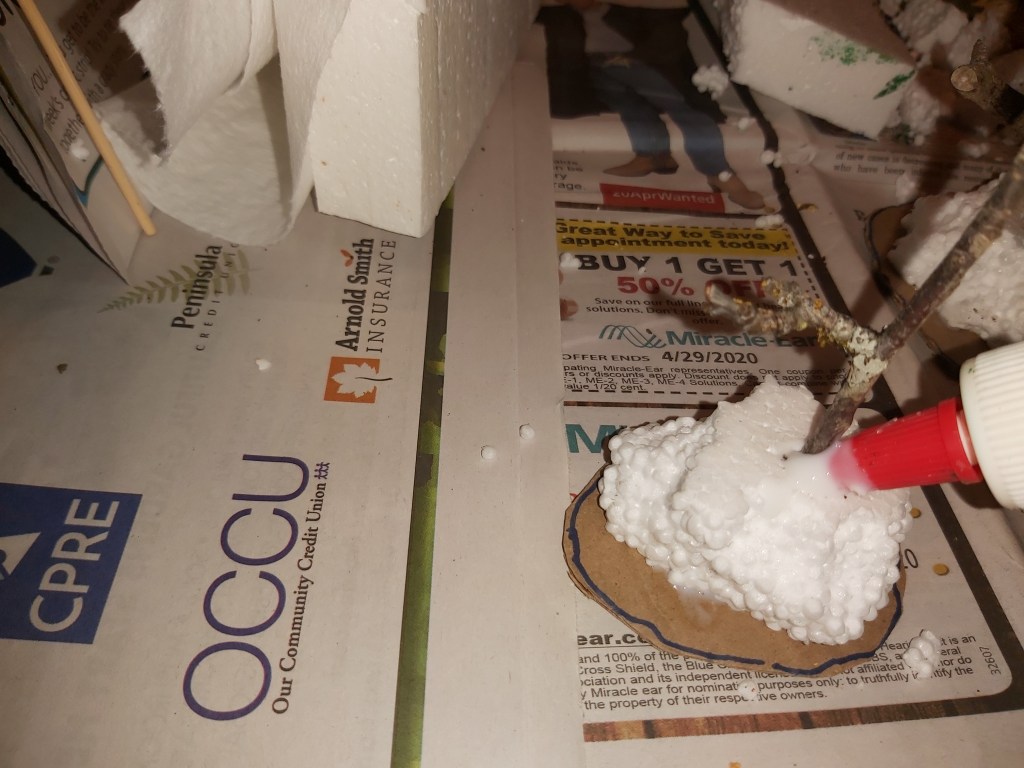
4. Shape Styrofoam
With your hands, break the flat sides of some regular packing Styrofoam into rounded, natural shapes, leaving the bottoms flat. A bit of the middle part of each top should also be flat. Each mound can be any size or shape you like. In this example, they are about 3” across, but there’s no need to measure this time.
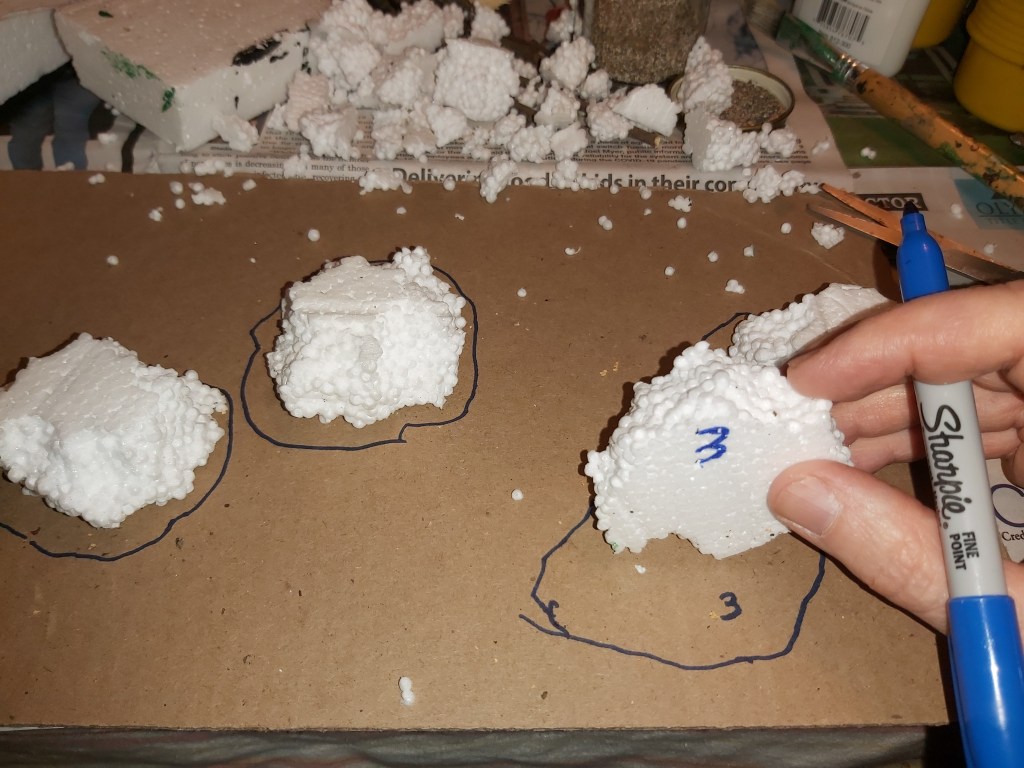
5. Mark, cut and glue bases
It’s all about that base. No trouble. On corrugated cardboard, outline each of the Styrofoam shapes, leaving about a half an inch extra room in every direction. Lift the Styrofoam and mark your place before you cut along the lines you made. Then, line up your marks and glue the Styrofoam to the cardboard so there’s room to spare in every direction. Let dry.
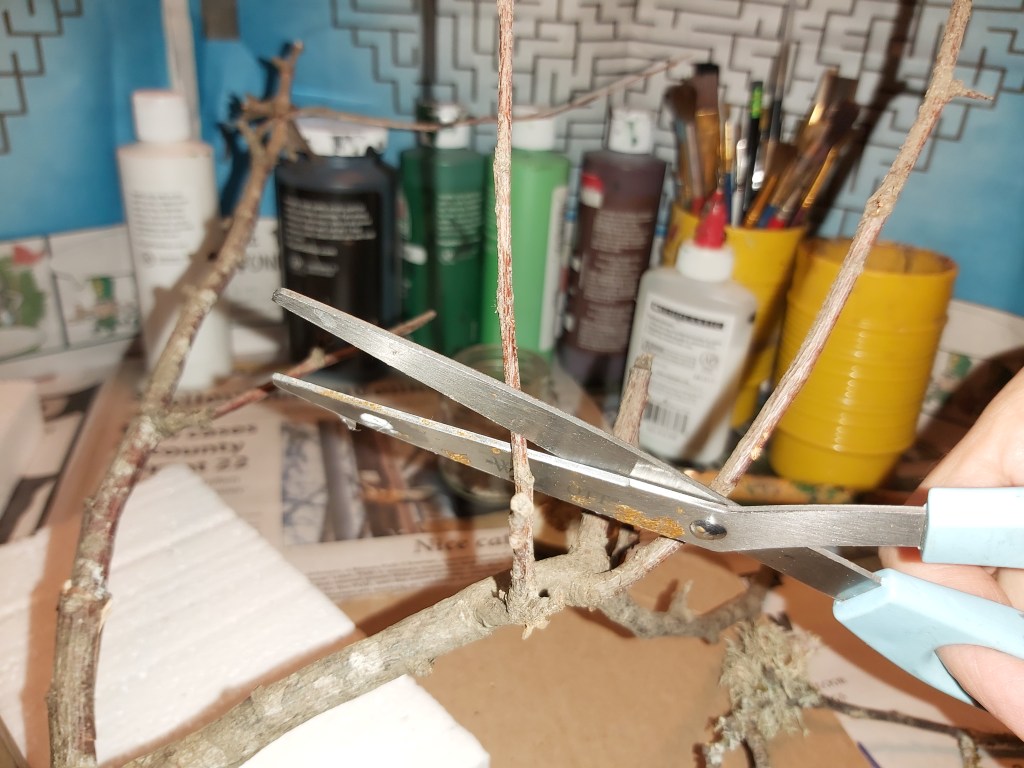
6. Trim branches
Cut any of the longer, thinner or broken branches off. I prefer my trees to balance well and to be somewhat sturdy. After this step, I have a nice group of little wooden stick bits, great for future fine scale modeling details like wood piles outside of buildings, logs by river banks, etc. If you have a bits box, throw them in along with your leftover Styrofoam if you like.
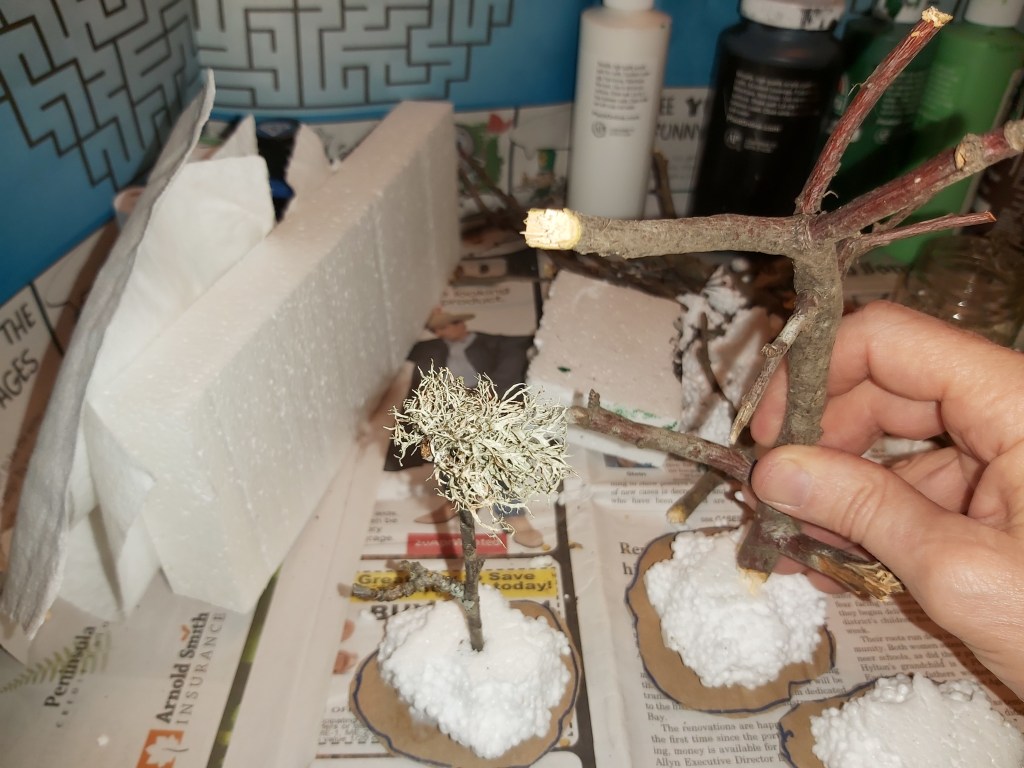
7. Plant, glue and sand
“Plant” your trees, pushing the trunks deep into the Styrofoam, but not the cardboard. Then, remove each tree and fill the gap with glue. Put the trees back in there. Now, paint the sides and tops of each base with glue. While the glue is still wet, flock by sprinkling the base with sand and shaking the excess sand off. Use extra sand and glue around the trunk for support. Let dry.
8. Paint bases
Using your brush, lightly stir black and brown paint with a bit more glue and some water. Paint the bases. Some areas will be black and others more brown on this basecoat. Let dry.
9. Glue foliage
Put glue on the top of the branches, where your foliage will be. Then, break apart and place the moss or lichen, putting it into the wet glue. You will get better at this with a bit of practice, be patient. Wait for the glue to dry.
10. Touch up bases
Mix some dark green with a bit of black and brown paint, and highlight the taller areas of grass on each base, especially on the top. You can also use a bit of brown and grey to drybrush the tops of some of the rocks on the sides of the base, going for a natural look. Let dry. When everything is done, you can topcoat it all with two coats of matt-finish clear spray paint.
11. Happy trees village
Along with the cardboard buildings and roads featured earlier, trees really add a natural touch. This setup is great for the imagination! Your kids or grandkids can spend hours playing with cars, small dolls, dinosaurs, robots and who knows what else. You could make a YouTube movie or music video featuring your diorama. Customize your village however you like!
What would you like to see next on Crafty Time? I’m thinking our village could really use a water feature, maybe a creek and a bridge. Please email your thoughts, ideas and photos to dave@masoncounty.com.
