
Crafty Time
By Dave Pierik, Shelton-Mason County Journal
Fun With Bridges!


A bridge will go nicely with the trees, roads and buildings of our Happy Tree Village diorama.
0. Setup
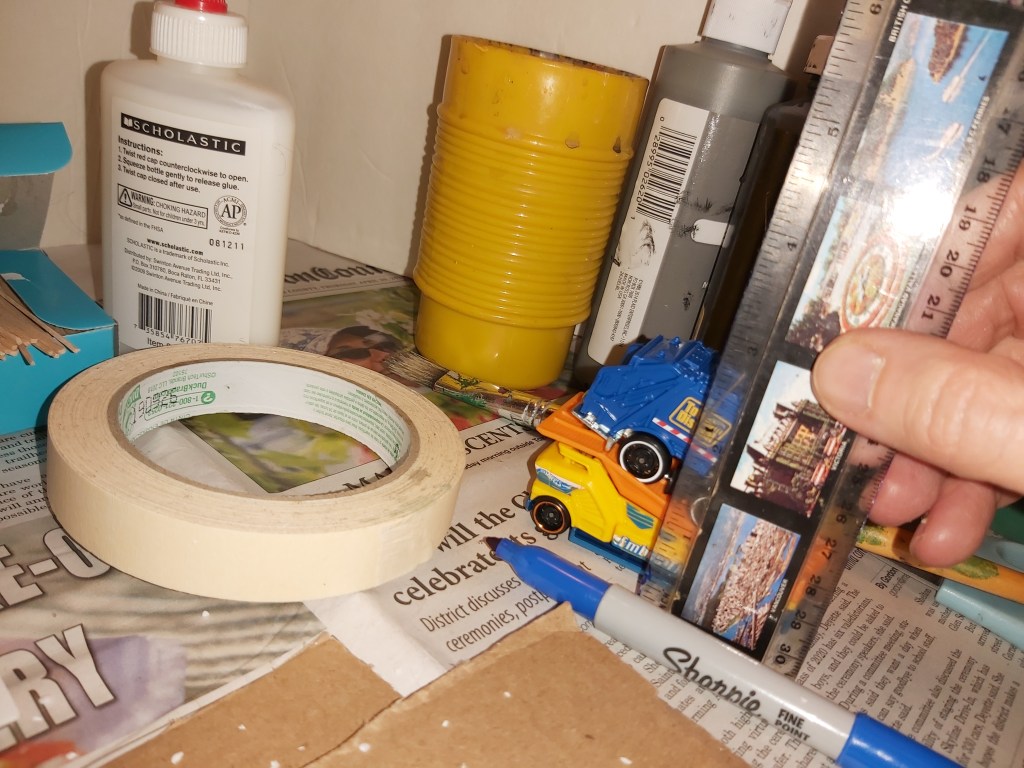
You will need:
Tools: Ruler & Marker, Scissors, paintbrush, and a Knife (an old kitchen knife will work)
Materials: Styrofoam, Cardboard, Craft Sticks, 4 Wooden Clothespins, Paint, Glue, Masking Tape, and a bit of dried moss.
A Plan: Here’s what we want: something solid (We’d rather not build it twice!) that can go over either roads or water. Our roads are about 4” wide and most vehicles, etc. at this scale range are around 2” tall or less.
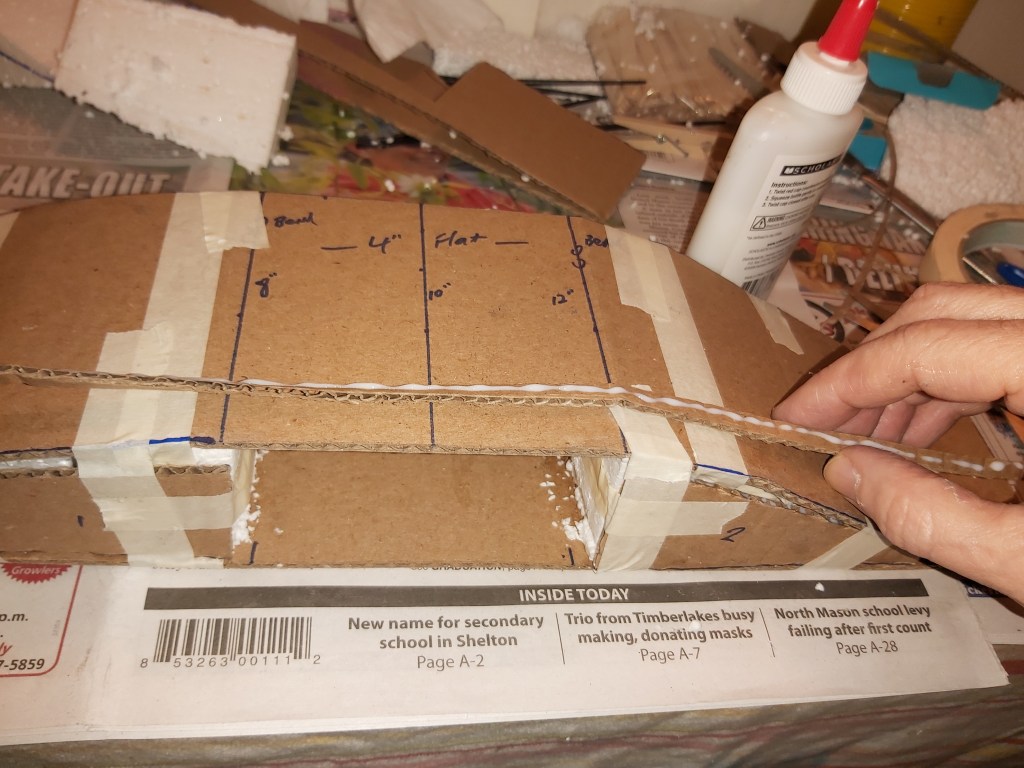
- Measure
Styrofoam: 2 triangles, 4” wide x 2.75” tall, tapering 5.5” This does not have to be pretty, it’s for support. Cardboard: 4” wide x 22” long (road, to bend over the Styrofoam), over the top of a base piece, 4” wide x 20” long. 2 lengths (curbs) .25” wide x 22” long. This example also uses 4 side covers, triangles 2.5” tall tapering 5.5”
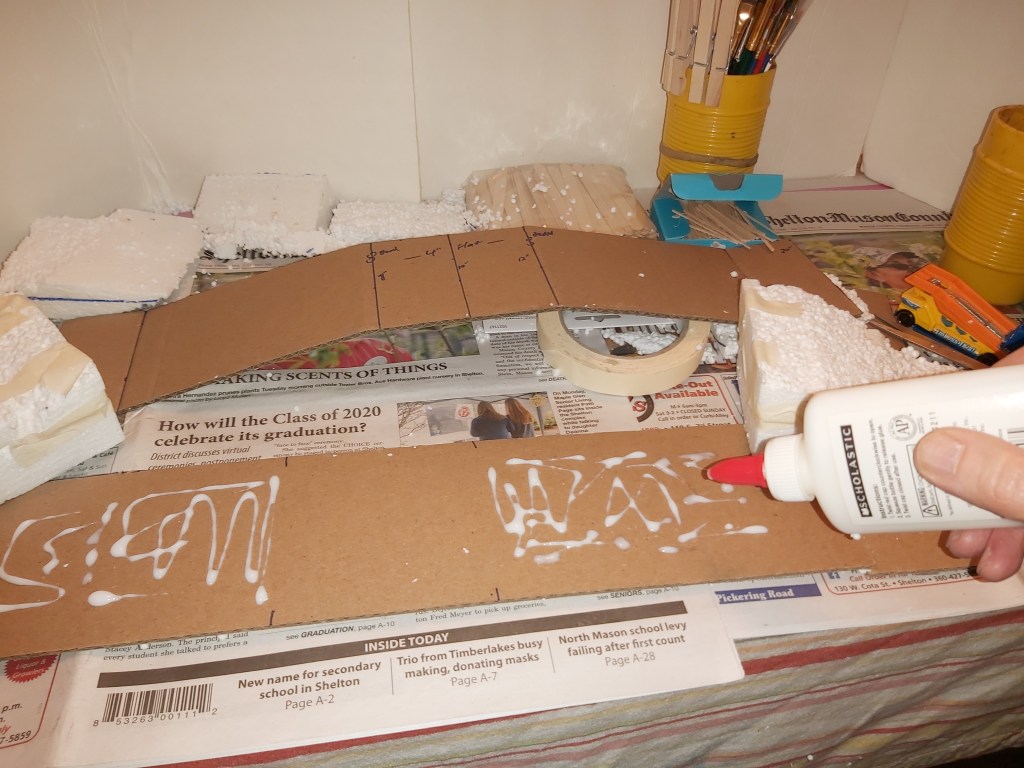
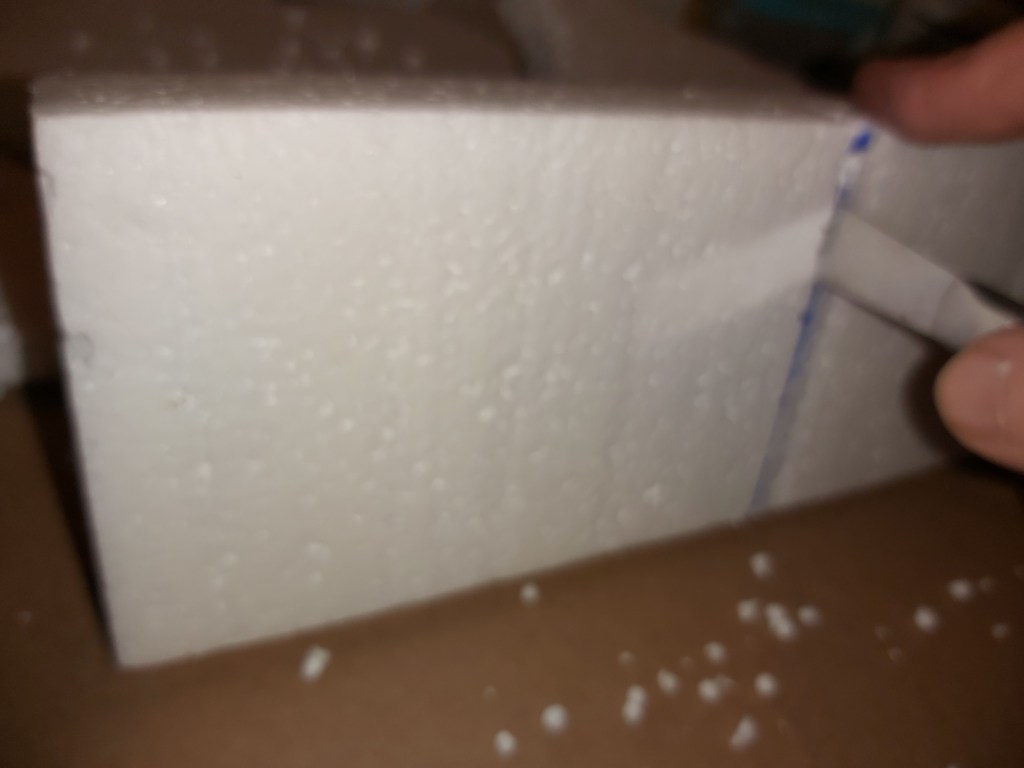
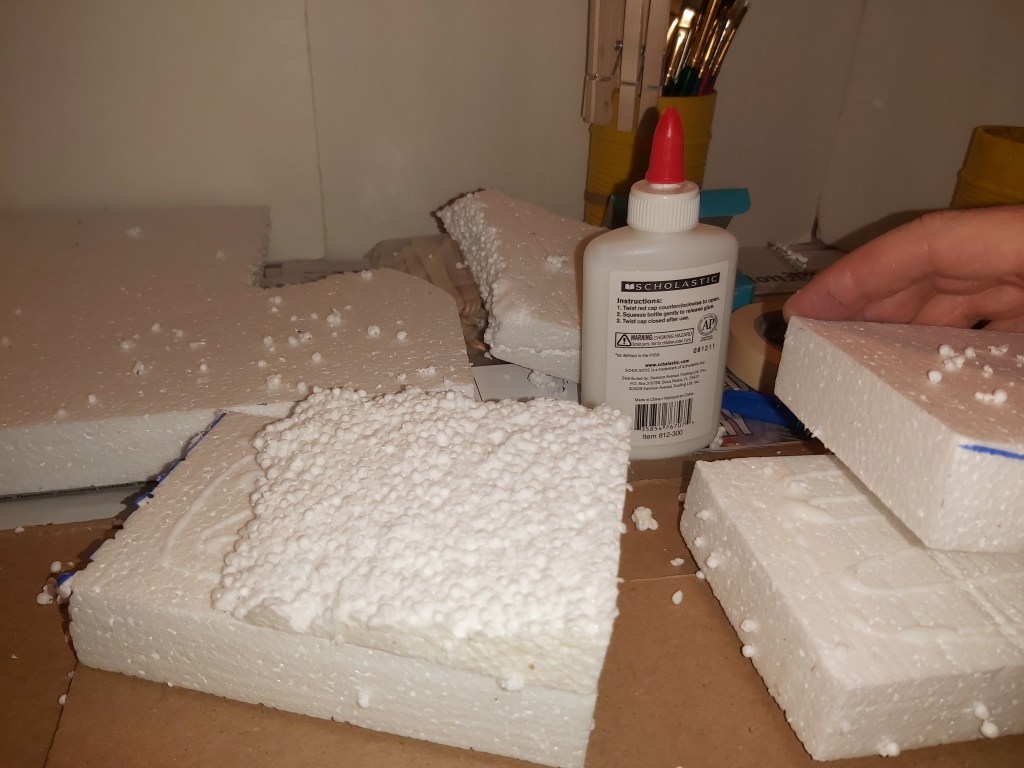
2. Cut & Assemble
Note that you might need to glue Styrofoam together and let dry, then cut it to size/shape with your old table knife. Place the Styrofoam triangles on the base and test-fit and mark the road over the top, then bend (don’t cut) the road along your marked lines. Glue it all together.
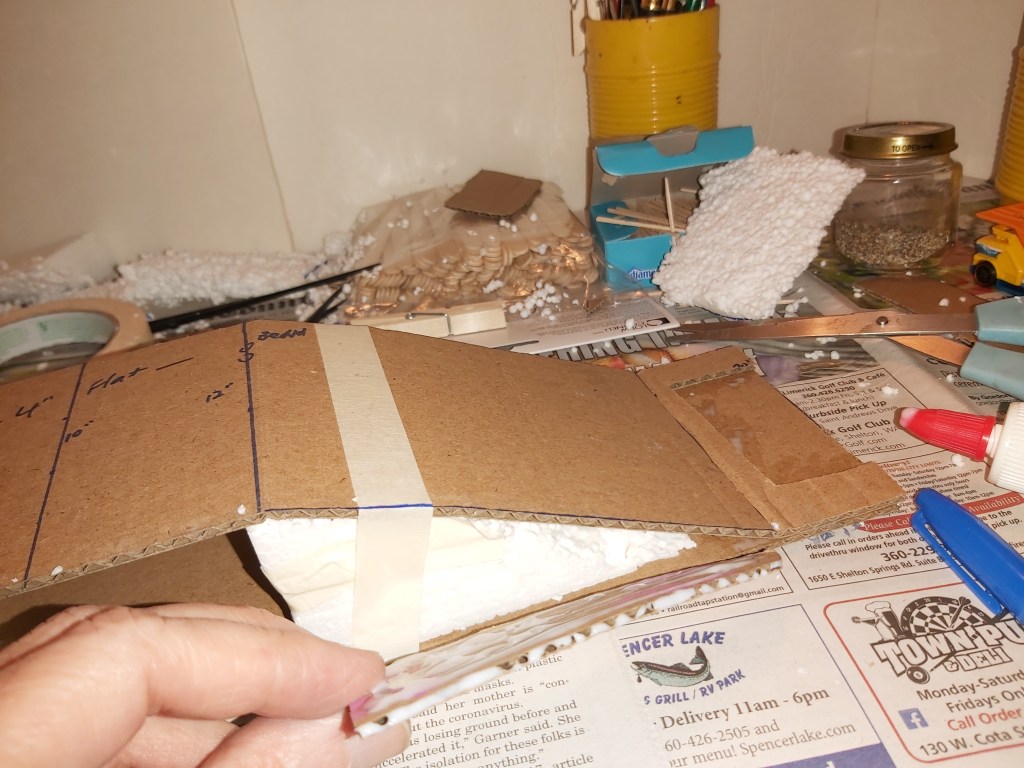
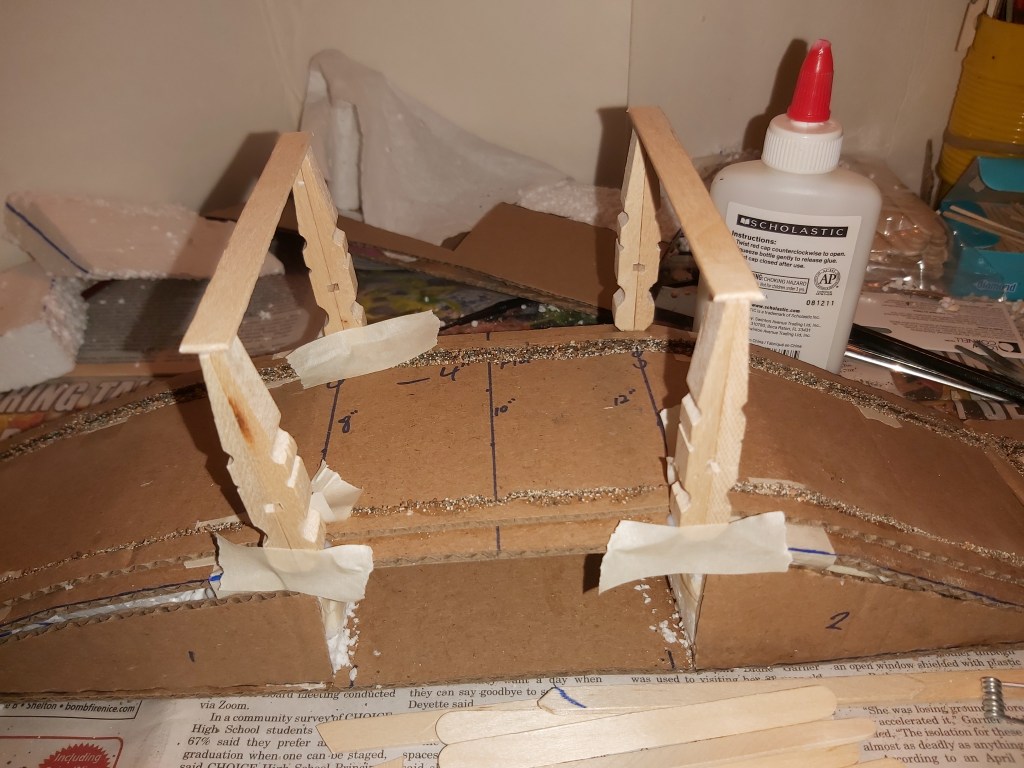
3. Clamp
Use your masking tape to keep it all together until the glue can dry, but before it completely dries, go to step 4.
4. Test fit
Make sure your bridge will be wide and tall enough for what you want to do, and adjust as needed. Now is the time to make sure it’s coming together according to your plan. Tick-tock, the glue is drying!
5. Curbs
Glue down the strips, leaving some room on the outside (the width of a clothespin). Then put more glue along the inside of the strips and flock with sand, the same as we did with roads in a previous Crafty Time. Let dry.
6. Pillars
Take the metal spring out of a clothes pin. Now, flip around and glue the flat parts together. Make 4 of these interesting-shaped pillars, and line them up on the outside top corners. Glue them down, clamp with masking tape and let dry.
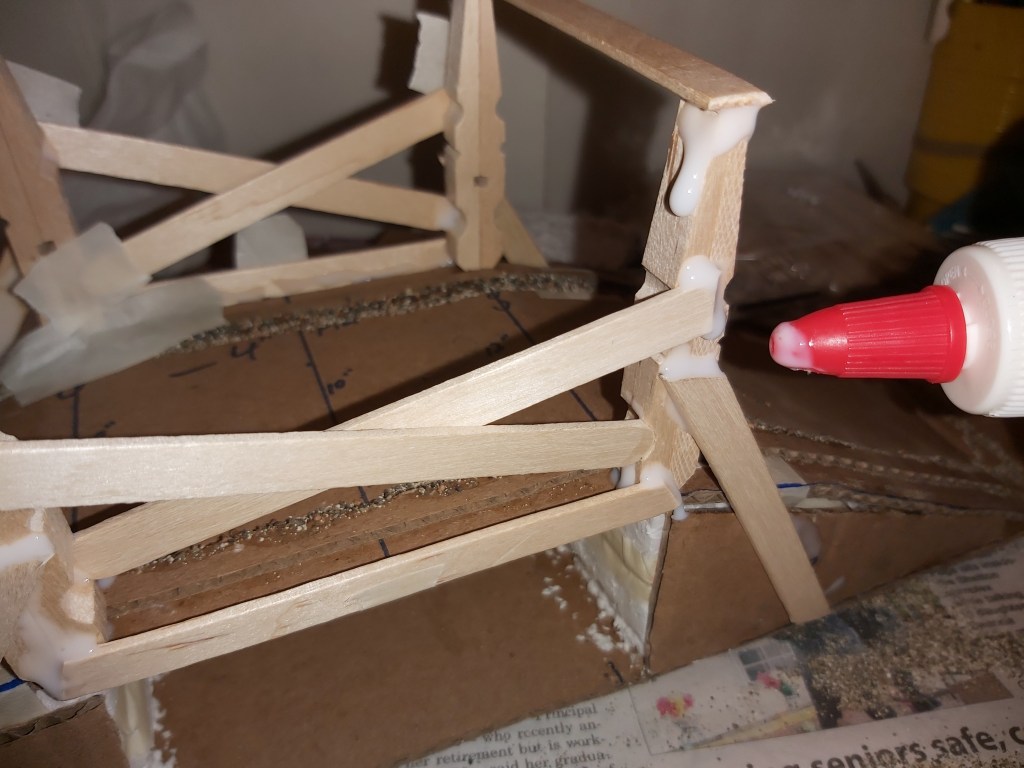
7. Crossbeams
Carefully test-fit two craft sticks across the pillars. With scissors, cut them to size. Glue them down.
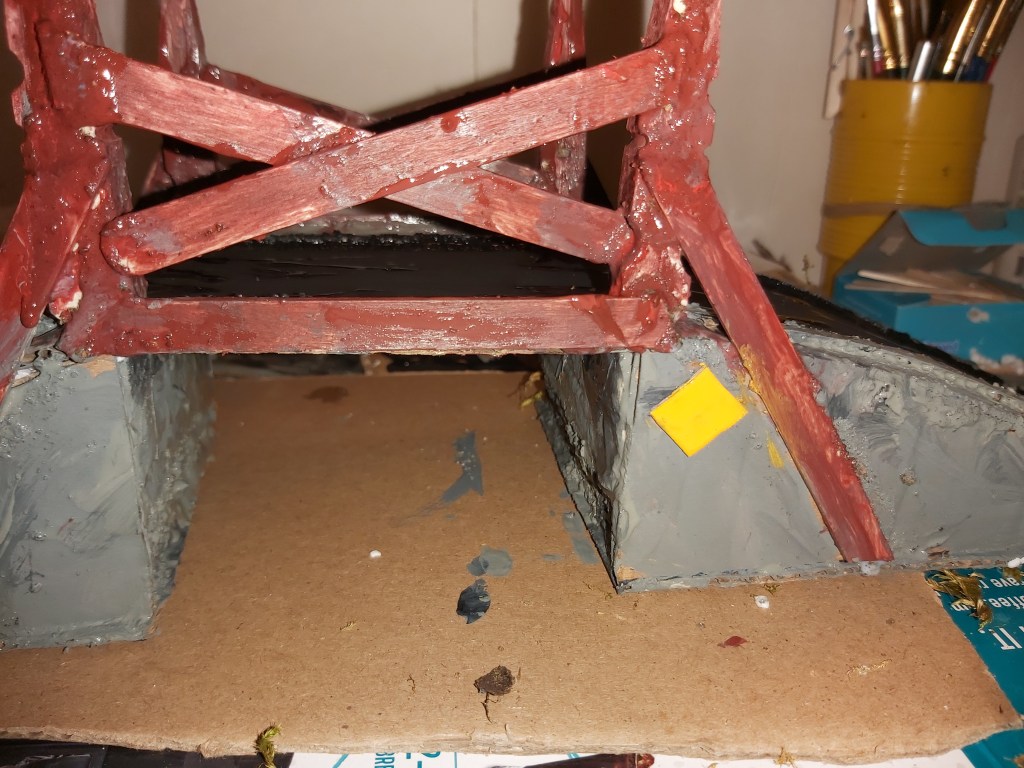
8. Diagonal Bracing
Use the details on the pillars to line up craft sticks. Test-fit, mark, cut and glue in place. Let dry. Add more glue on all the joints, flock with sand, and let dry again.
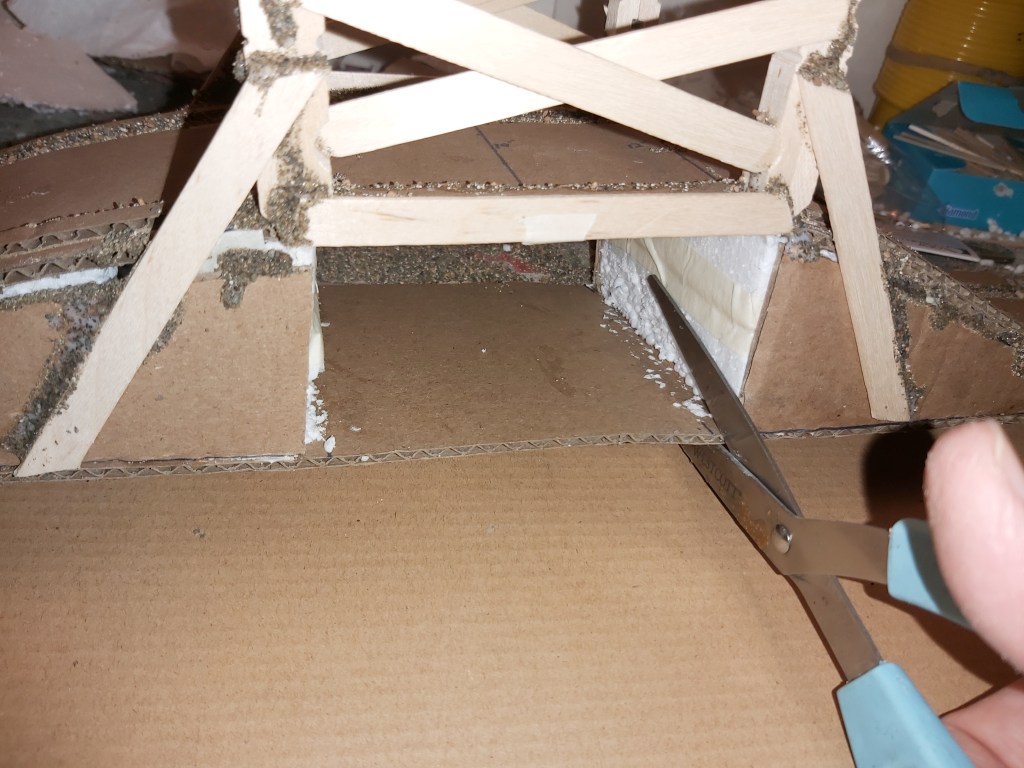
9. Cut opening
Now that everything is solid, you can cut the middle part of the base out. It should be just over 4” wide.
10. Check
Pick the bridge up and turn it around at different angles. Fix anything you don’t like, prior to painting.
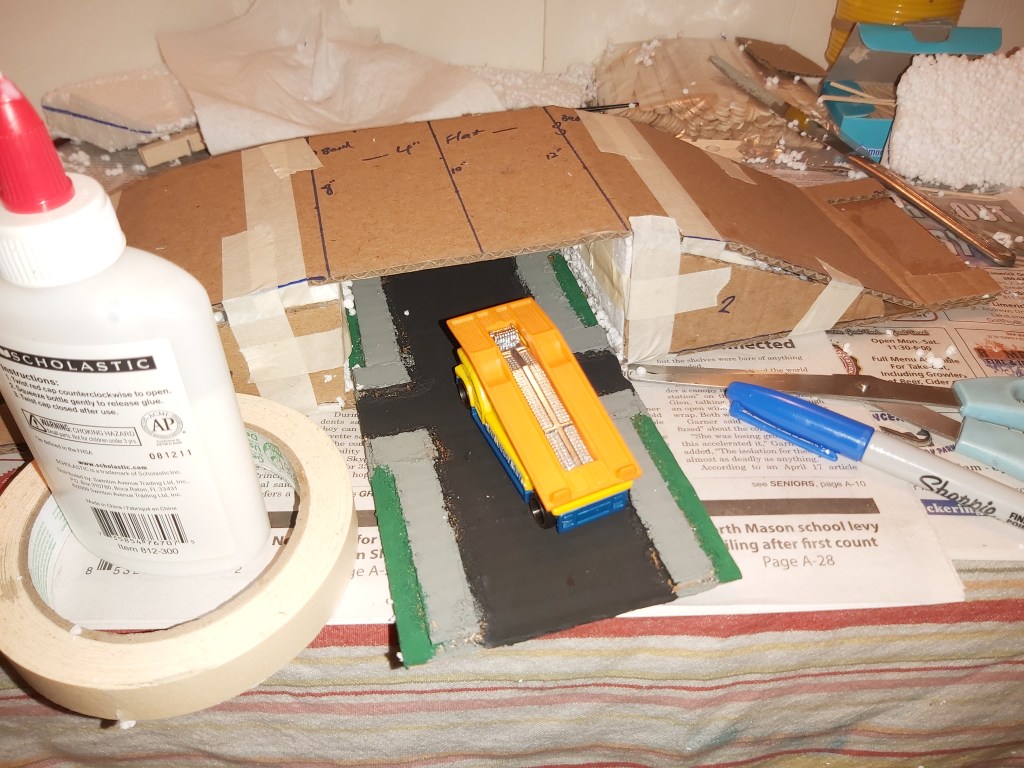
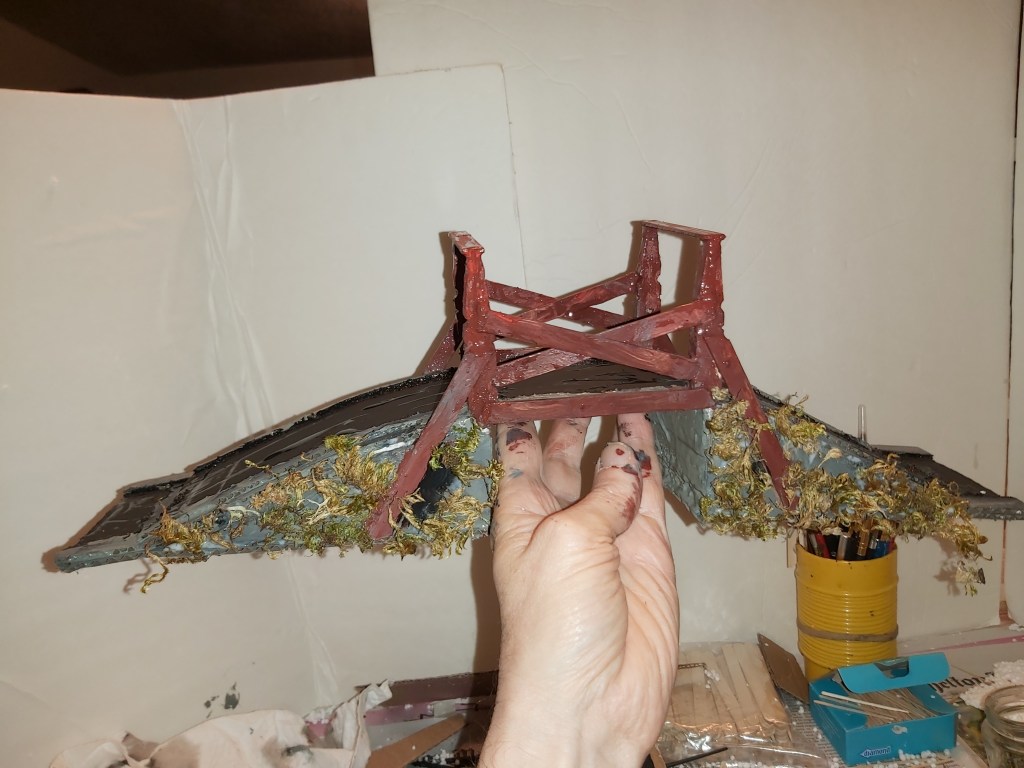
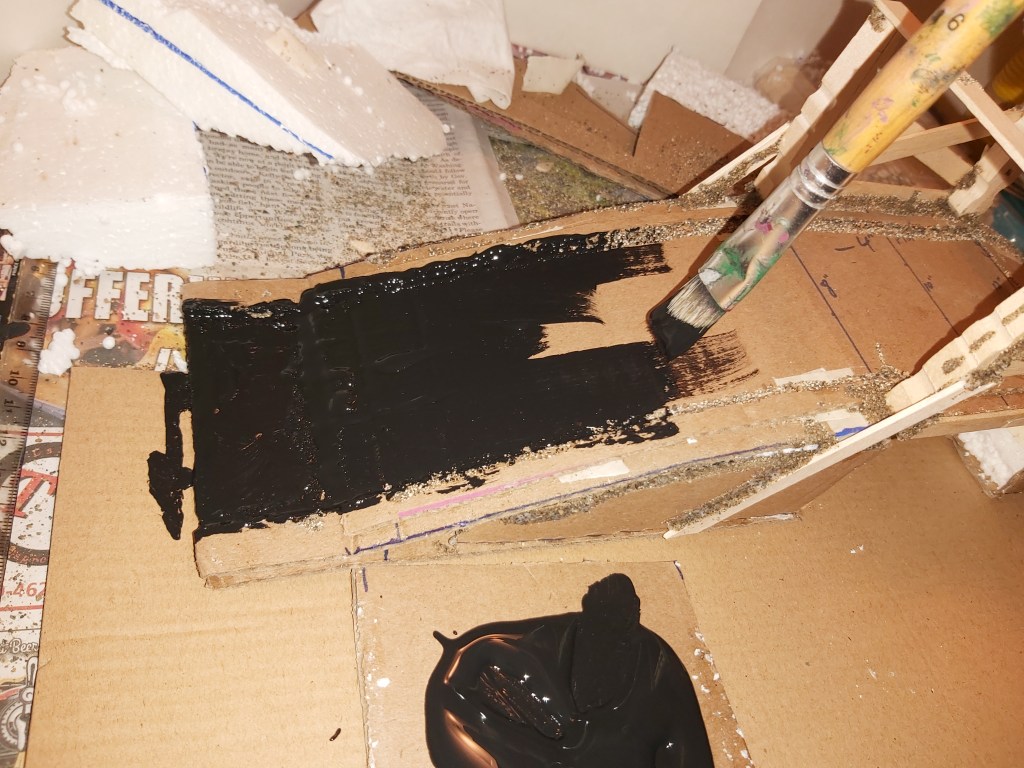
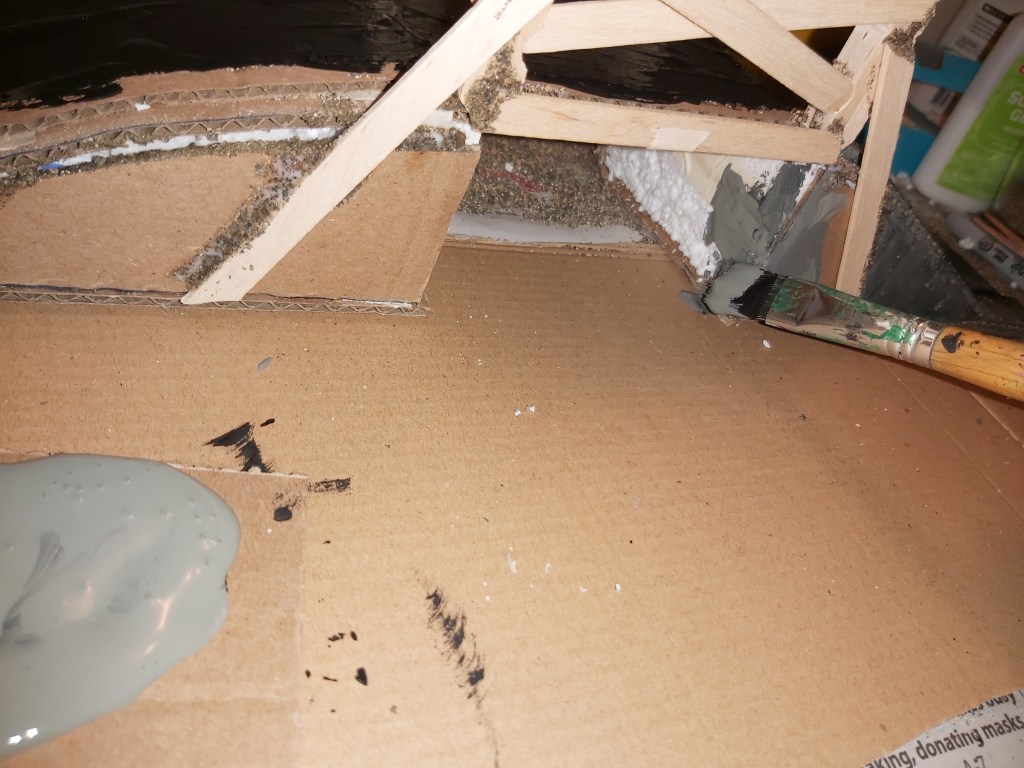
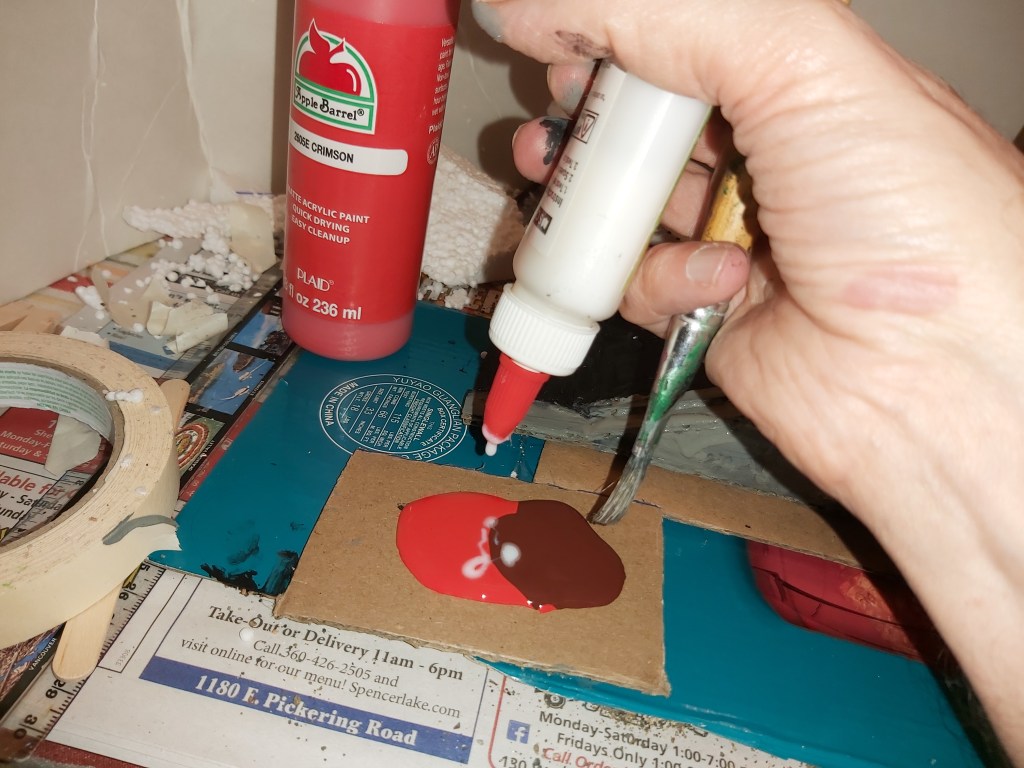
11. Base Coats
Black for the road, grey for the concrete, and a mix of red and brown for the bridge. You can mix things into your paint such as glue for extra strength, a bit of sand for extra texture detail, and/or water if you prefer thinner coats.
12. Foliage
Put the glue on first, then carefully place the bits of dried moss where you want them, pushing them into the glue. Check and adjust until you like it. Let dry.
13. Details
A caution sign for a low bridge makes sense. Cut a square of cardboard, glue it on there and paint it orange. Add all the other details you like.
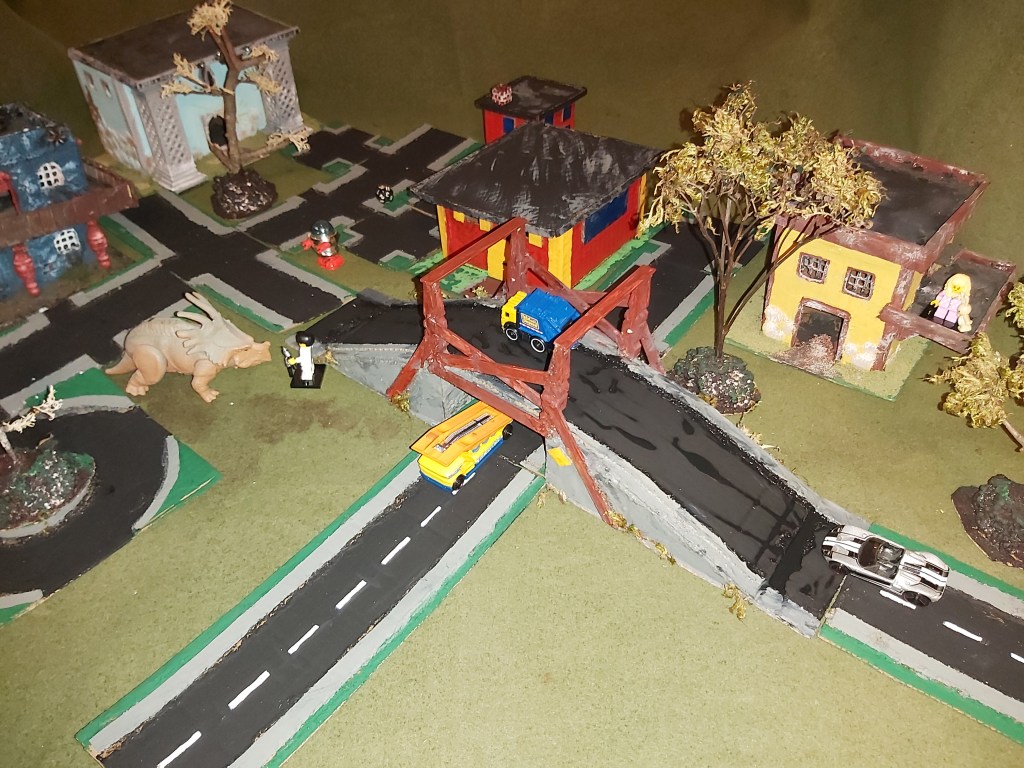
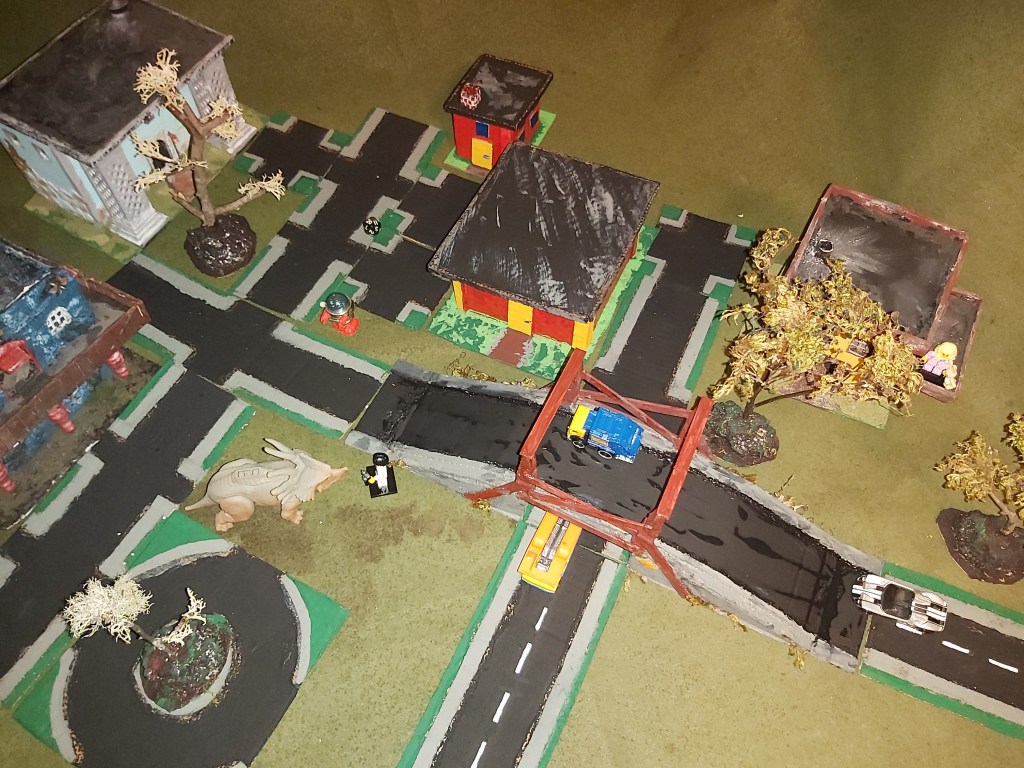
14. Overview – Bridge
Happy Tree Village now has a bridge you can put over the top of road sections. It would also work over the top of water, which is conspicuous by its absence – until another time!
Have you created anything lately? What would you like to see in an upcoming Crafty Time? Email dave@masoncounty.com with your photos and feedback!
