05.21.dp.bw.Show and Tell.CraftyTime
Crafty Time
By Dave Pierik, Shelton-Mason County Journal
Show and Tell
Today is my birthday. So to celebrate, I have three birthday wishes, in three parts! 1. I would love to show off my daughter, Bella Wilson’s buildings! 2. I’m telling you more about my process from concept to creation! 3. I painted up some Happy Tree citizens, and I have some stories to tell about them!
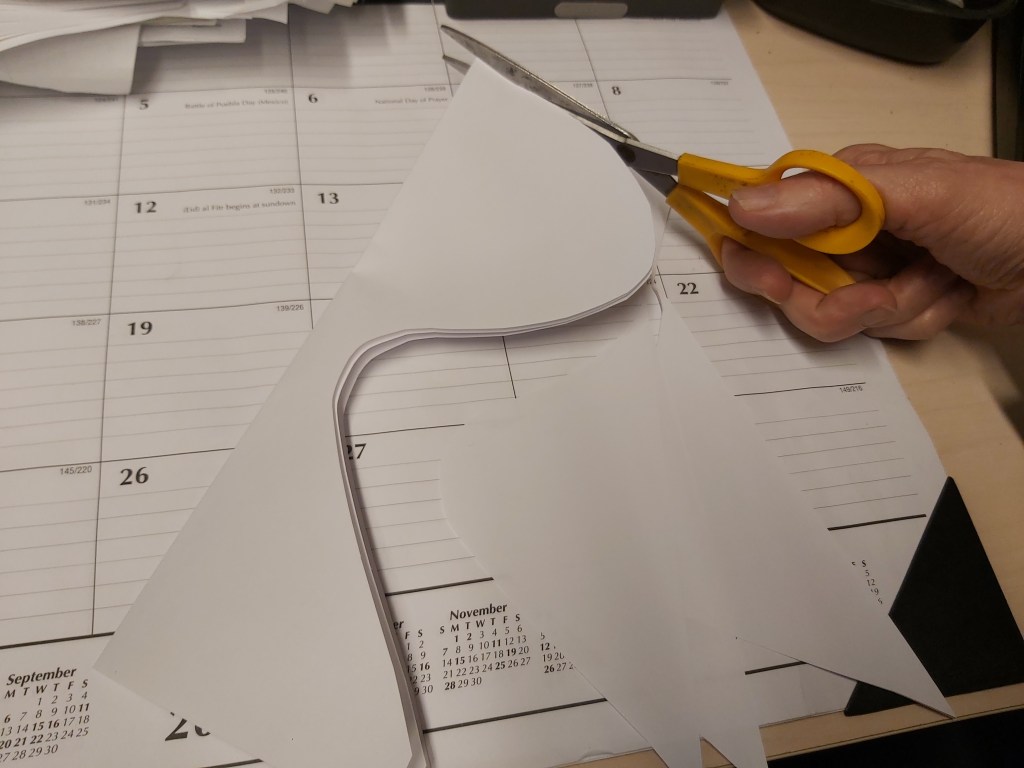
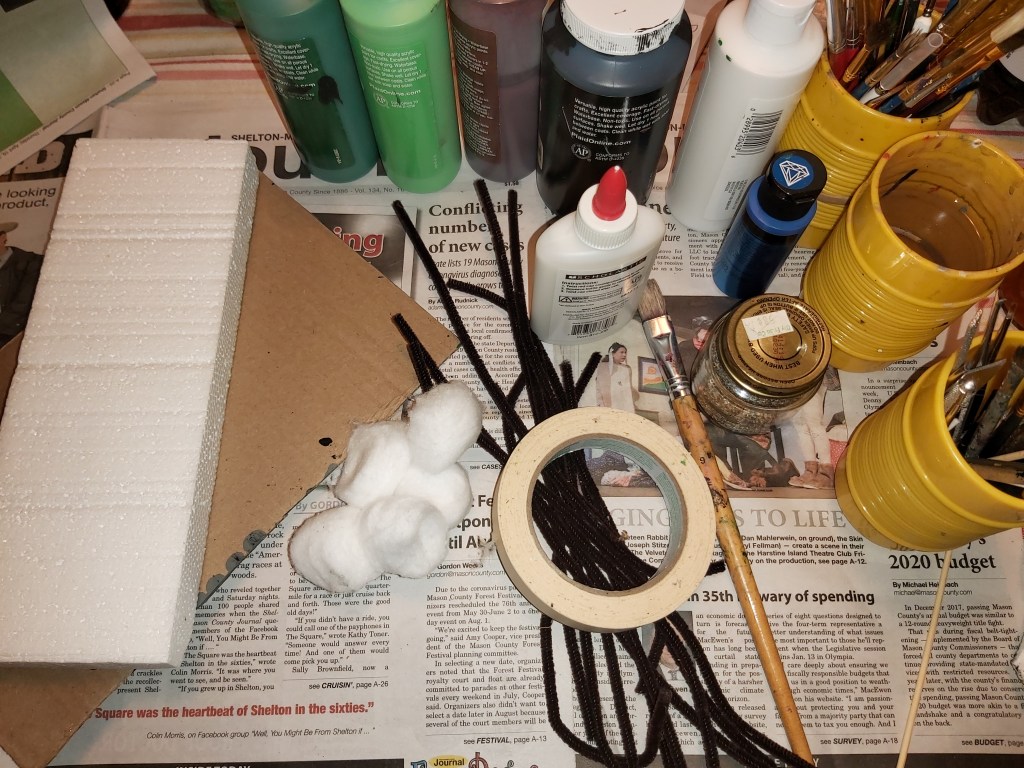
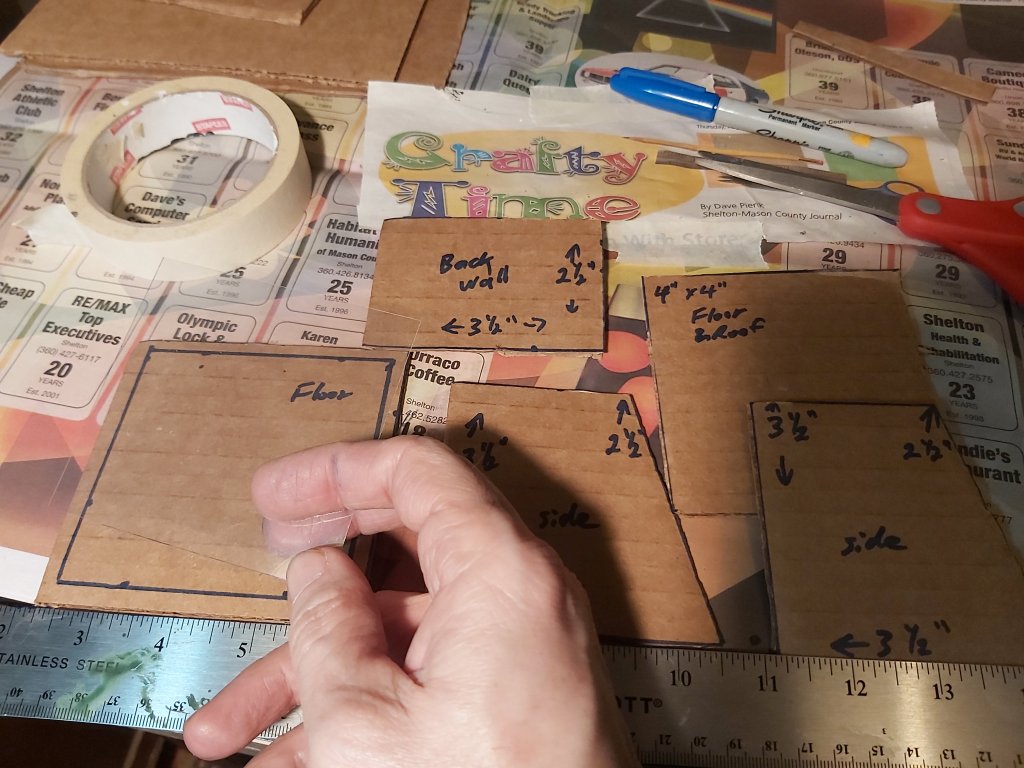
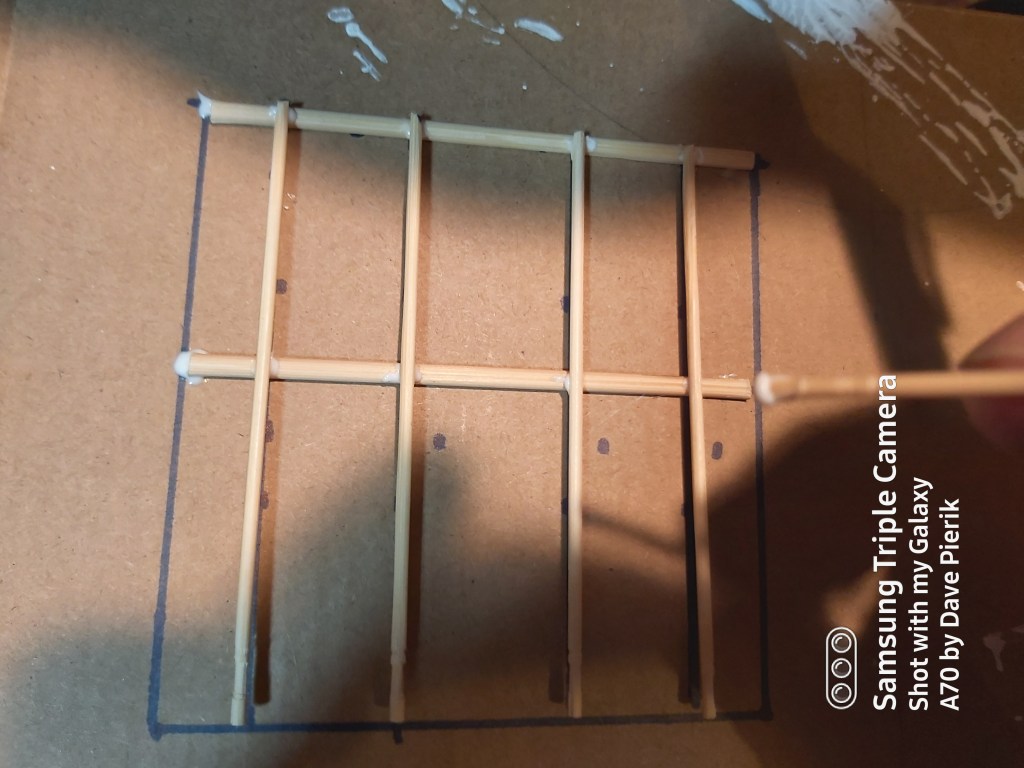
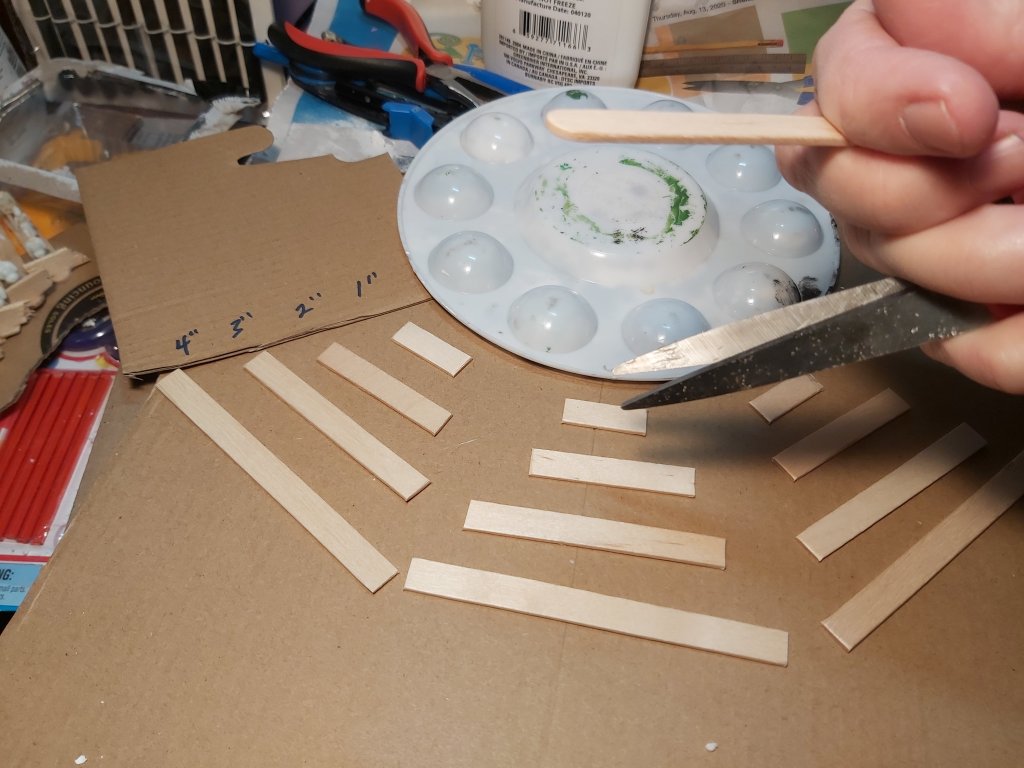
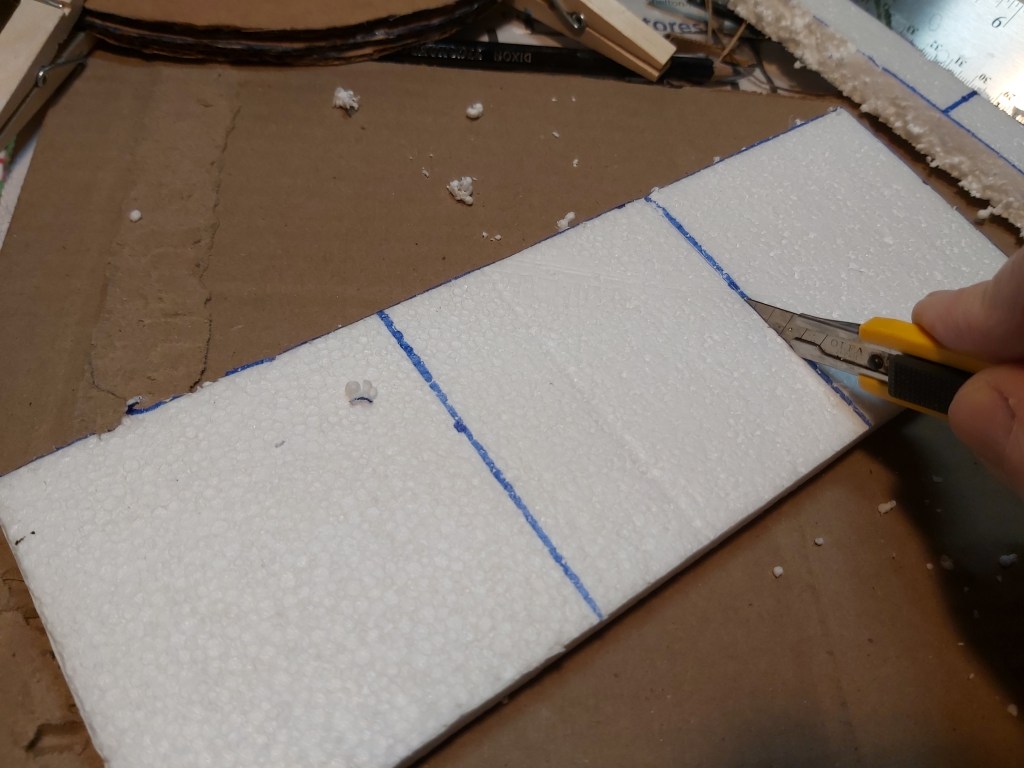
Tools: ruler, scissors, paint brushes.
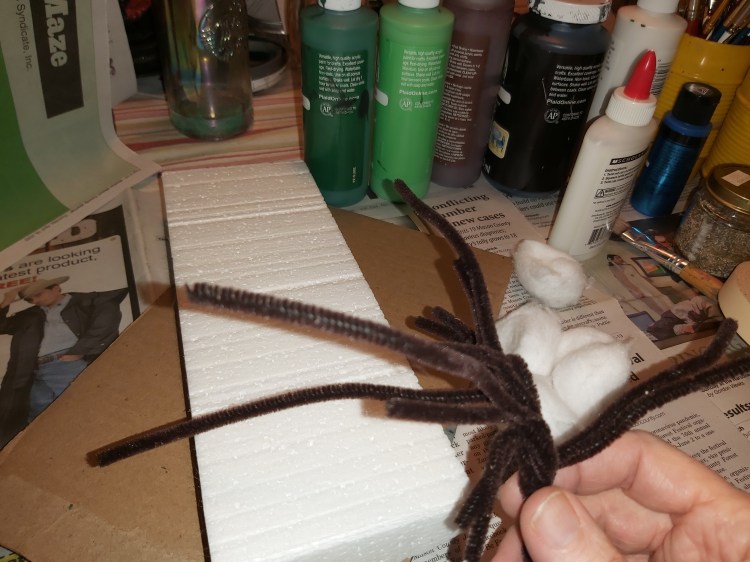
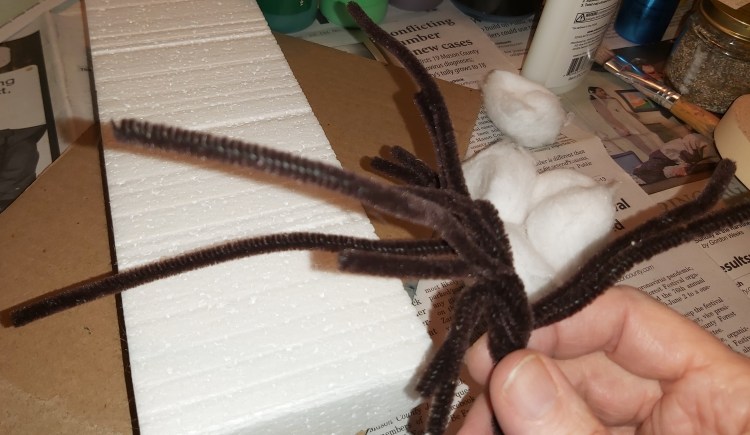
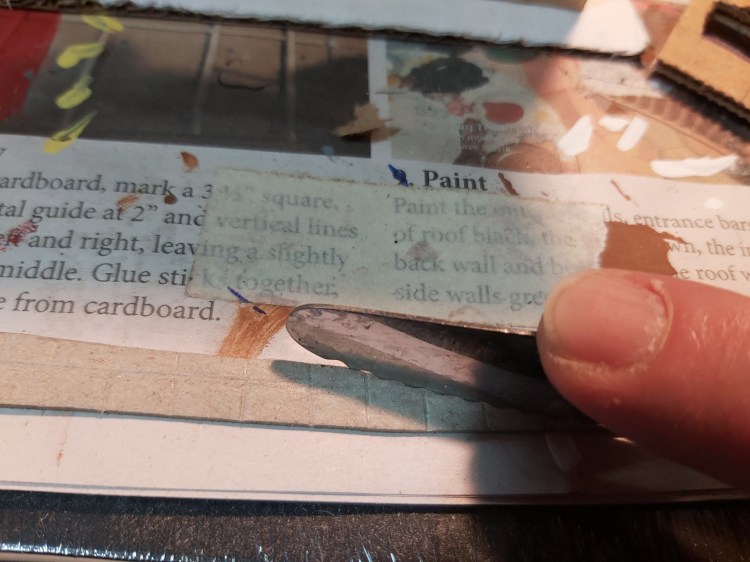
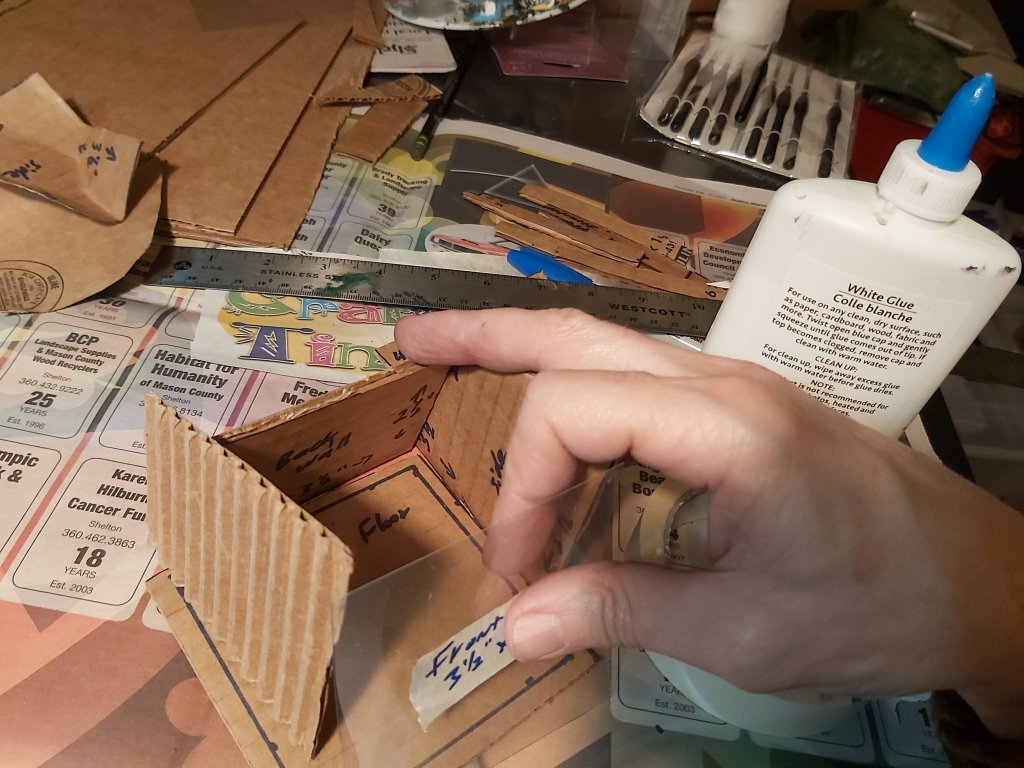
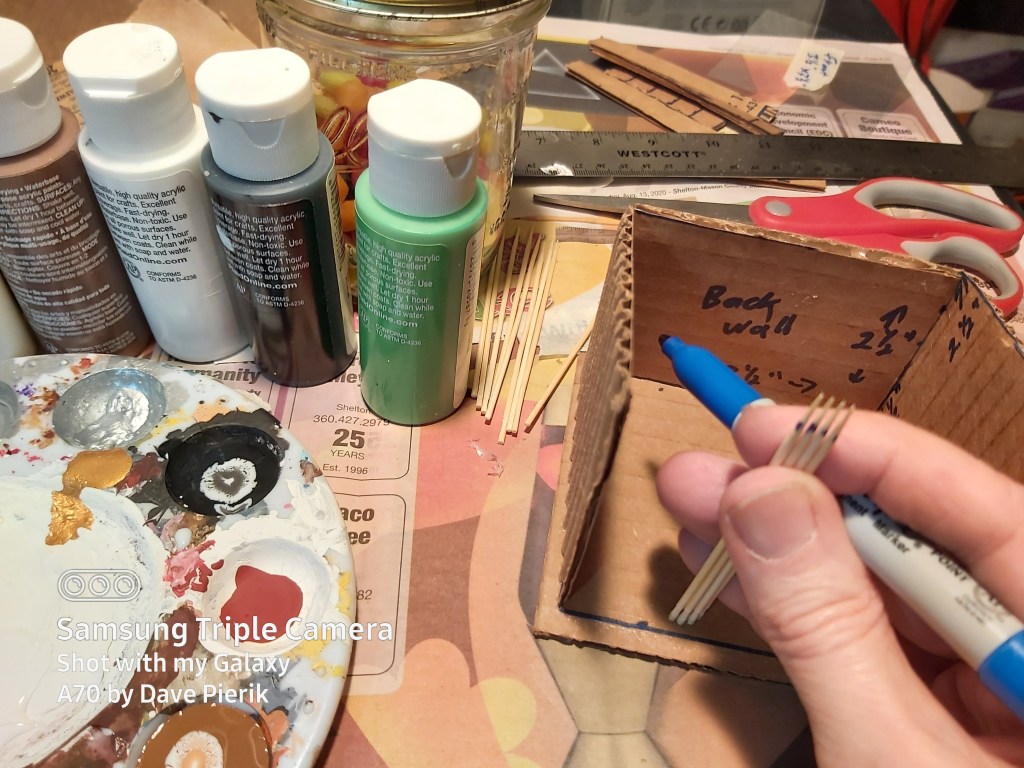
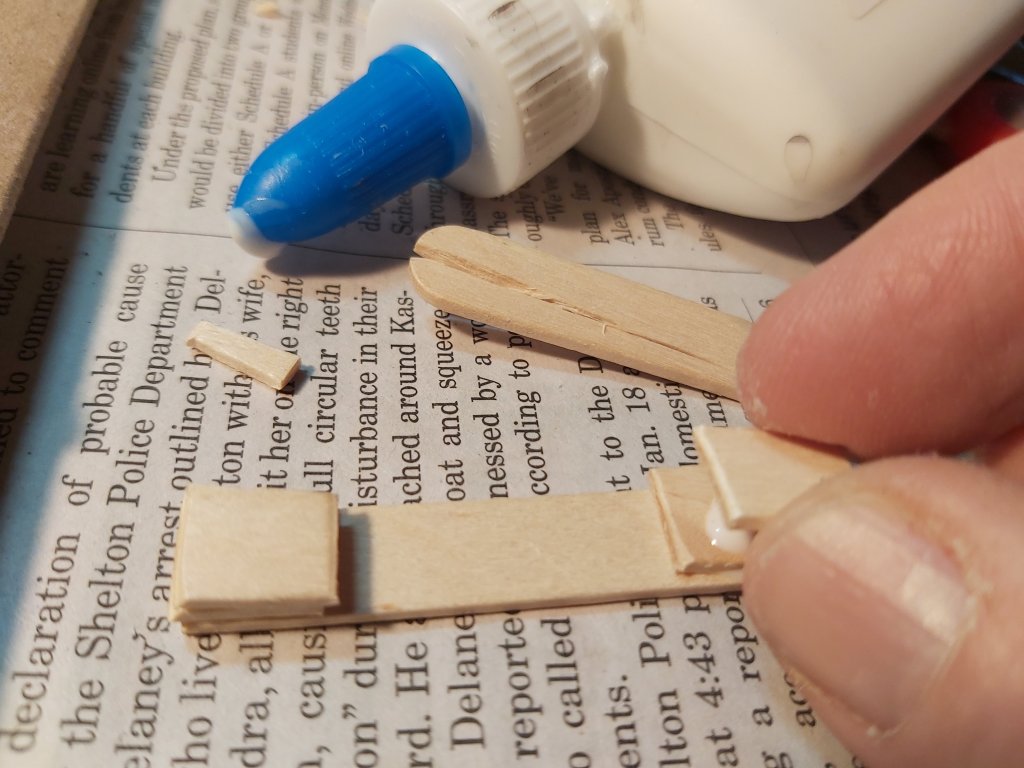
Materials: cardboard, masking tape, white glue, paint.
Cost: about $1-$3 including paint and glue Time: two to four hours or more of fun!
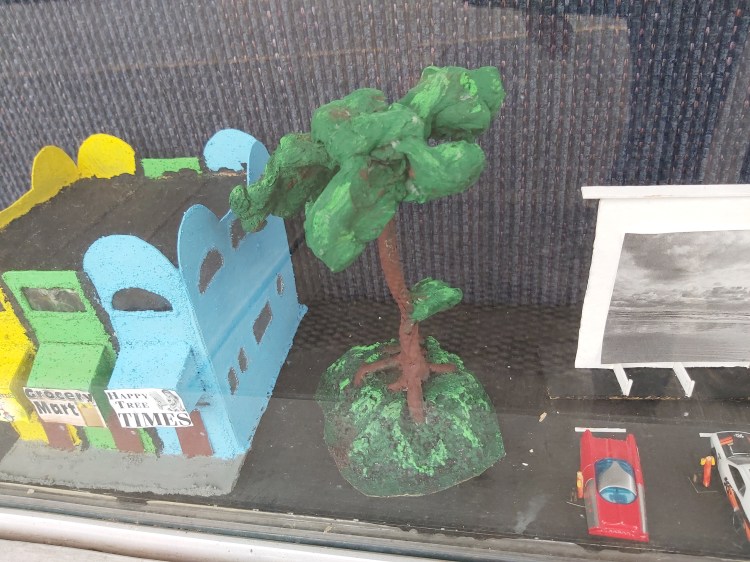
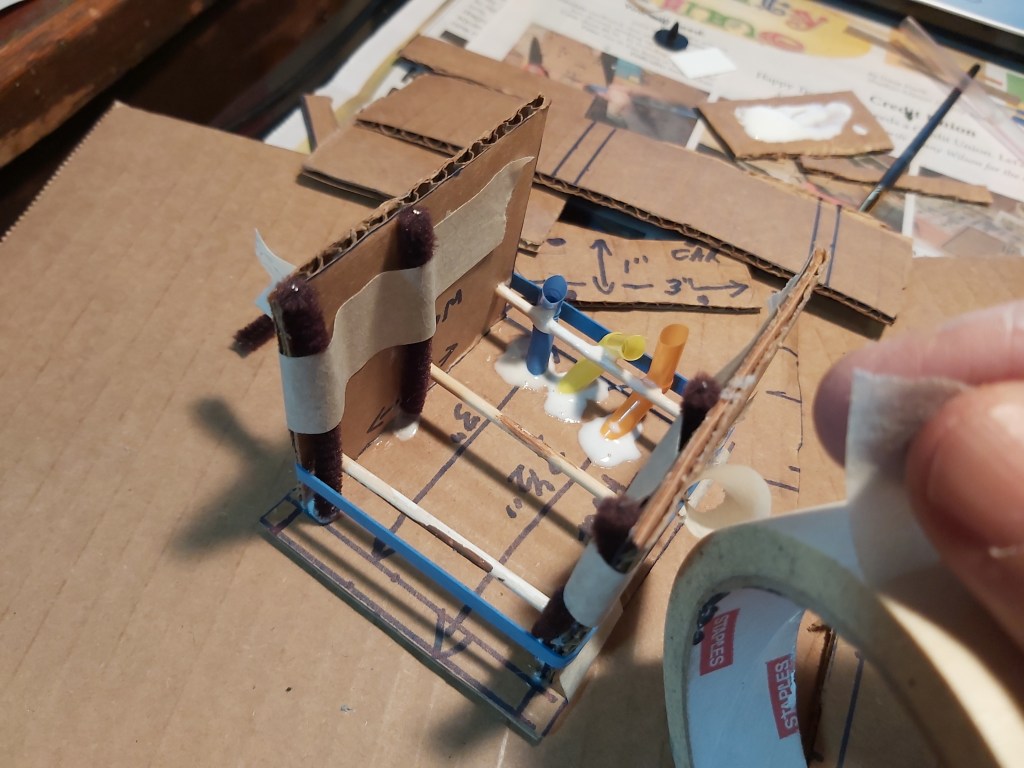
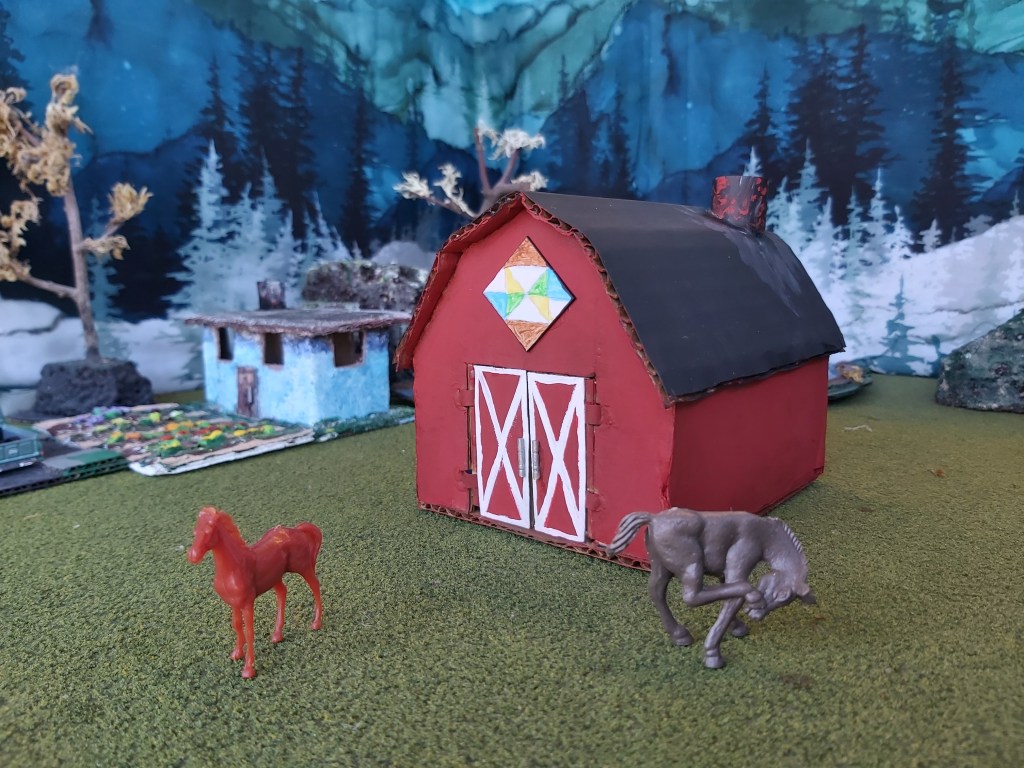
Buildings
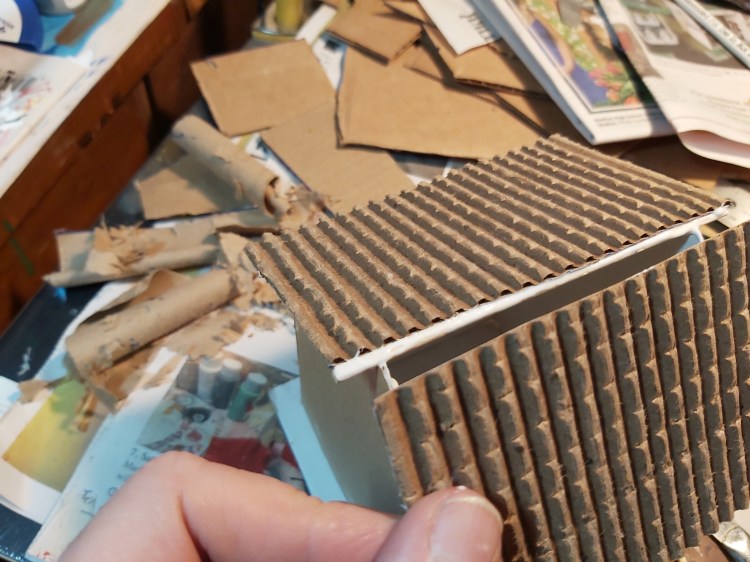
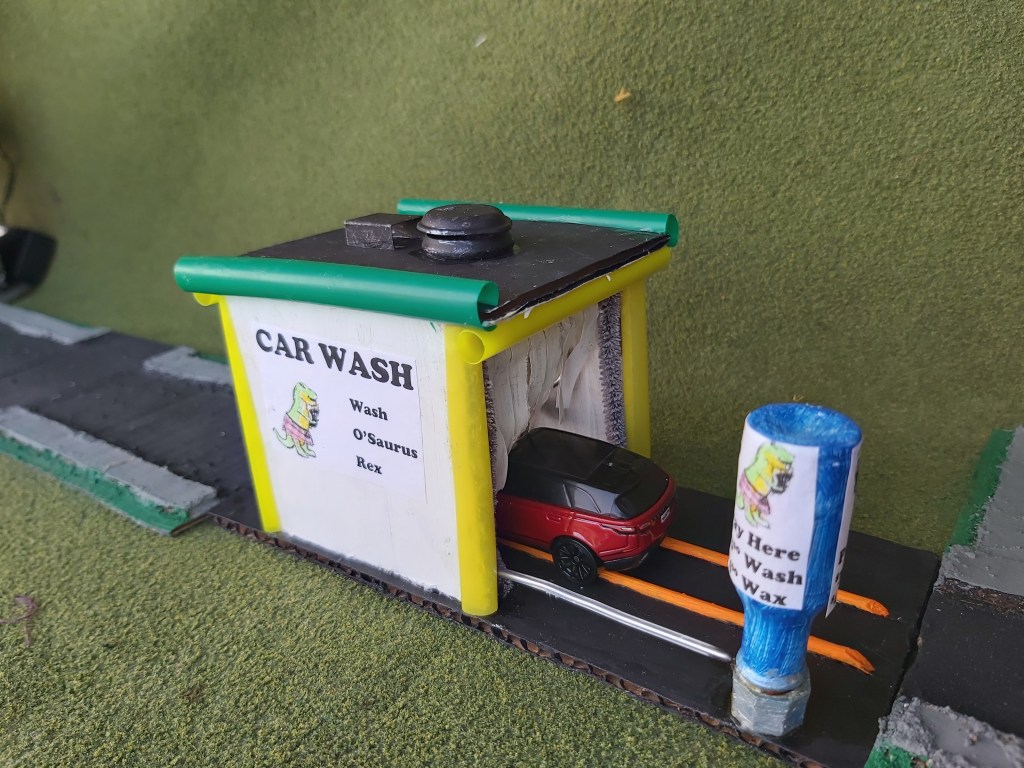
PART ONE – Bella handcrafted these 1/35 scale (1”=5’) fantasy-themed structures from flat cardboard, cardboard cylinders (Pringles® cans), and lids.
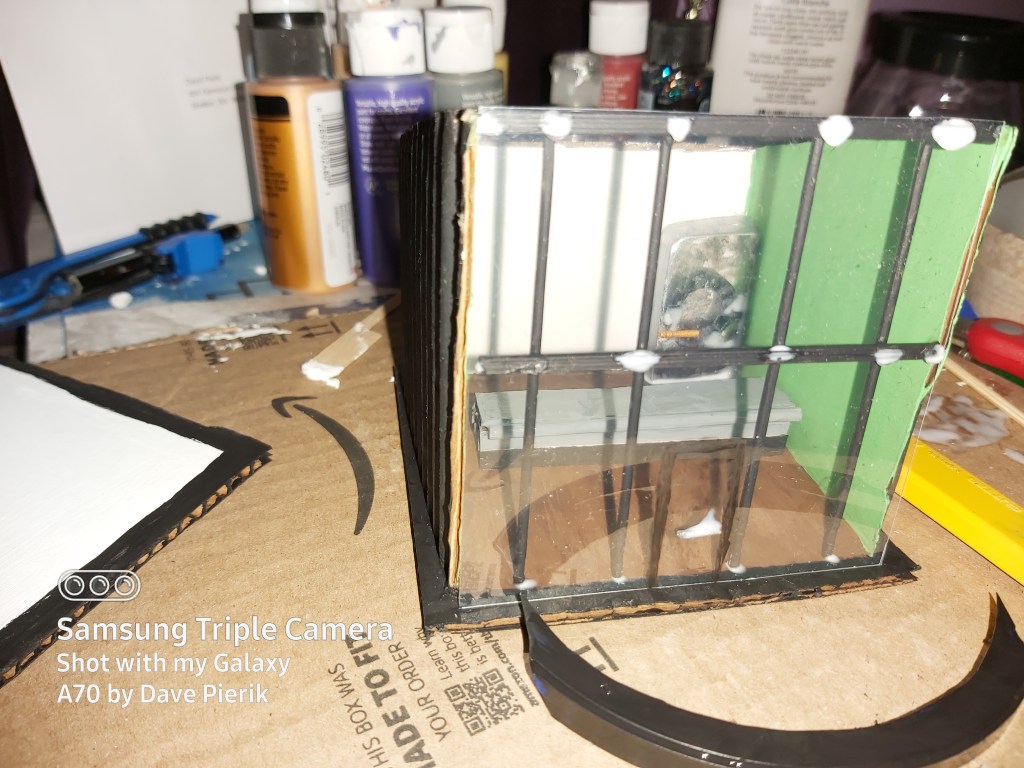
Inn
For this look, combine round and flat shapes with select details such as beads for the detail above the door. The villager figures are from Reaper Miniatures of Texas and are sold unpainted – they are very fun to paint!
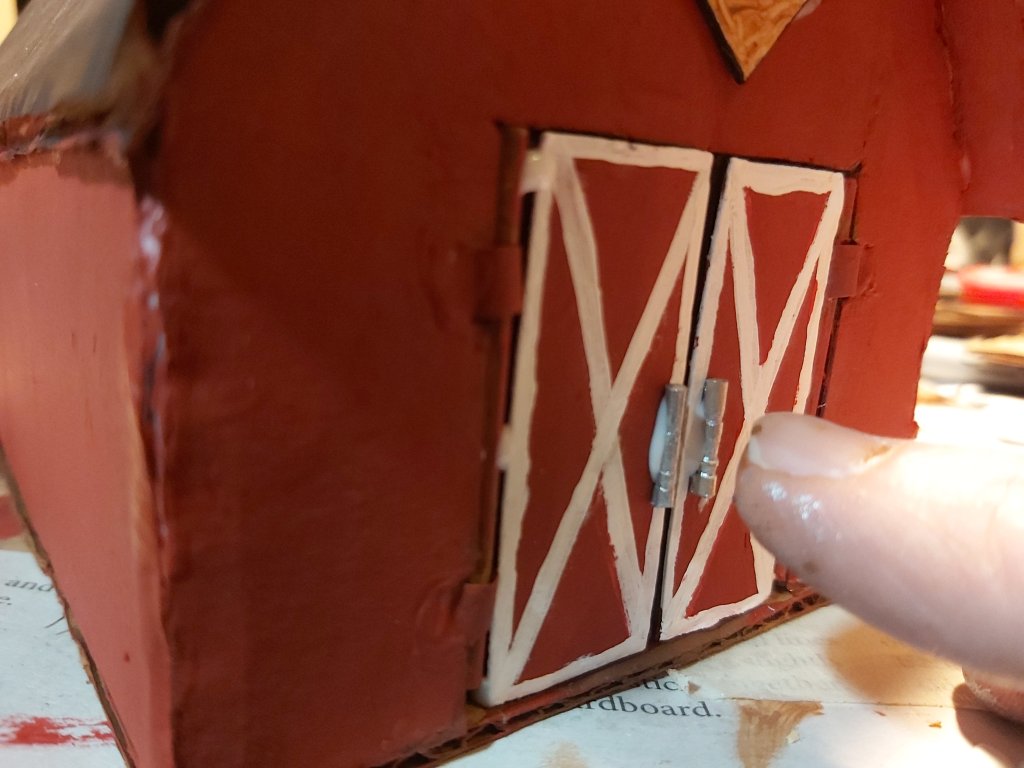
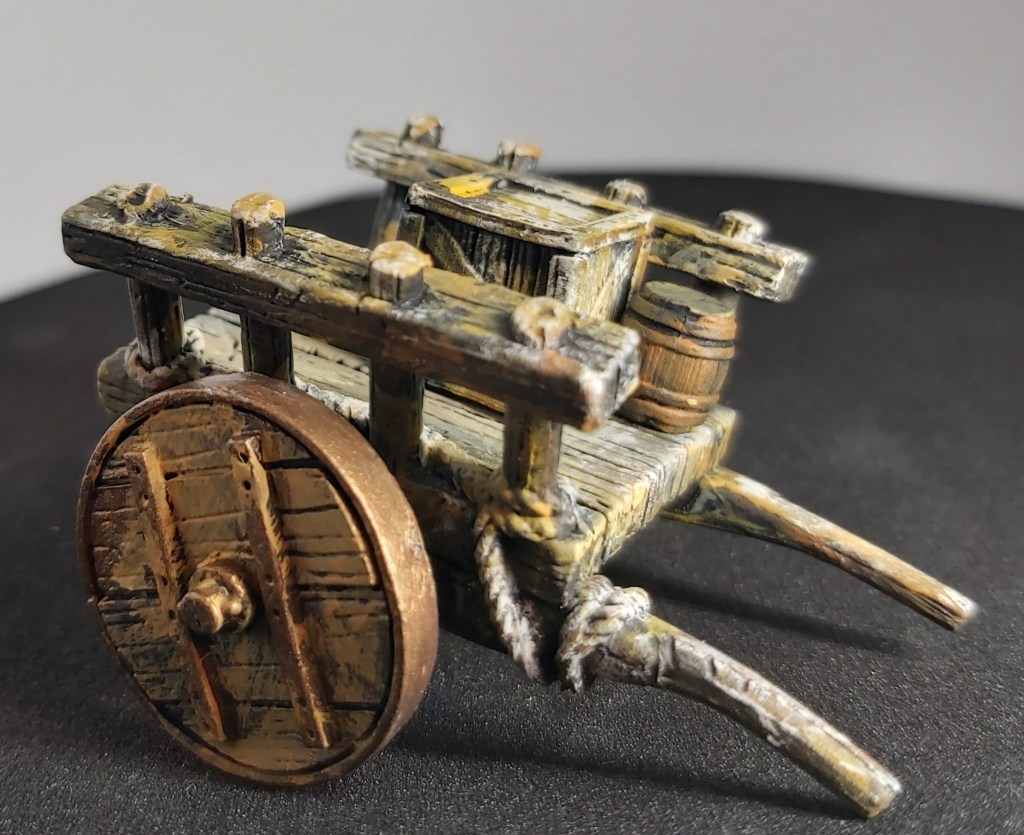
Barrels
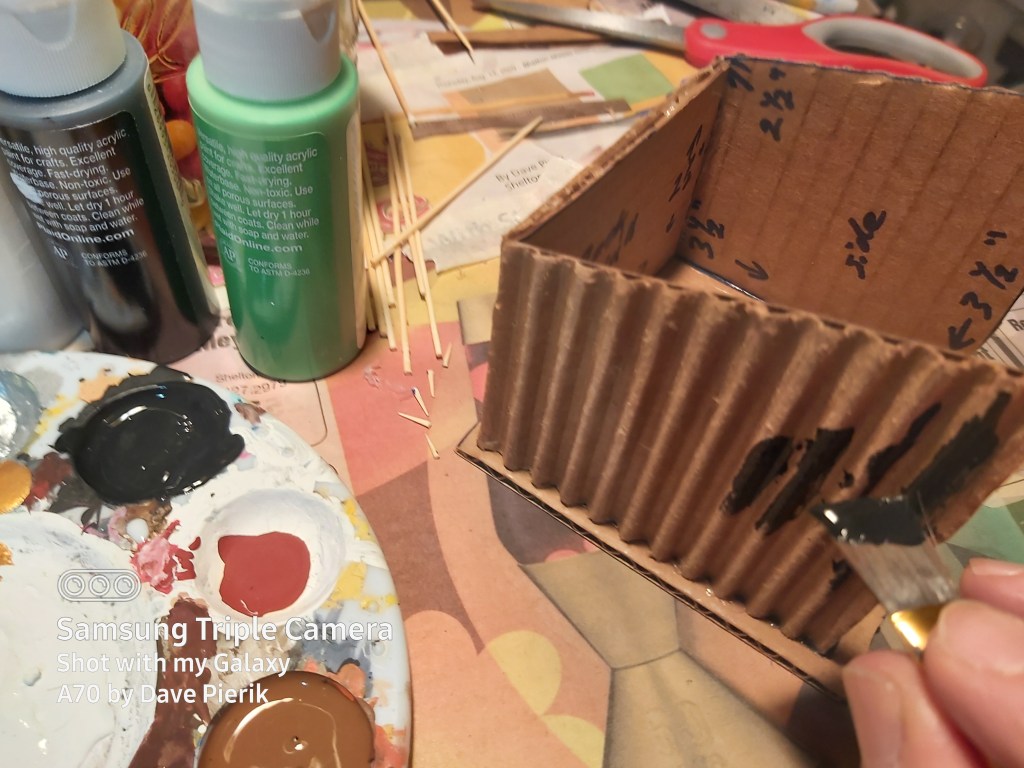
A larger base allows room for details. Bella made the barrels from cork, and glued string around them before painting. The box is cardboard, painted to look like wood.
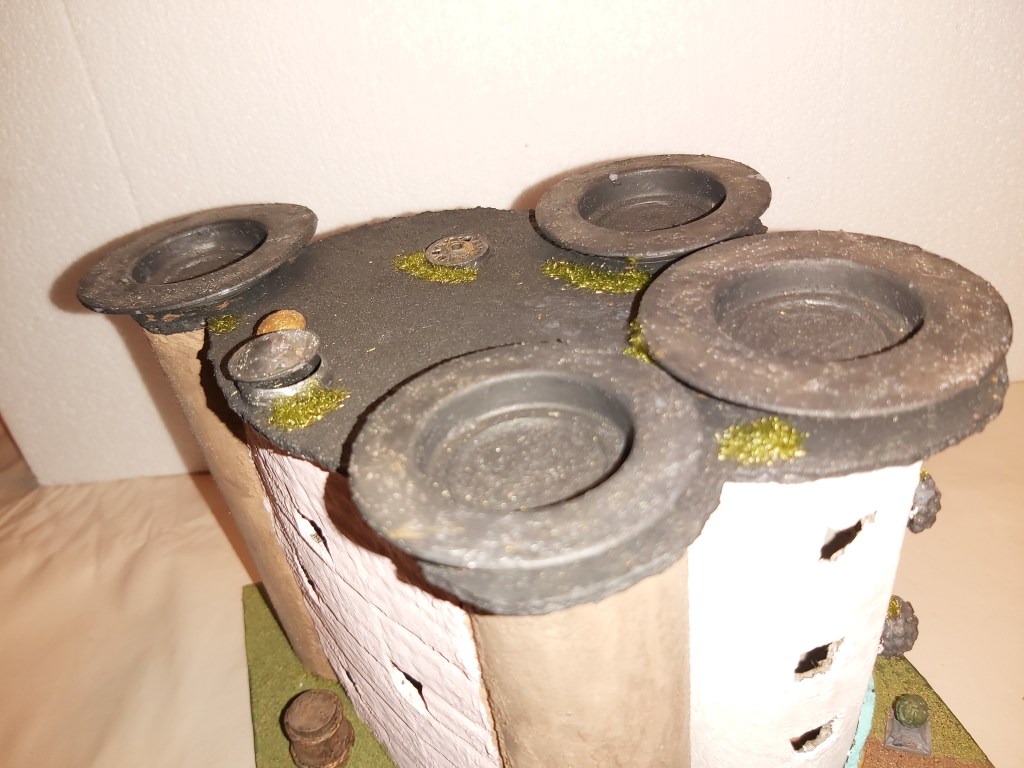
Inn roof
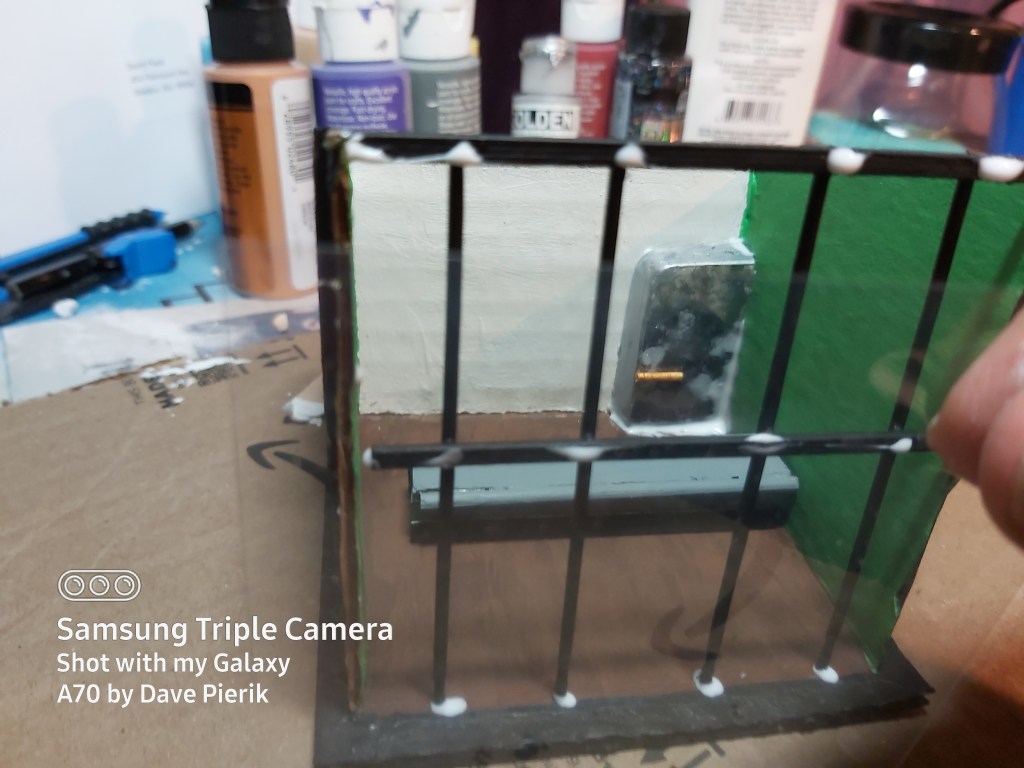
A milk pull for a roof vent and some interesting lids give this roof a magical look. Bits of craft foliage add detail. A black base coat of paint with light grey and silver highlights completes the effect.
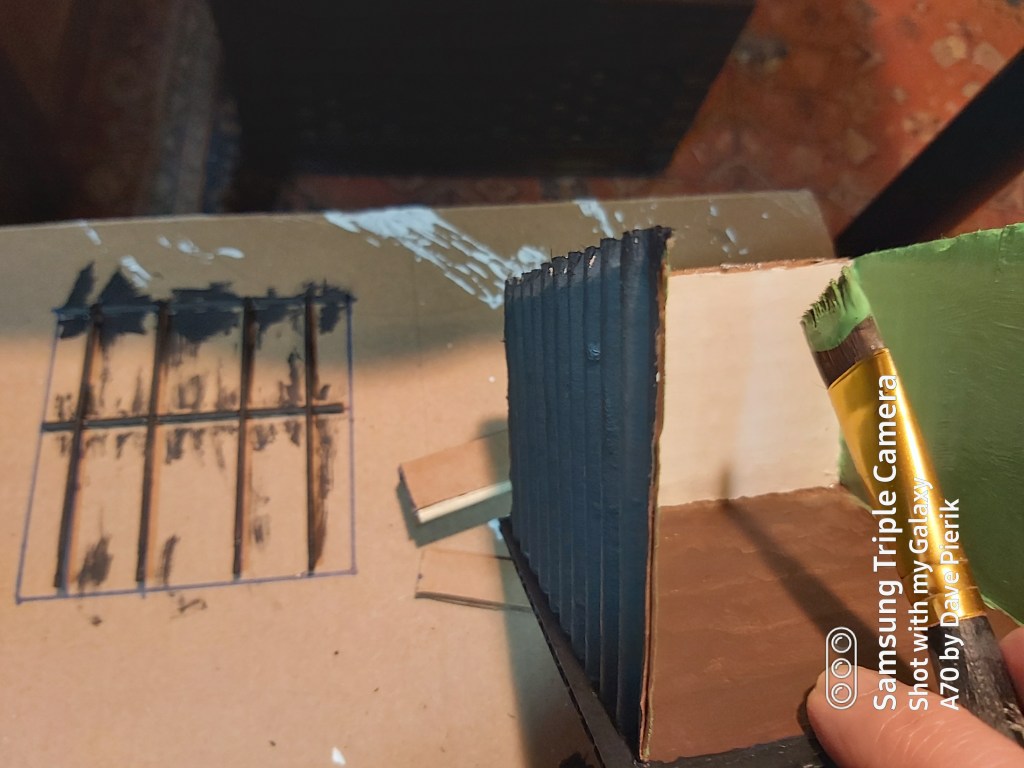
Hut
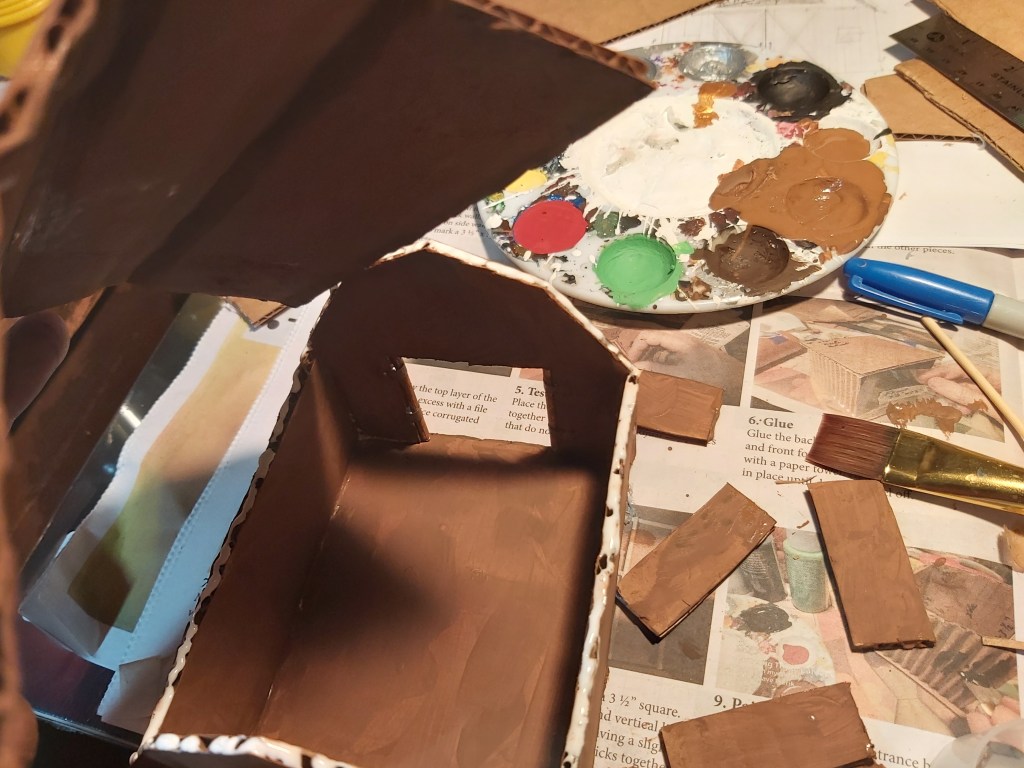
A short Pringles® can is the base for this delightful hut. Single-layer cardboard with some test-fitting, cutting, bending and masking tape make the roof. Bella is an expert painter!
Hut roof
Base coats, washes and top-coats of paint bring out texture and detail. A bit of crafting grass flock adds natural looking moss for a final touch.
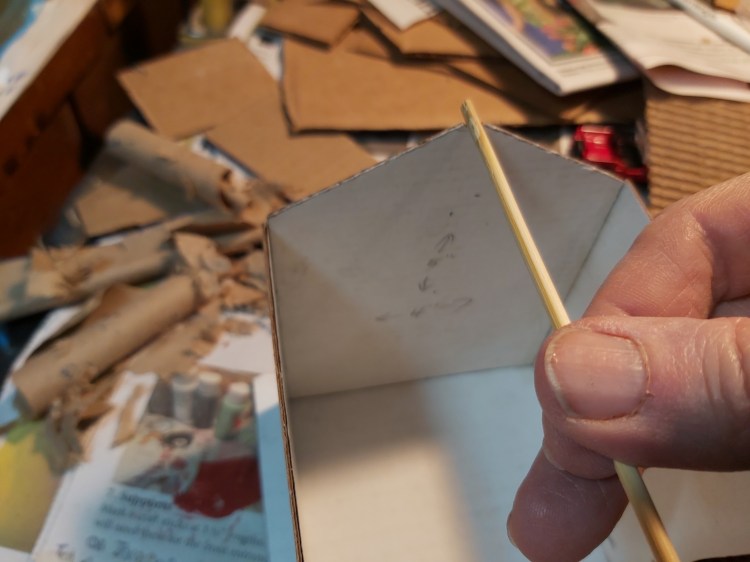
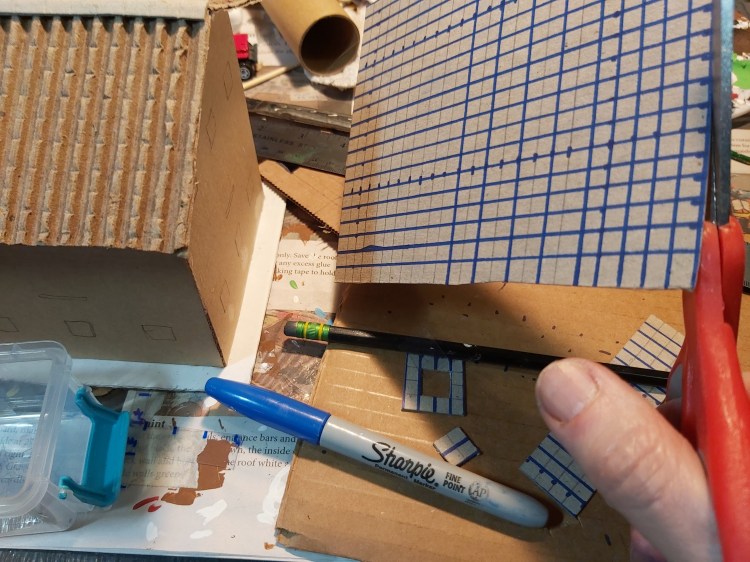
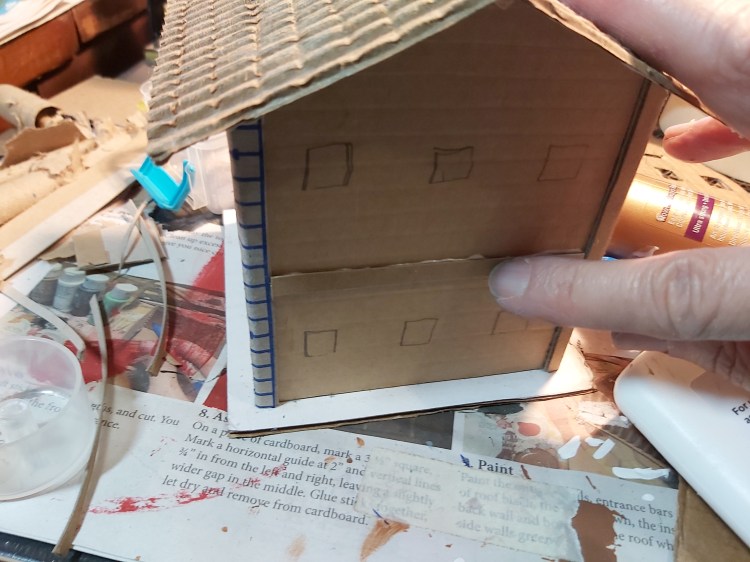
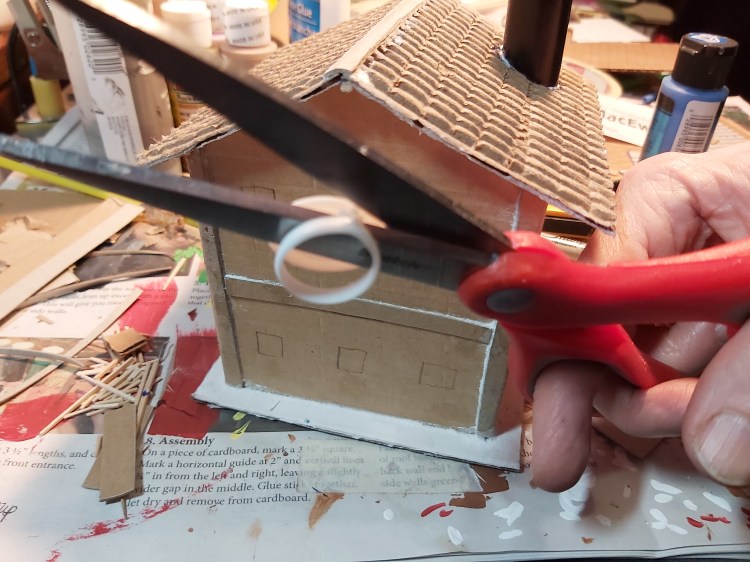
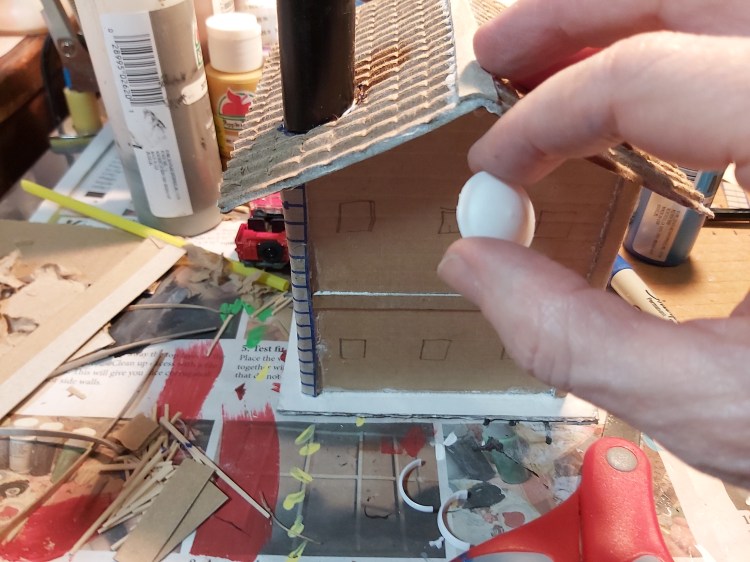
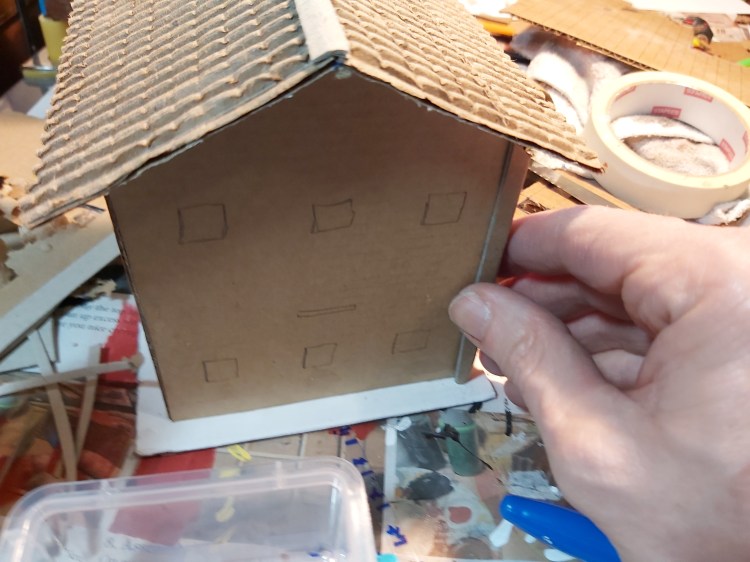
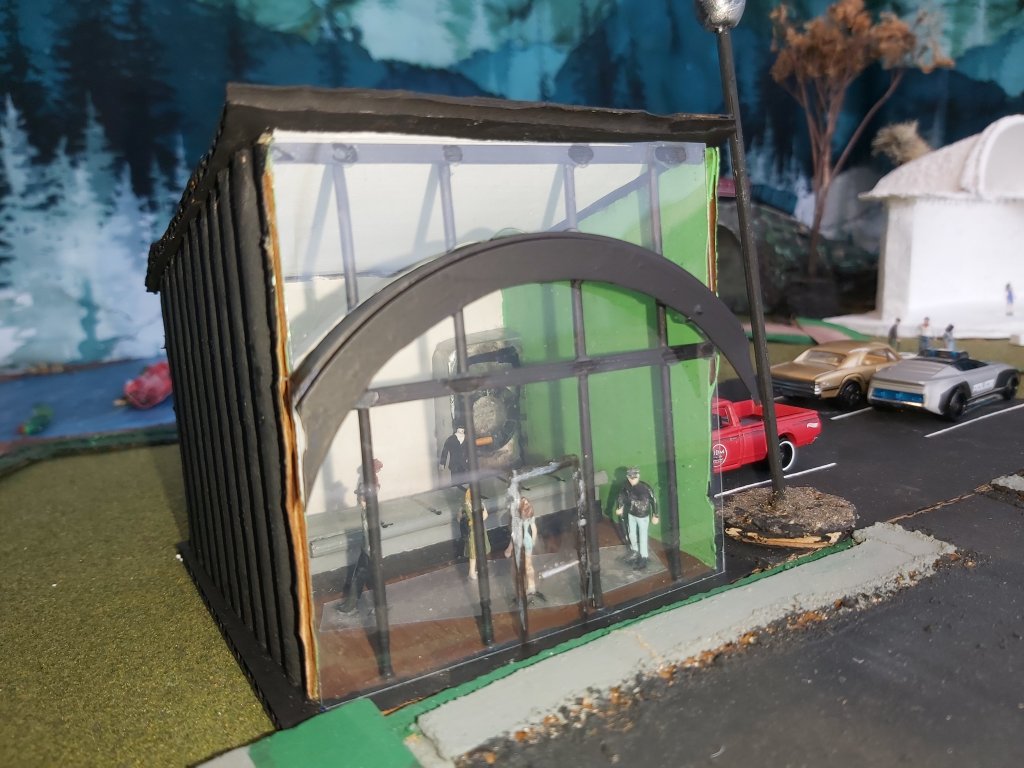
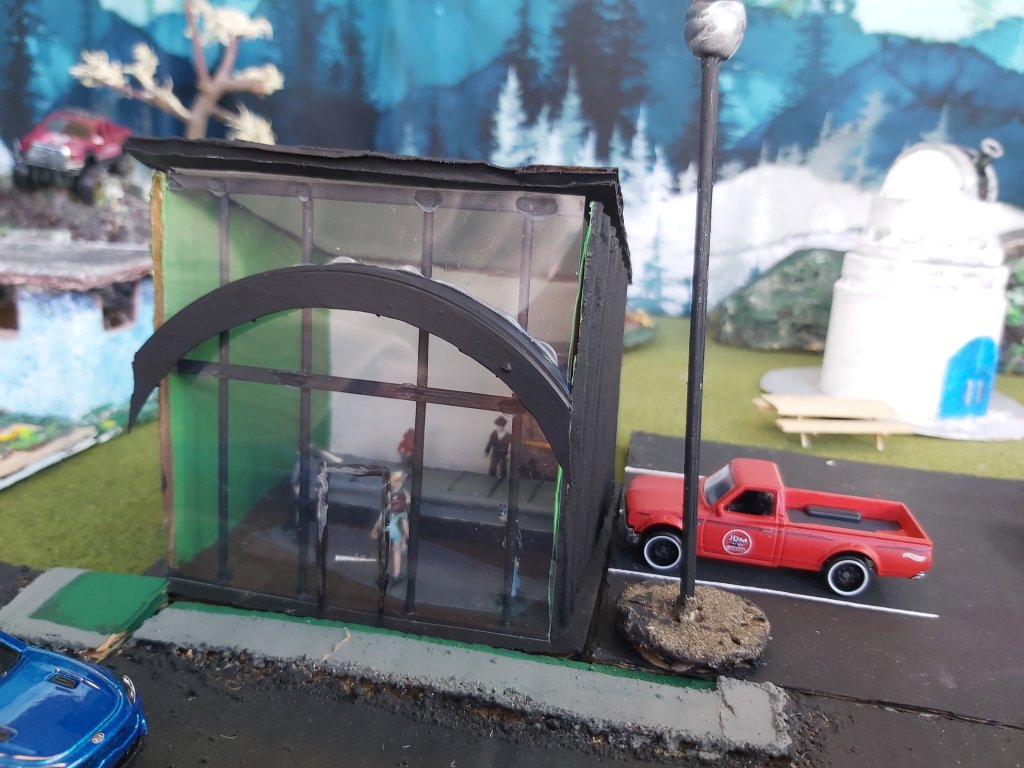
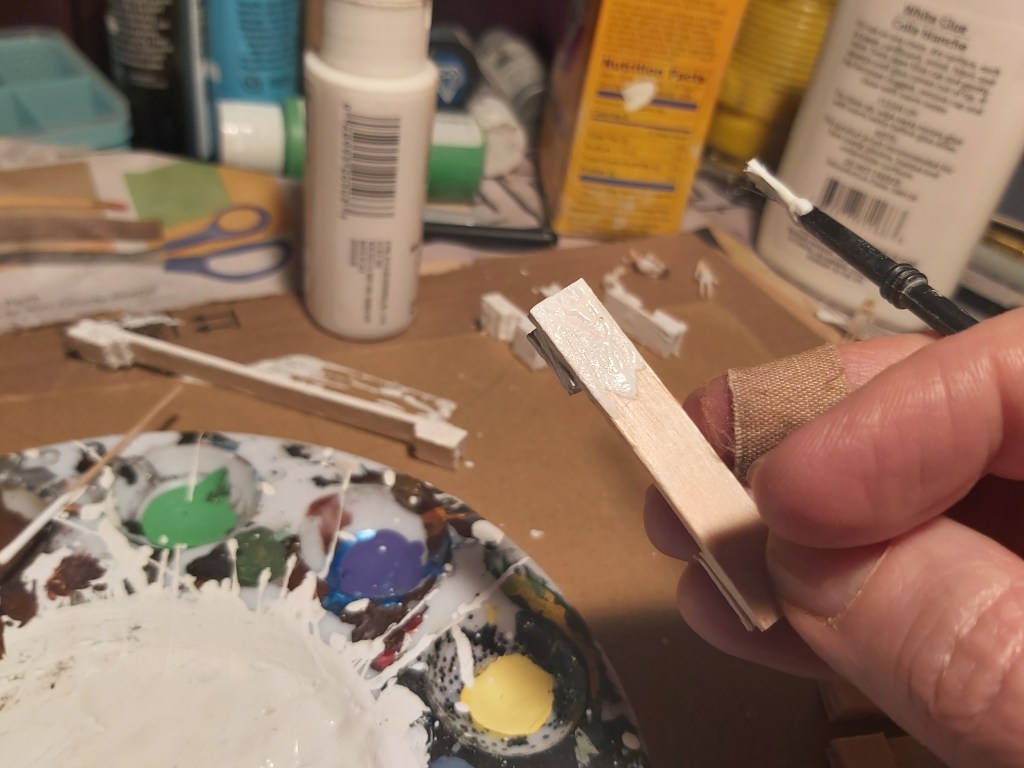
Cottage
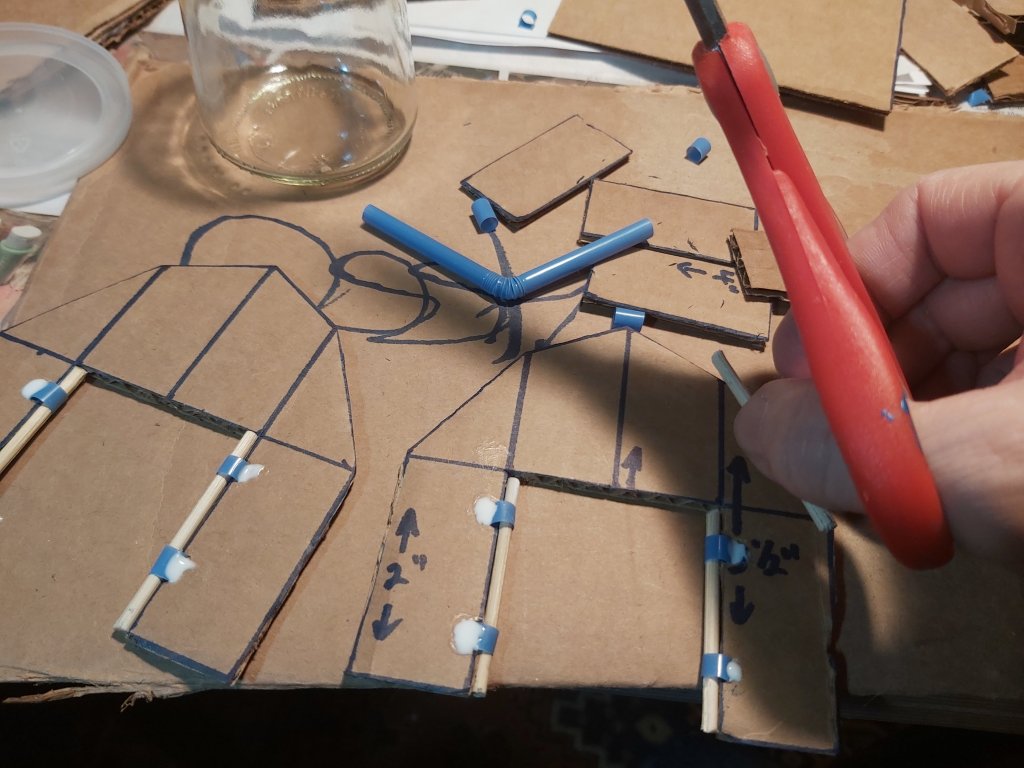
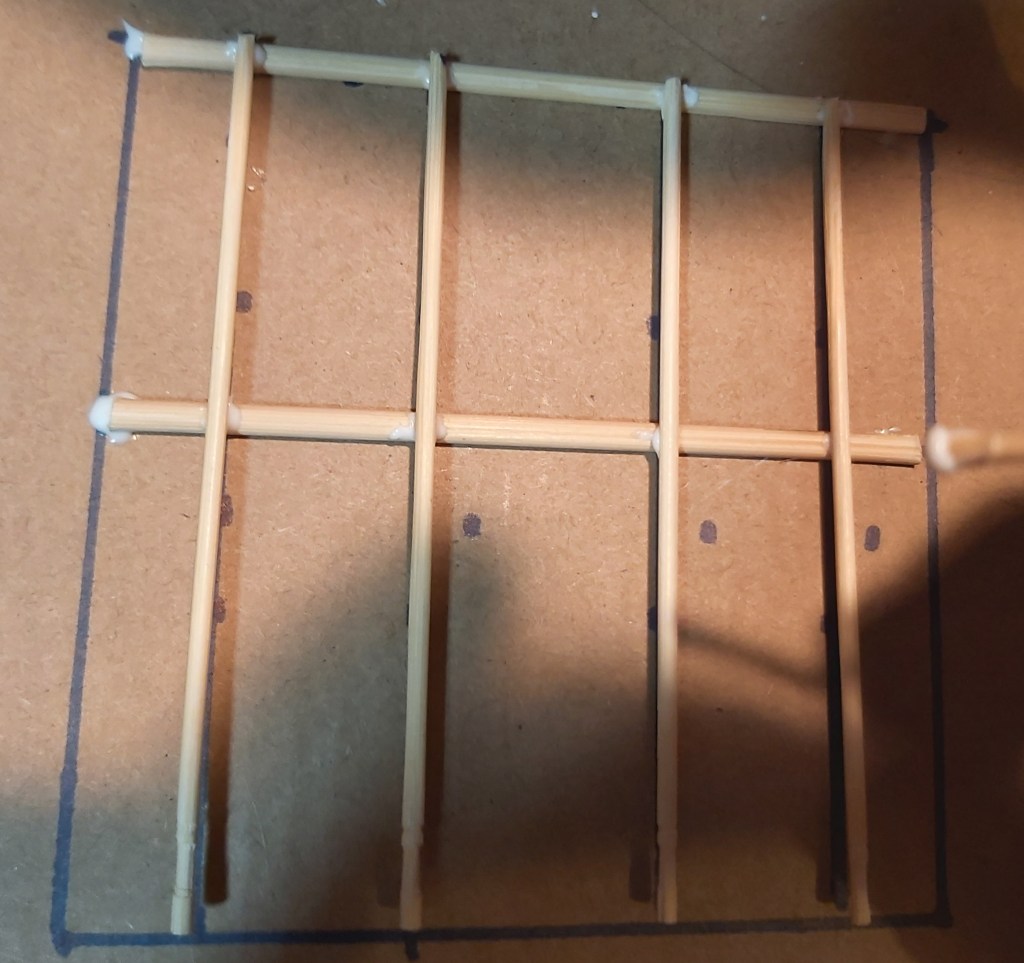
This cozy cottage features a curved awning, round windows, and flowerbeds. It is made entirely of cardboard, except for the two craft sticks that reinforce the roof.
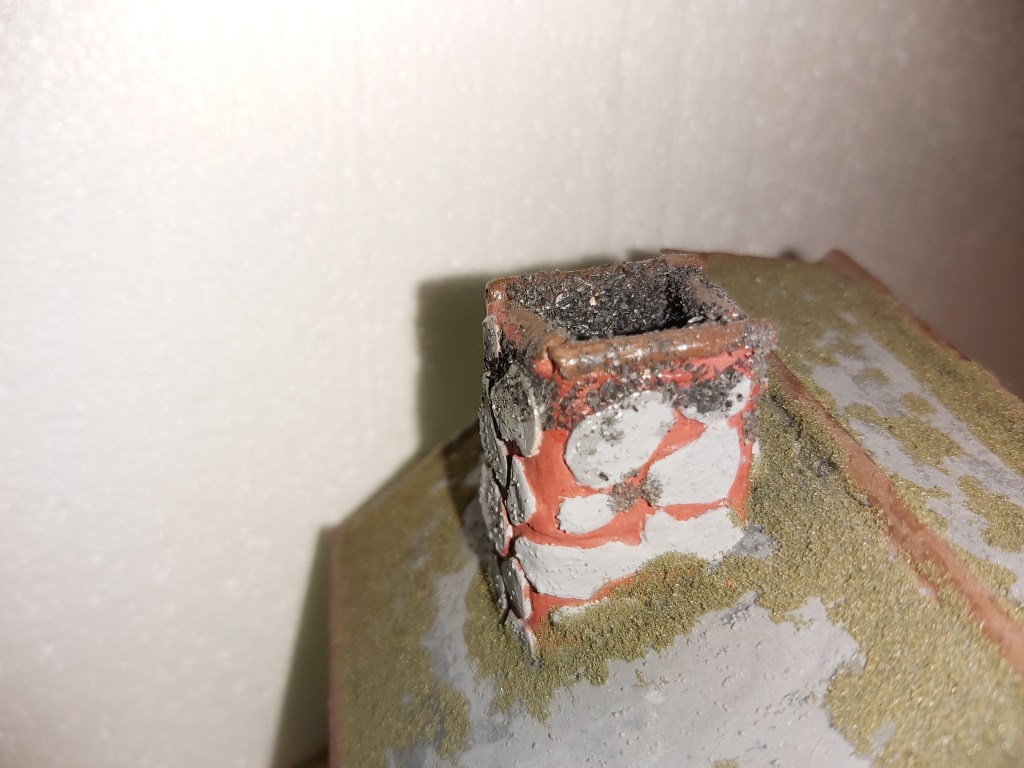
Cottage roof
After test fitting and gluing an angle-footed, open-topped small box, she cut and glued random rock shapes to the sides. After painting, glue is brushed on, and then flocked with fine dark sand for the soot.
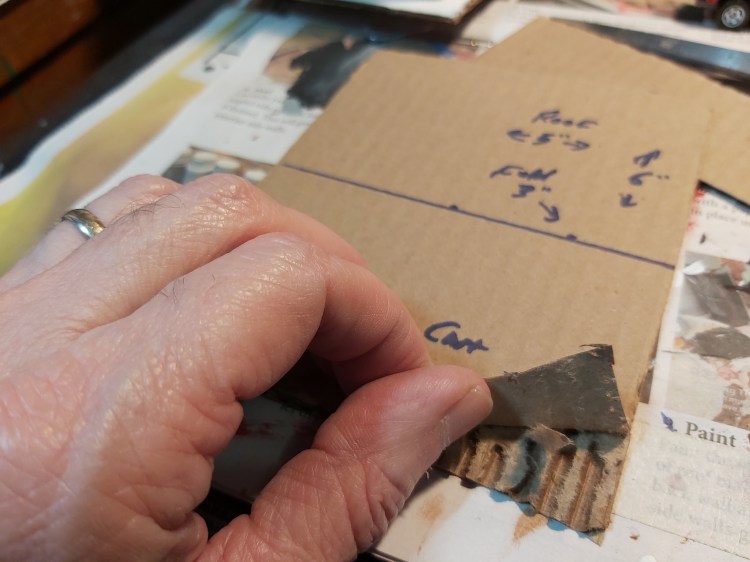
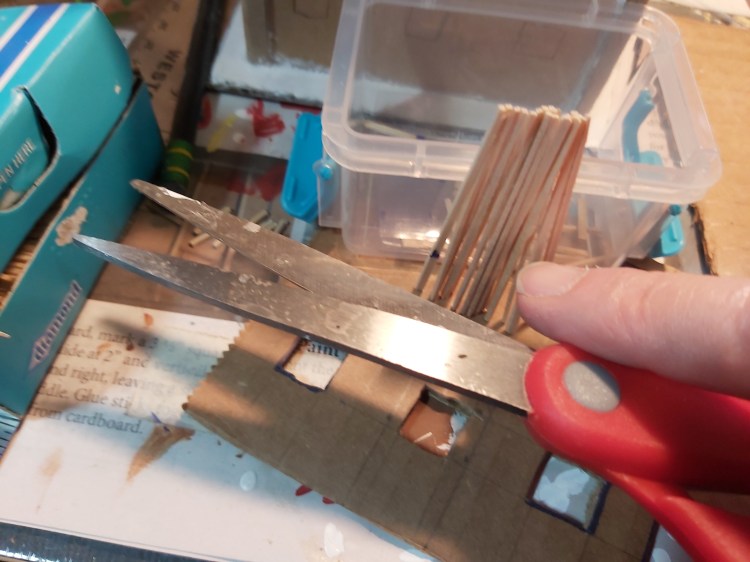
Cottage door
For the door, Bella measured, marked and cut a piece of thin cardboard and glued it in place. The doorknob is cut from a round toothpick, and painted silver. The awning and flowerbox are cardboard.
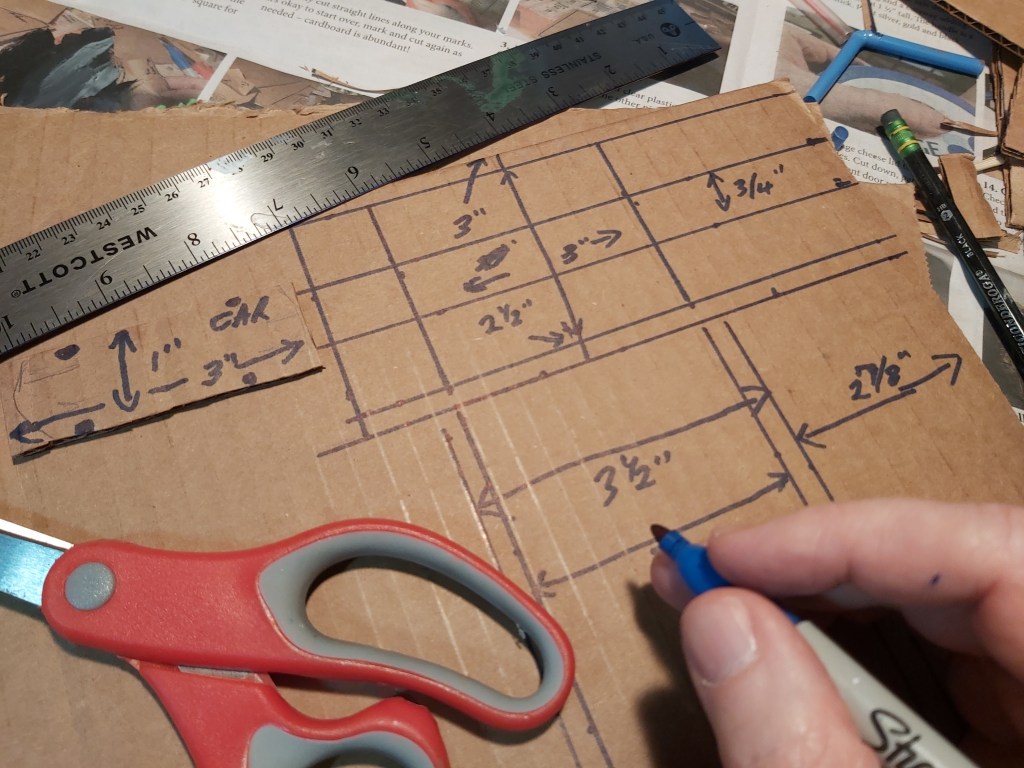
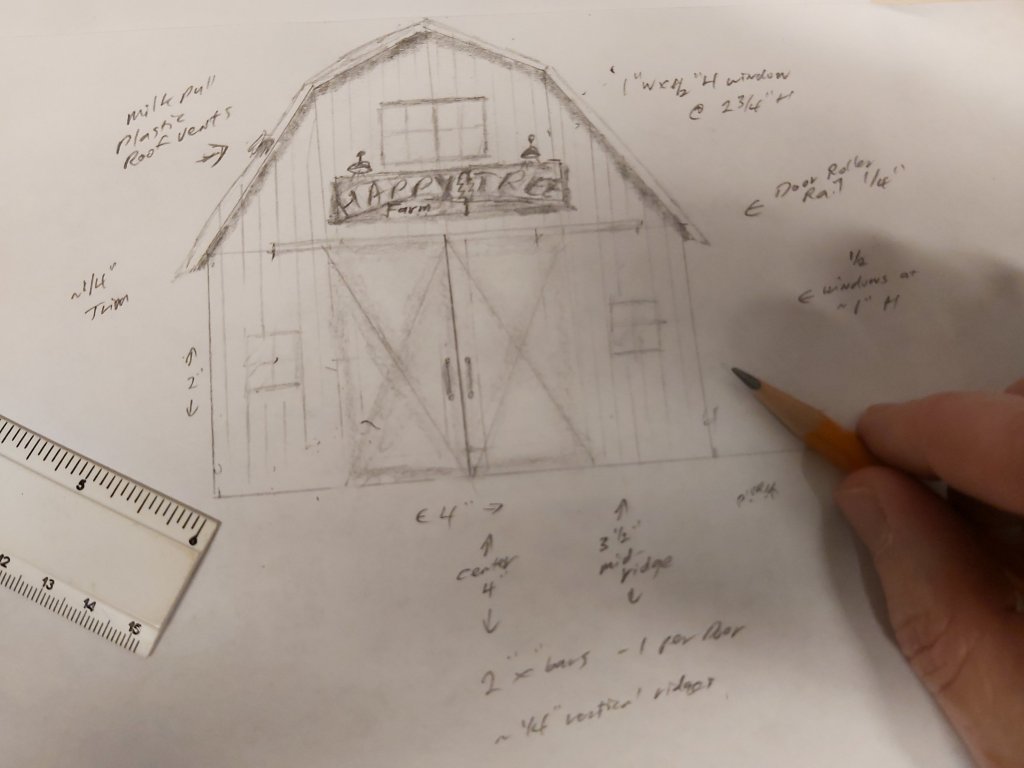
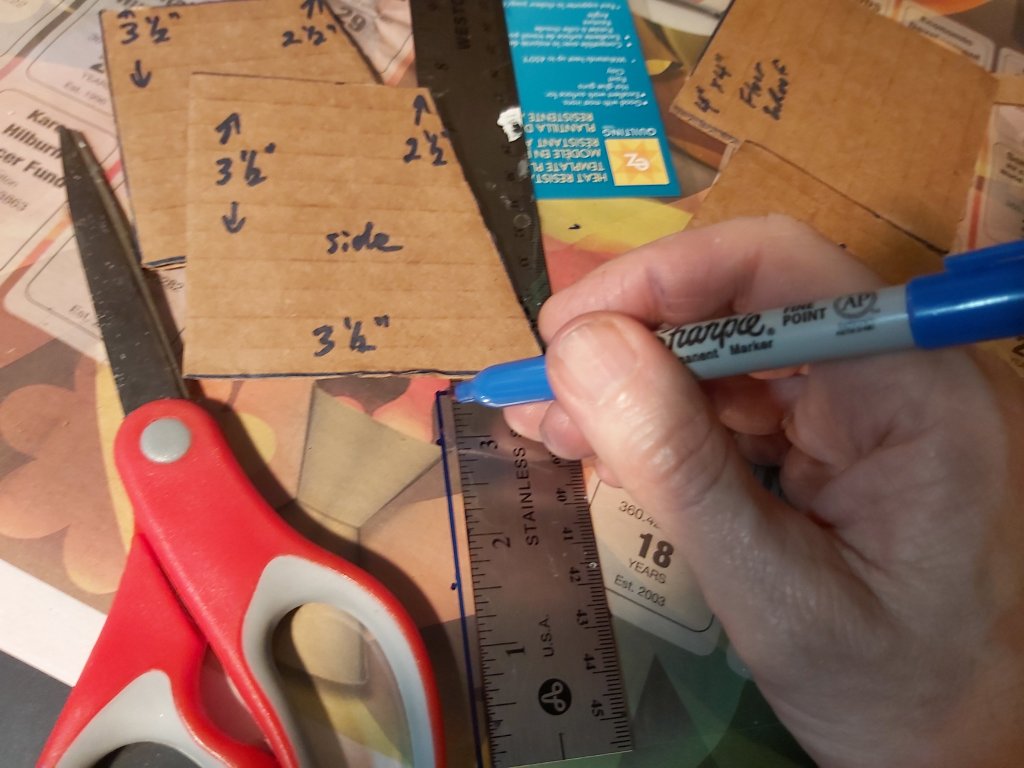
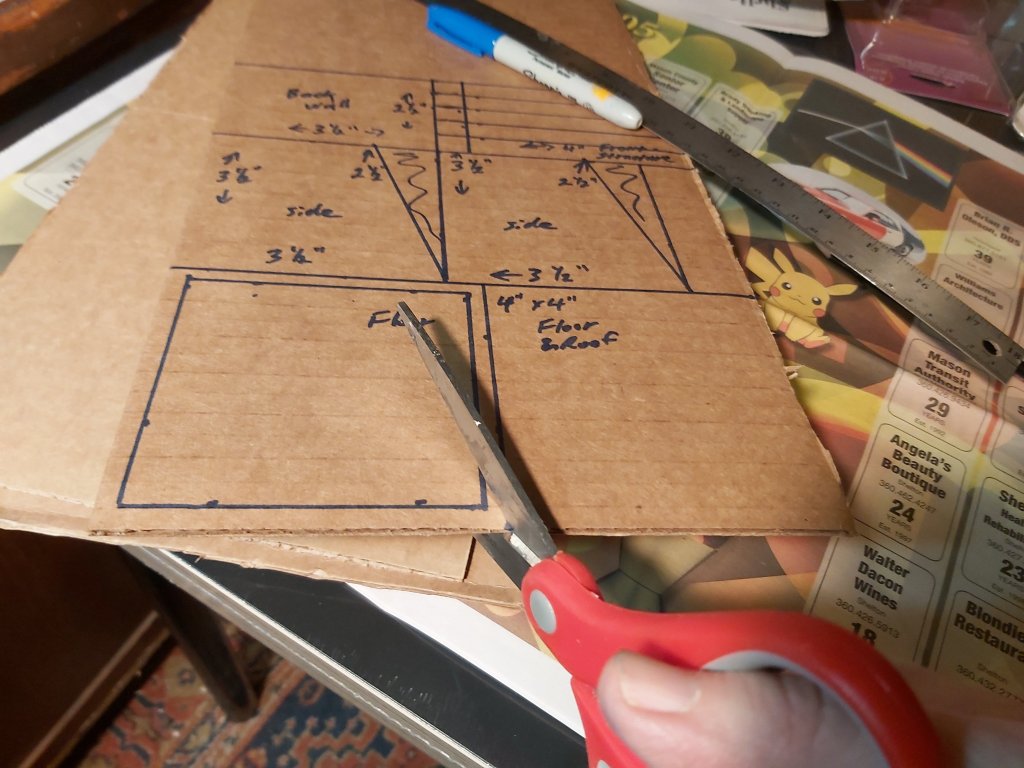
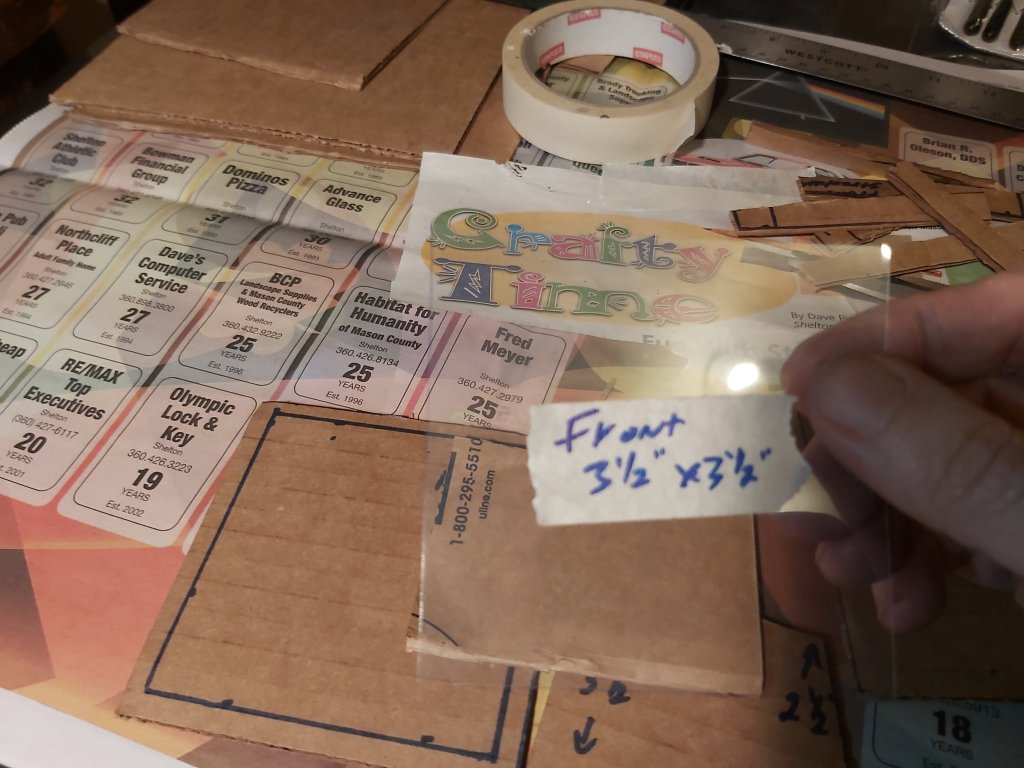
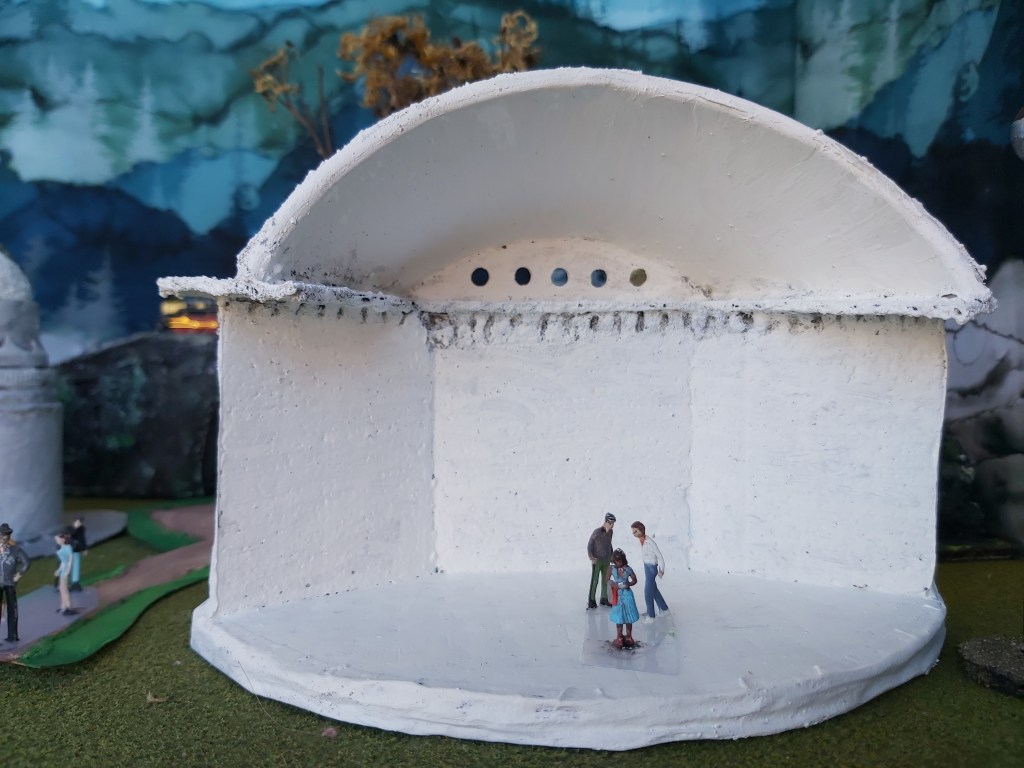
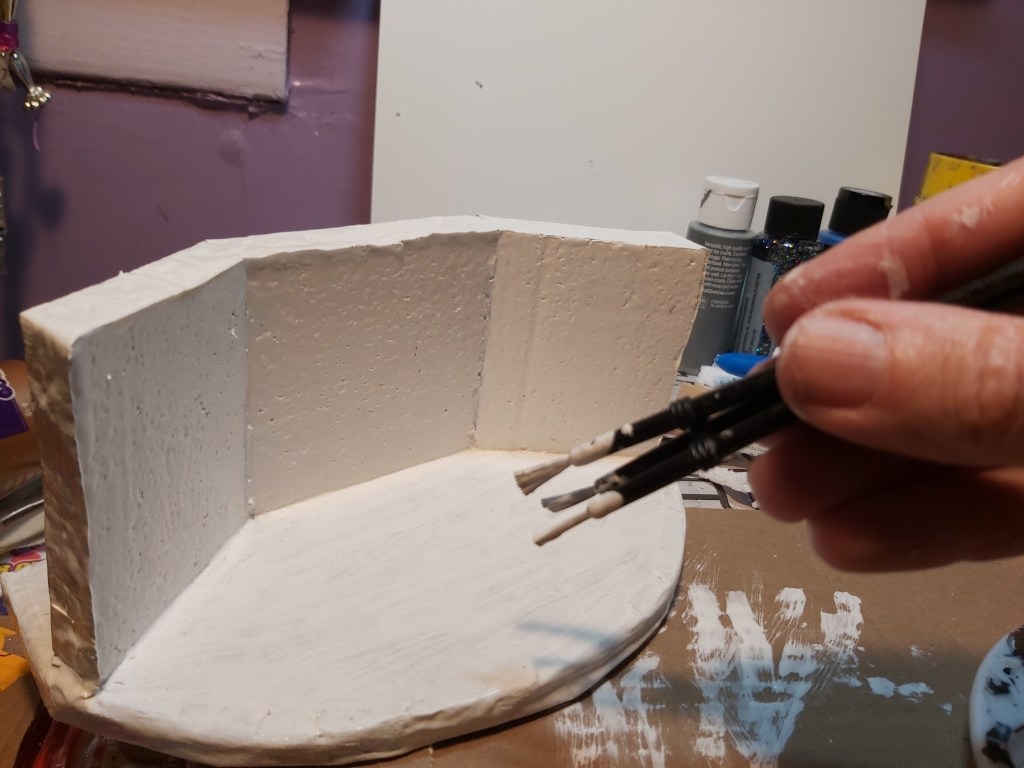
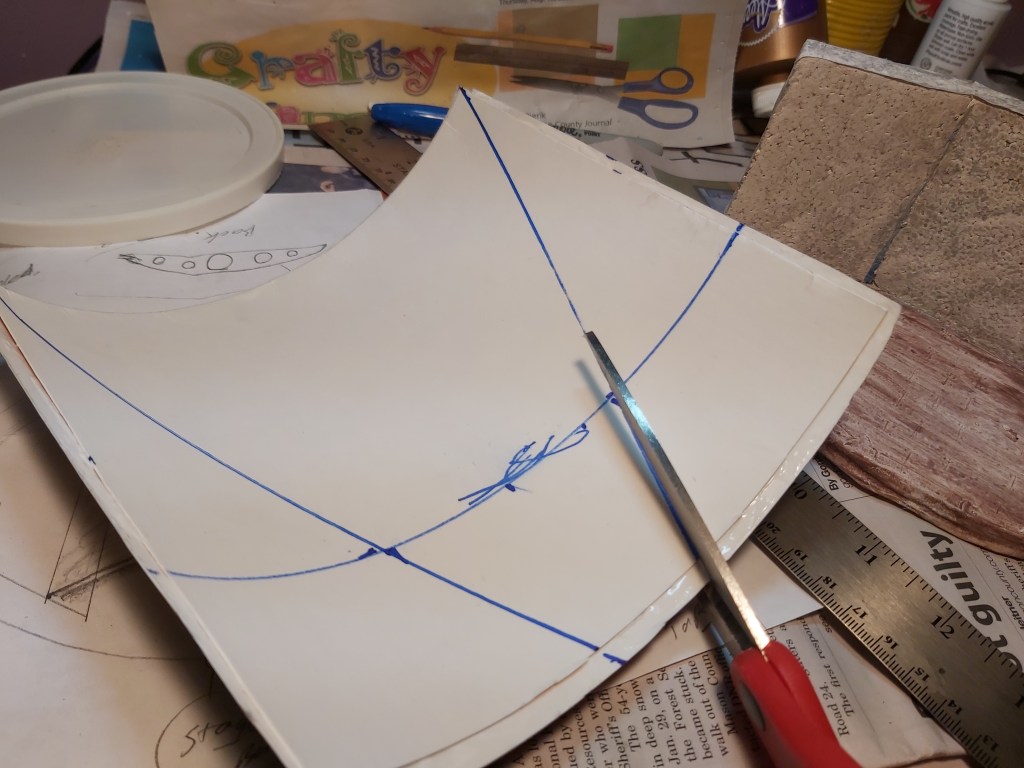
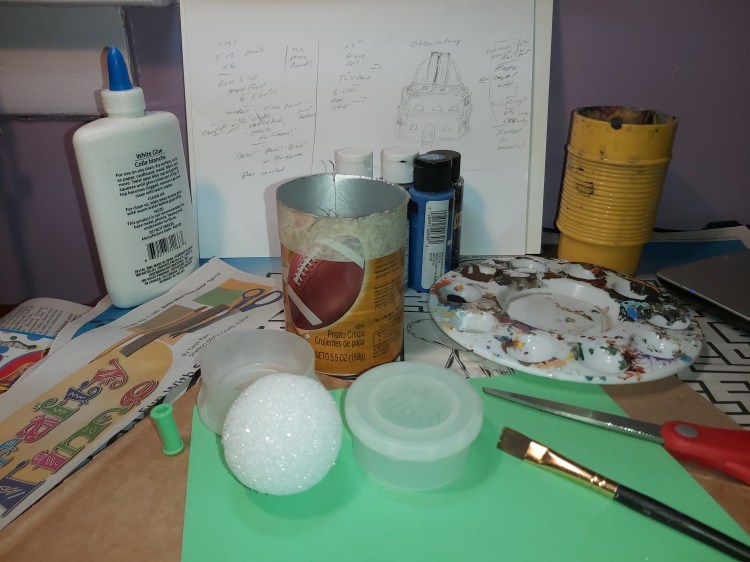
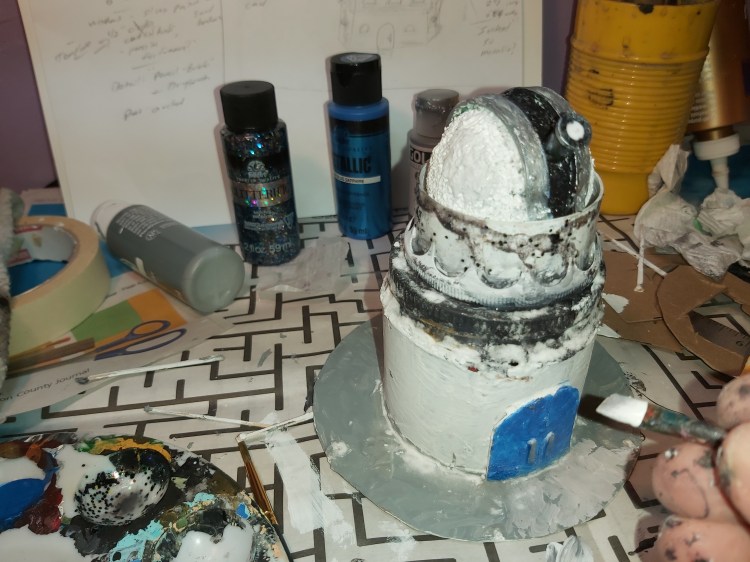
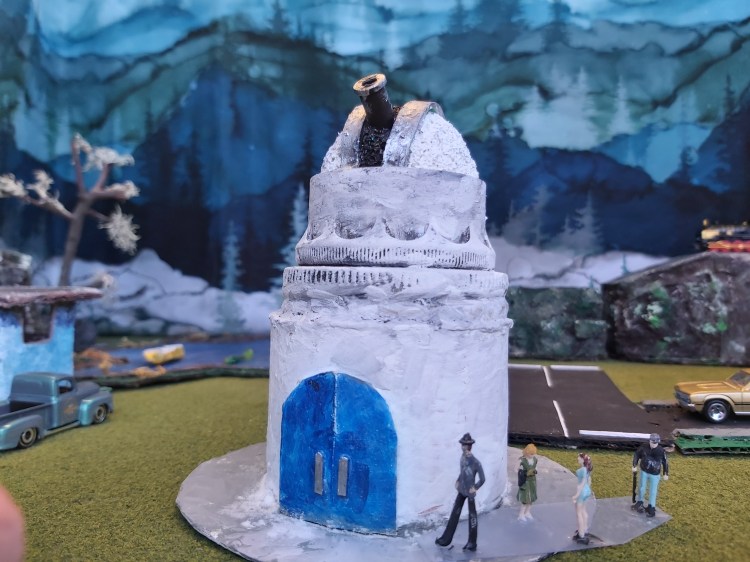
Process – observatory
PART TWO – I don’t consider myself to be a good artist. That said, I often make quick sketches for Crafty Time ideas. I start by looking at a lot of pictures of things I might make, blank my mind then draw quick ideas and notes.
Process – amphitheater
This is an idea for an amphitheater, probably a future Crafty Time in one or two parts. I picture a stage with a “shell” that’s also three screens, and outdoor bleachers with aisles and steps. I’m kicking it around.
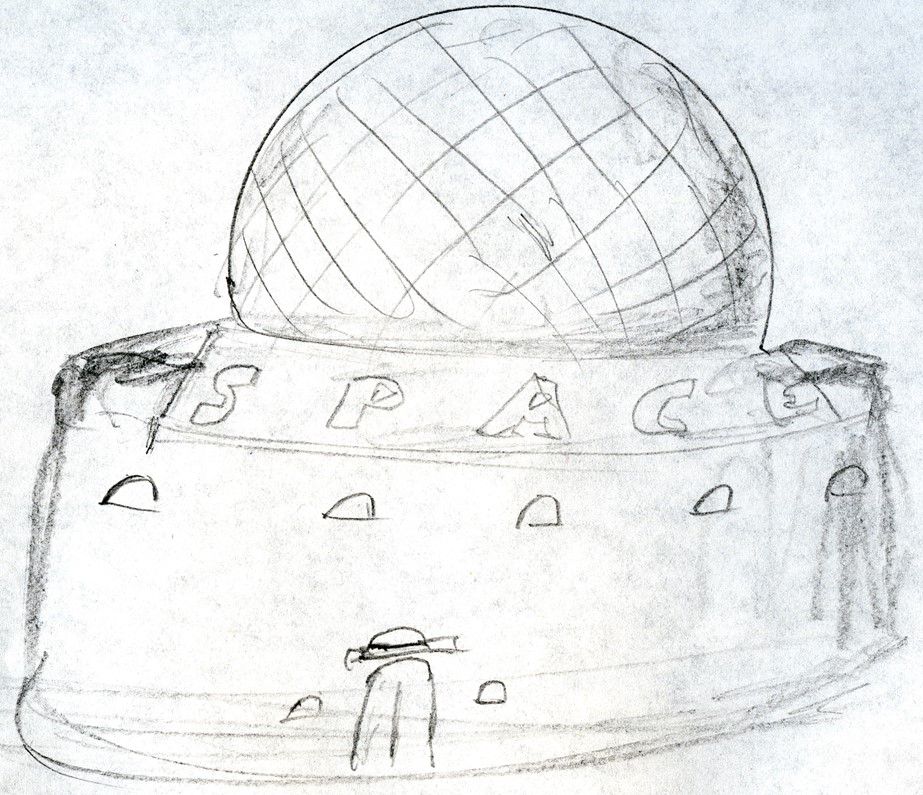
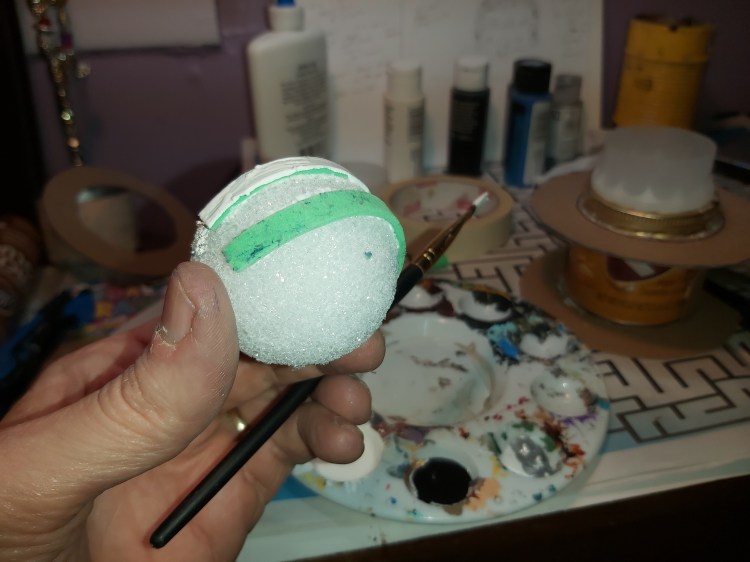
Process – planetarium
About as much as I have on this is that the dome should be larger than the observatory’s, which is 3” across. So, probably a 5” dome and another inch or so of building. Also, it shouldn’t look like a dog bowl.
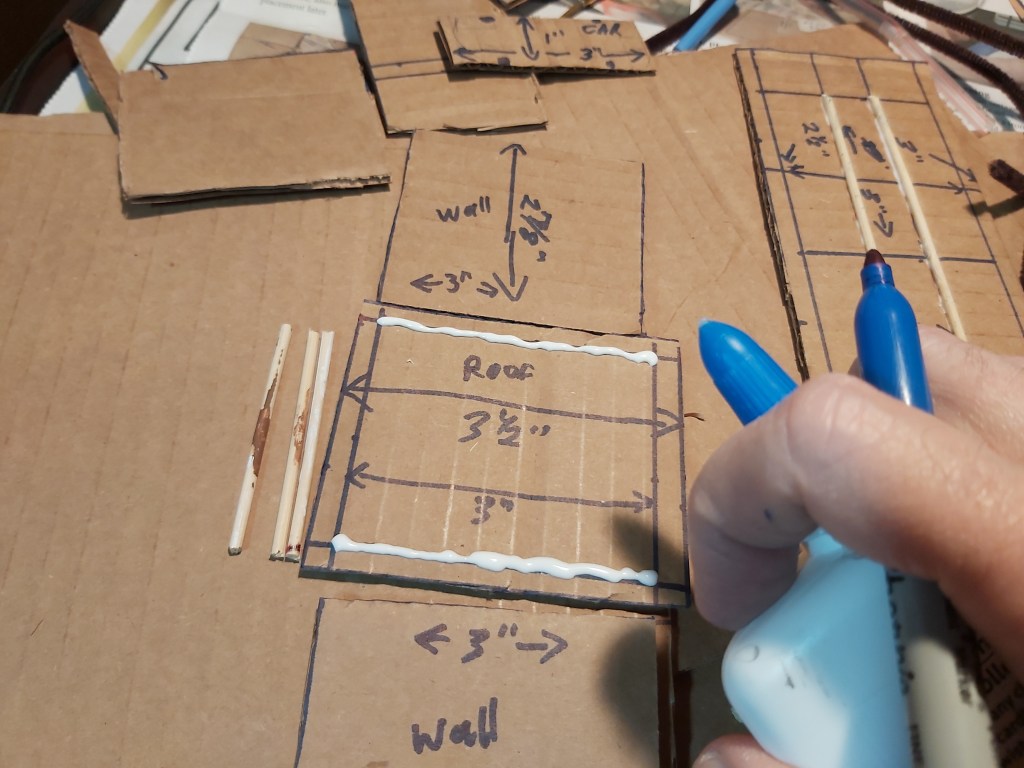
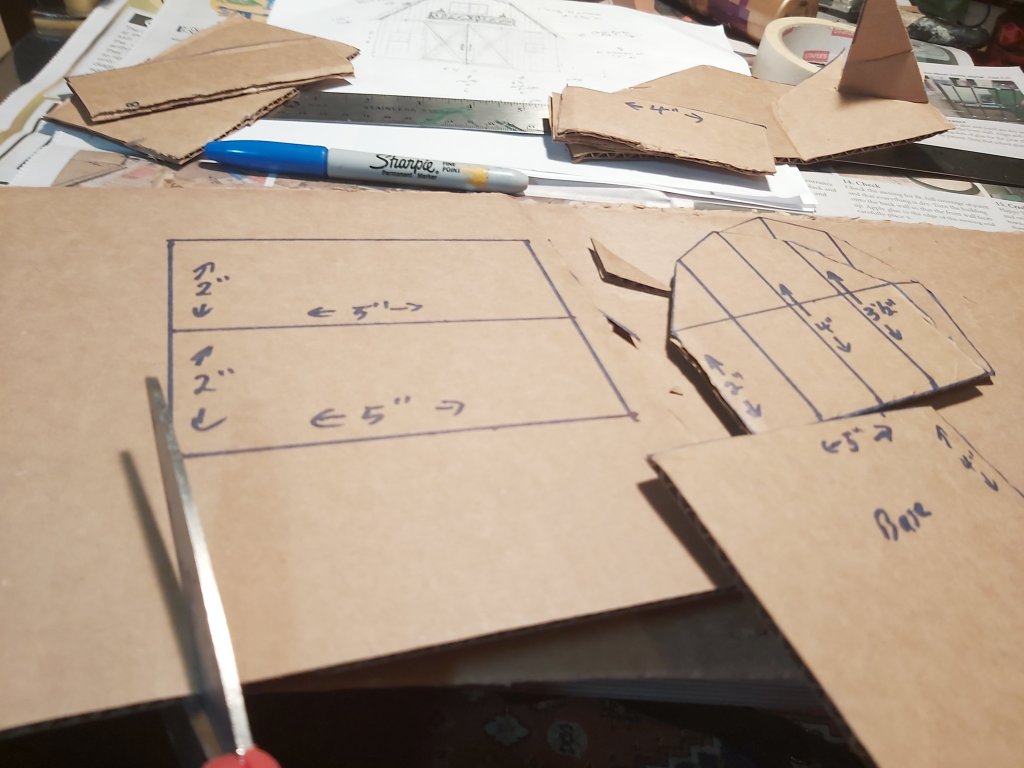
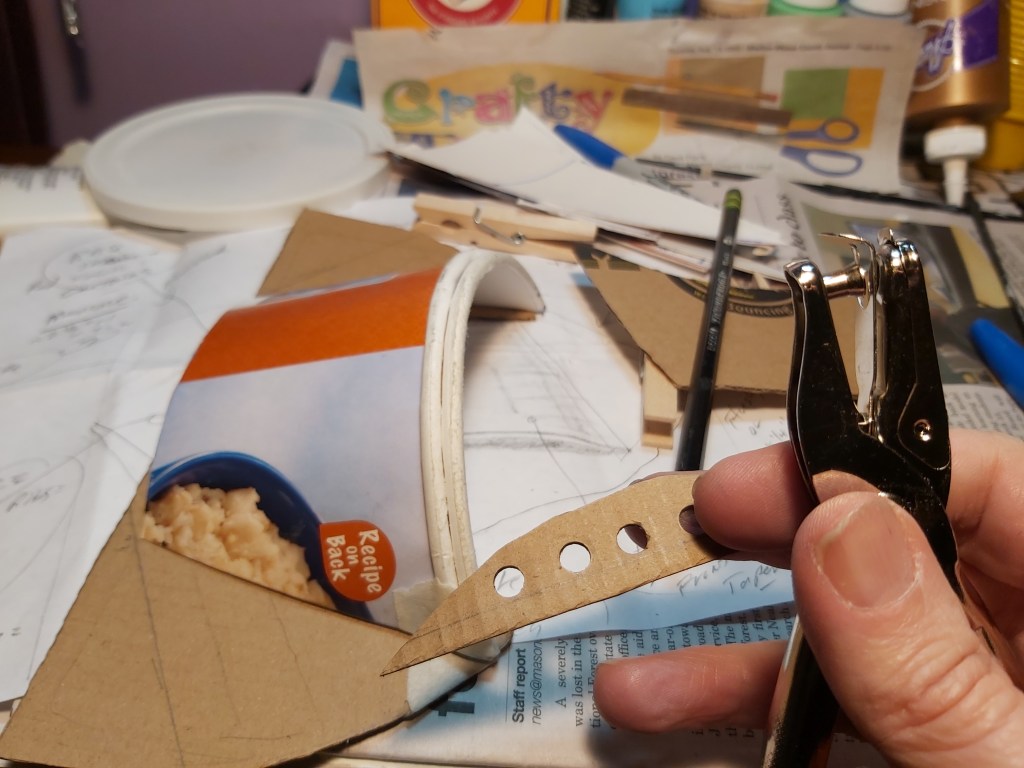
Materials – planetarium
Oatmeal containers are a favorite of mine, because they have a nice shape and size and are easy to craft. It’s best to plan and gather everything you need before you start a project, so you can keep going.
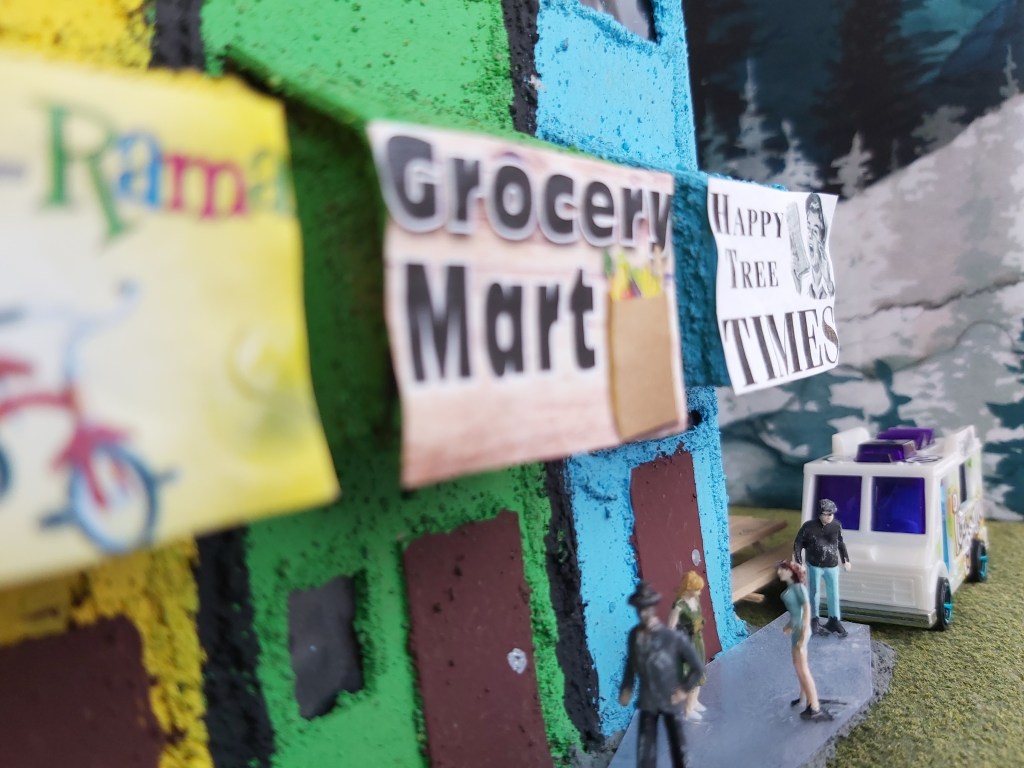
Imagining a community
Happy Tree Times, the newspaper of my imaginary village, got me thinking. Who are these people? What do they do? So, I wrote up a mock issue. You can pick one up at the Journal office for 25 cents.
Crafty list
I’m always making lists for Crafty Time, because first, I don’t want to repeat buildings. Second, I want to show you new techniques. Also, my point of view from Happy Tree’s perspective gives me ideas.
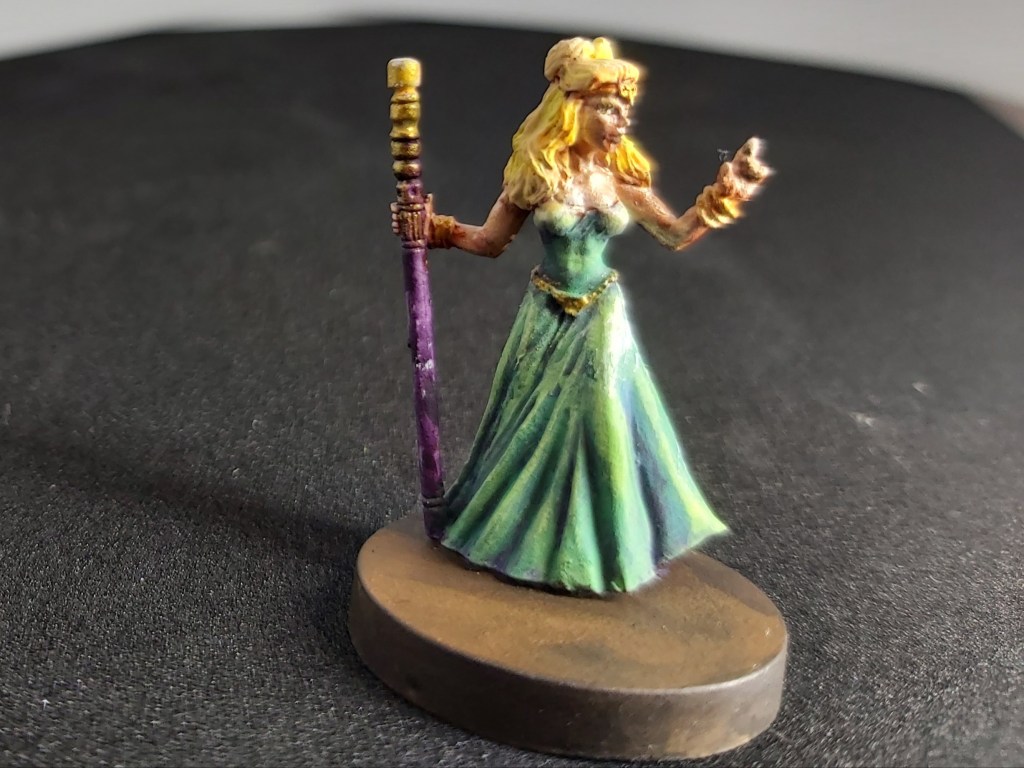
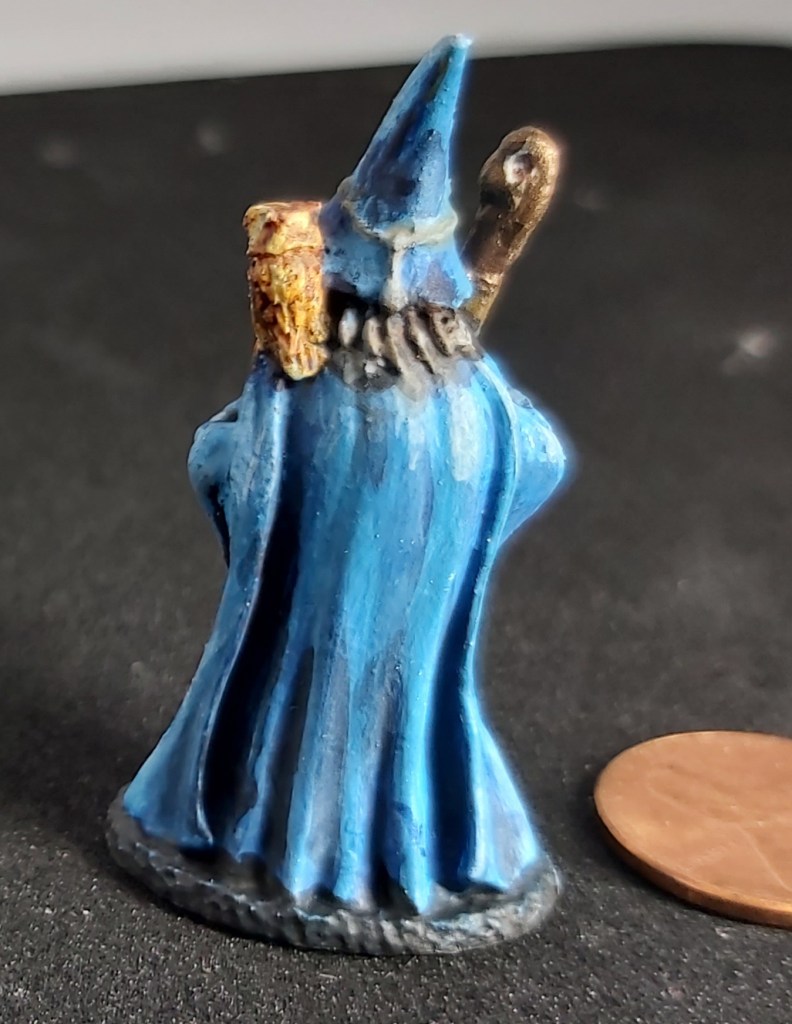
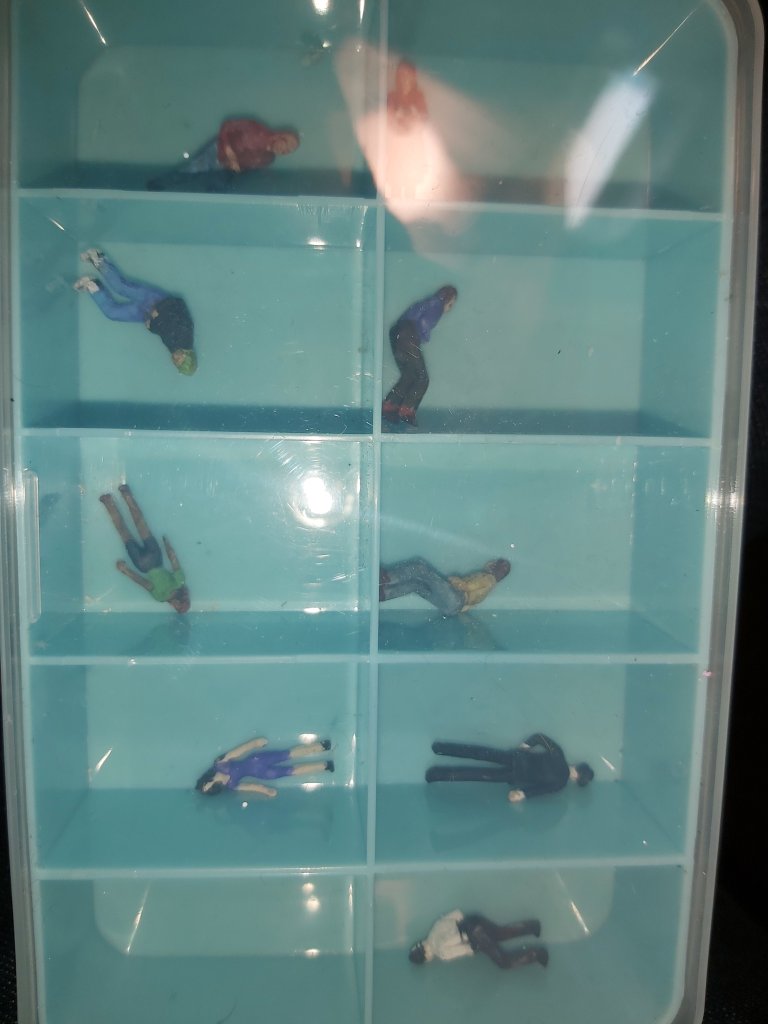
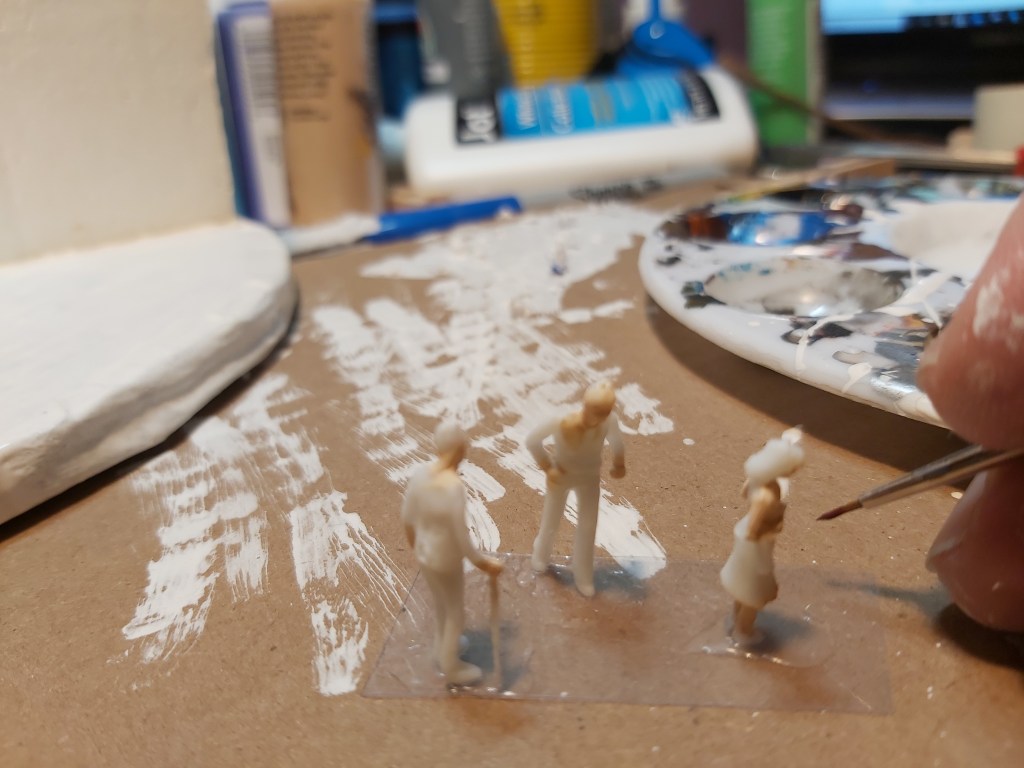
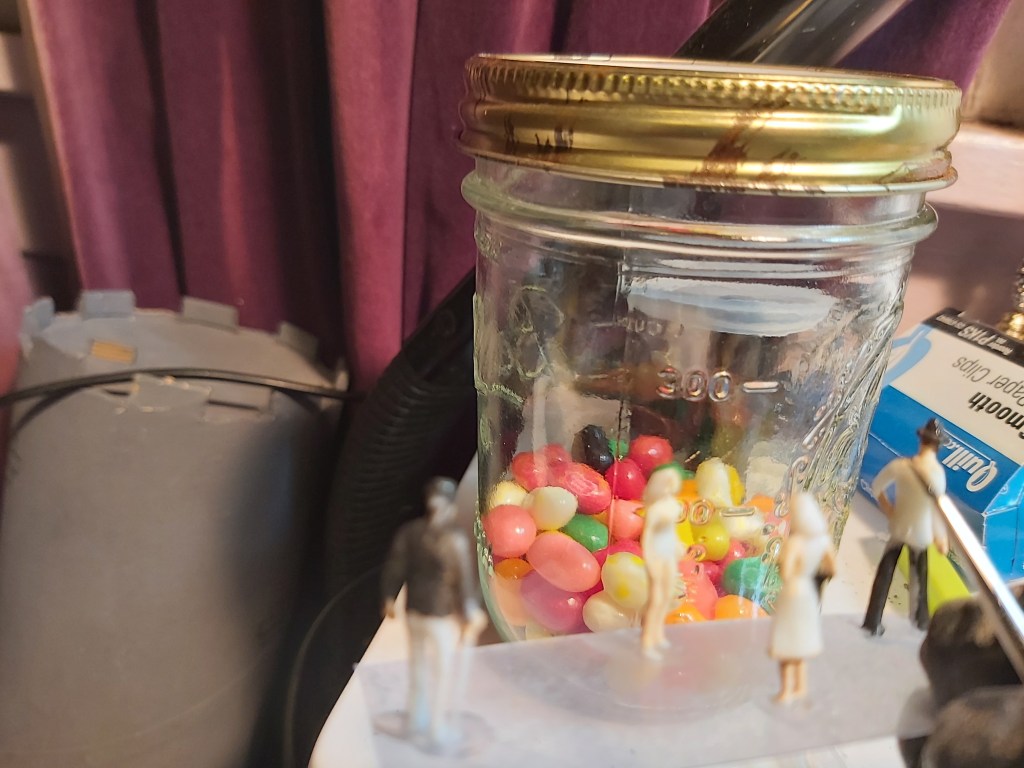
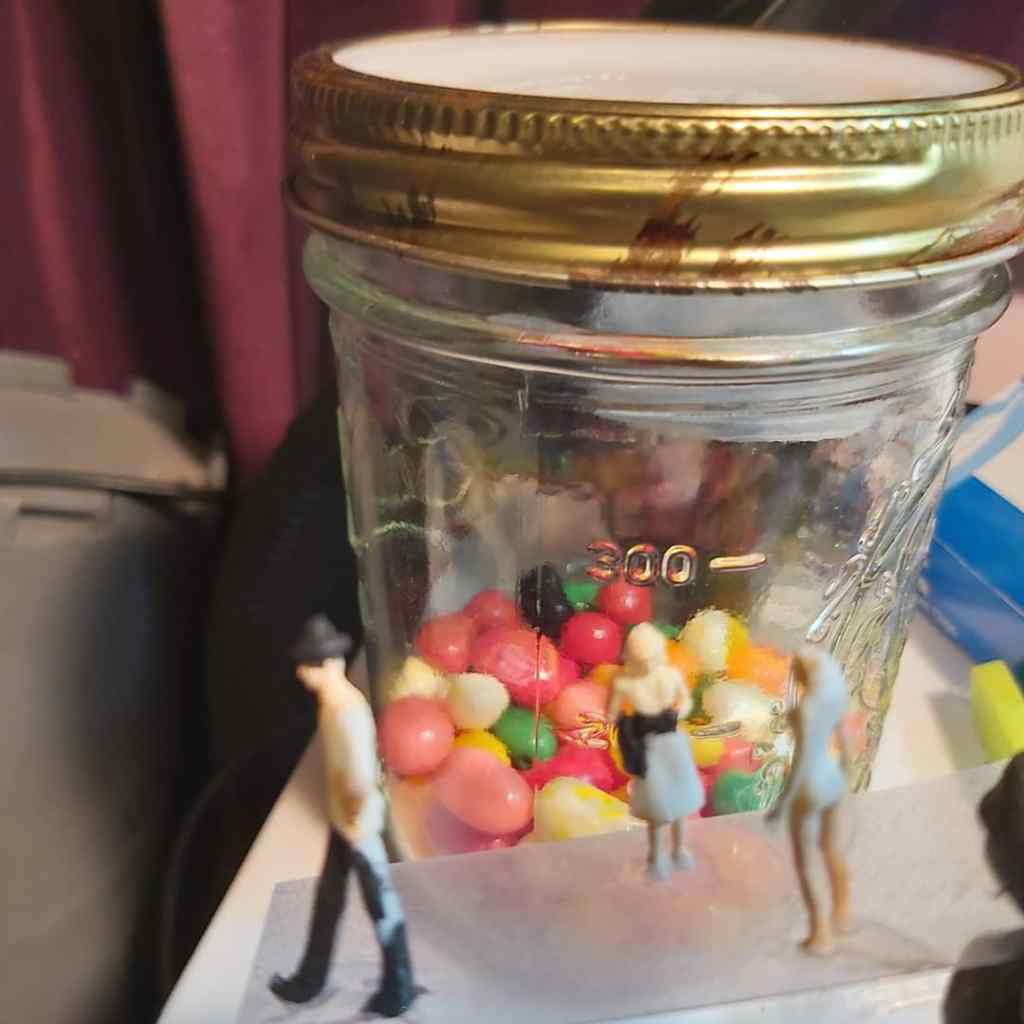
People
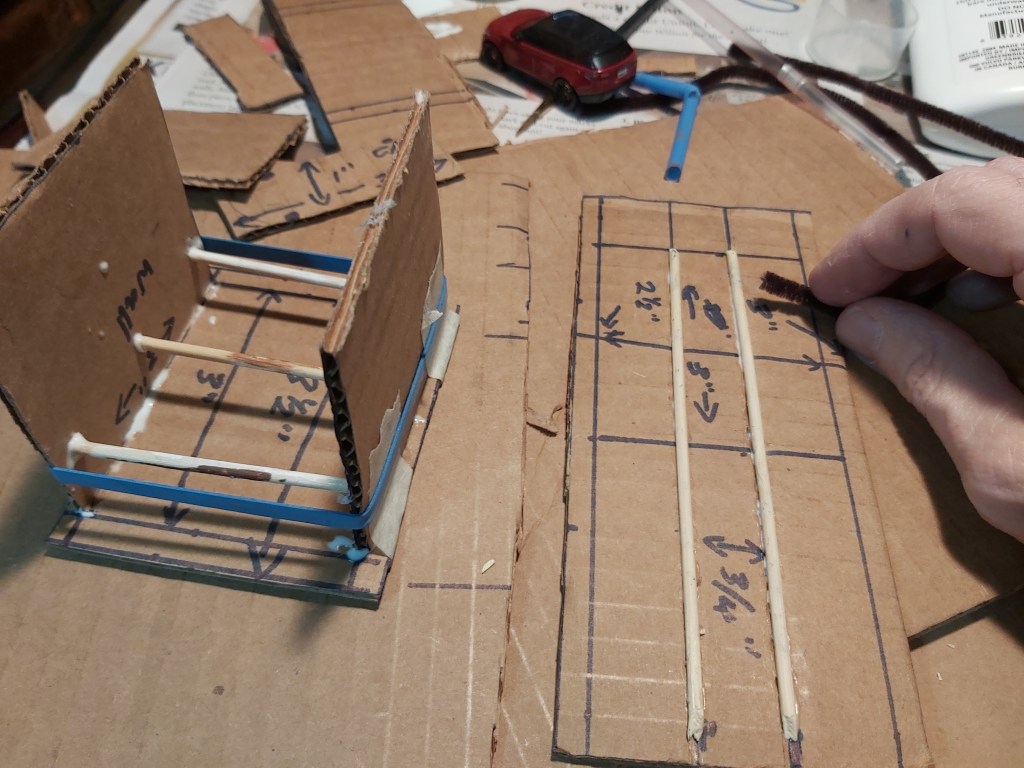
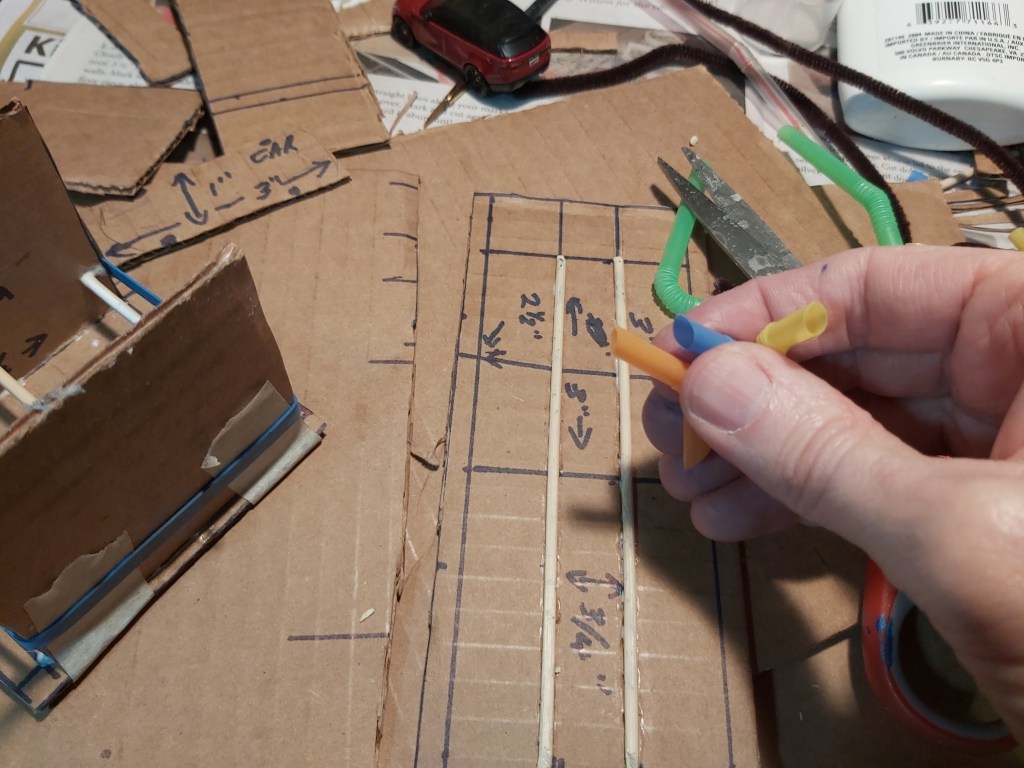
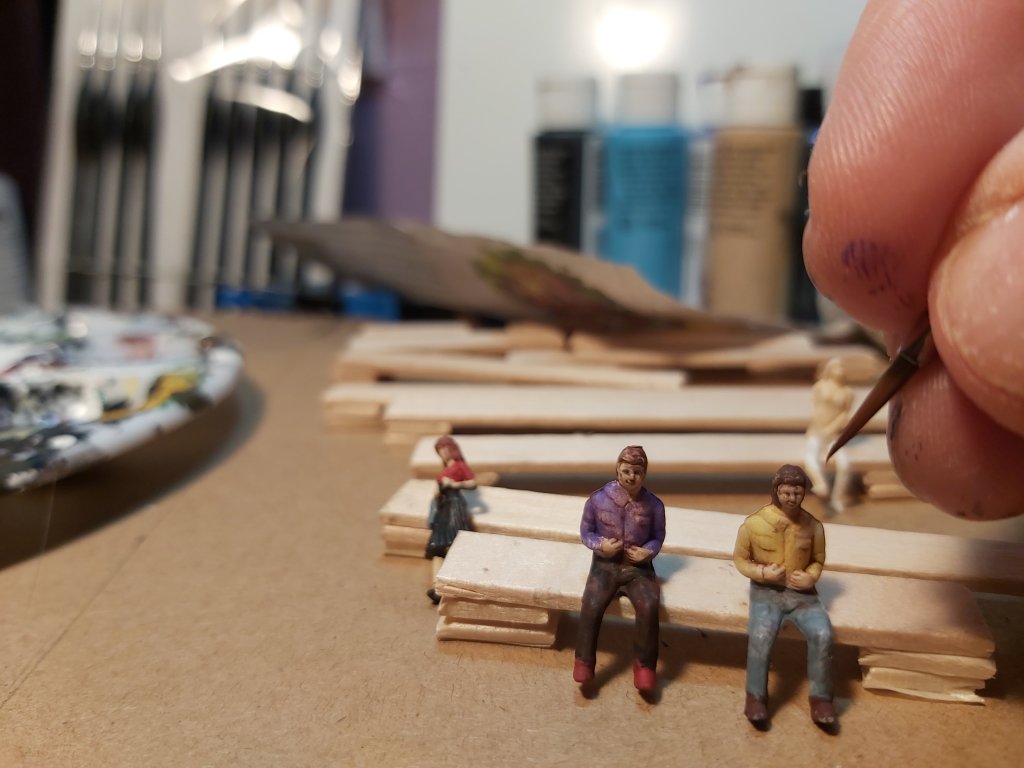
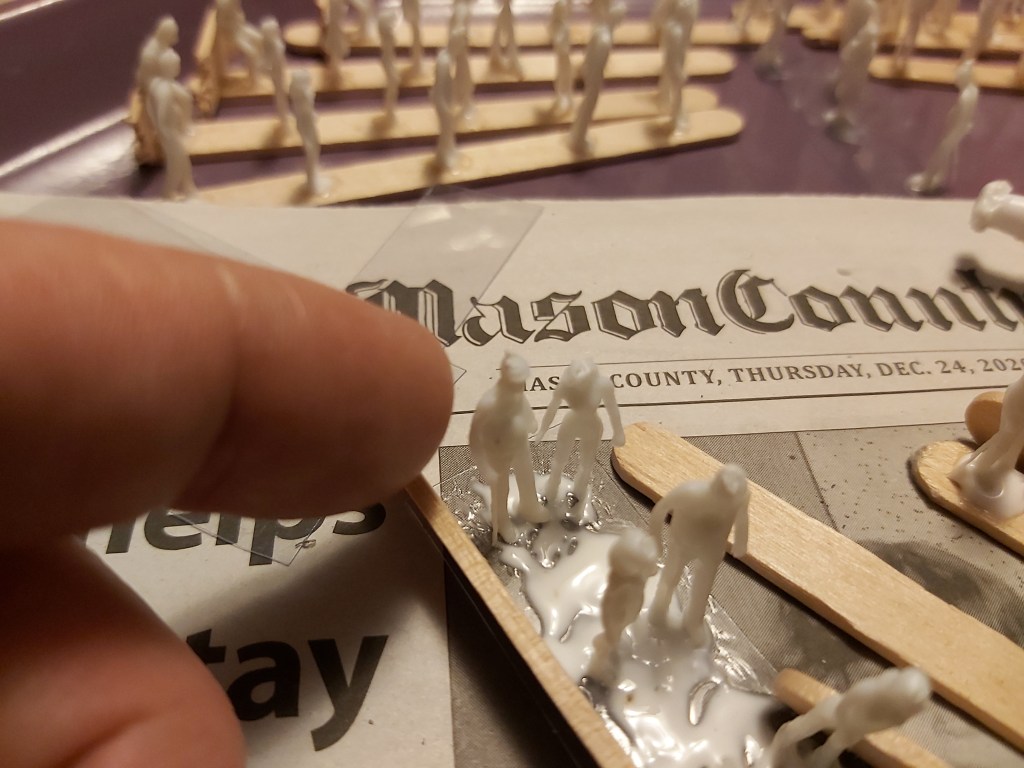
PART THREE – Hot Wheels® scale cars are 1/64 scale, about 3/8” =5’. Bella bought me a pack of 100 unpainted people for the holidays, to match this scale. Thank you!
Clear basing
They don’t stand on their own, so they’ll need to be glued to bases. I tried popsicle sticks but they don’t look right. Firm clear plastic from packaging works great though. They’re small, so groups of 2-4 work.
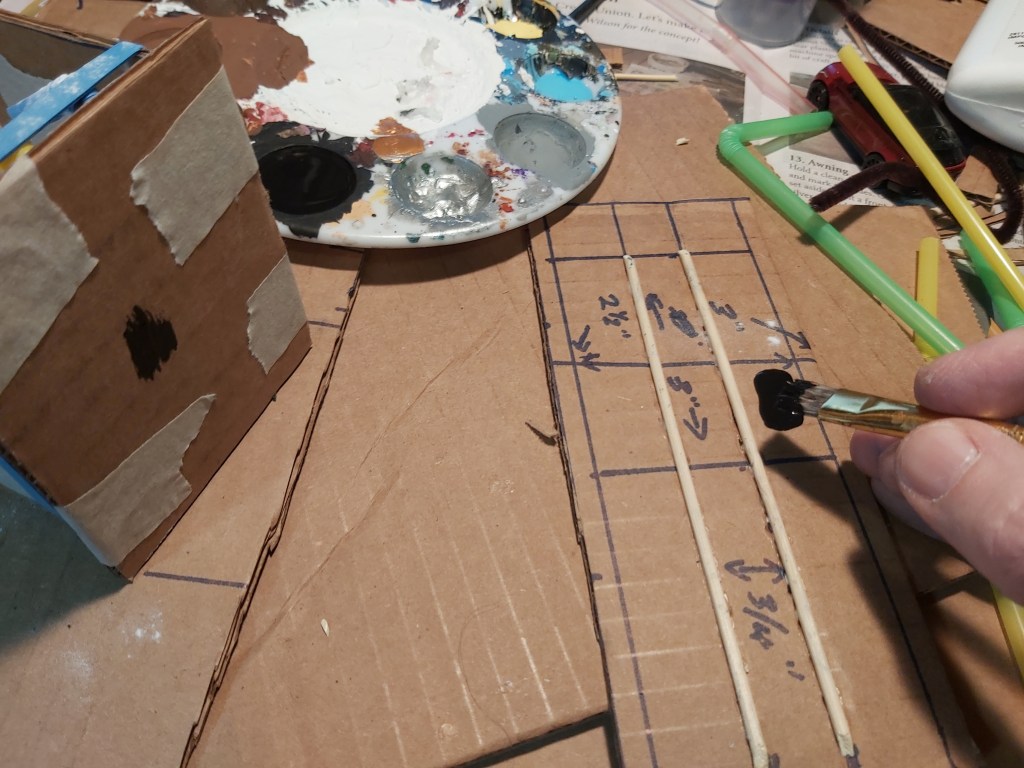
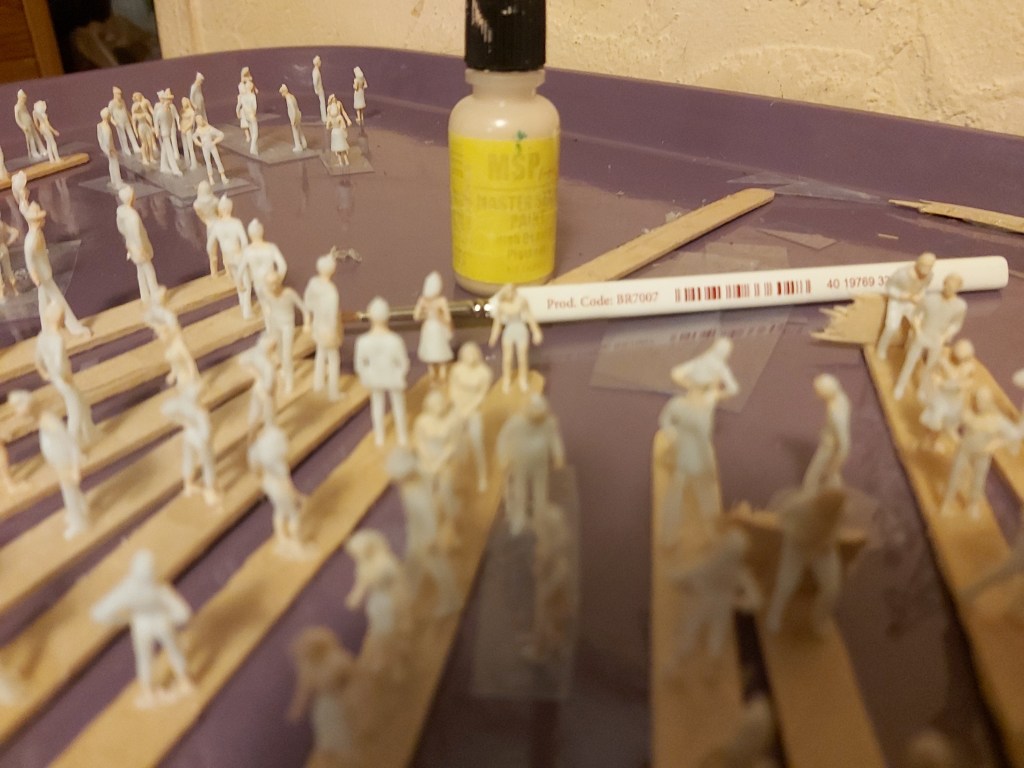
Color
At this scale, small detail is difficult to achieve. Base coat figures in white, then carefully paint each color with a fine detail brush. Use a darker paint wash to bring out low areas, and dry brush to pick out elevated details.
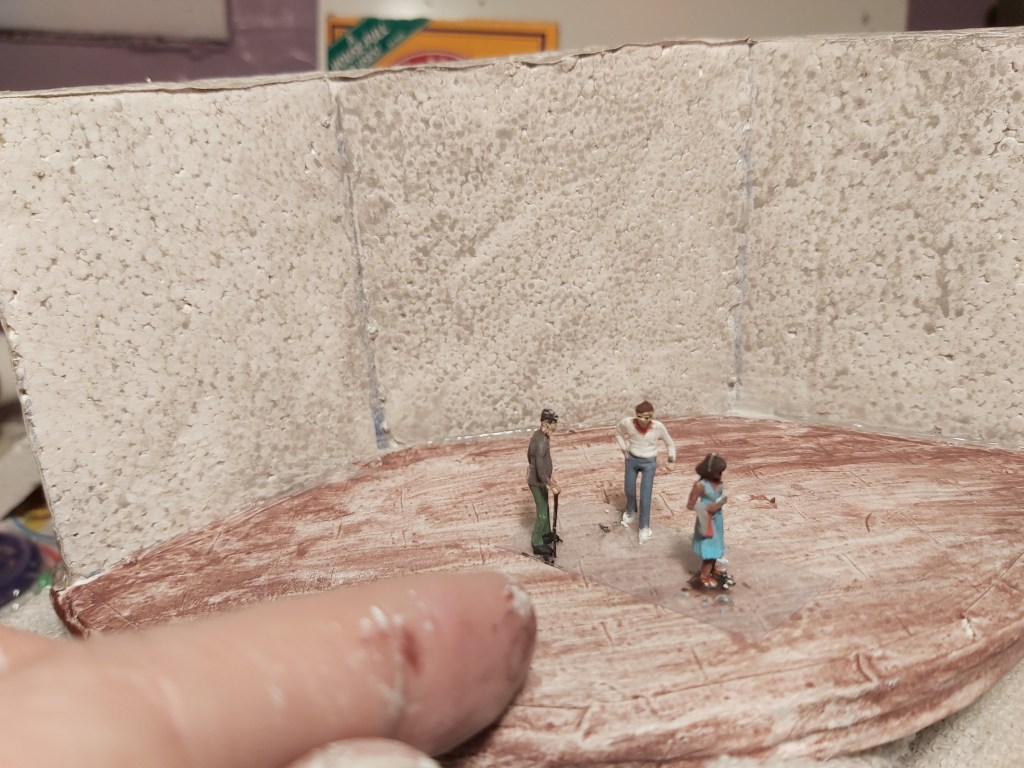
Happy Tree citizens
After weeks of completed Crafty Time buildings and projects, these people have plenty of places to go and things to do!
Crafty Time and You
What would you like to see next in Crafty Time? Visit www.craftytimewithdave.com for more photos and project ideas. Please email your photos and feedback to dave@masoncounty.com or call 360-426-4412. Visit our office to see the display!