


03.21.dp.Construction.CraftyTime
Crafty Time
By Dave Pierik, Shelton-Mason County Journal
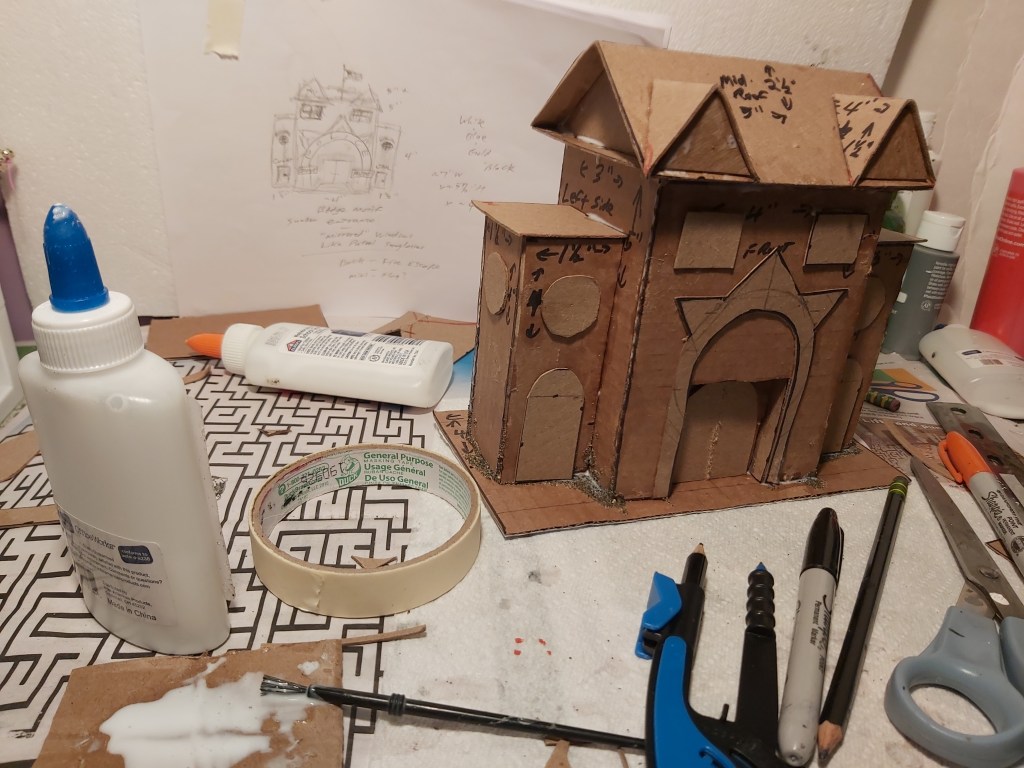
Construction
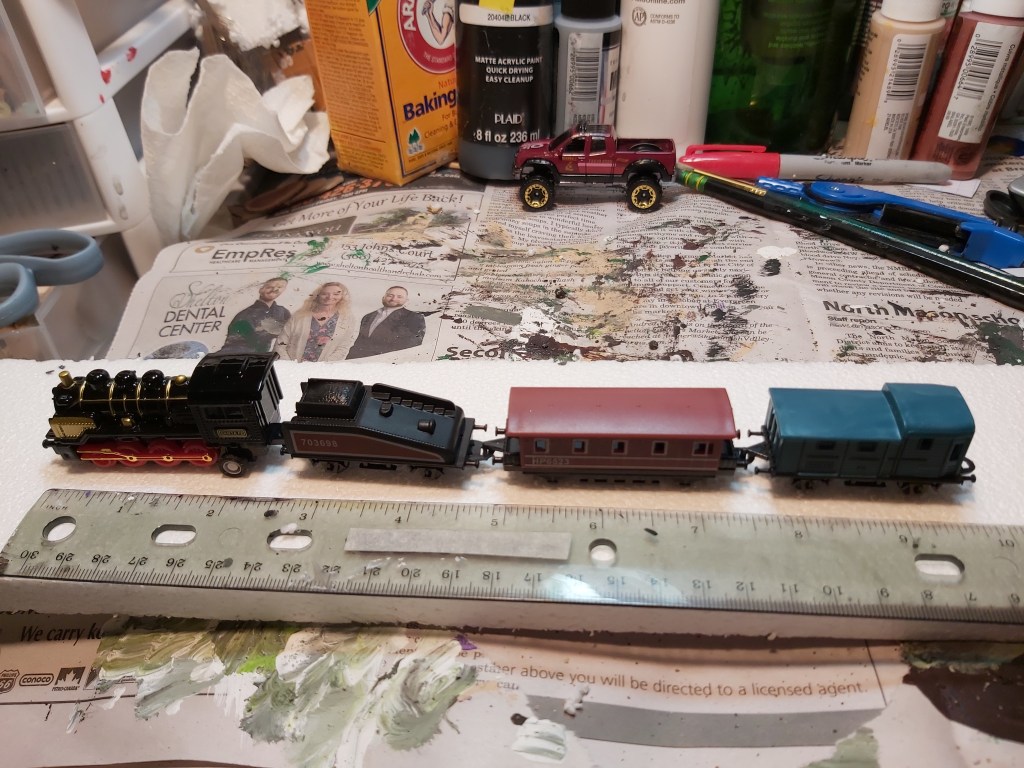
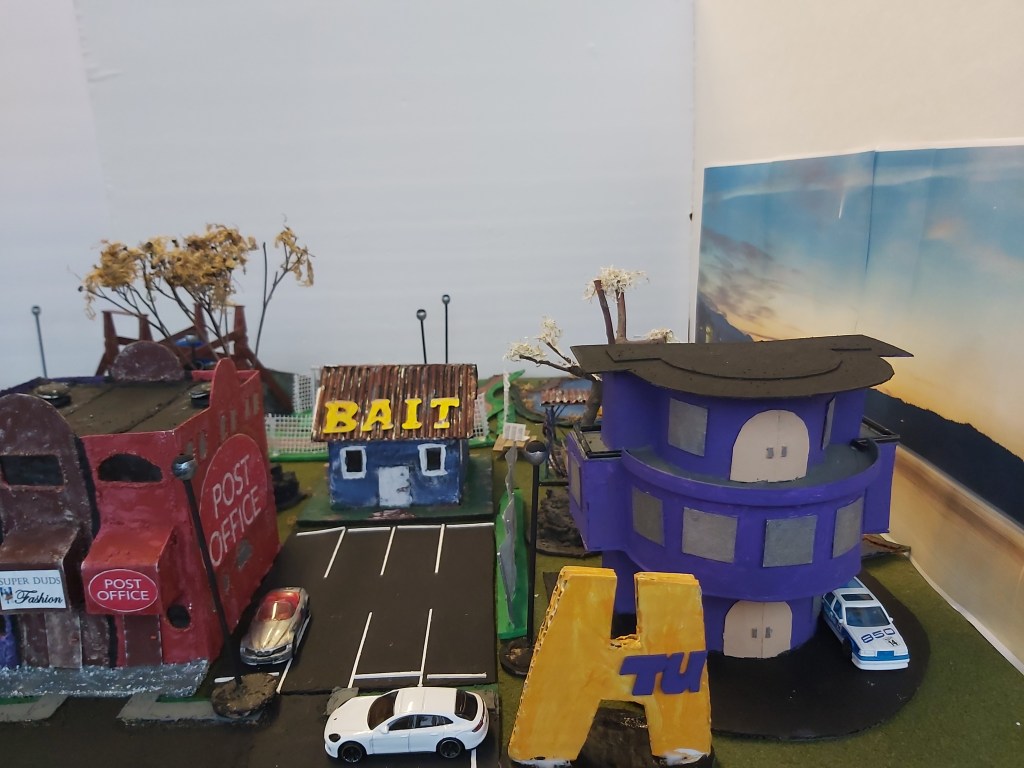
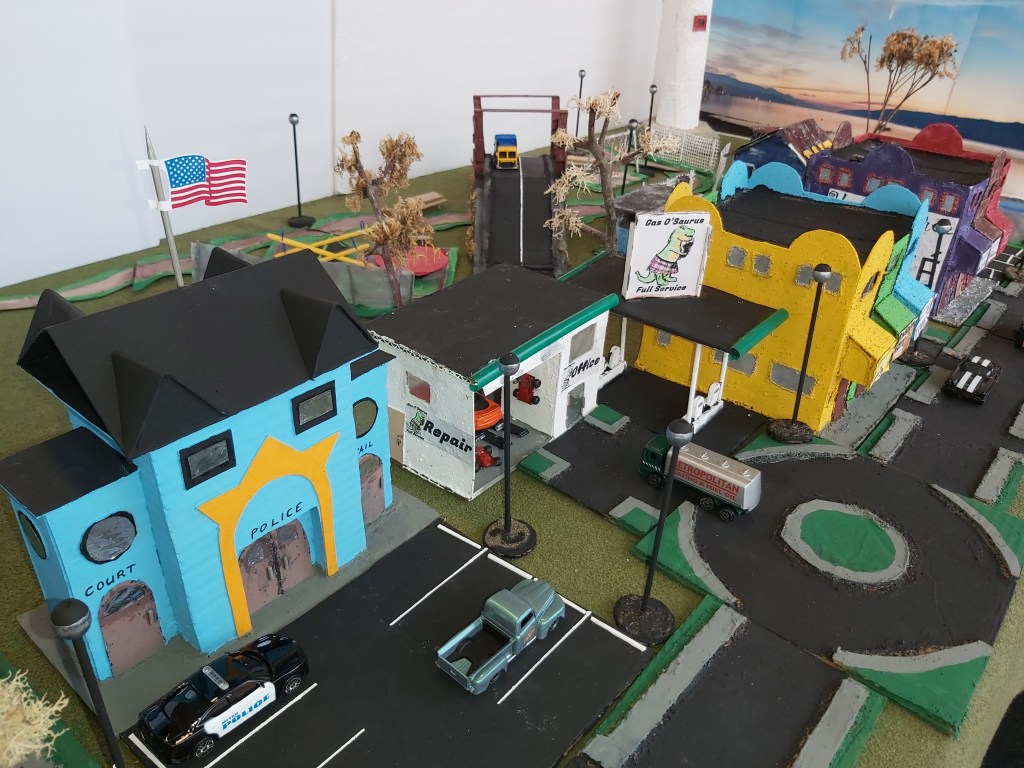
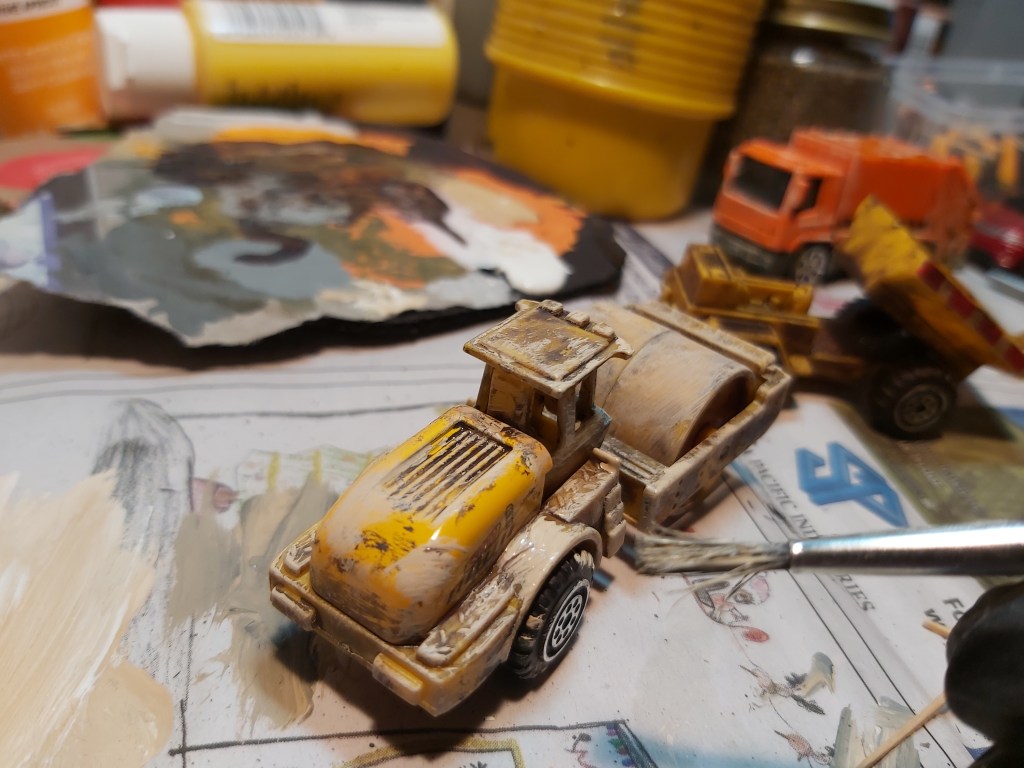
New construction vehicles are clean and shiny, but at work, they show a lot of grit! Weathering is fun and easy to do. Let’s create a construction site!
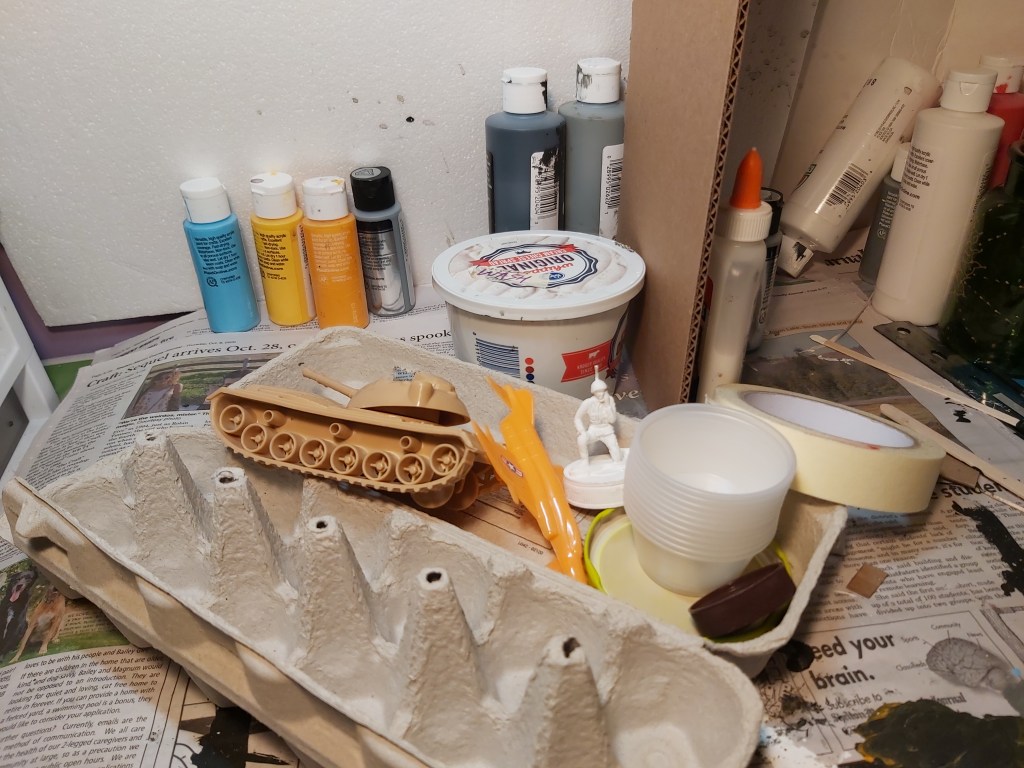
Tools: ruler, scissors, paint brushes, fine black marker
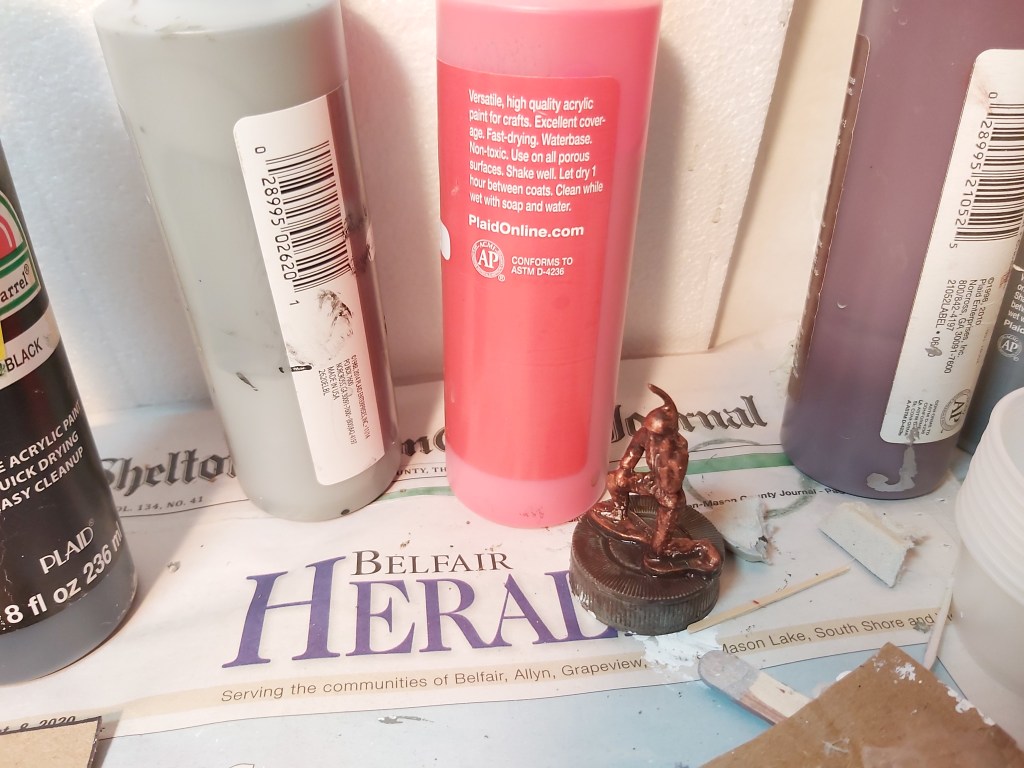
Materials: construction vehicles, cardboard, school glue, flat toothpicks, sand, acrylic paint. Optional: old dry white or grey paint from a palette
Cost: about $3-$10 including vehicles, paint and glue Time: two to four hours or so
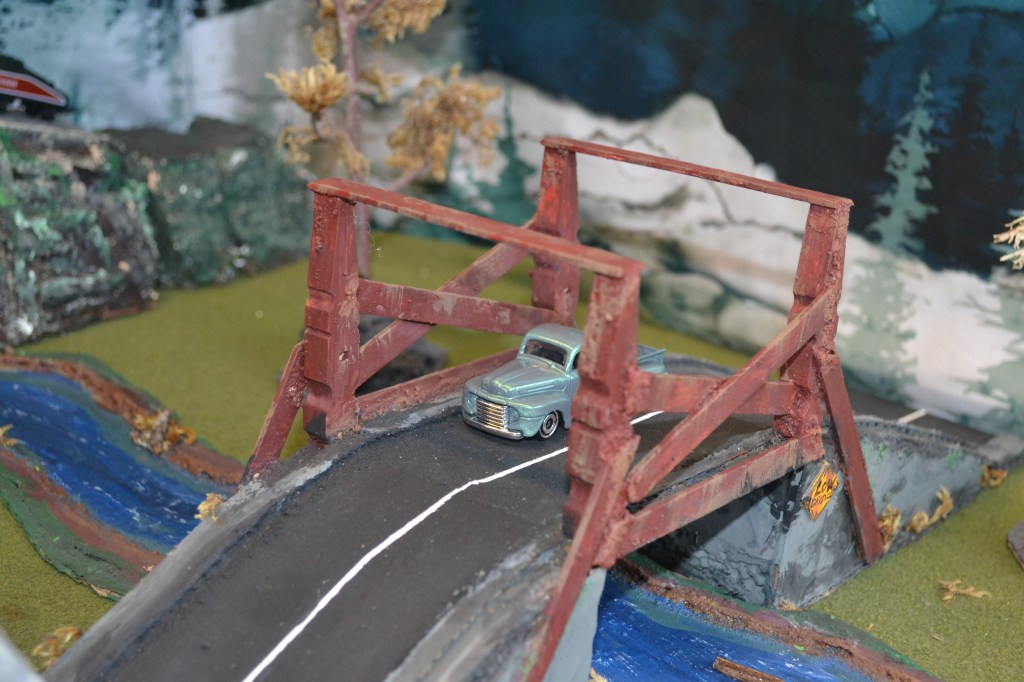
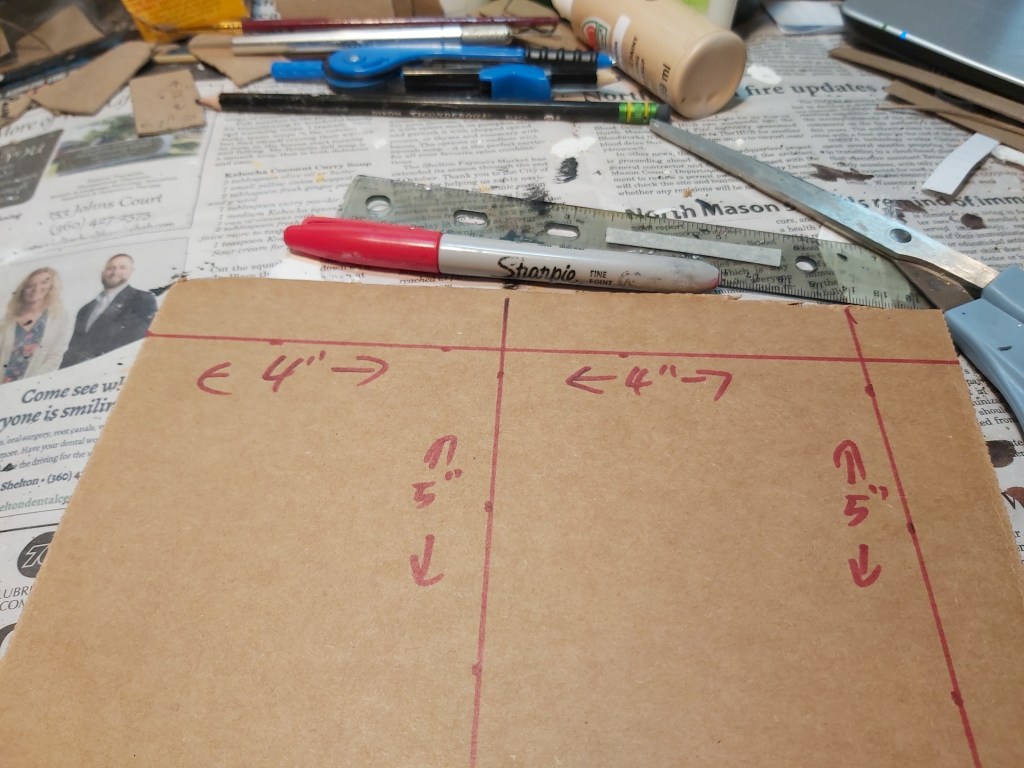
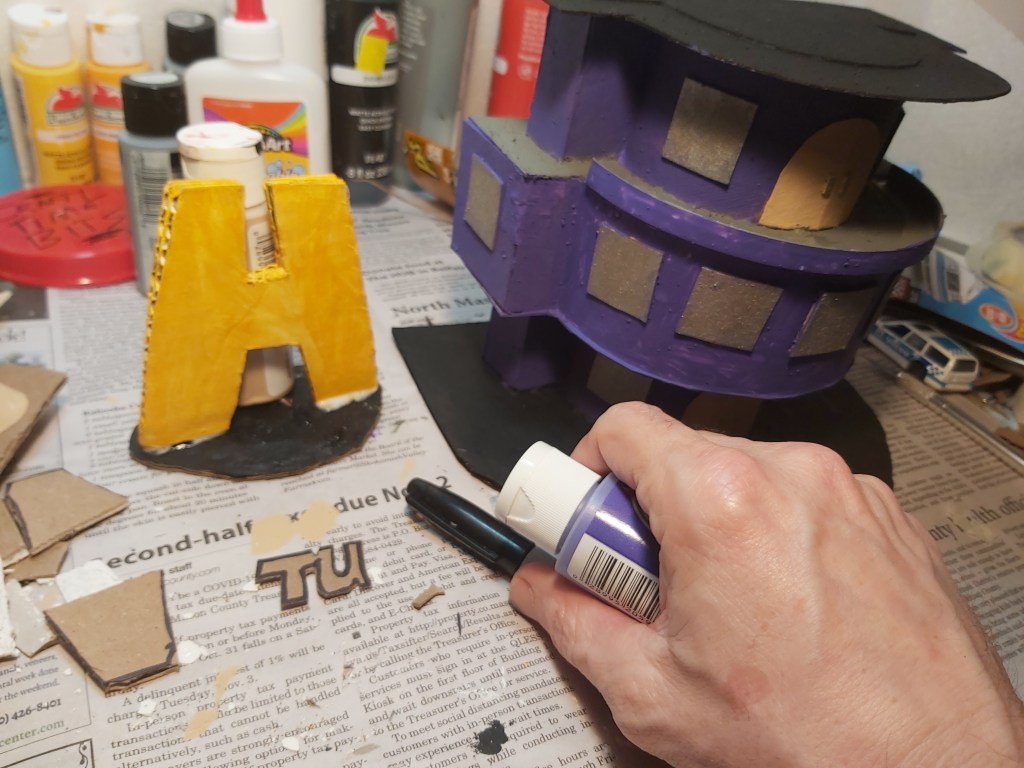
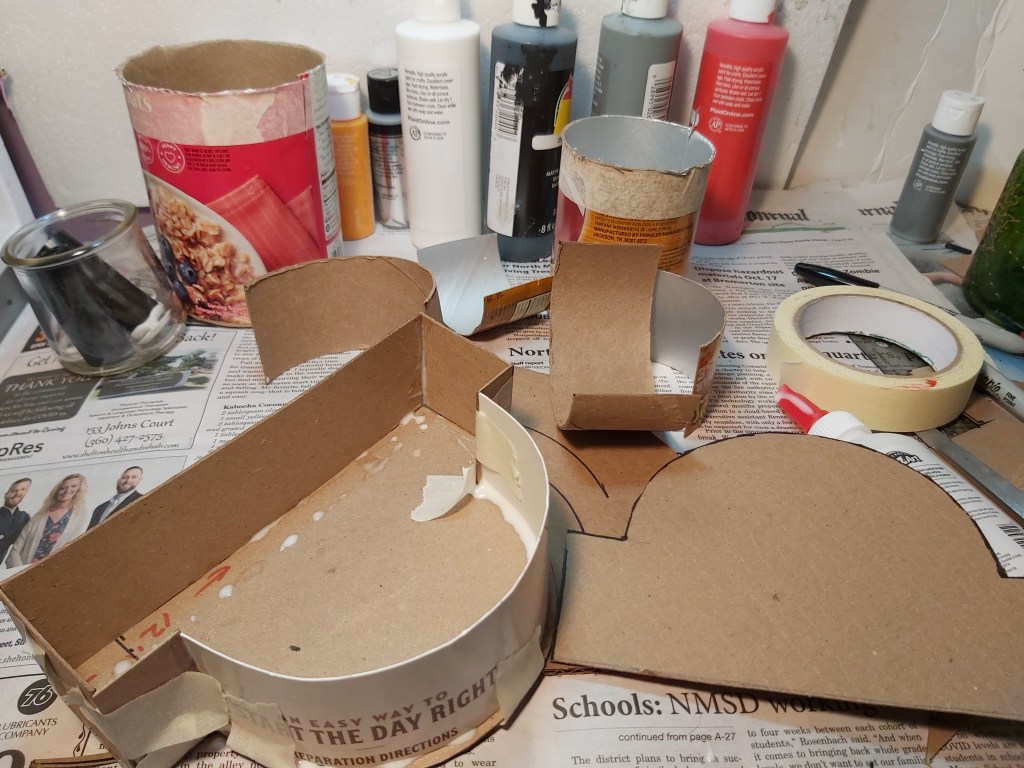
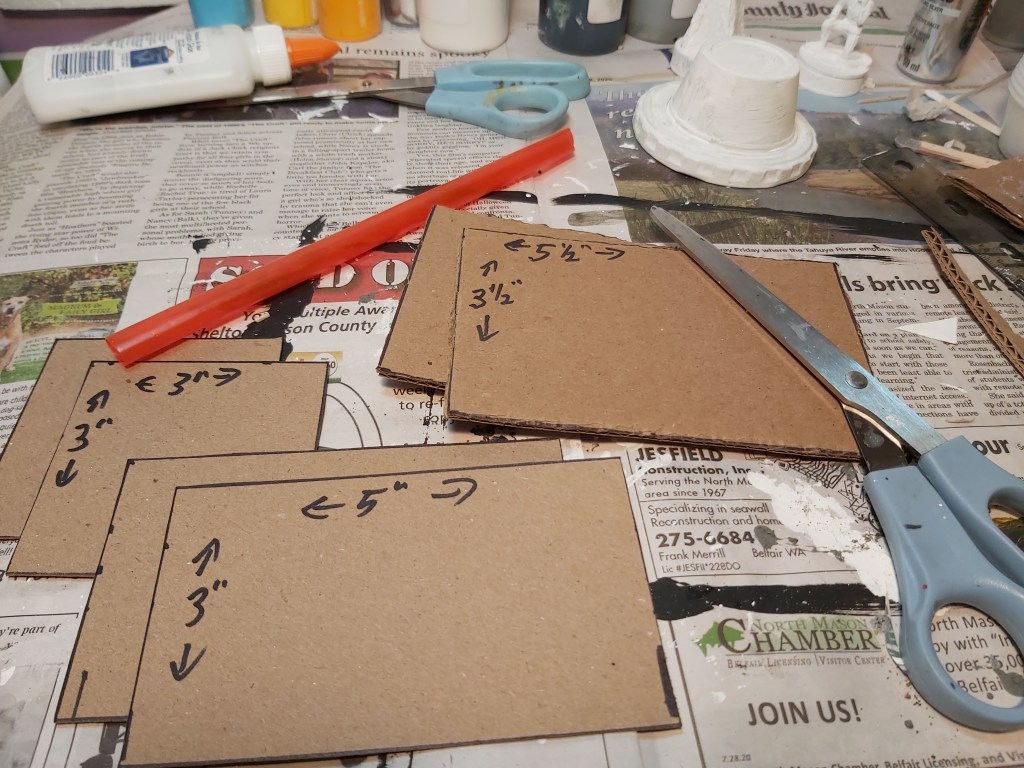
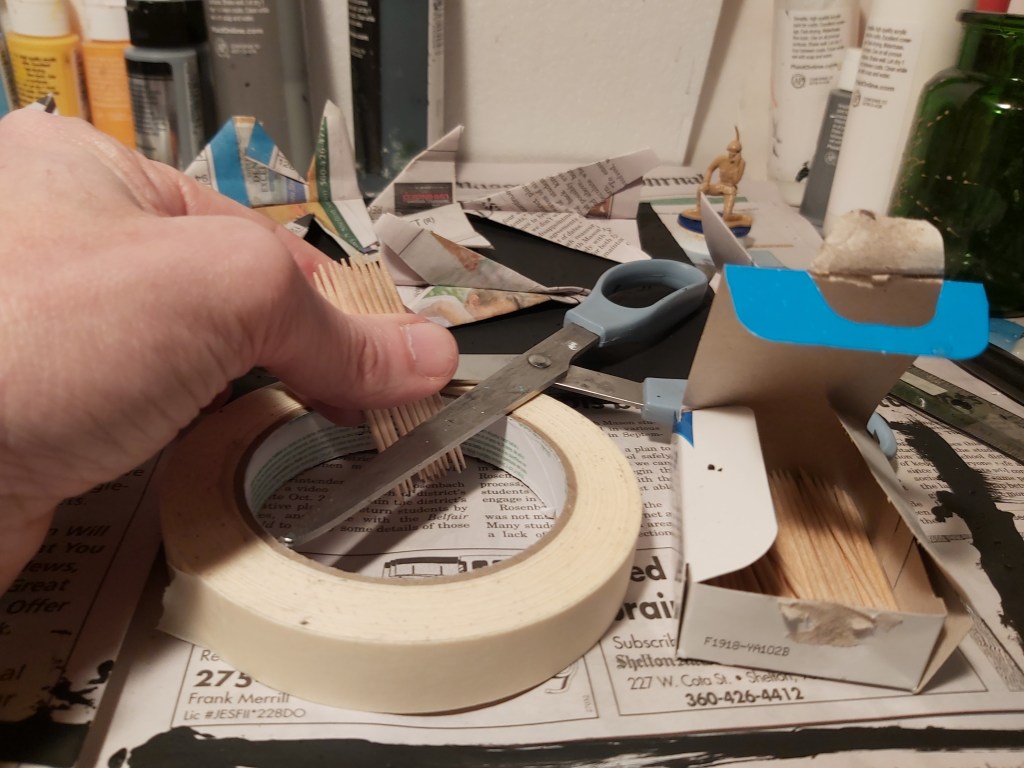
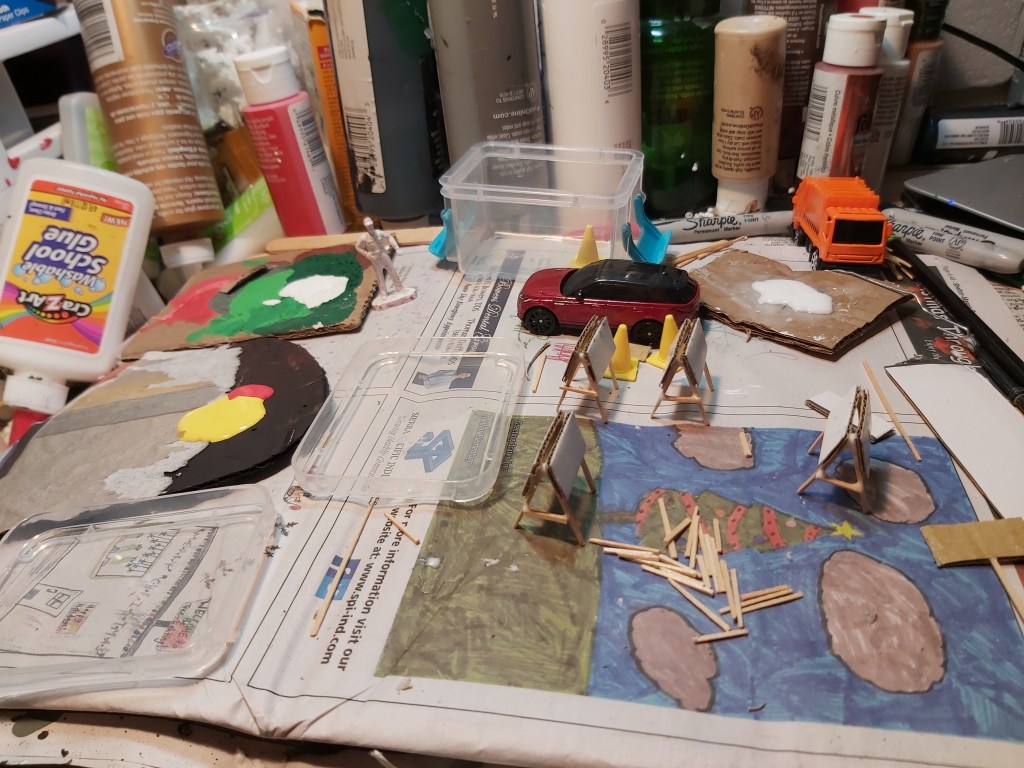
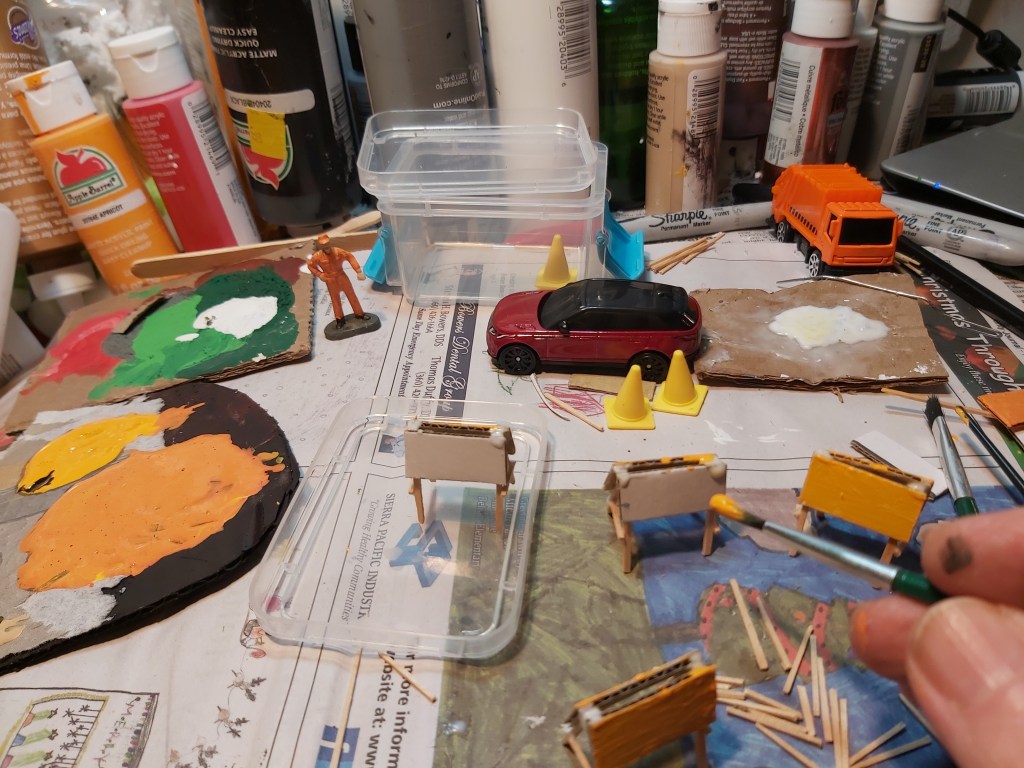
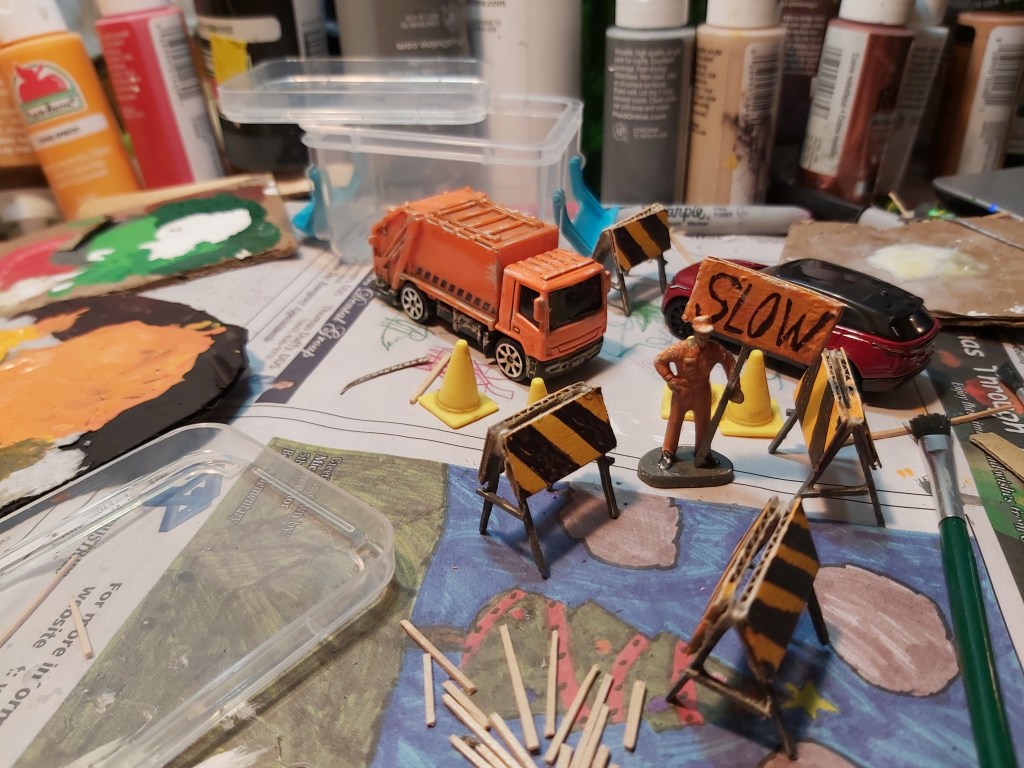
1. Barricades
Measure and cut eight cardboard rectangles, each 1” wide x ¼” tall. Trim 16 flat toothpicks to 1 ¼” length for legs, and eight to ½” for side supports. Place cardboard flat and glue legs to the sides. Allow to dry, and then glue the tops and sides. From the side view, they make the letter “A.” Prime in white, then grey legs, orange sign. Let dry, then use a black marker for stripes.
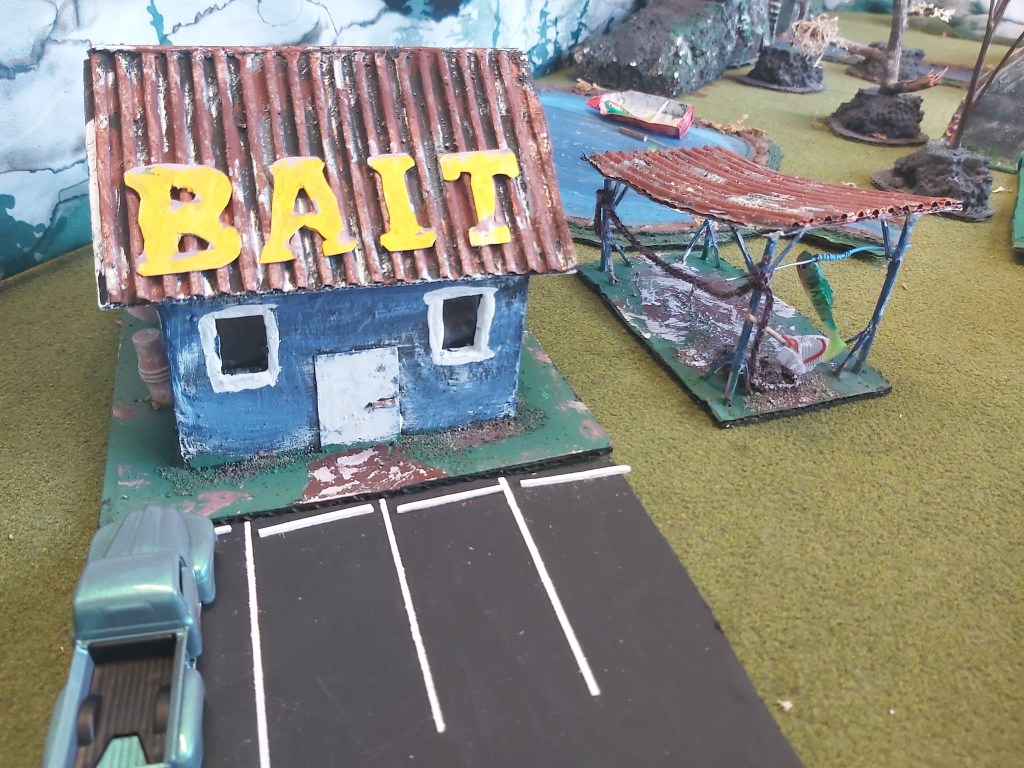
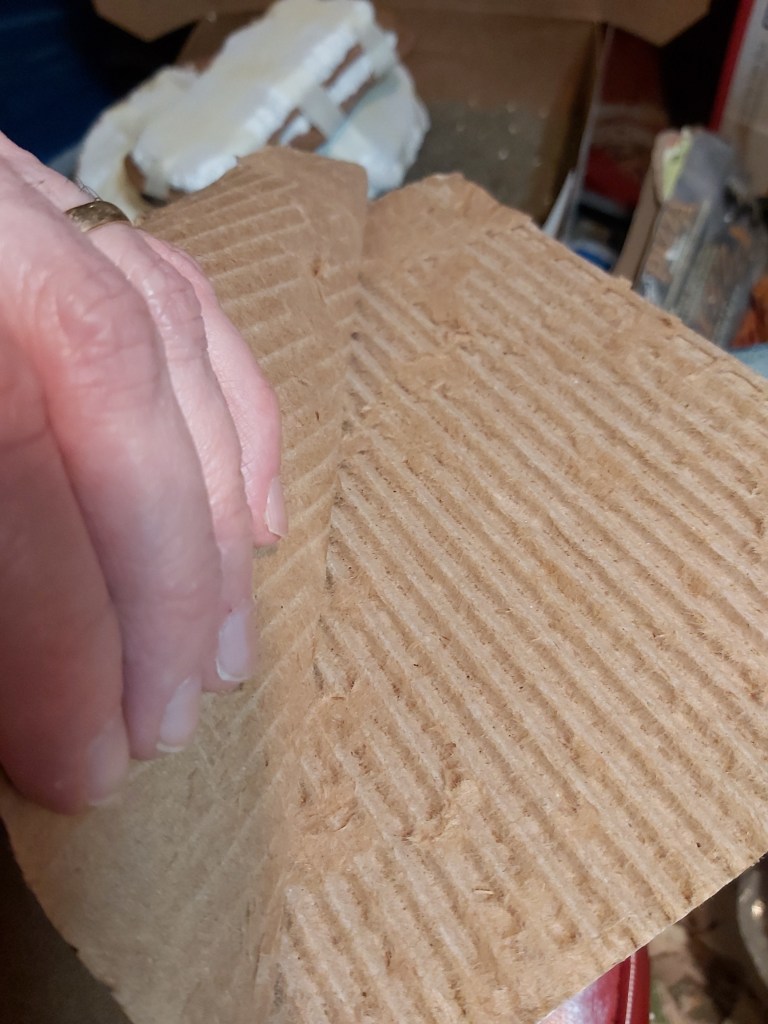
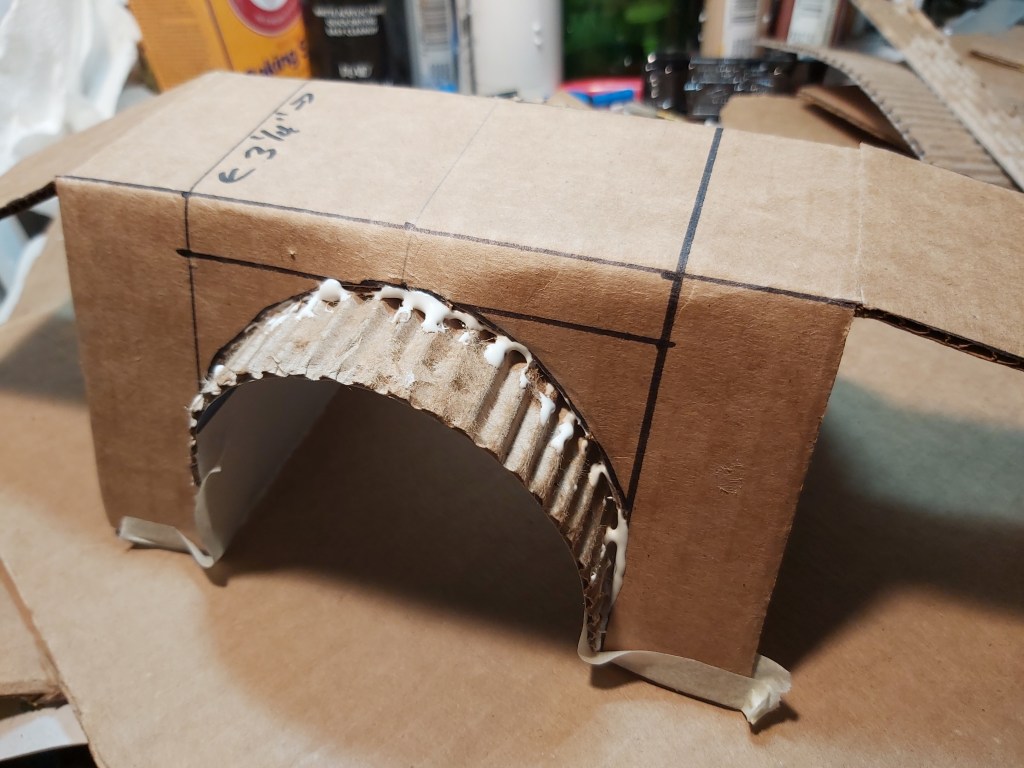
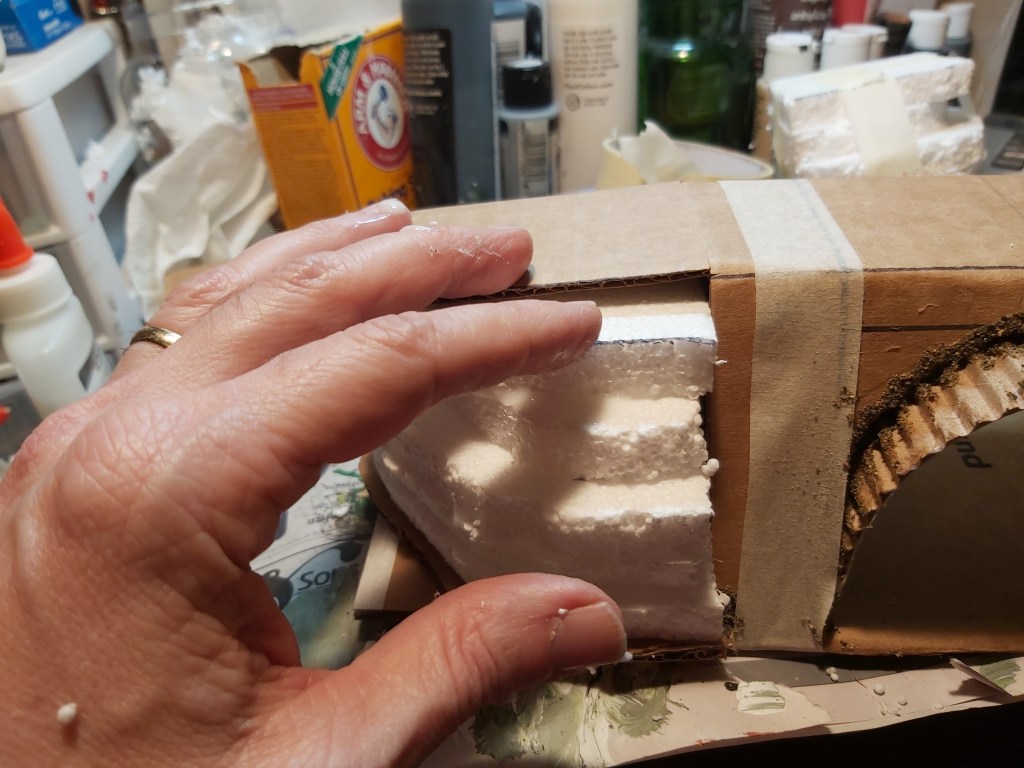
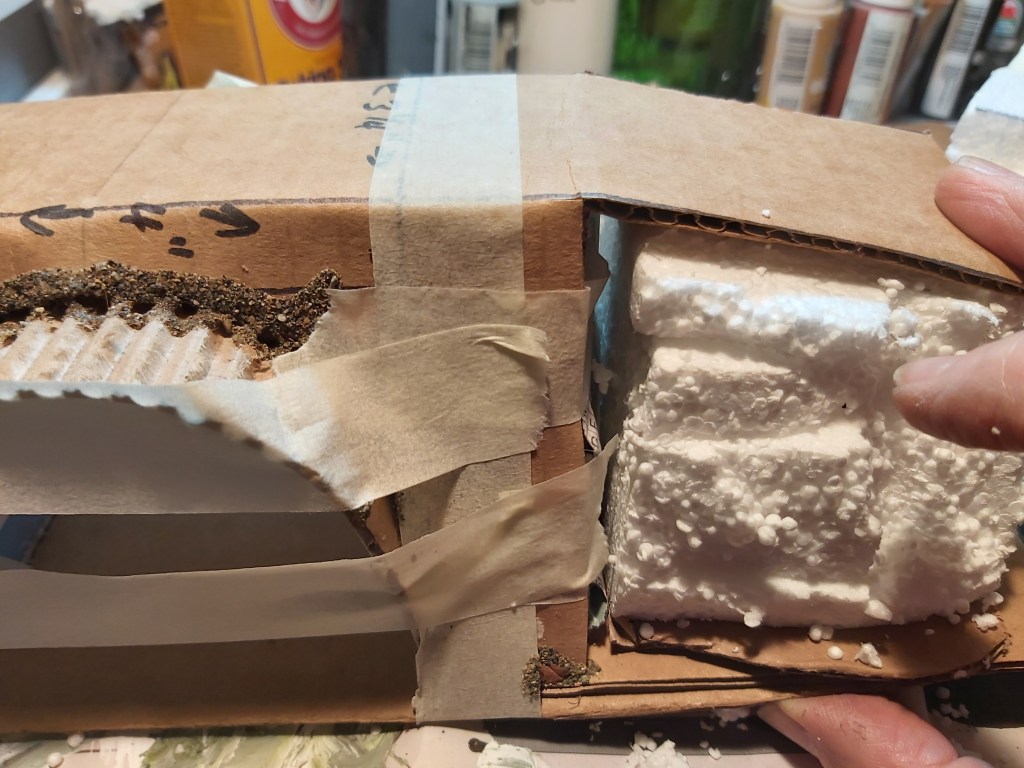
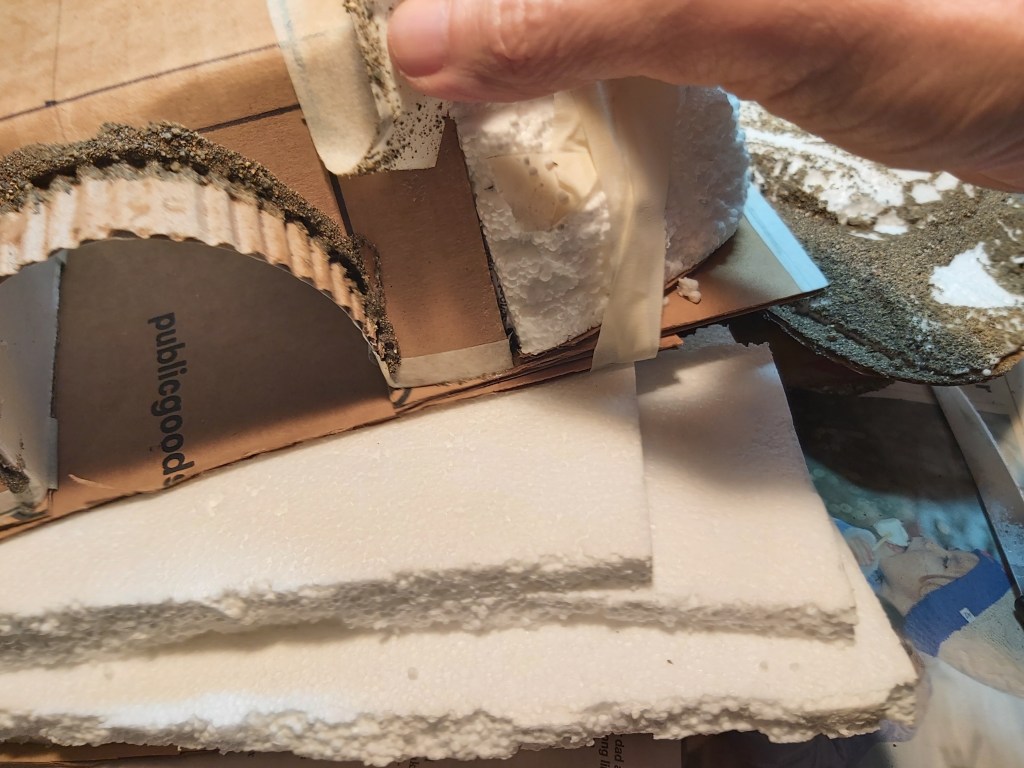
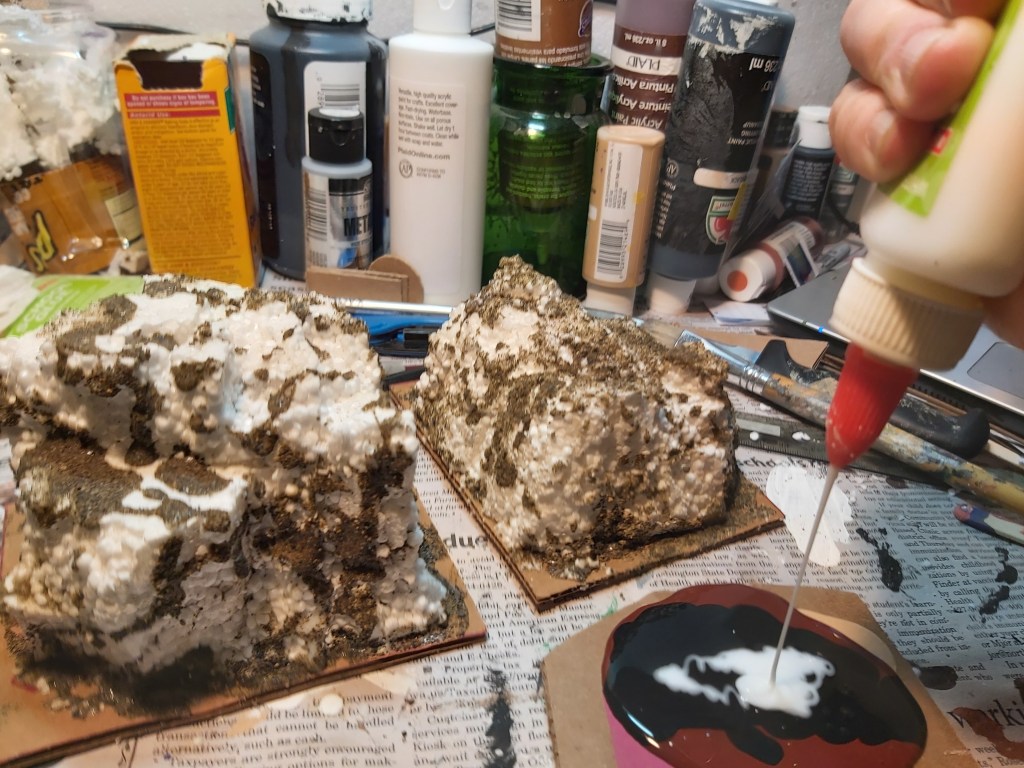
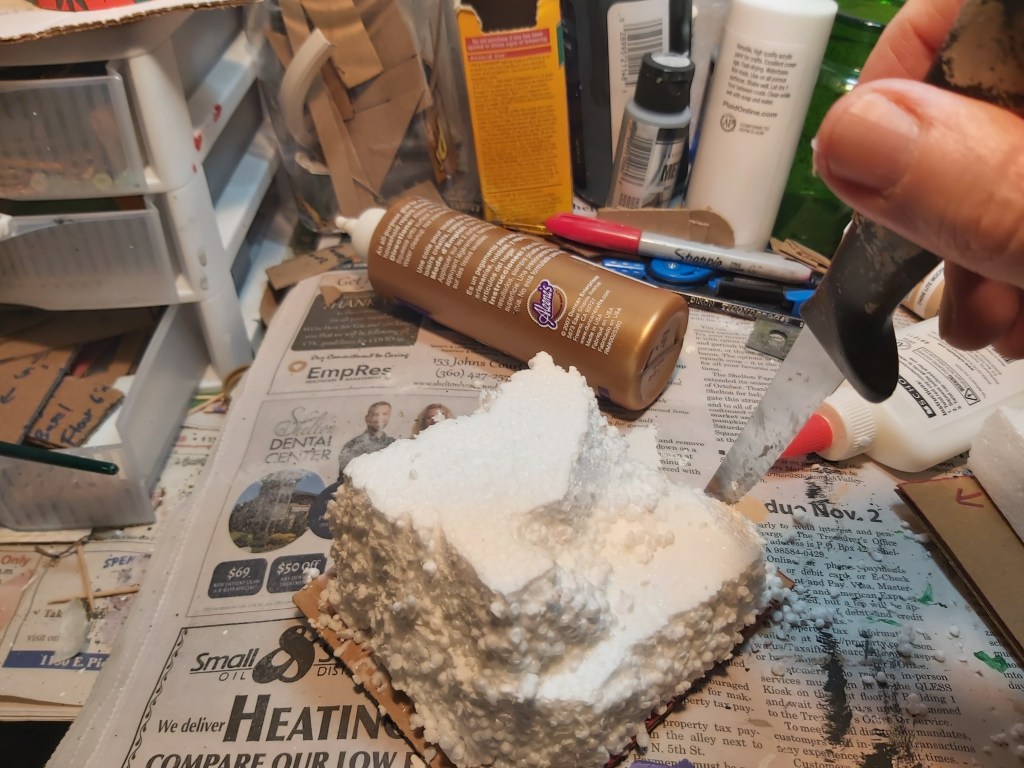
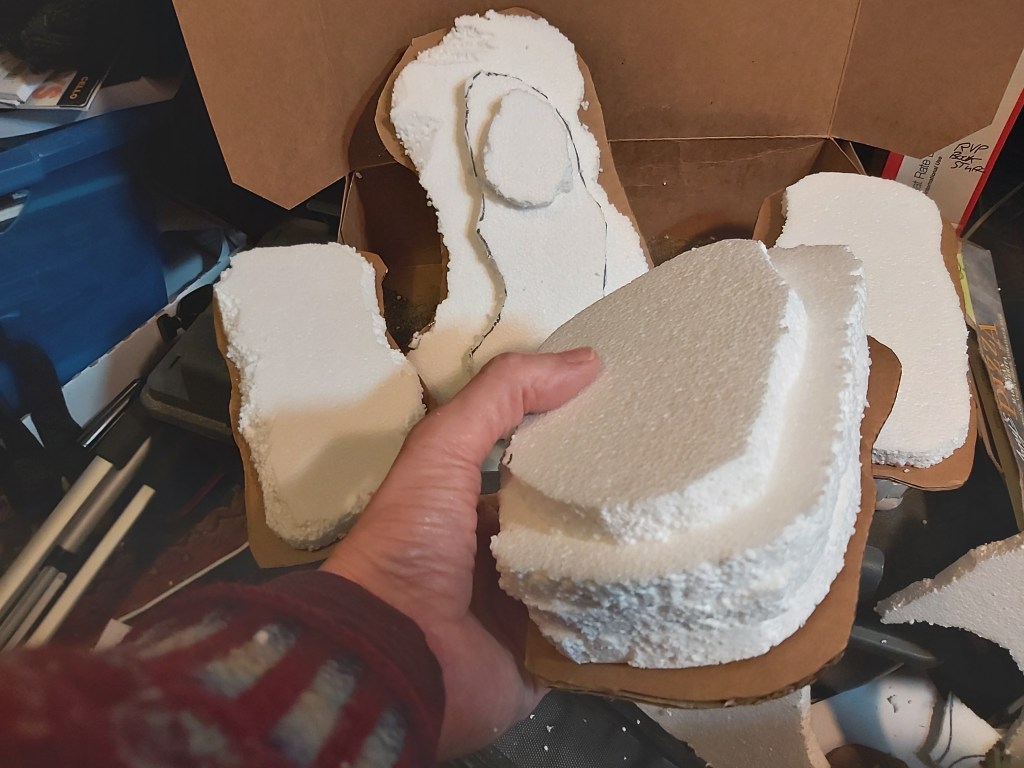
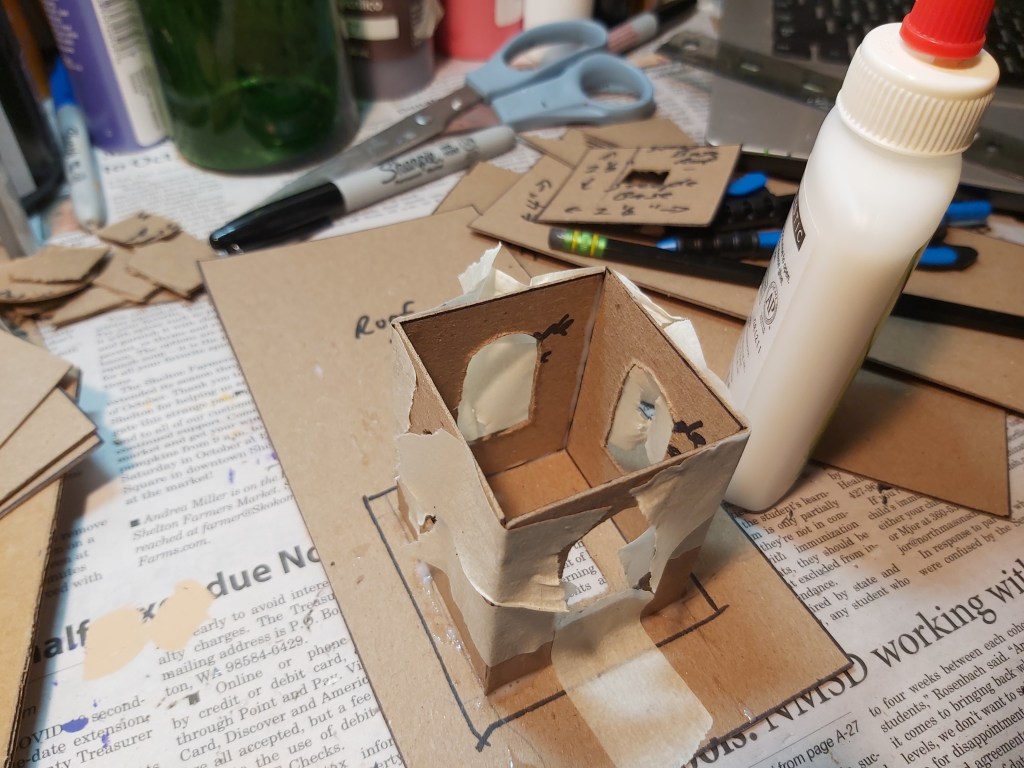
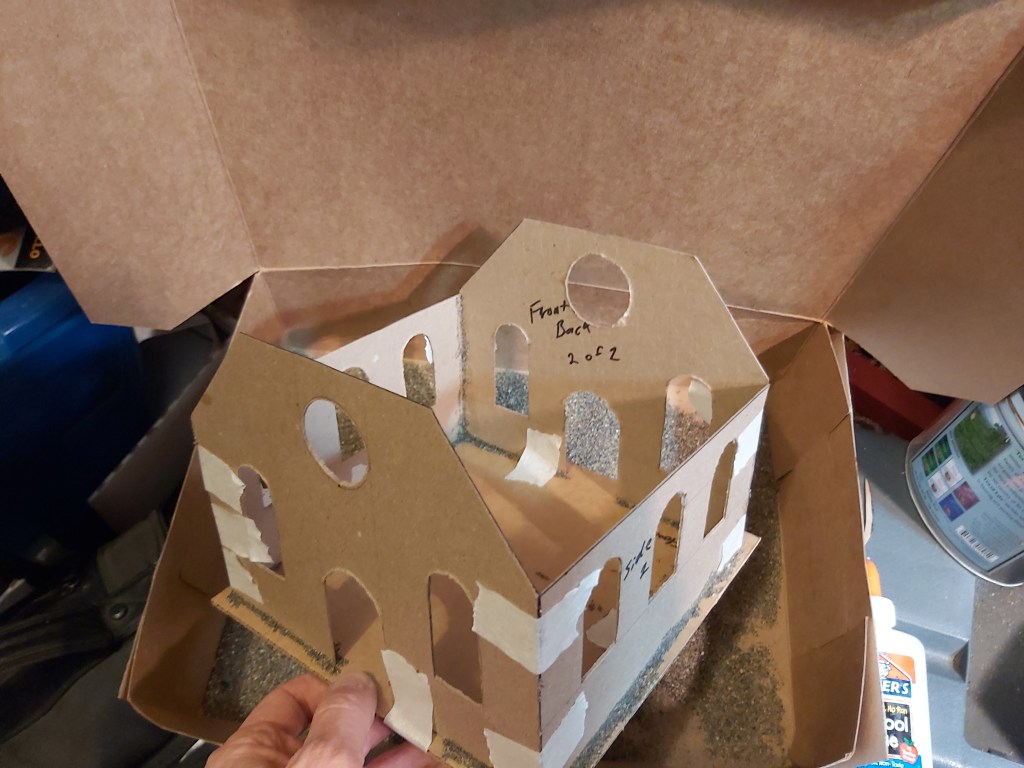
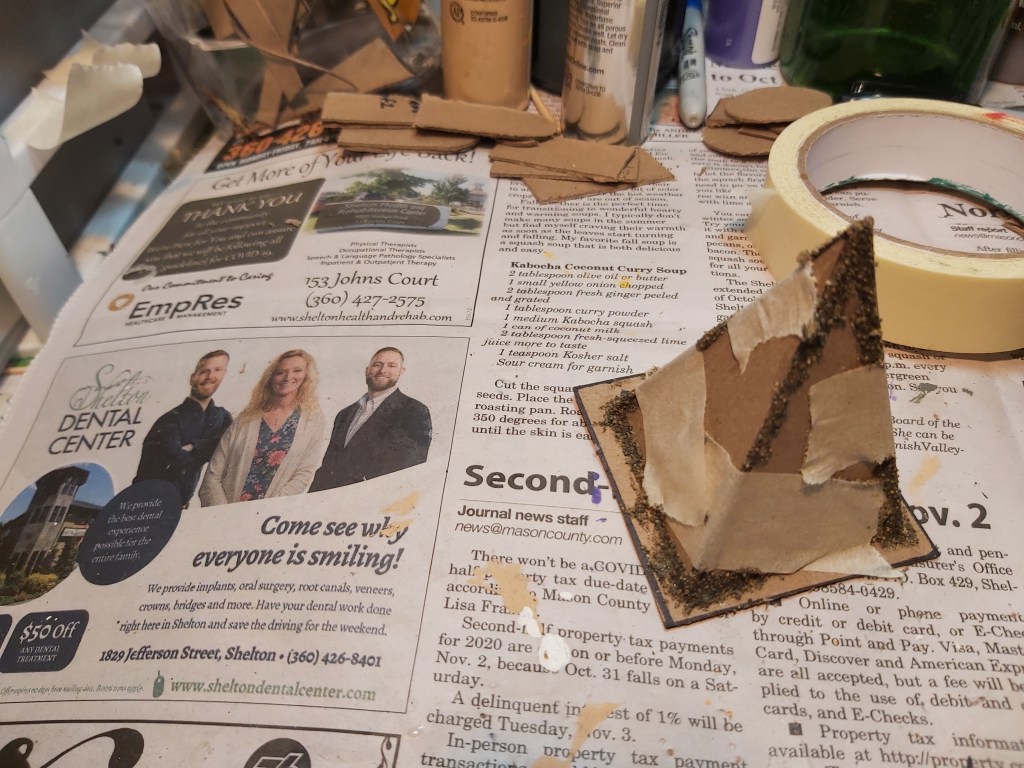
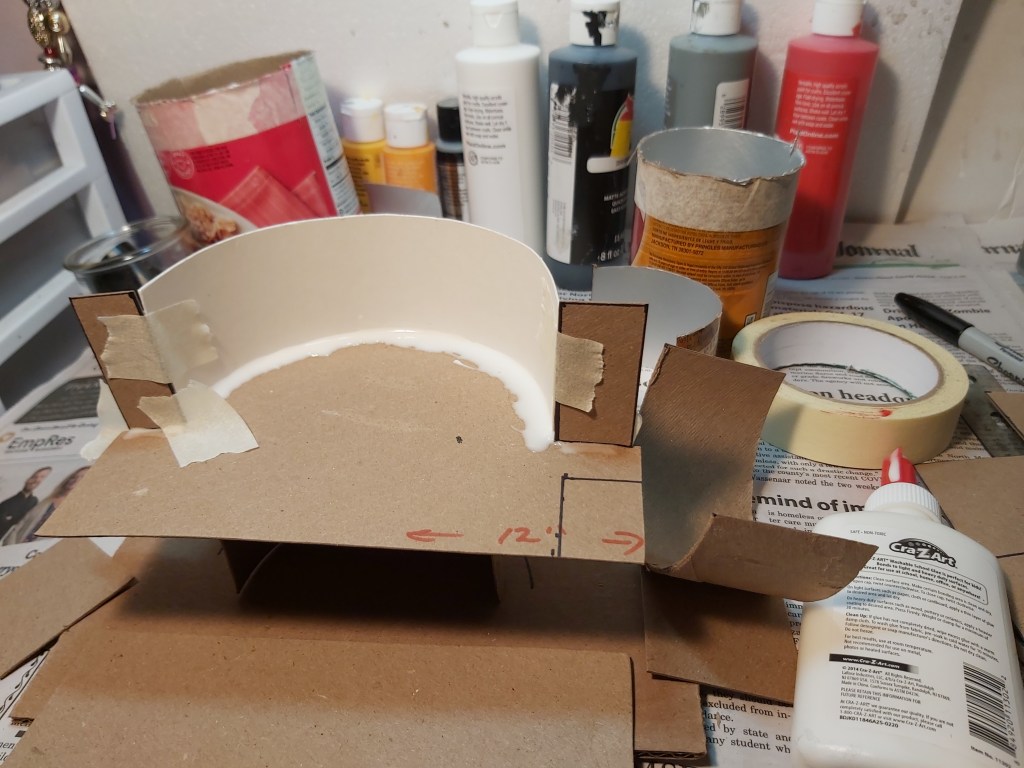
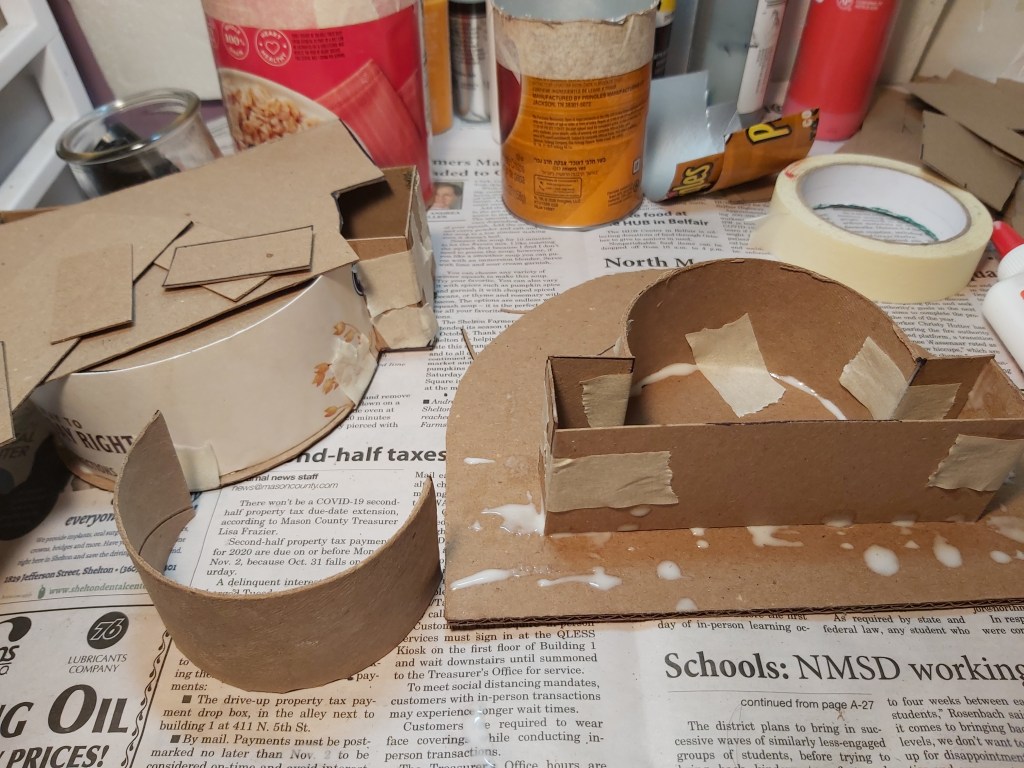
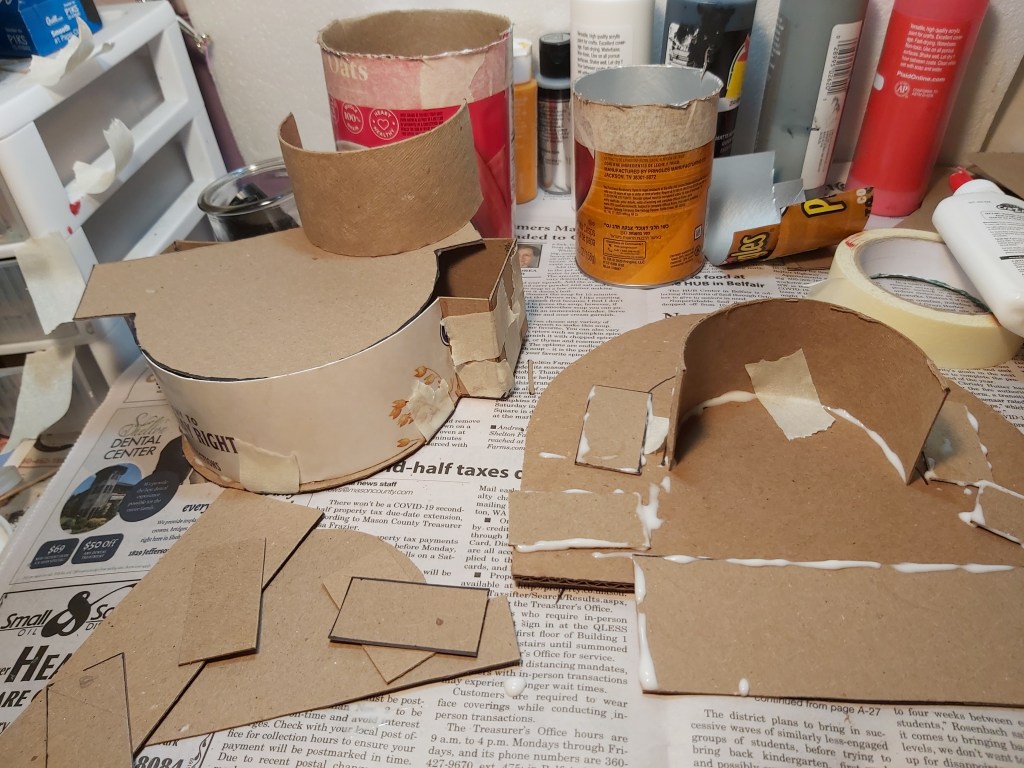
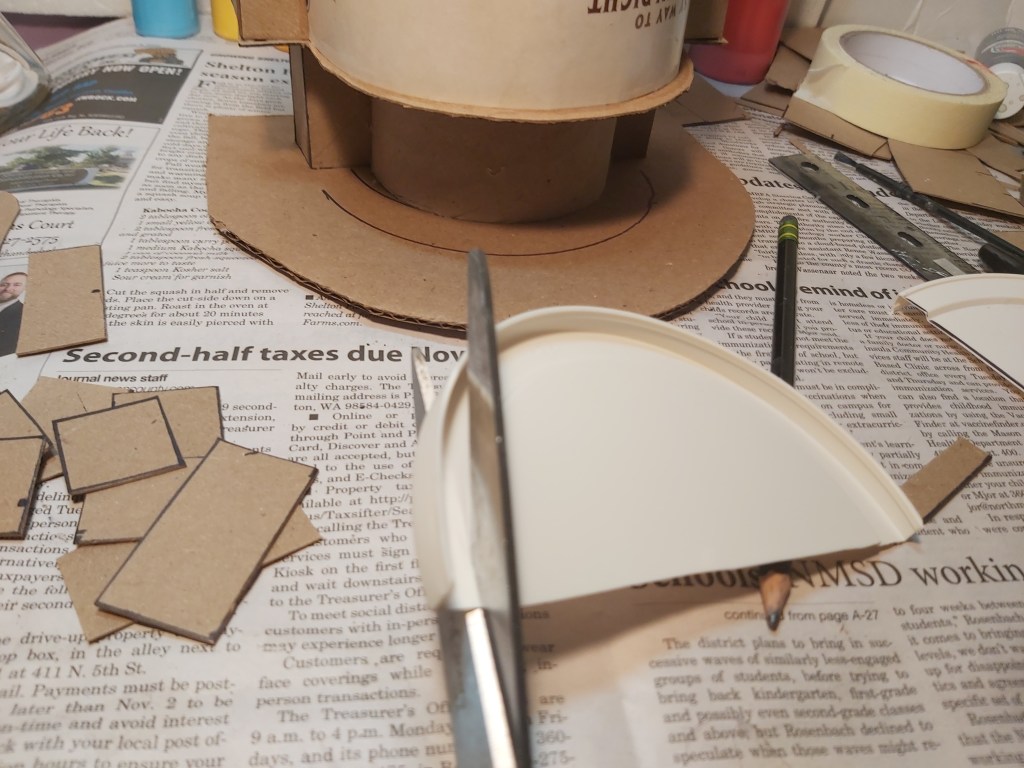
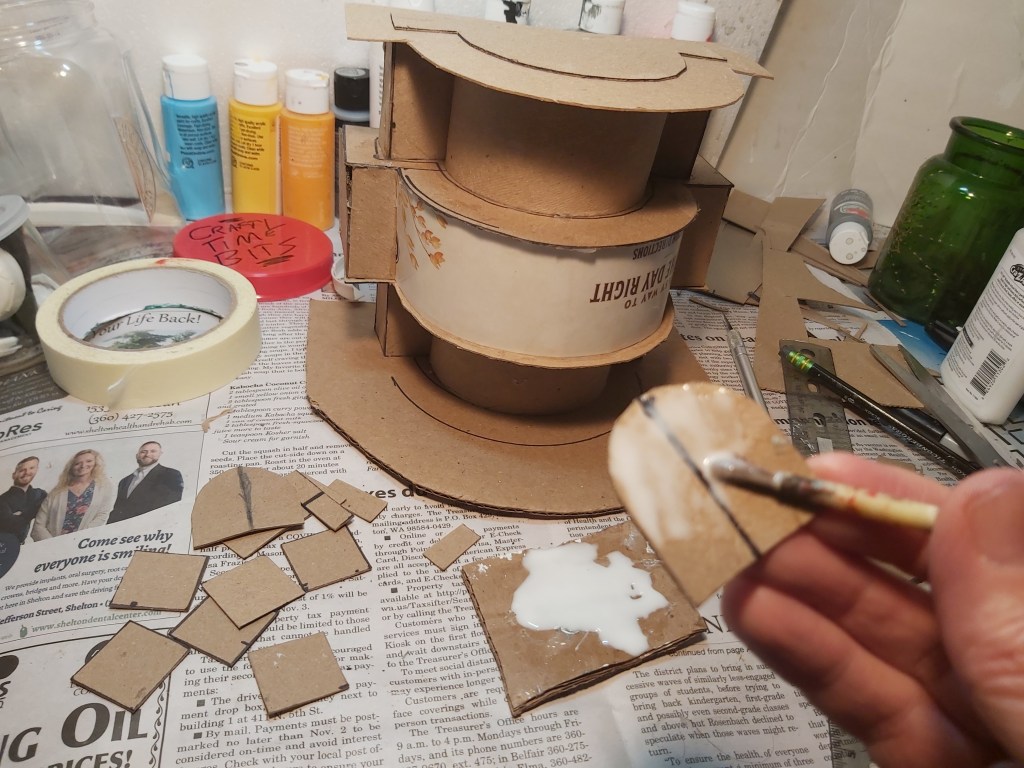
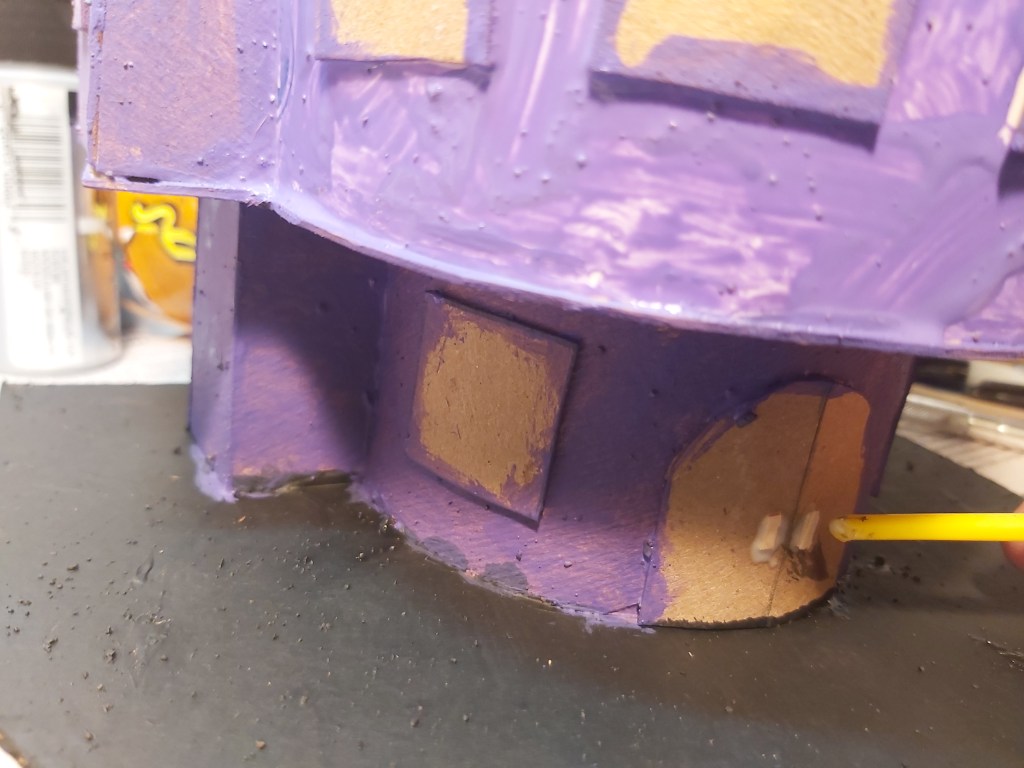
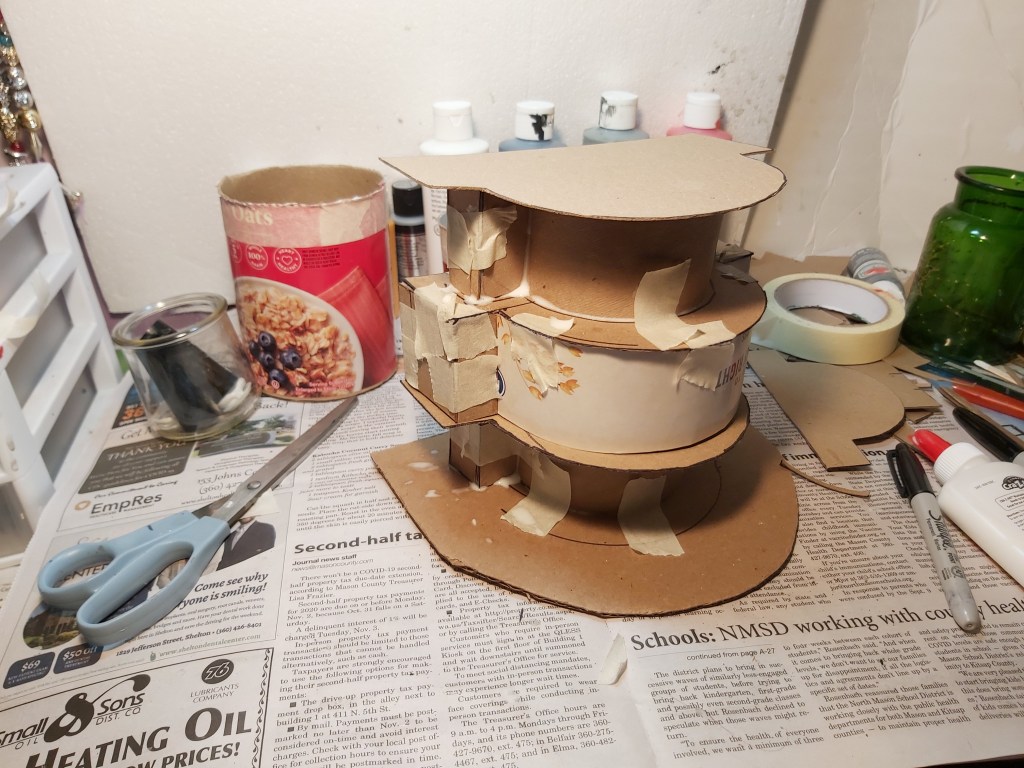
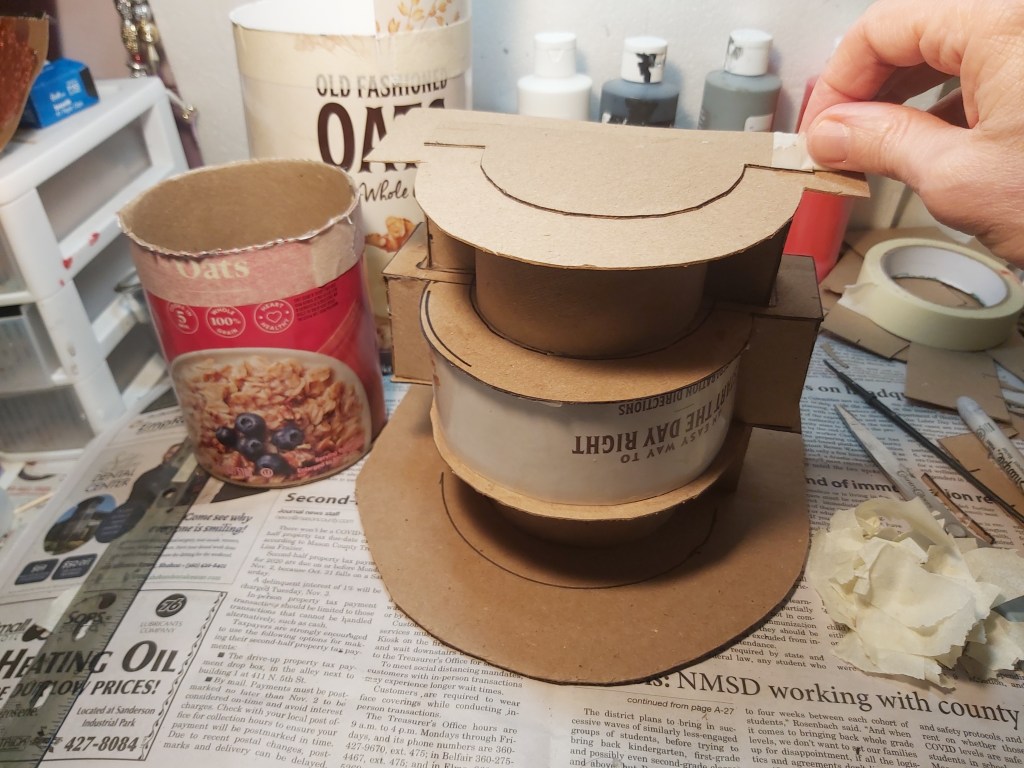
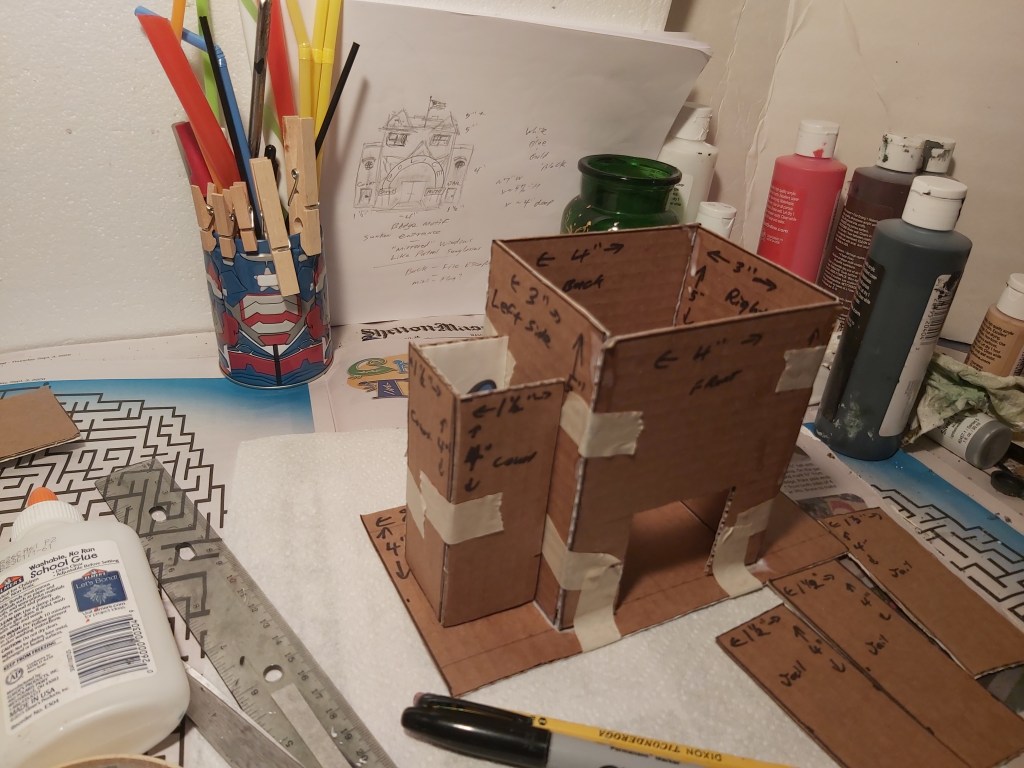
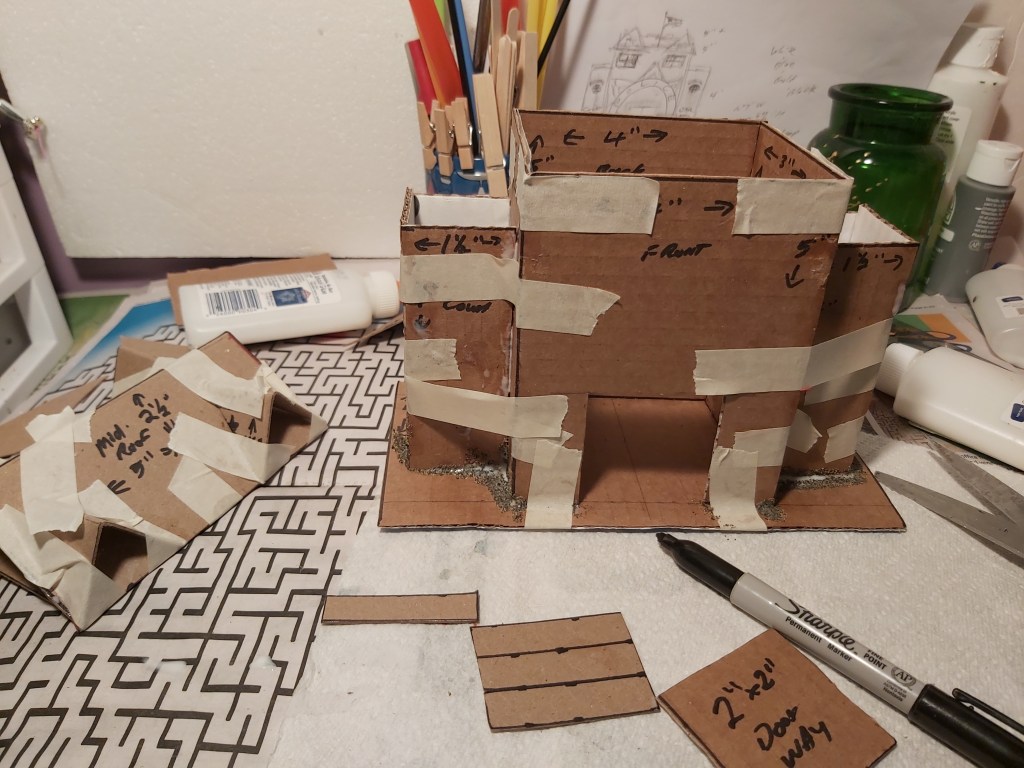
2. Site
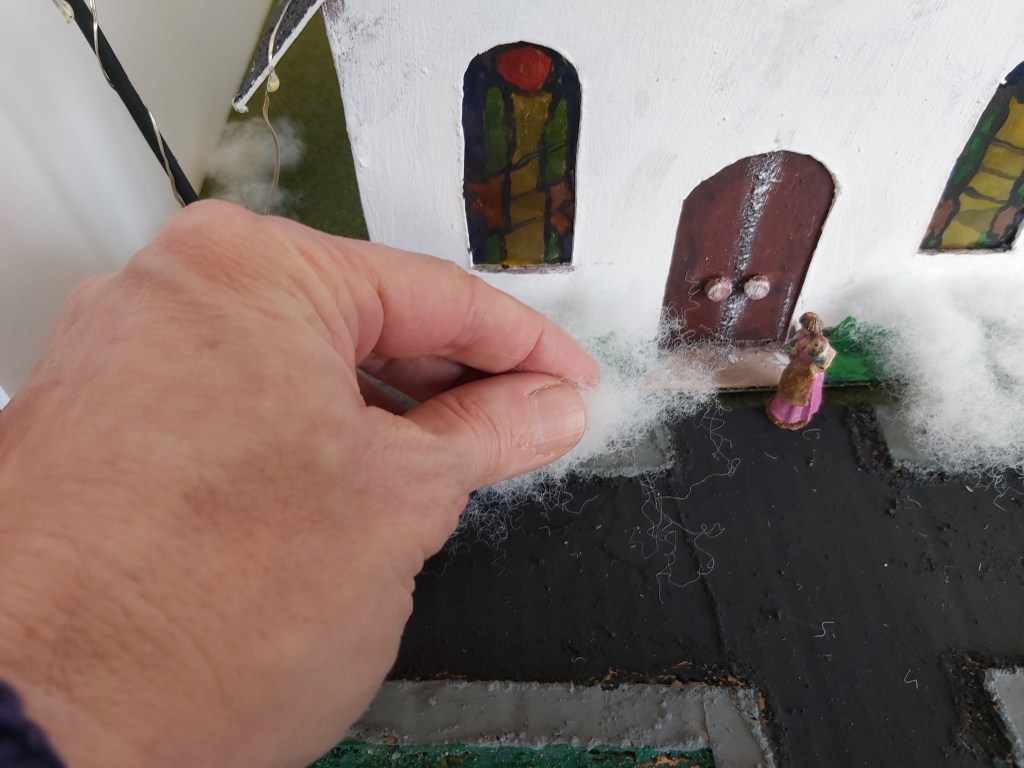
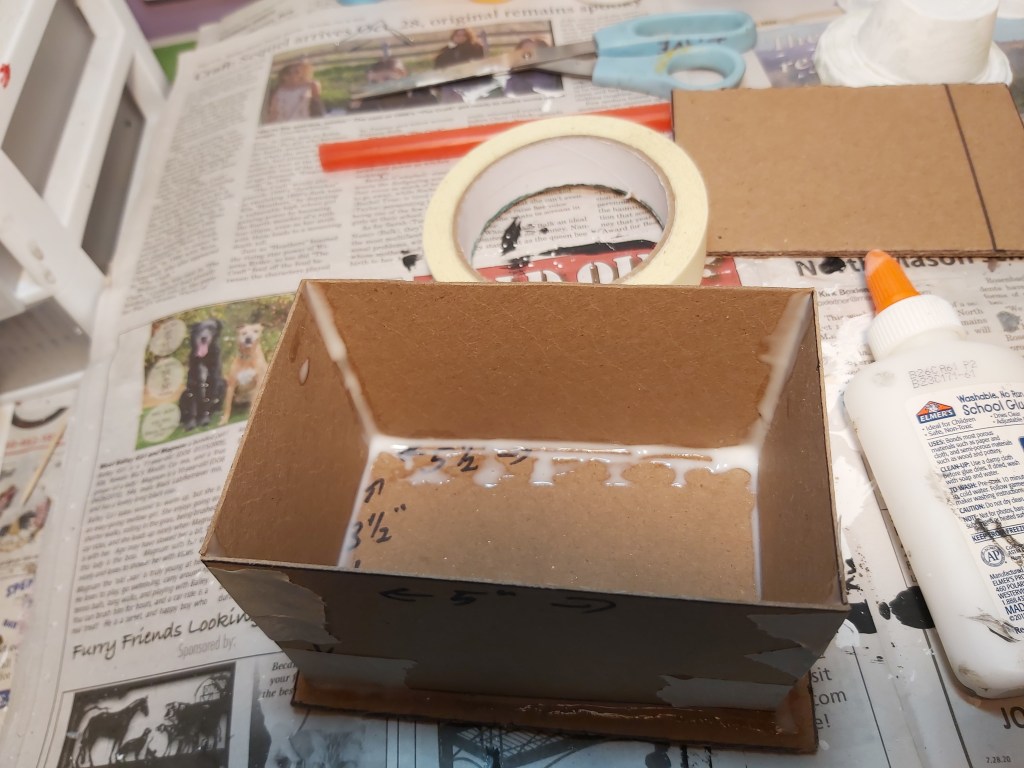
Add layers of glue and sand to cardboard, and paint black. Let dry. Add more glue, sand and bits of dry white and grey paint from an old palette, for the look of asphalt and broken concrete. Lightly paint highlights of brown and tan for dirt and tire tracks. For the port-a-potty, paint a cardboard box, ¾” on each side and 1 ½” tall then add detail with a marker.
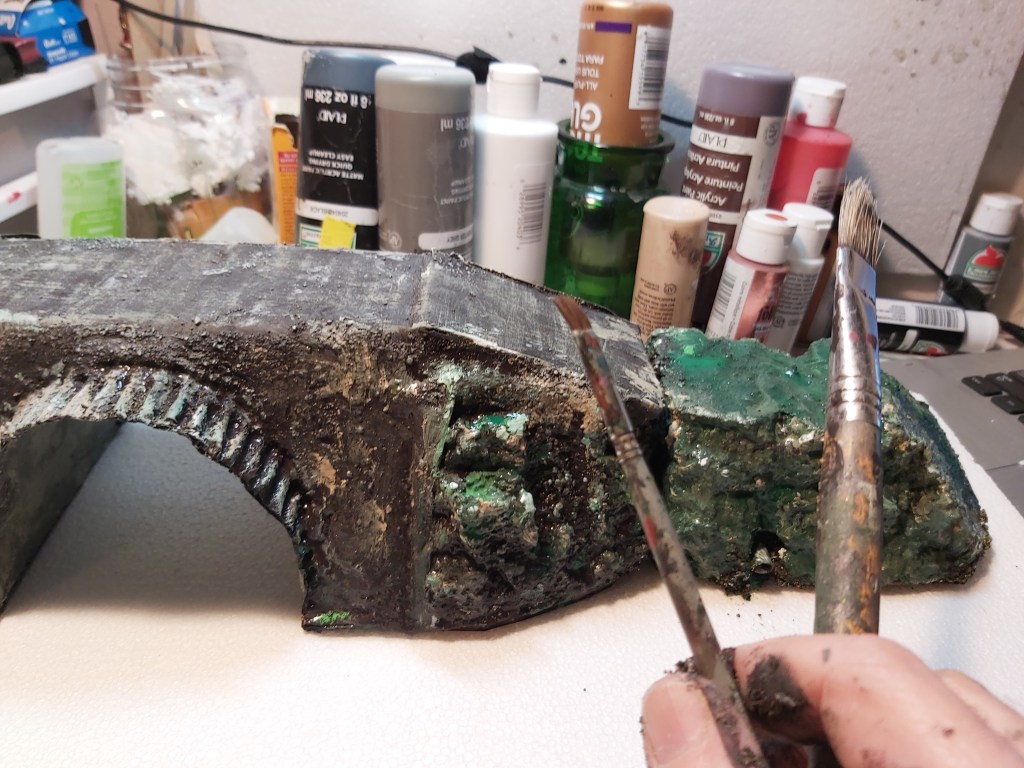
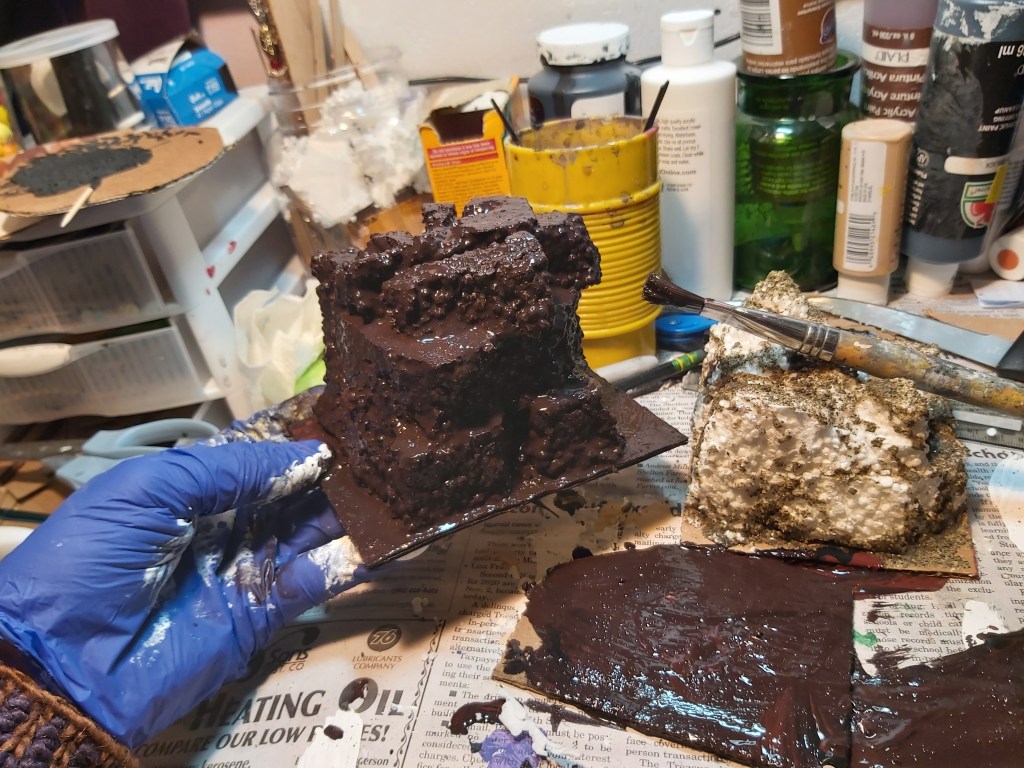
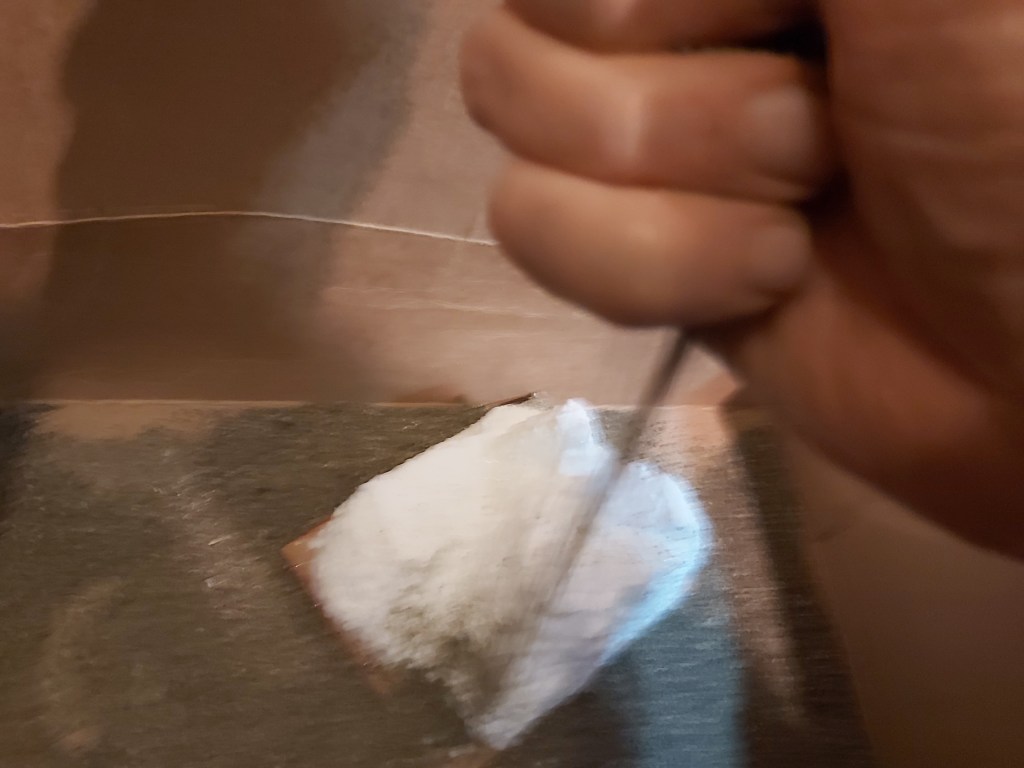
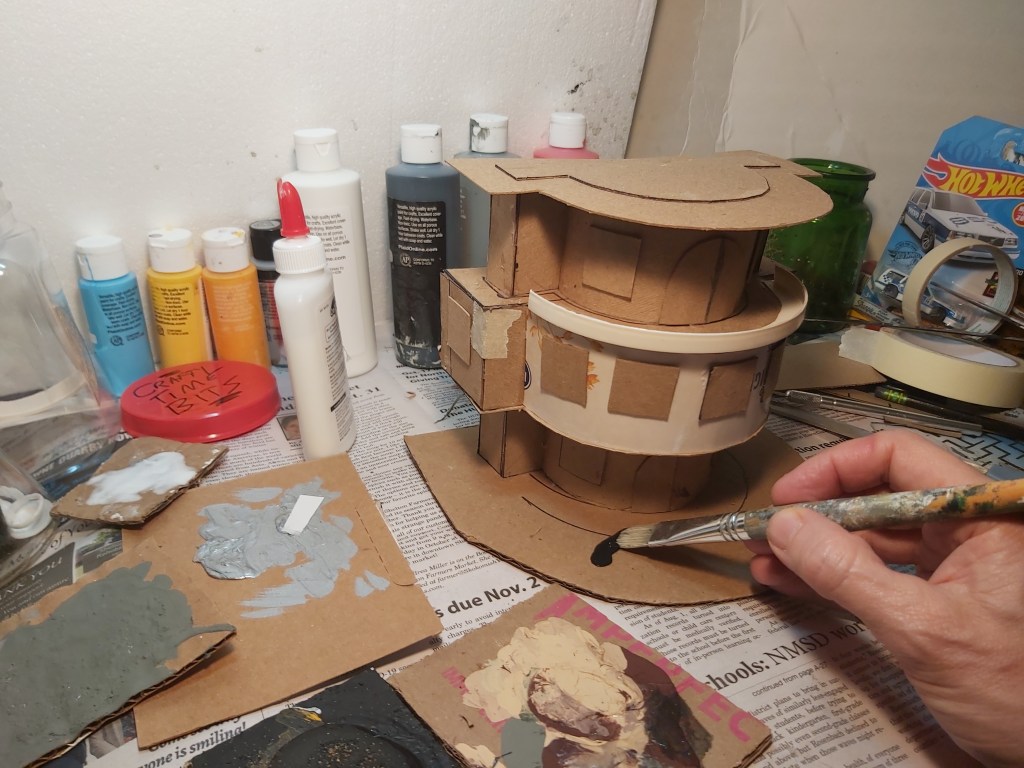
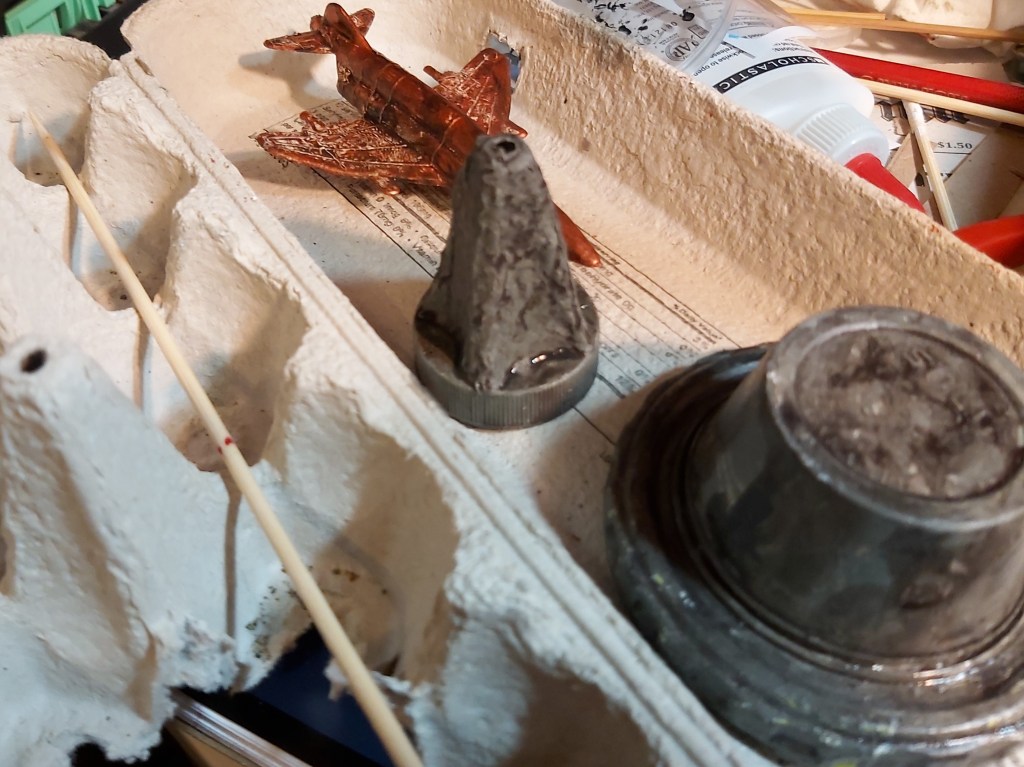
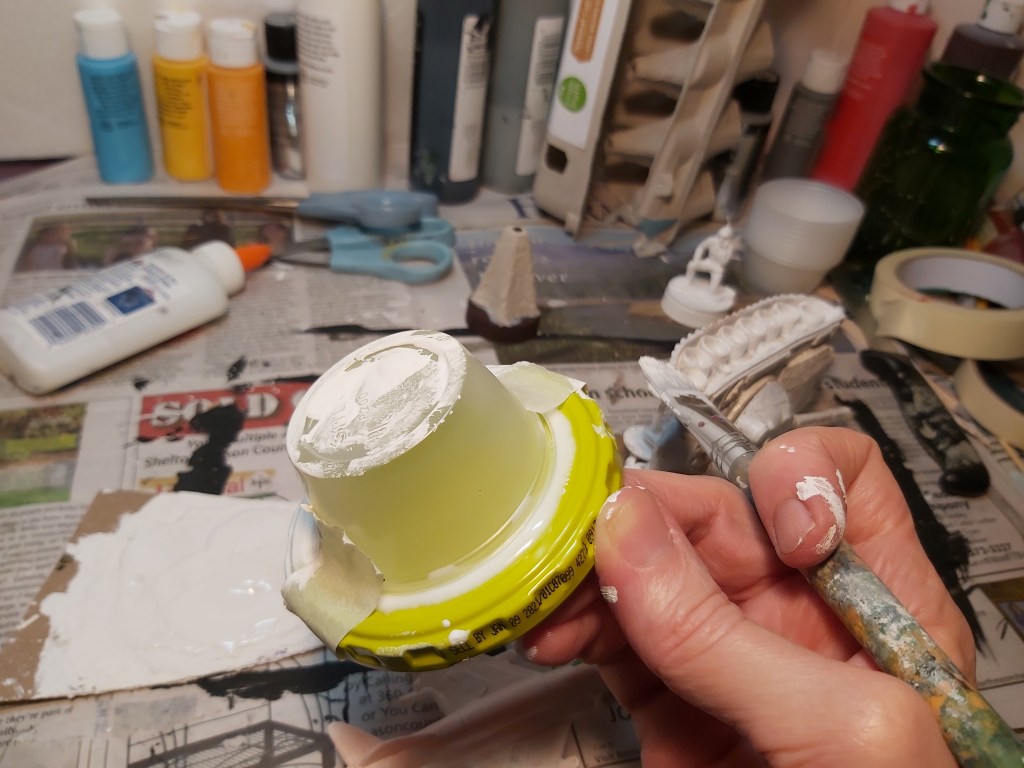
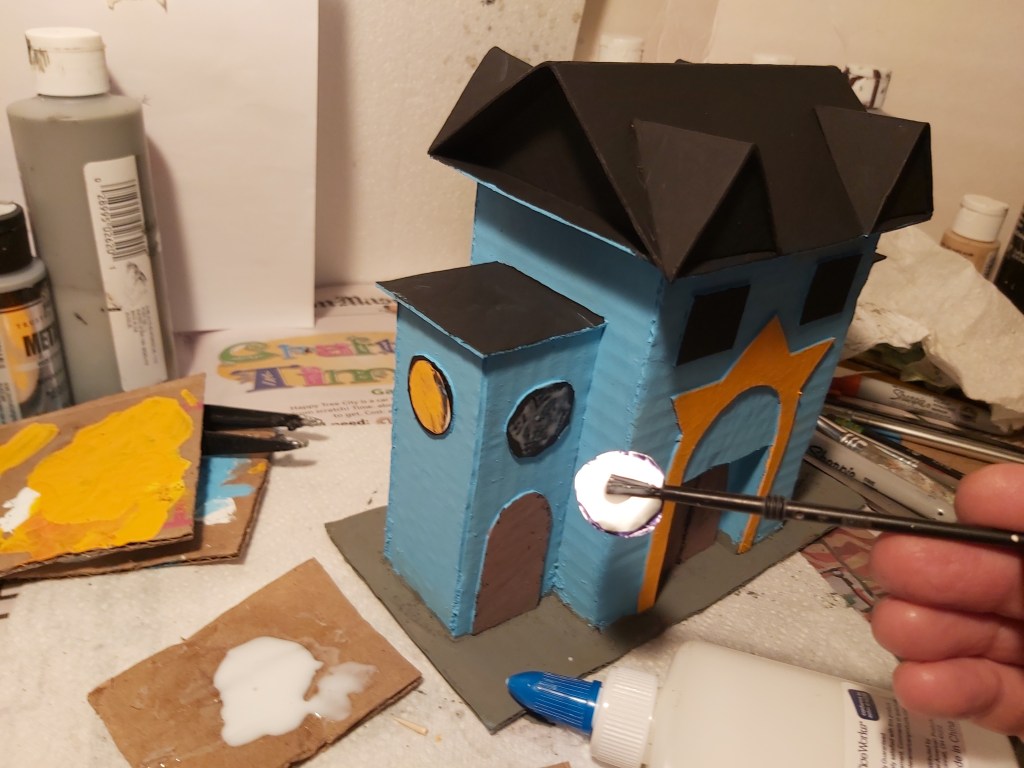
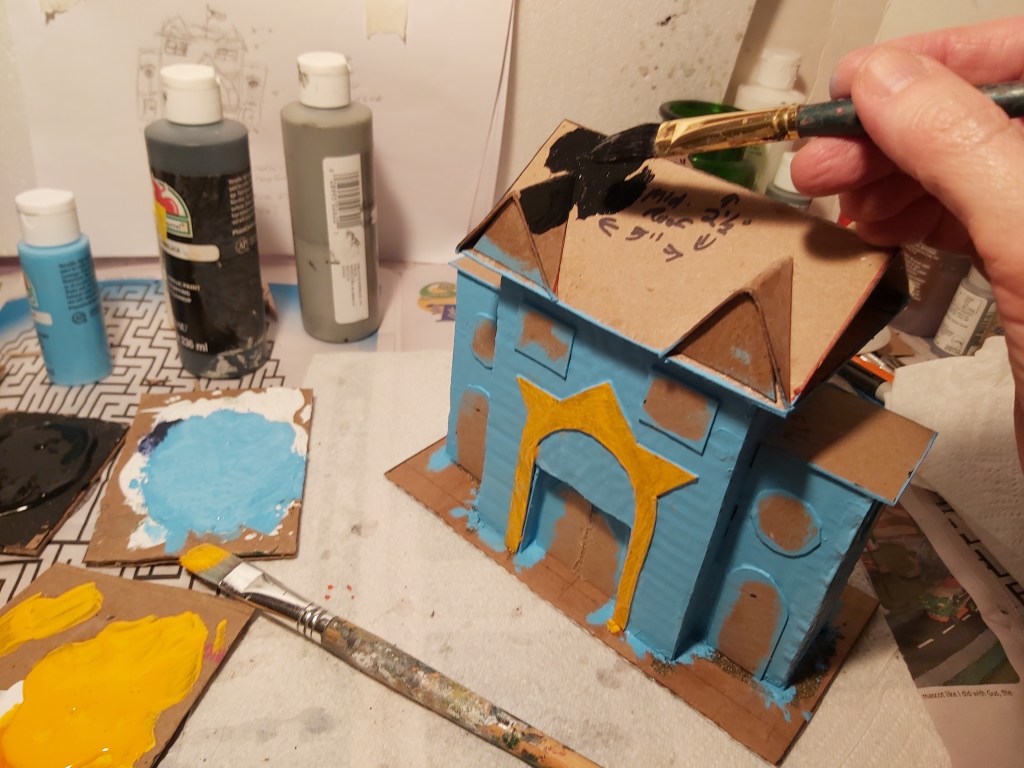
3. Paint wash
Mix black and brown paint with water and a bit of white glue, and work it in to all of the low spots on each item you are weathering. Let it dry a bit, then dab off the excess with a paper towel.
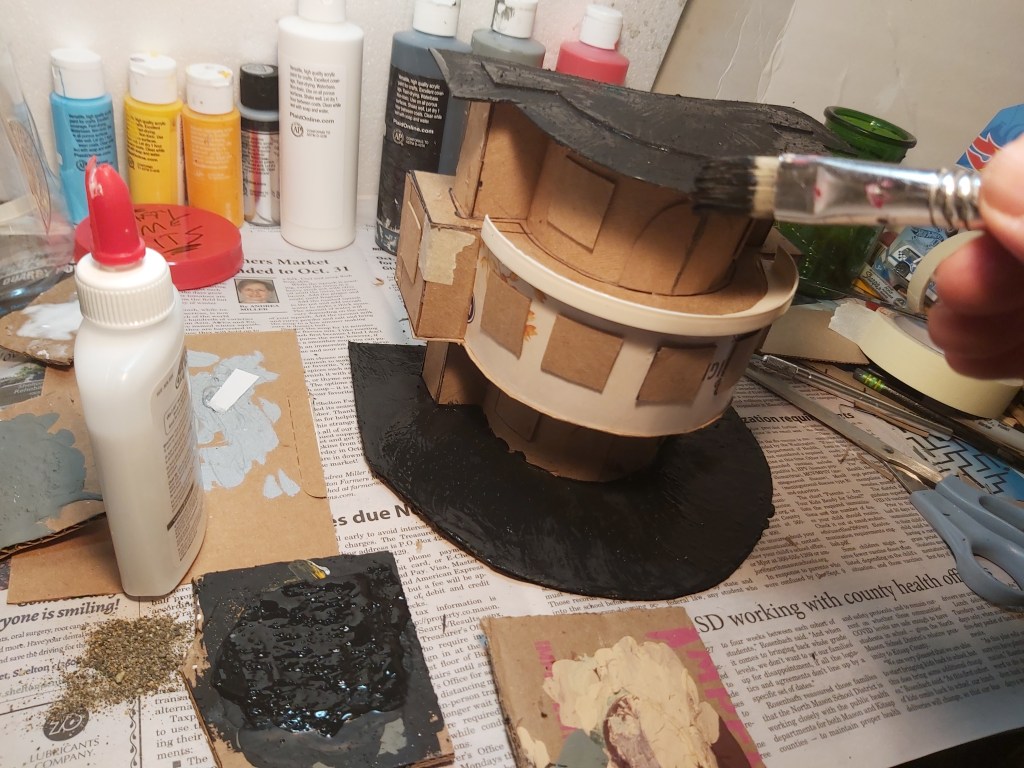
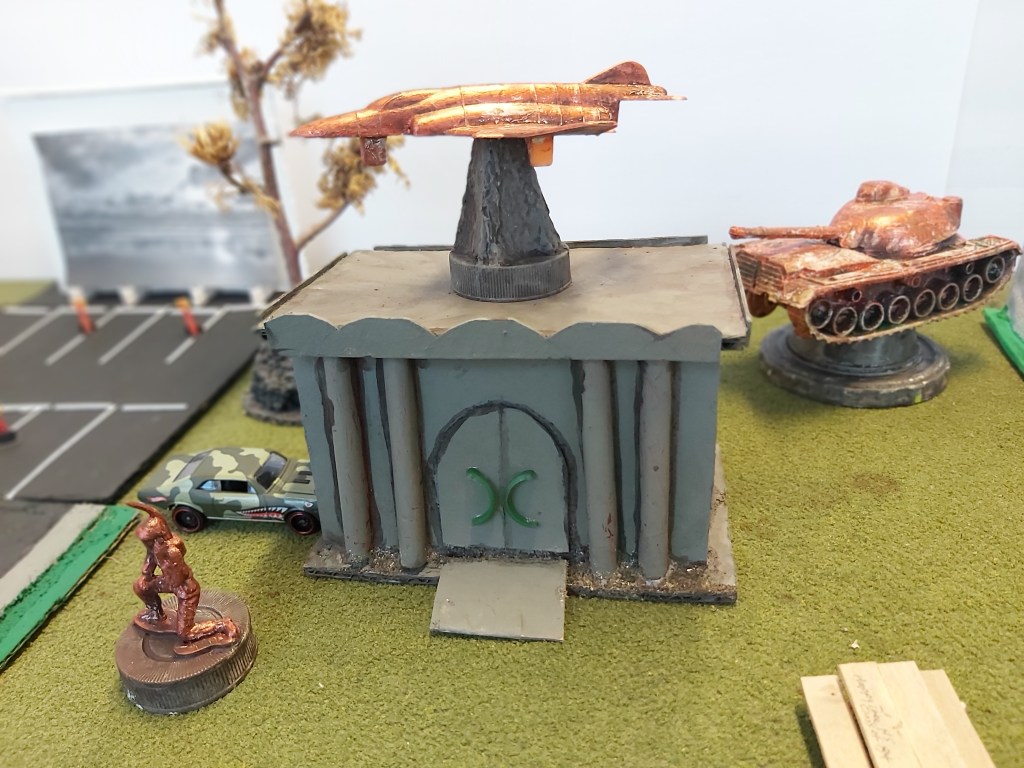
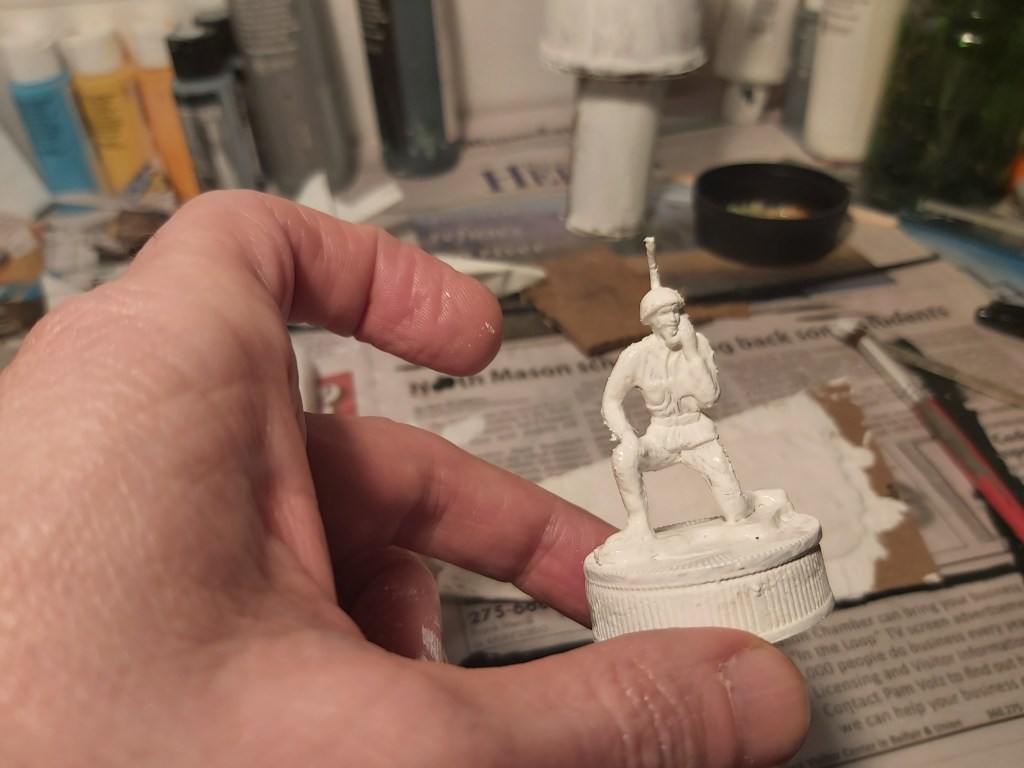
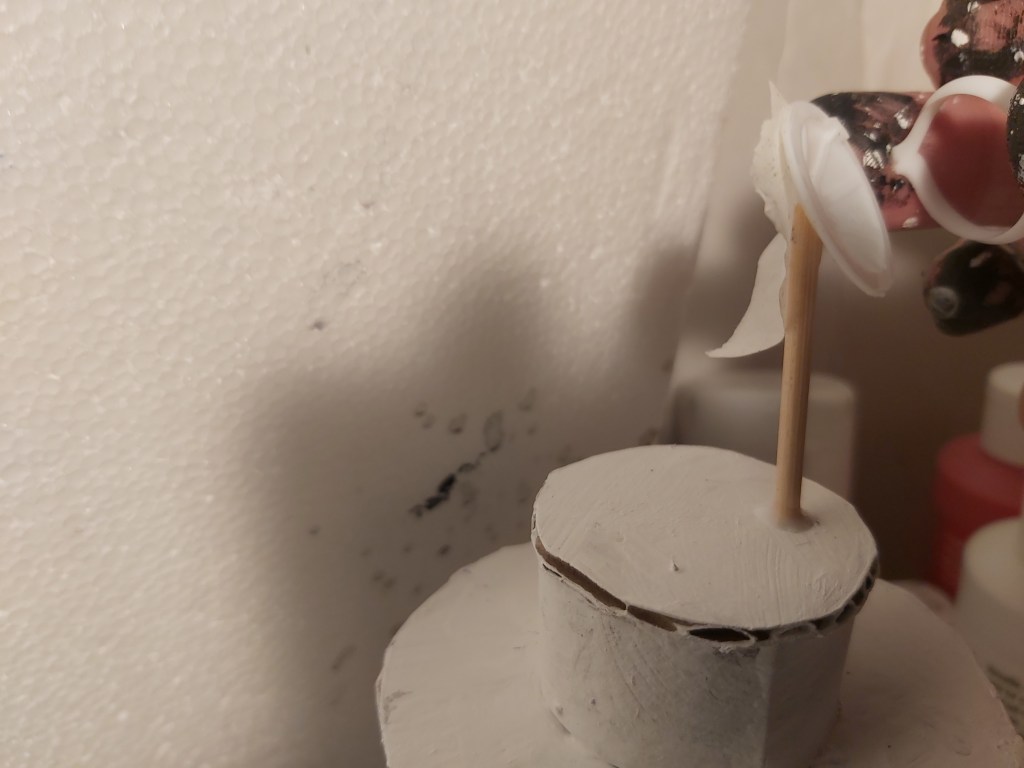
4. Highlights
Starting with a dry brush and light tan paint, dab some of the excess paint moisture into a newspaper or paper towel. Then, brush over the high spots of each figure to bring out more detail. This is known as drybrushing. Pick out the highest spots with a few touches of white paint.
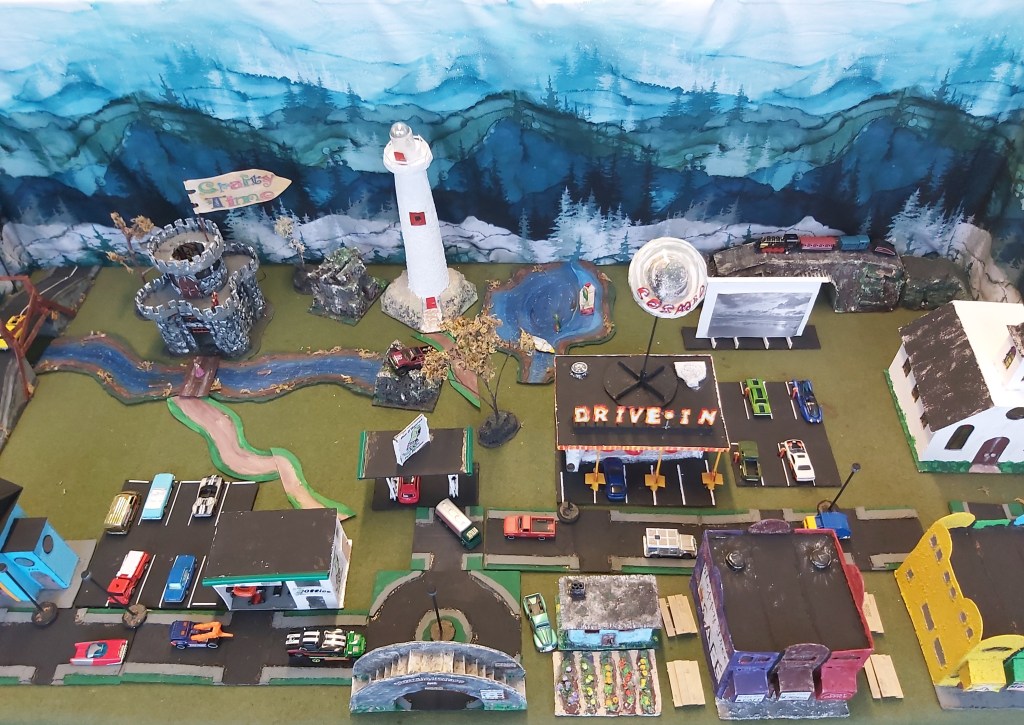
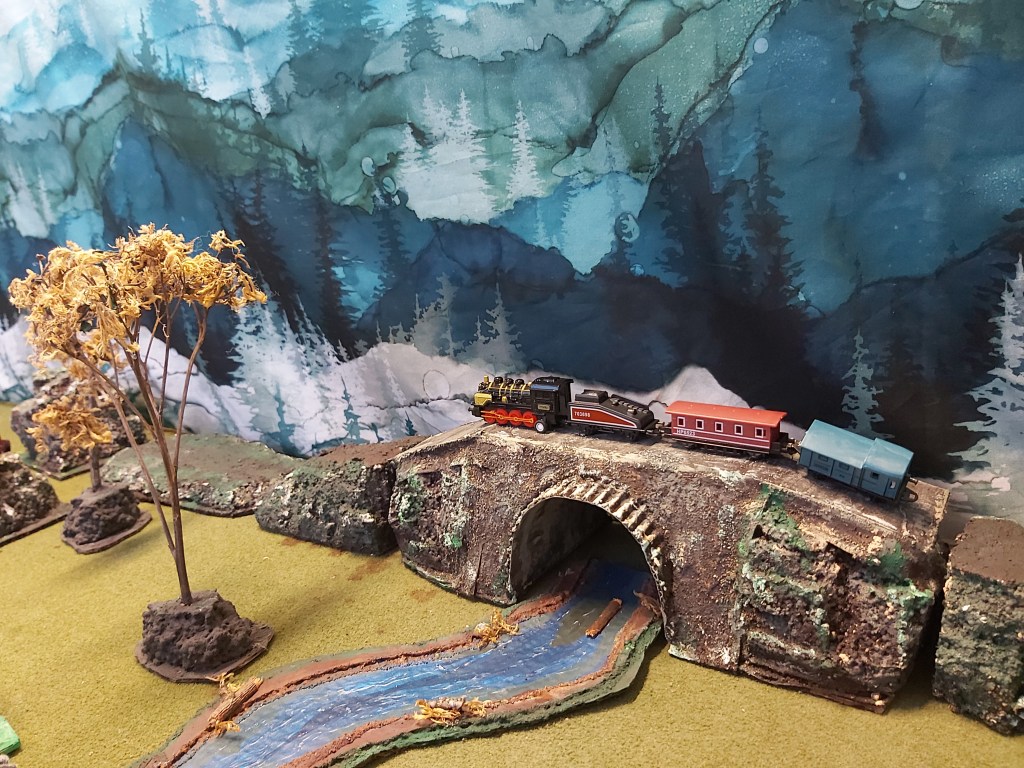
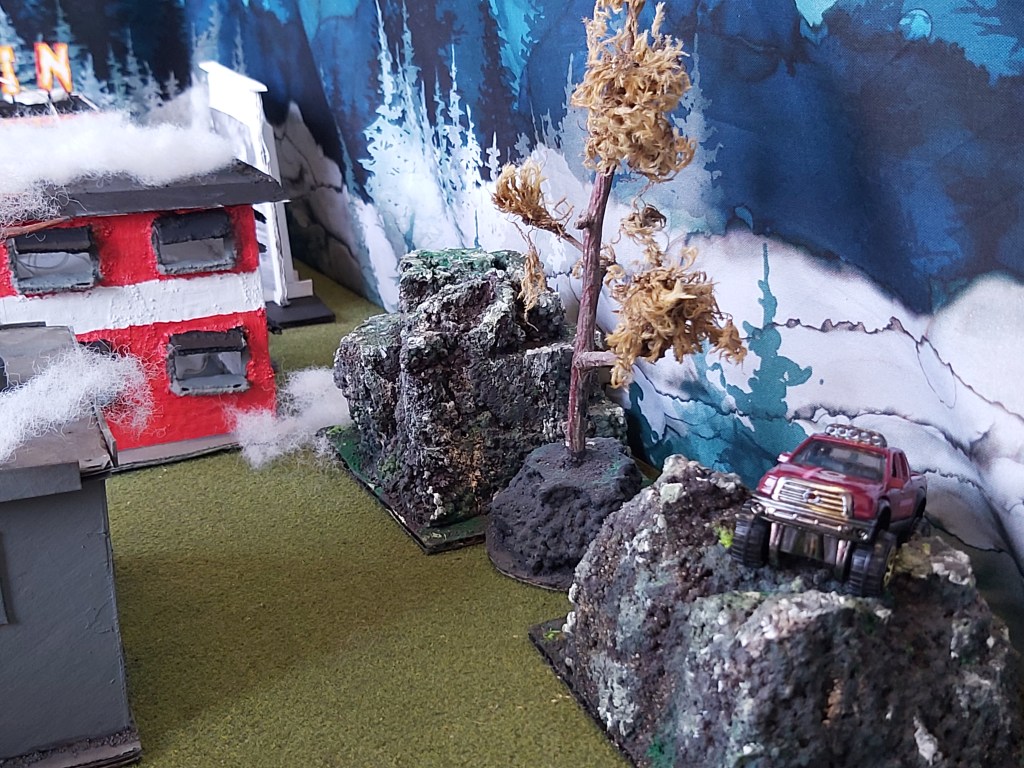
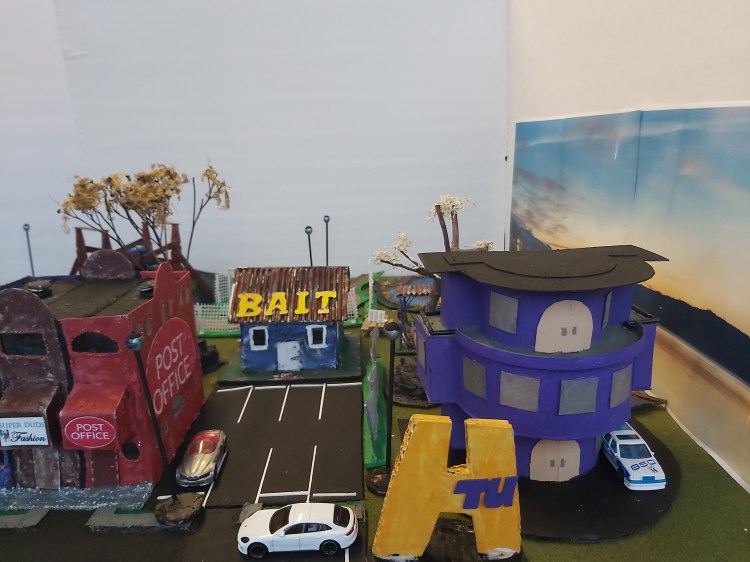
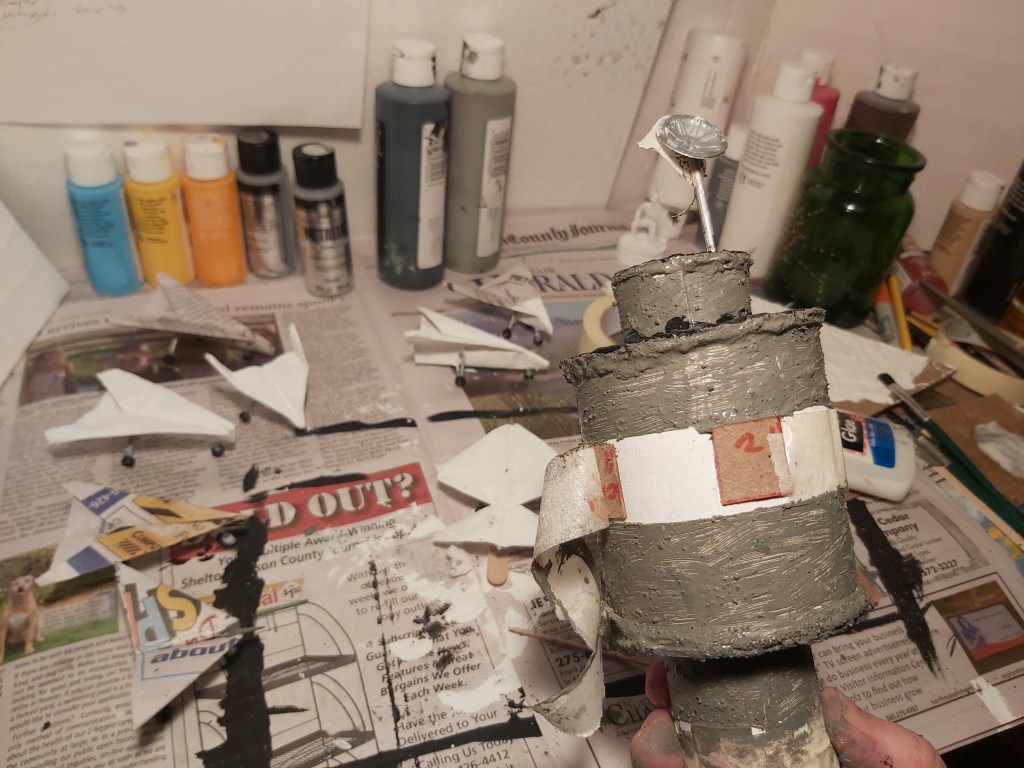
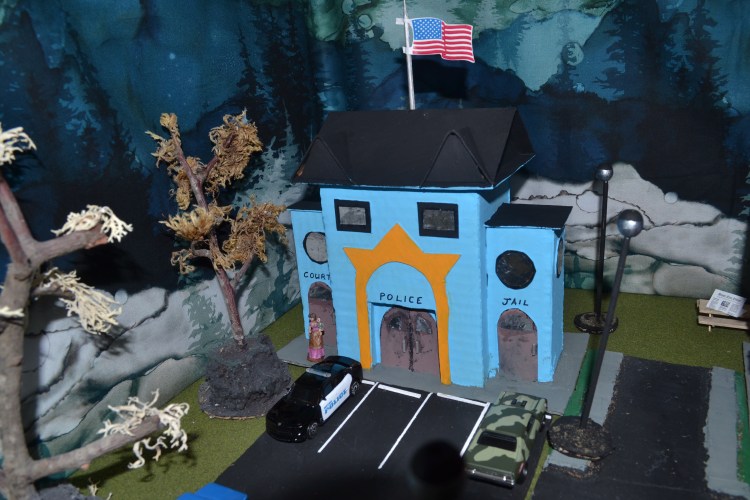
5. Happy Tree Road Dept.
The crew is hard at work on something. What could it be? We’ll have to wait until another time…
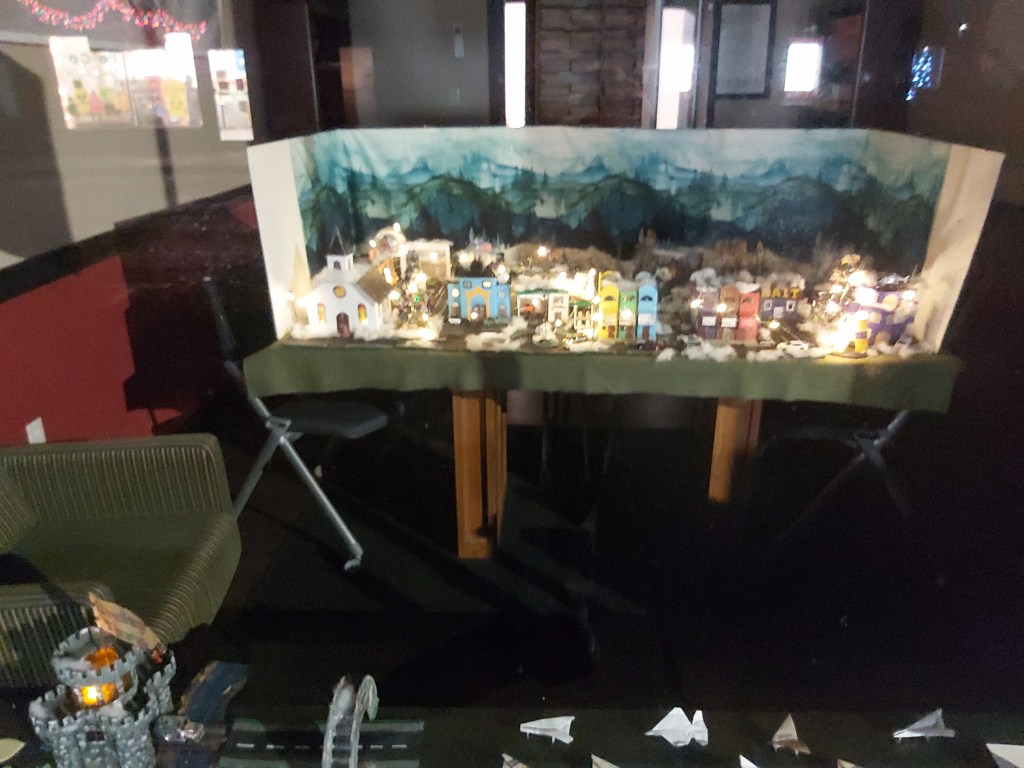
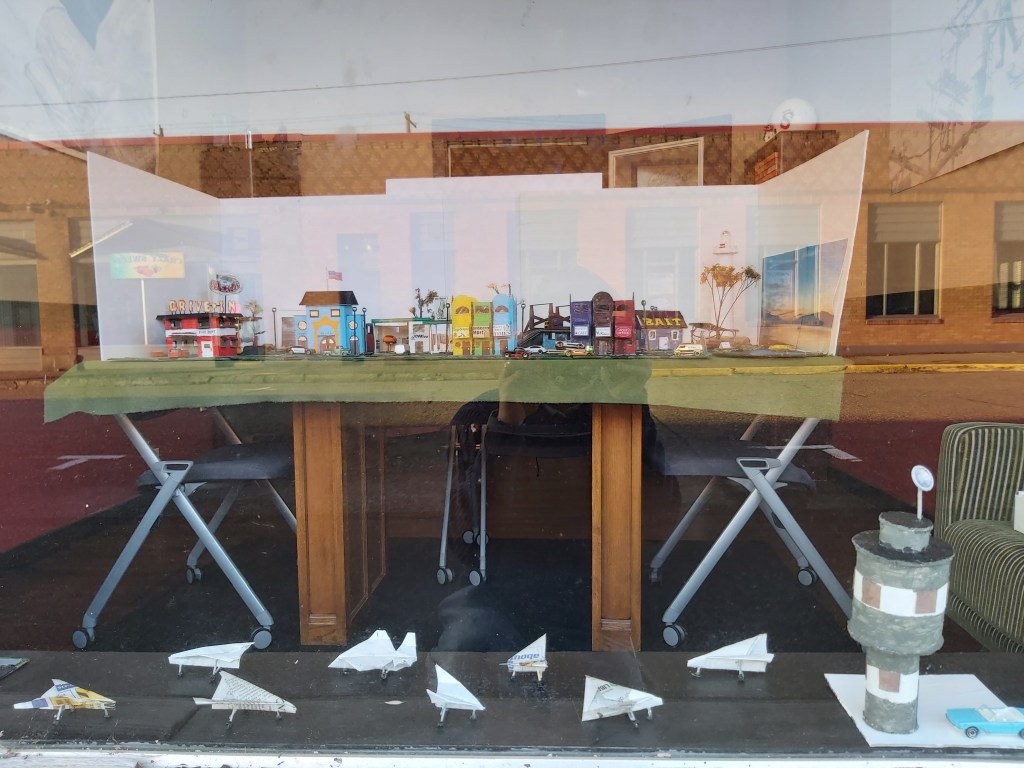
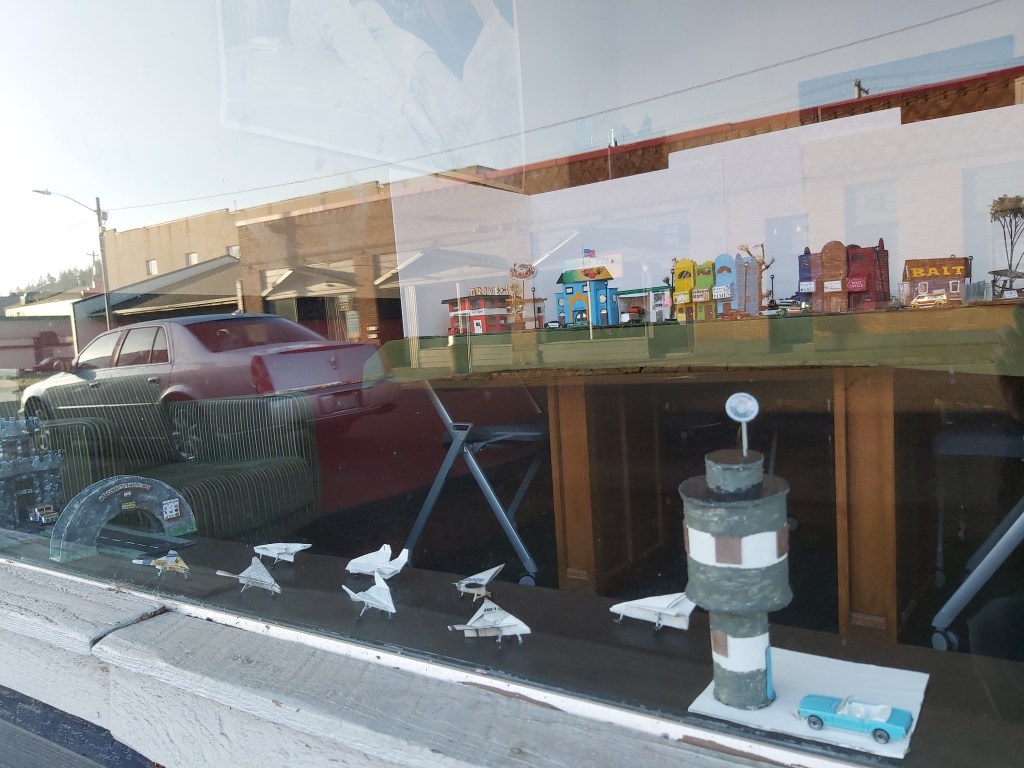
What would you like to see next in Crafty Time? Visit www.craftytimewithdave.com for more photos and project ideas. Please email your feedback to dave@masoncounty.com or call 360-426-4412. Visit our office to see the display!

Work on the Match Wheel Bypass continues. Completion is targeted for two months from now, weather permitting. “We’re ahead of schedule now,” said Bob Joeman, foreman. In the meantime, expect delays.
–Happy Tree Times