


39.20.dp.FireDept.CraftyTime
Crafty Time
By Dave Pierik, Shelton-Mason County Journal
A Fire Department
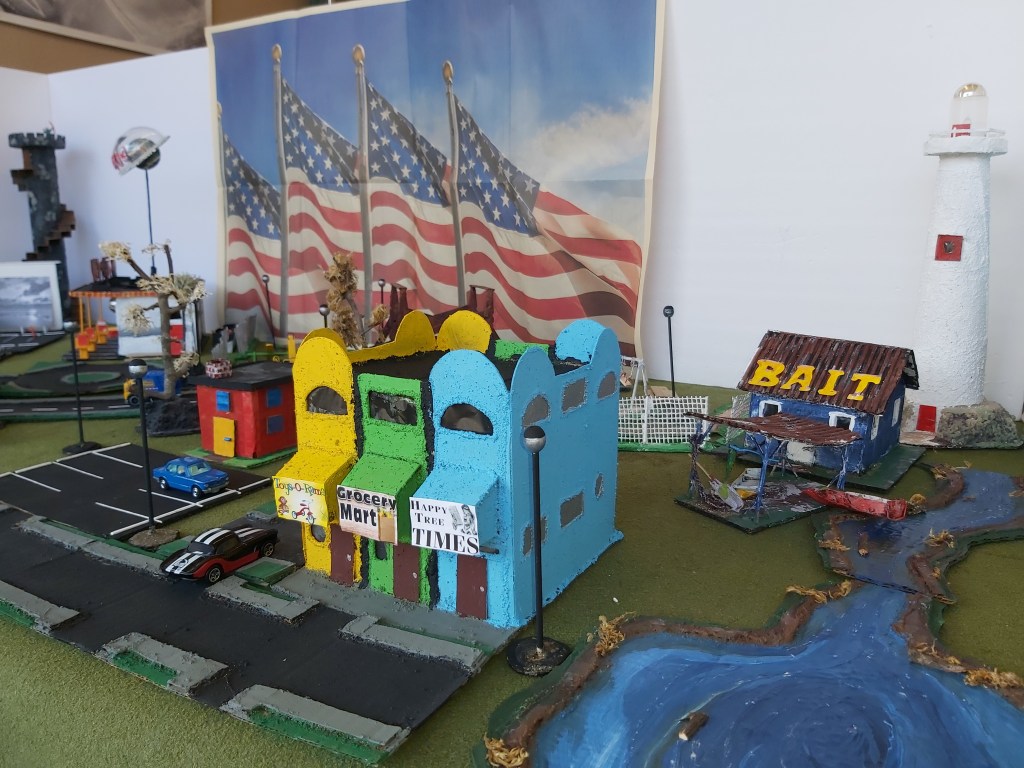
Cities need Fire Departments. Let’s make one for Happy Tree, it will be fun!
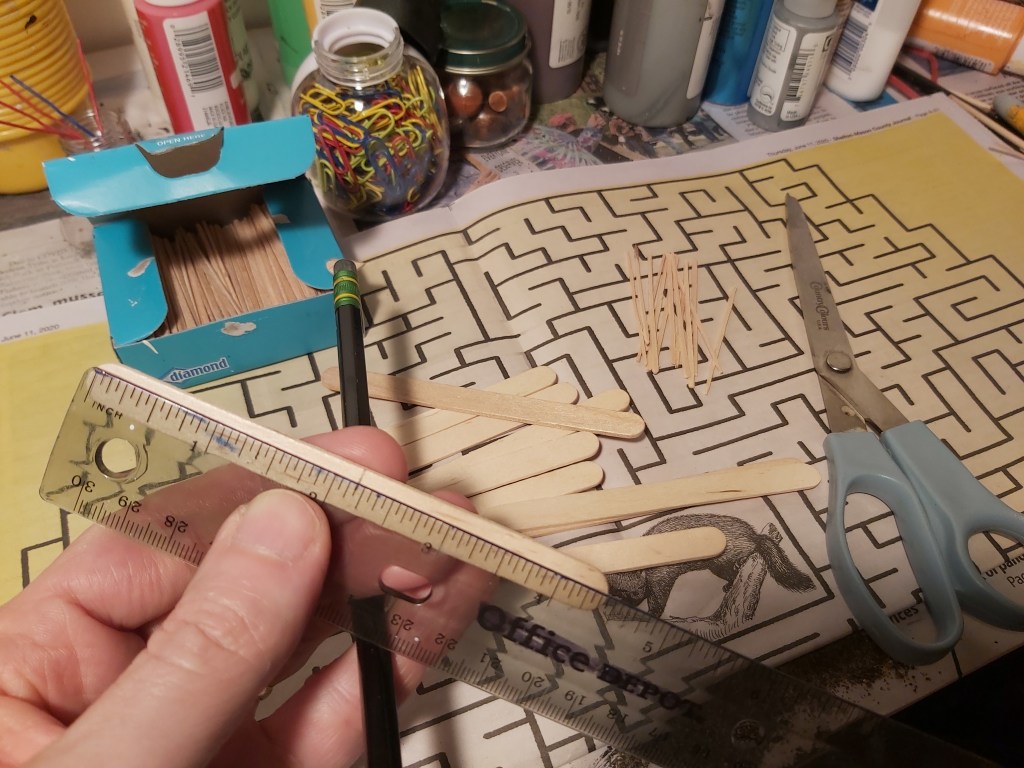
Tools: ruler & marker, scissors, paintbrushes (craft knife optional)
Materials: Corrugated and thin cardboard, school glue, masking tape, sand, a flat toothpick, a bamboo skewer, acrylic paints.
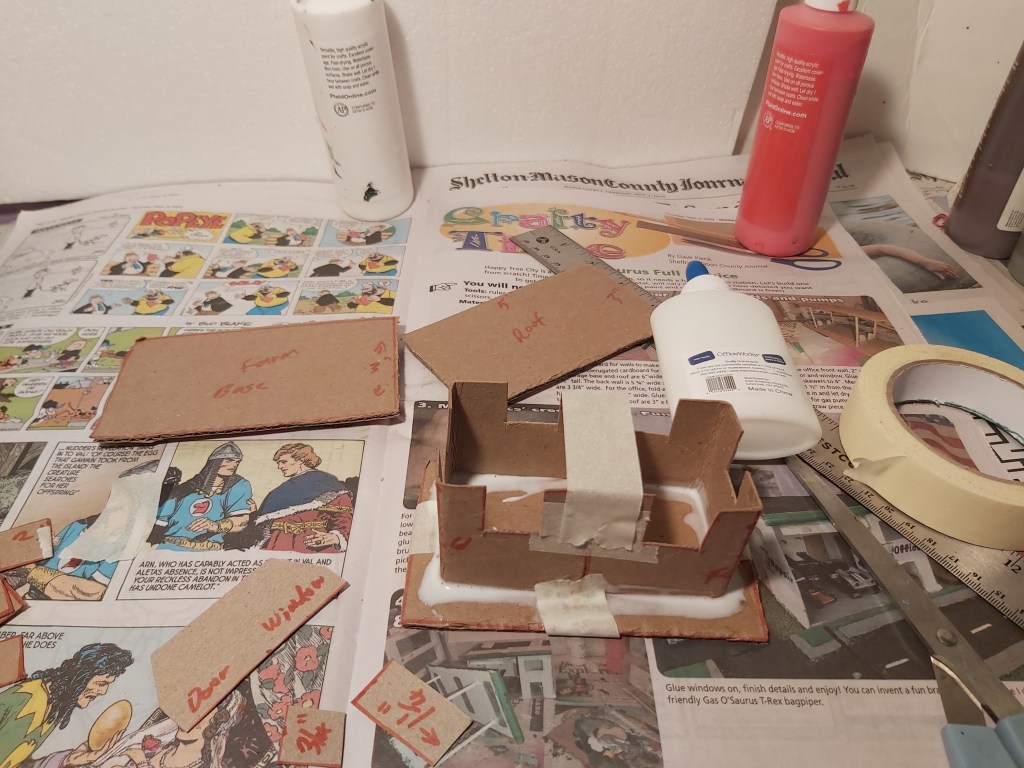
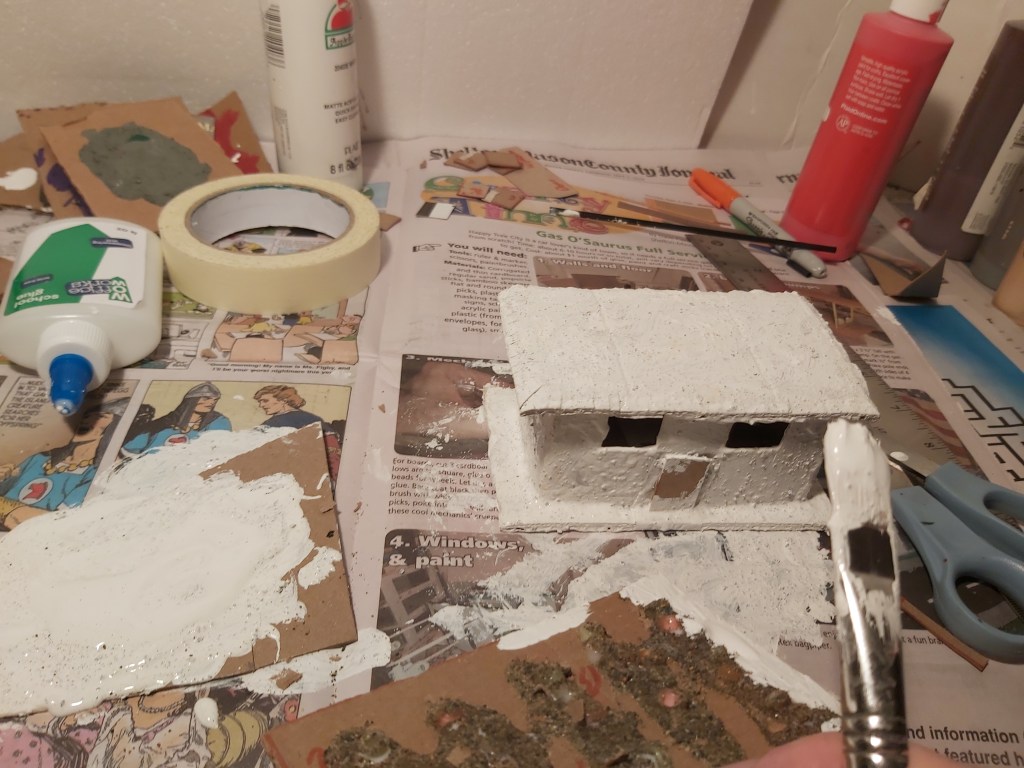
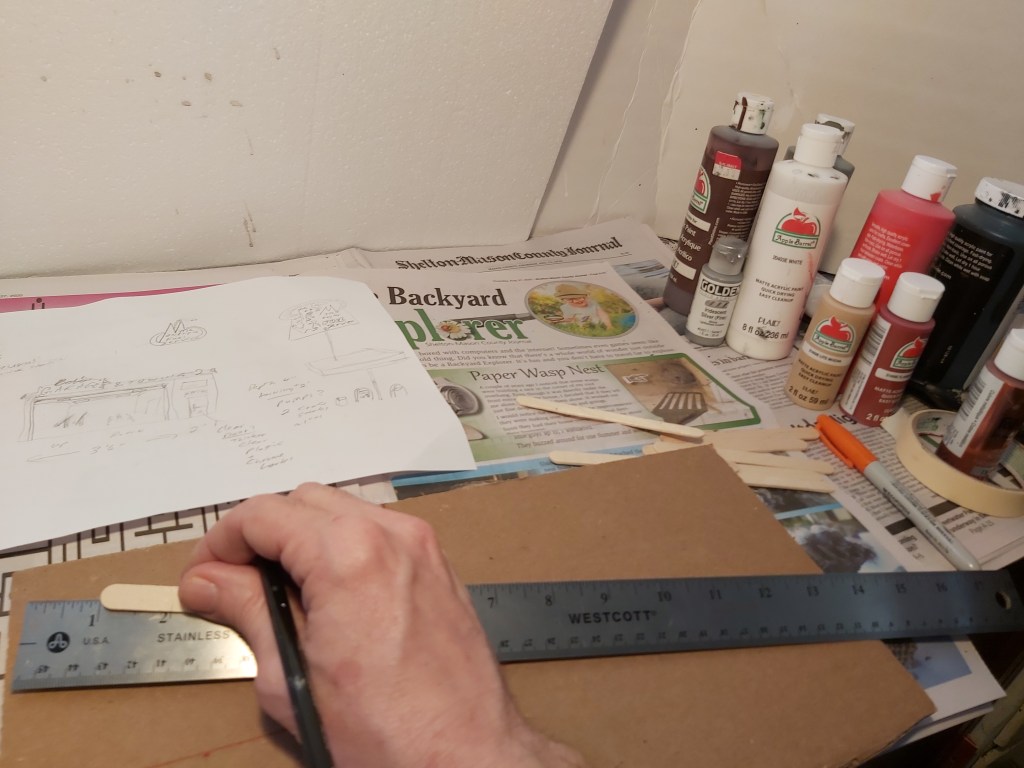
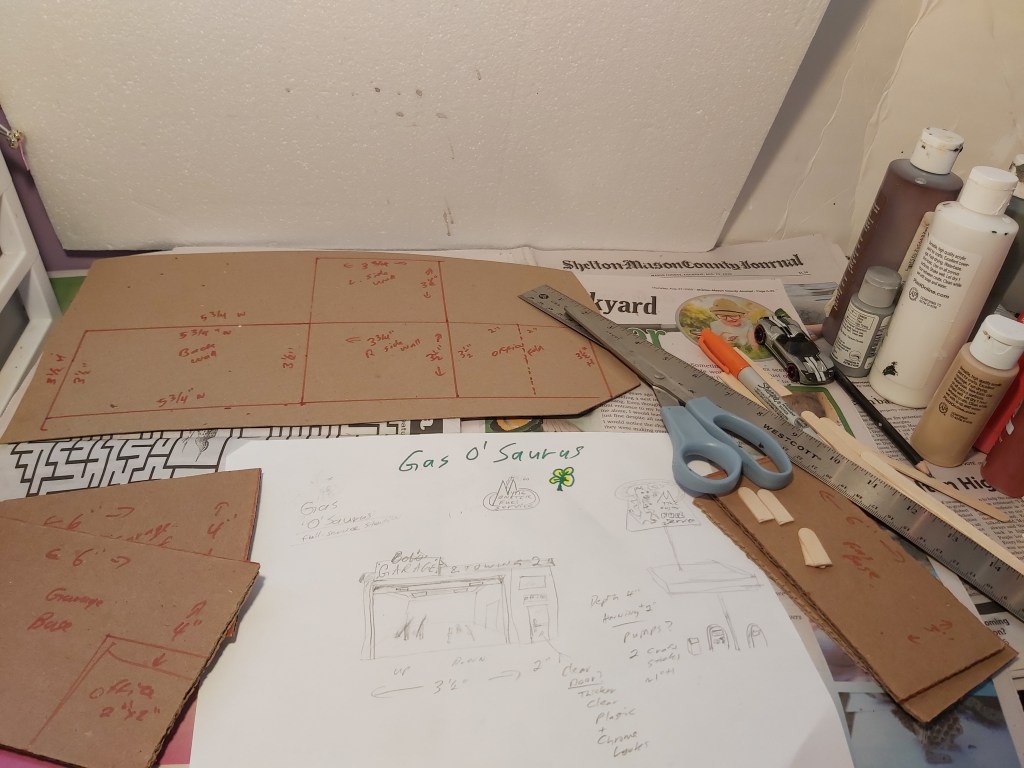
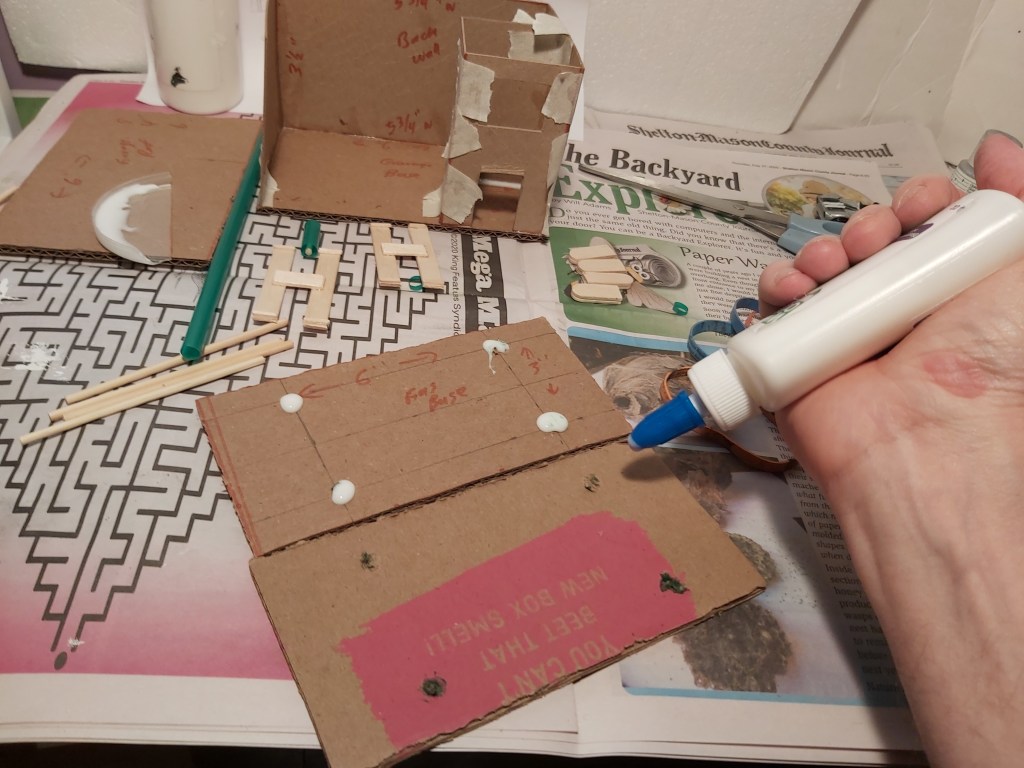
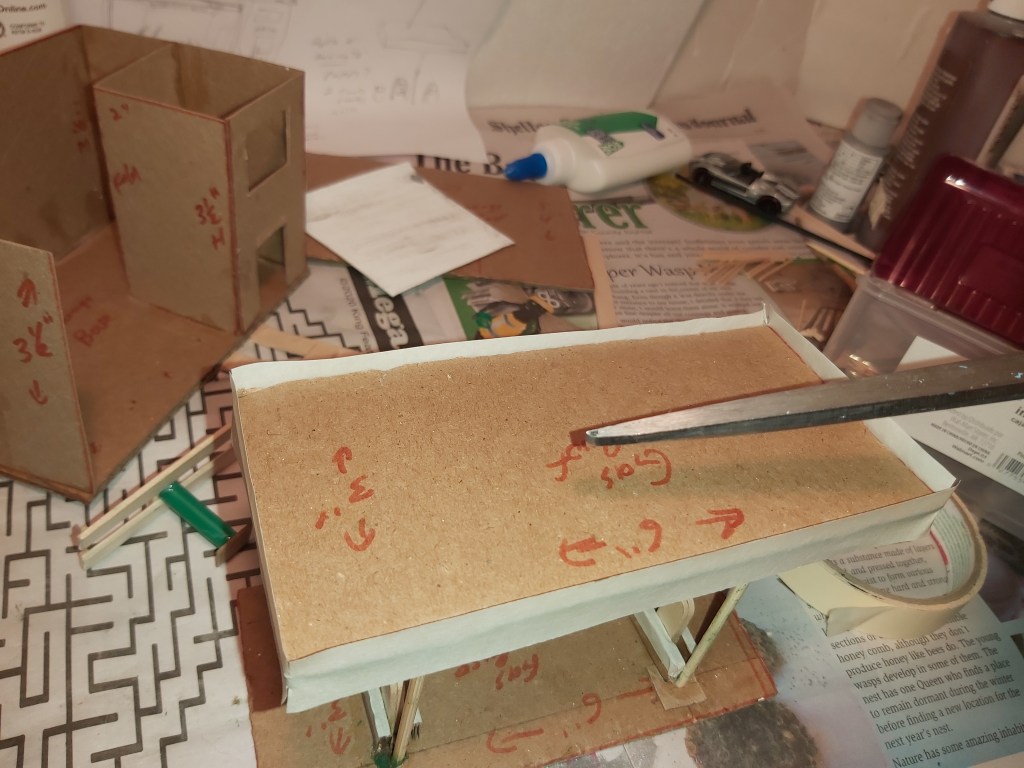
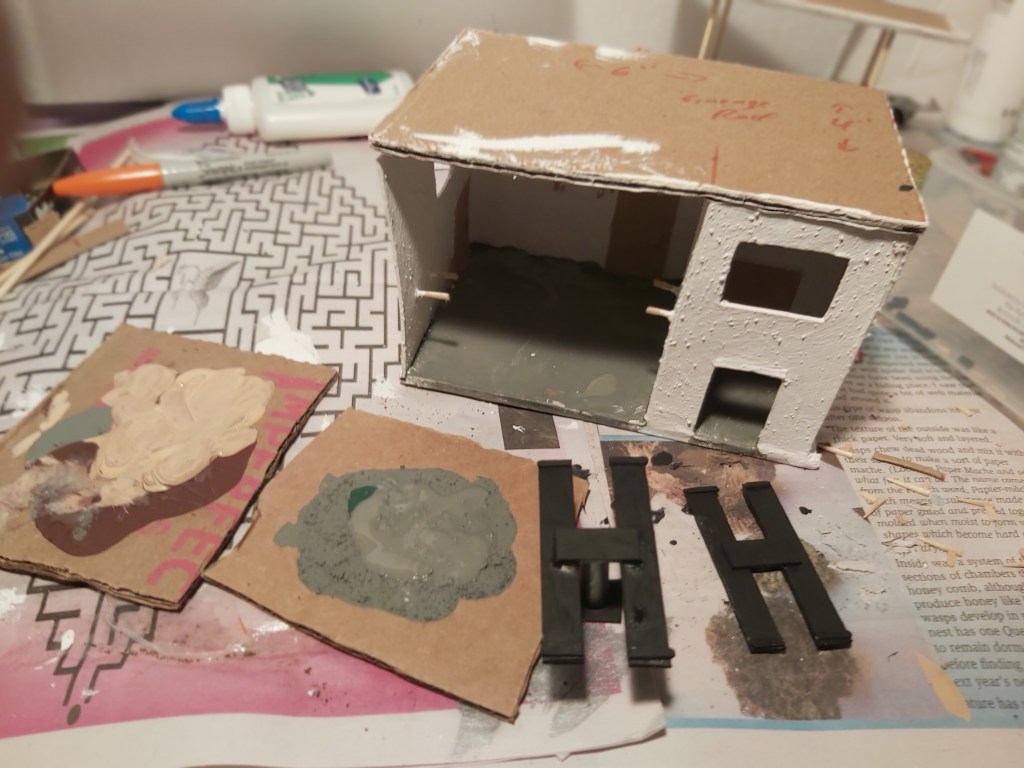
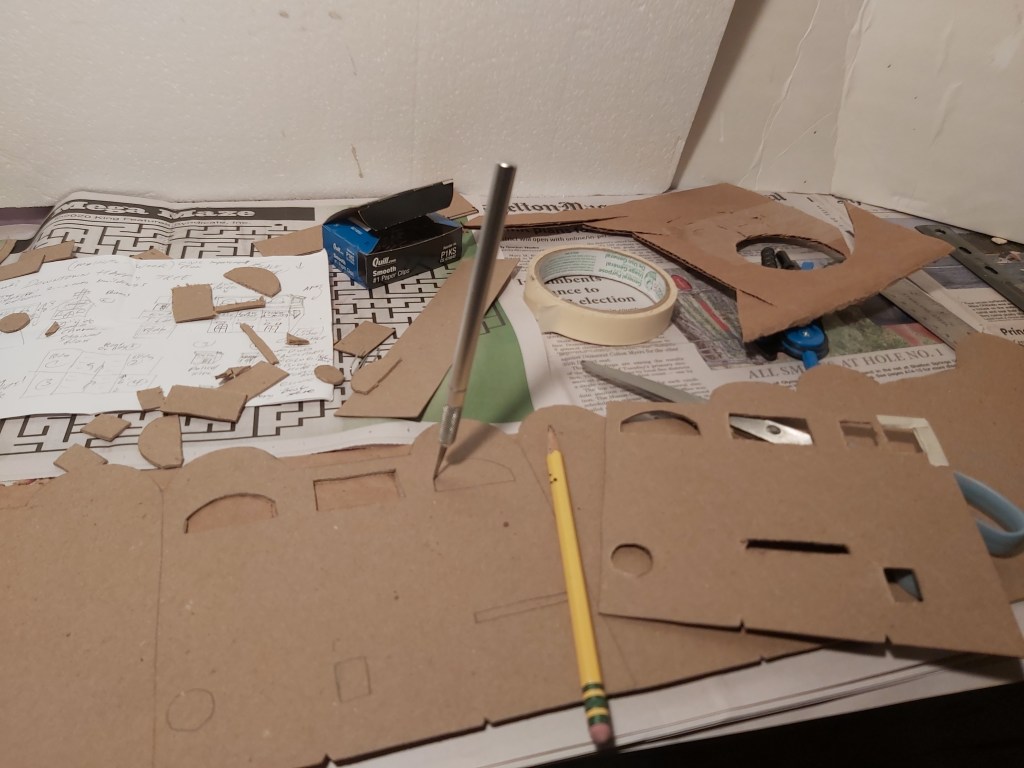
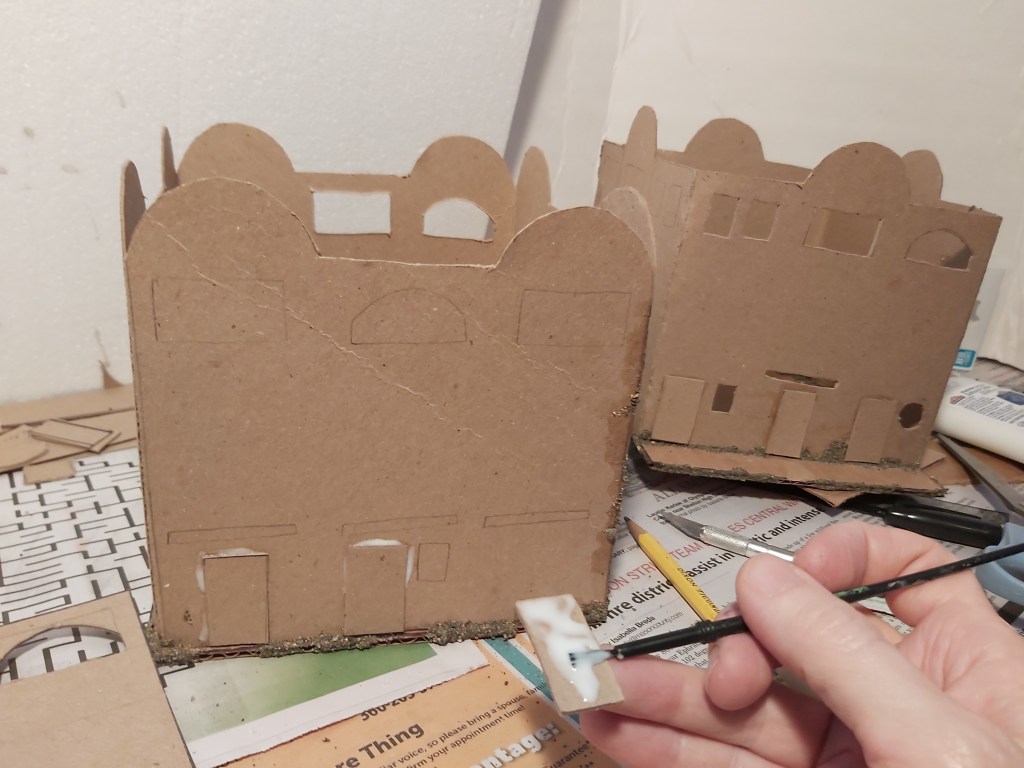
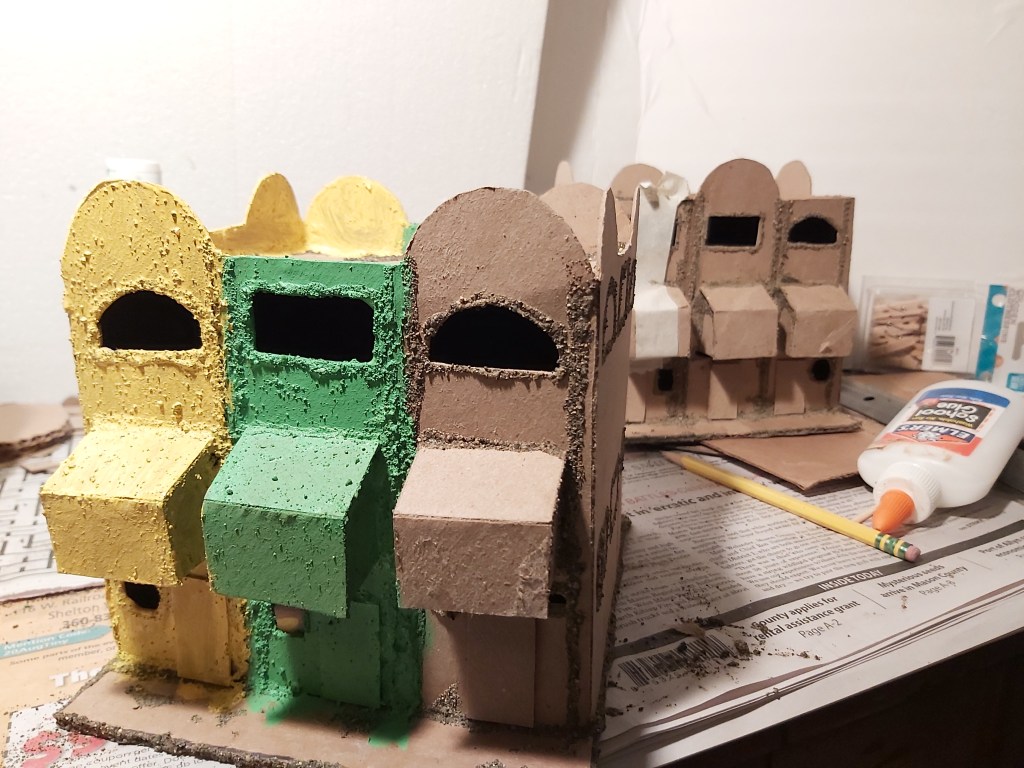
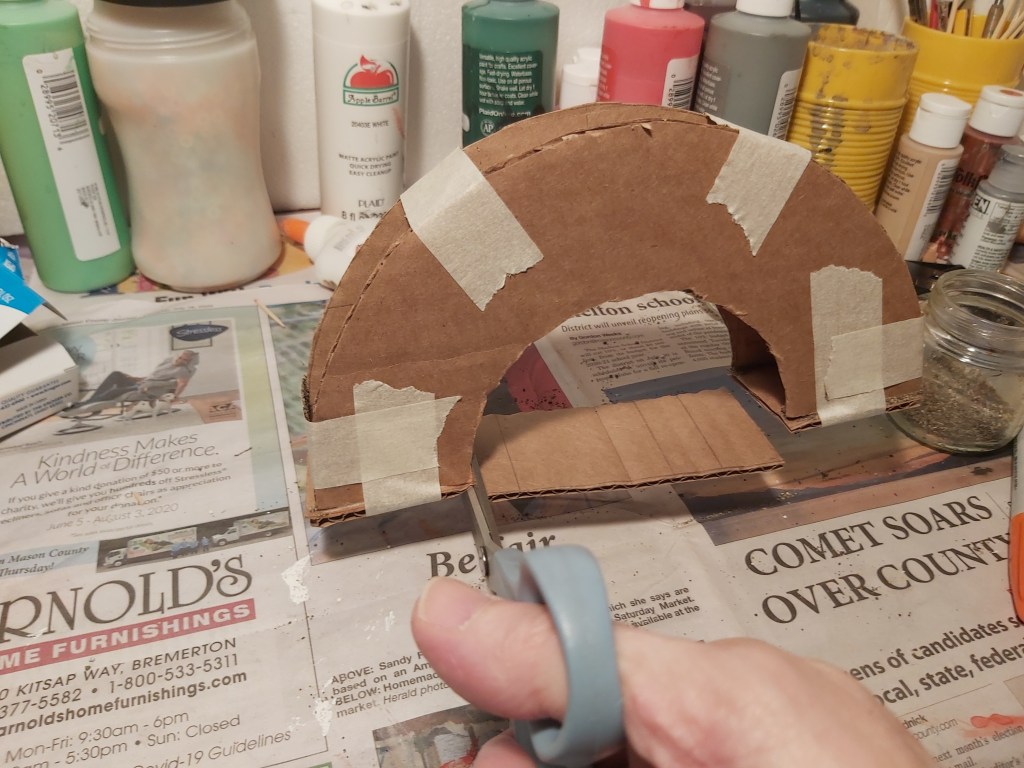
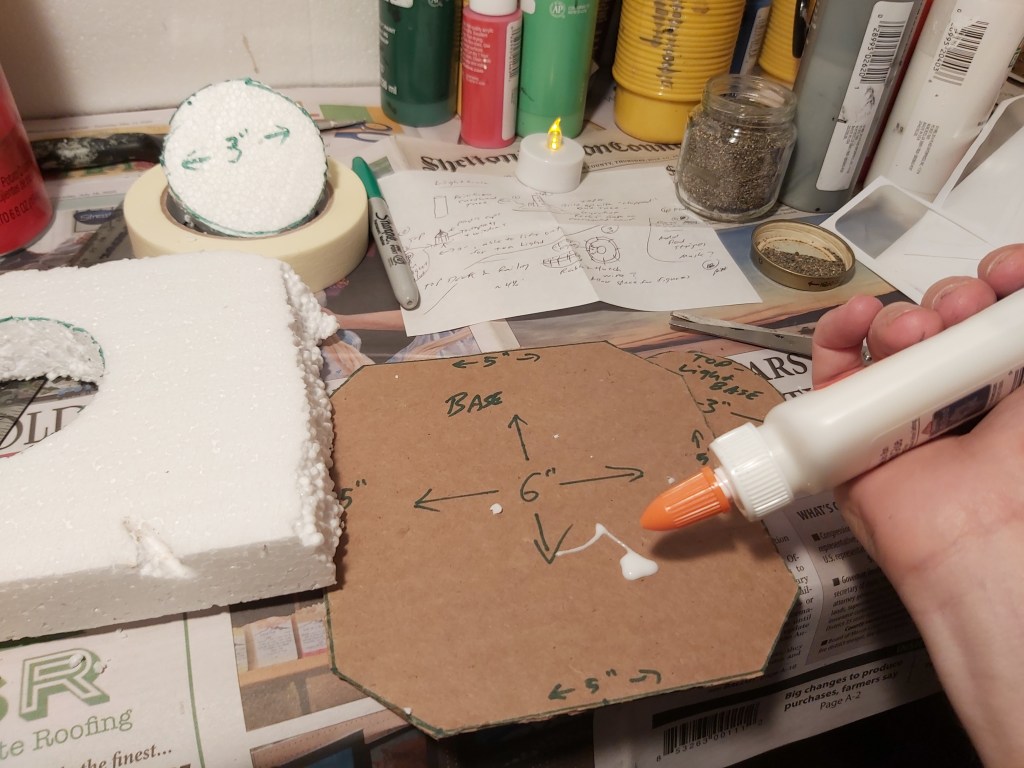
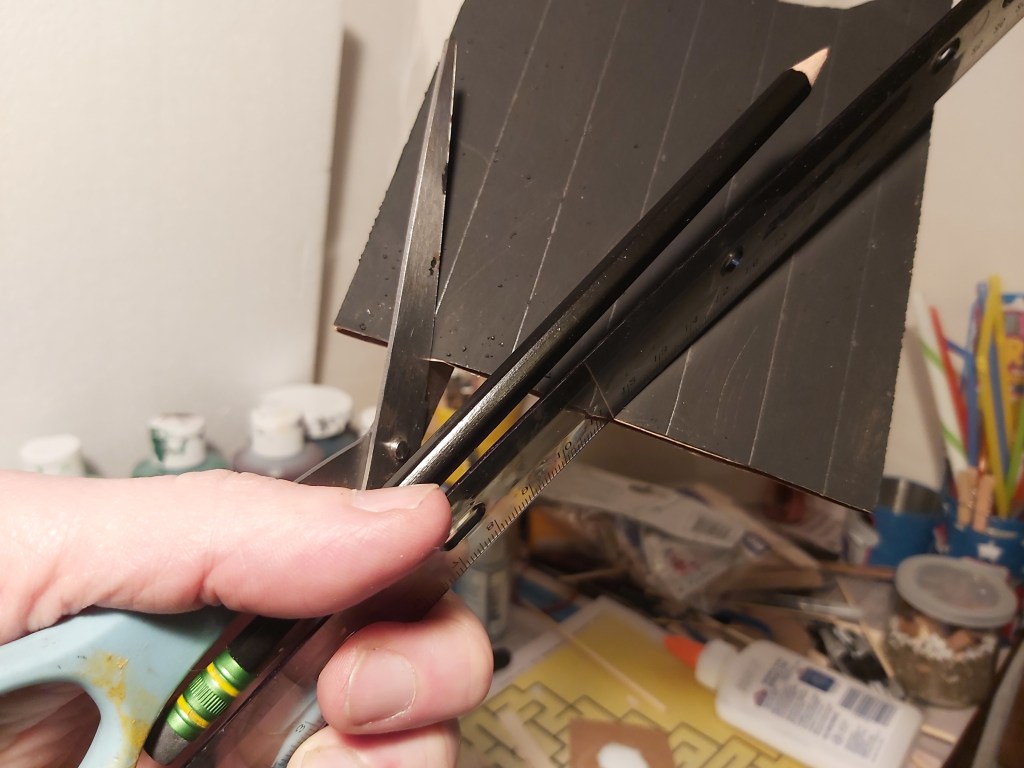
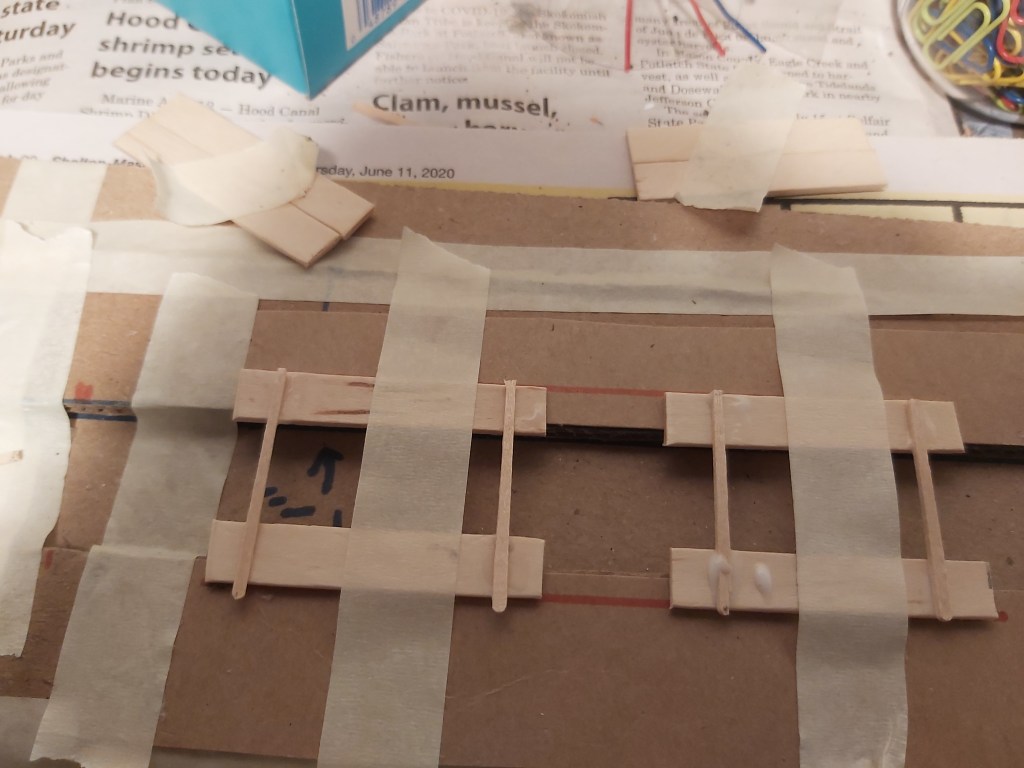
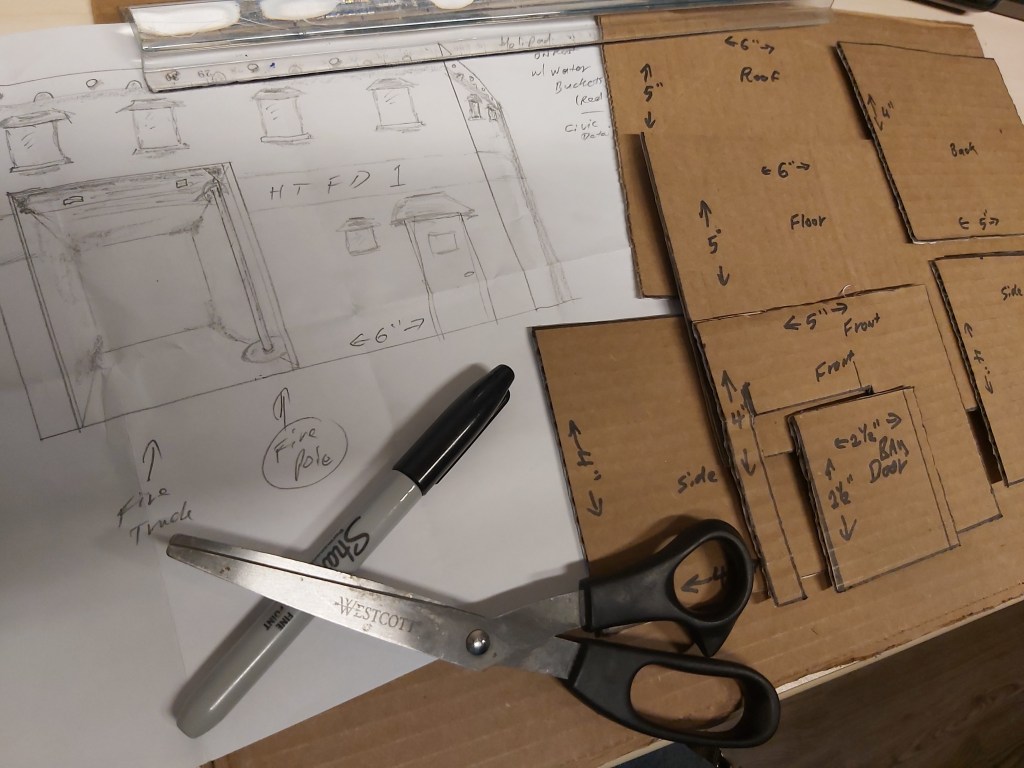
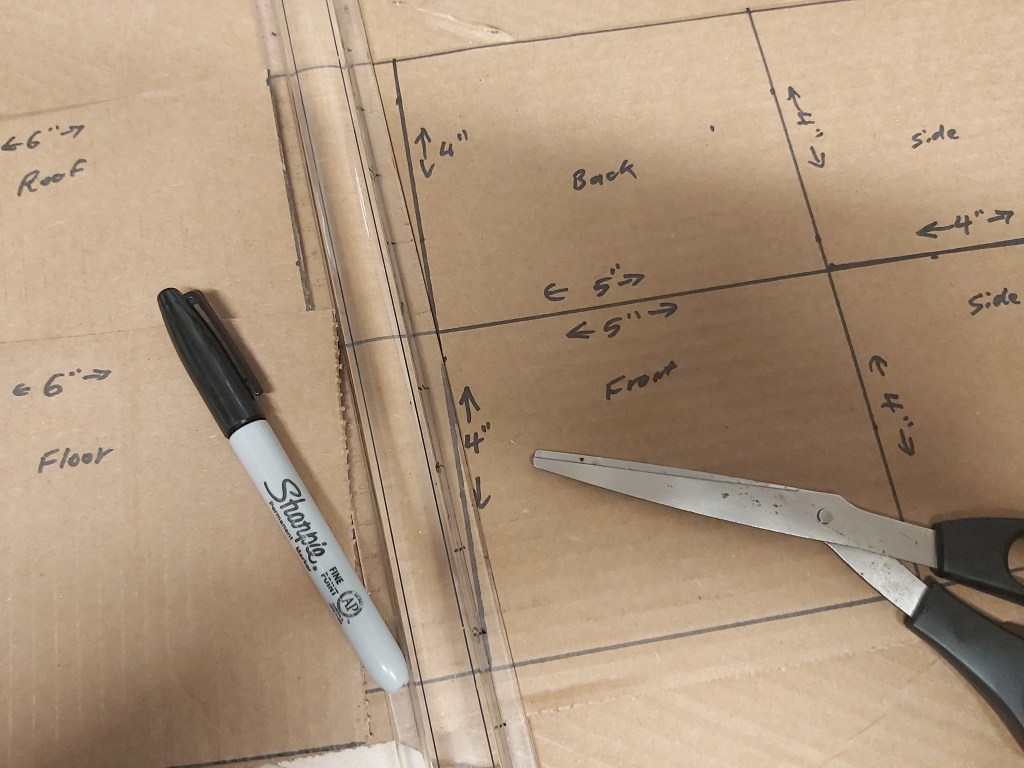
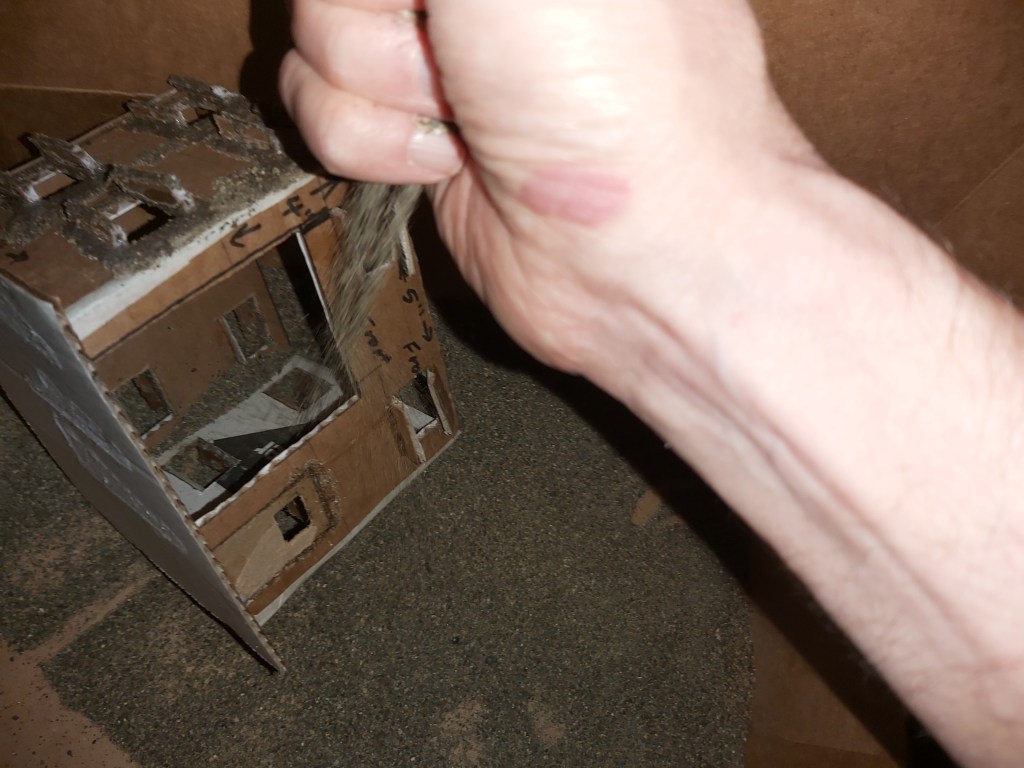
1. Plan and structure
If you have an idea, draw it out first. The floor, roof and walls are corrugated cardboard. Base and roof are 6”wide x 5” deep. Front and back walls are 5” wide x 4” tall, side walls are 4” x 4”. Think, plan measure, mark and cut. Have extra cardboard handy. Test fit with masking tape and adjust as needed.
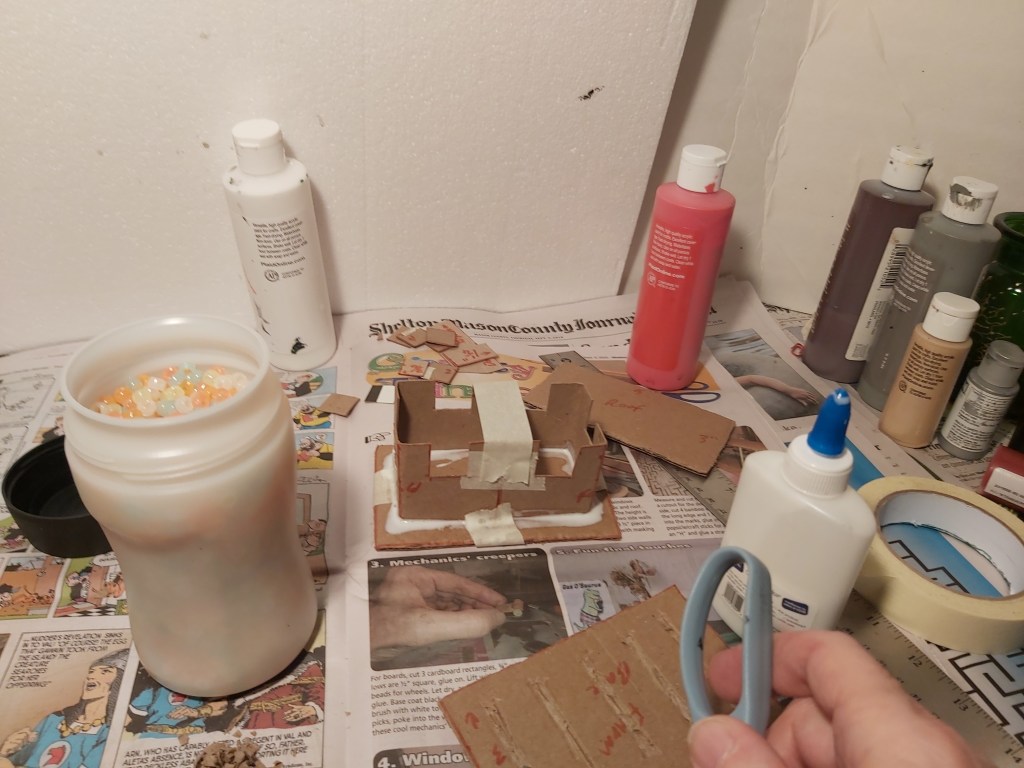
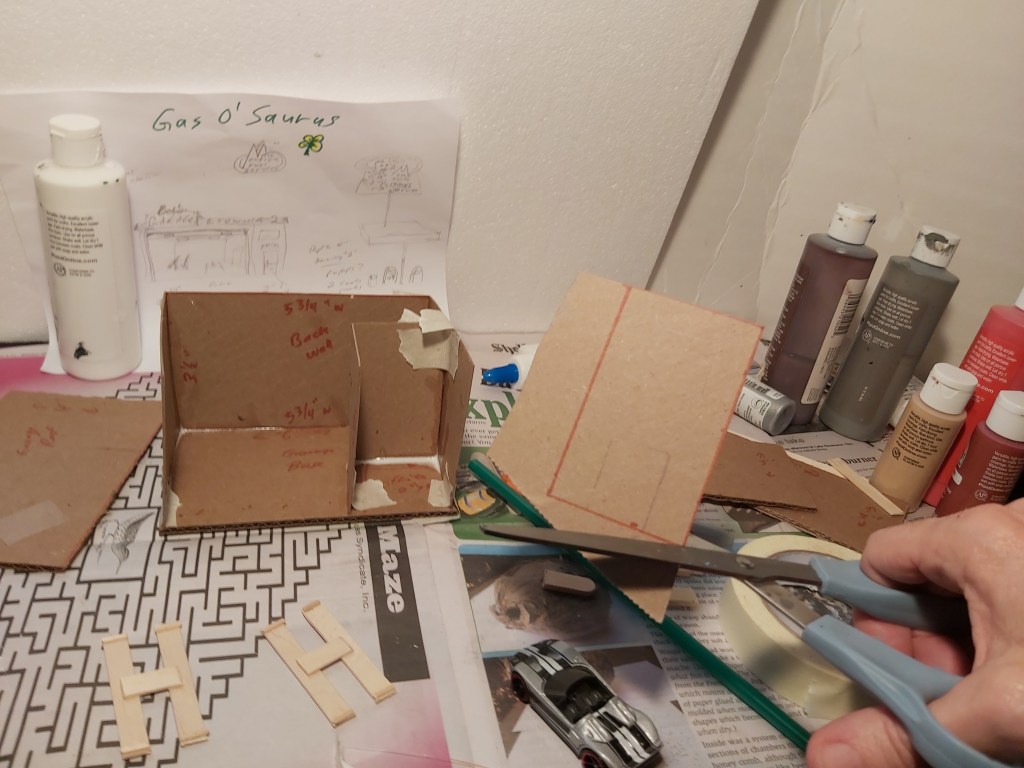
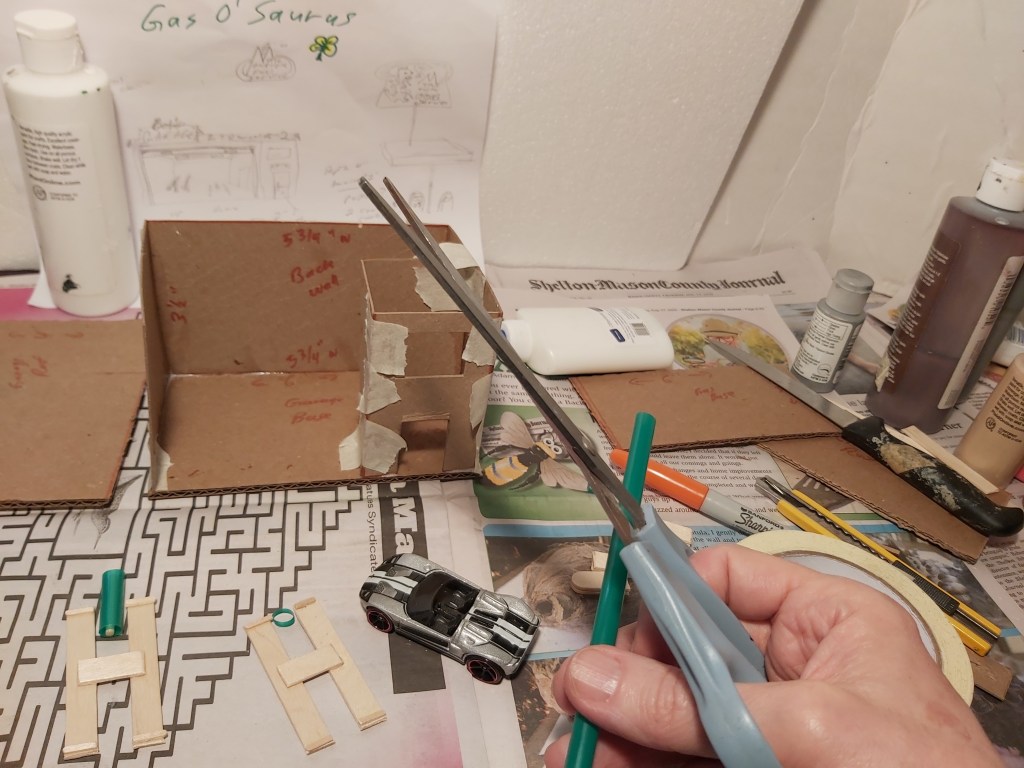
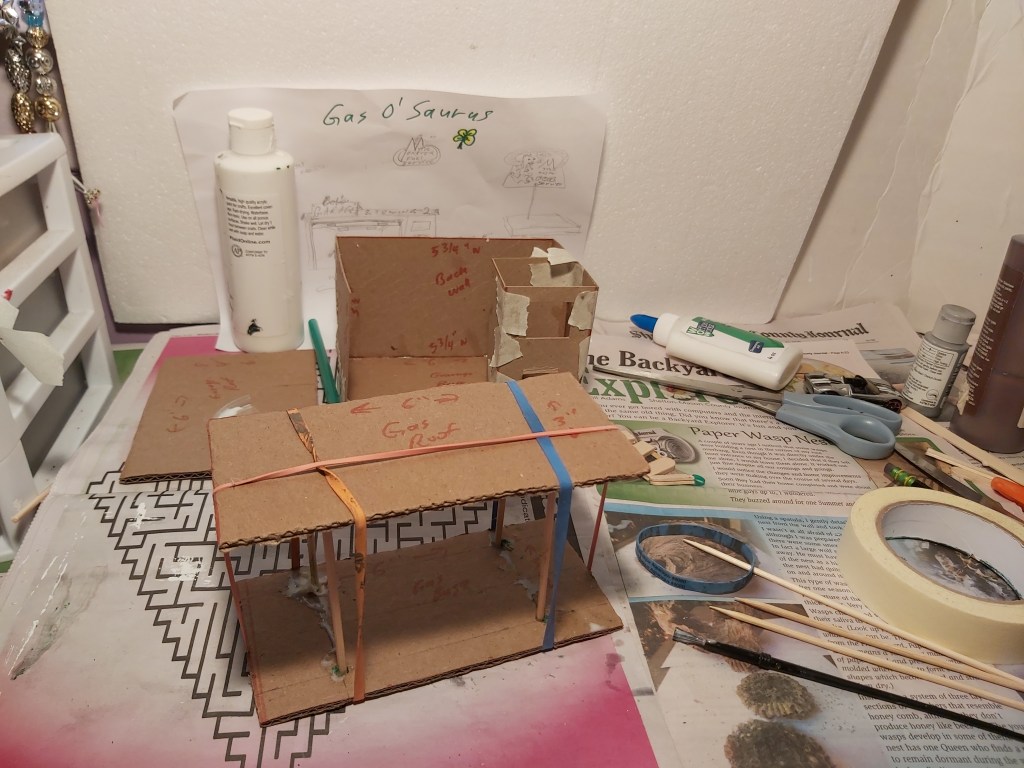
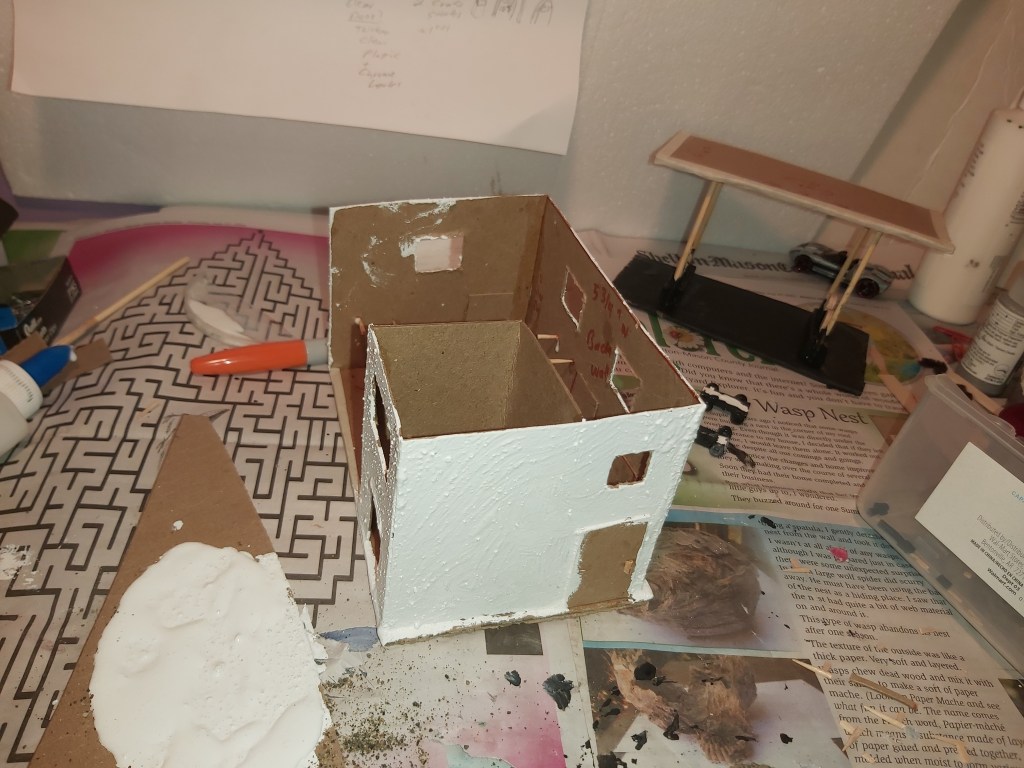
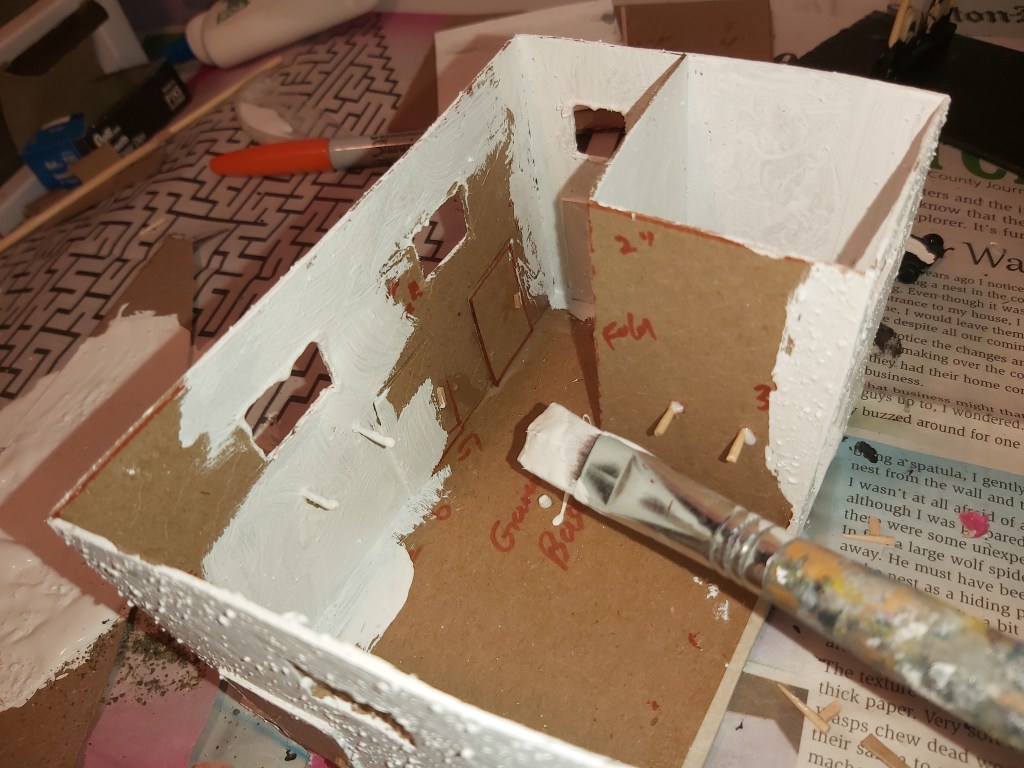
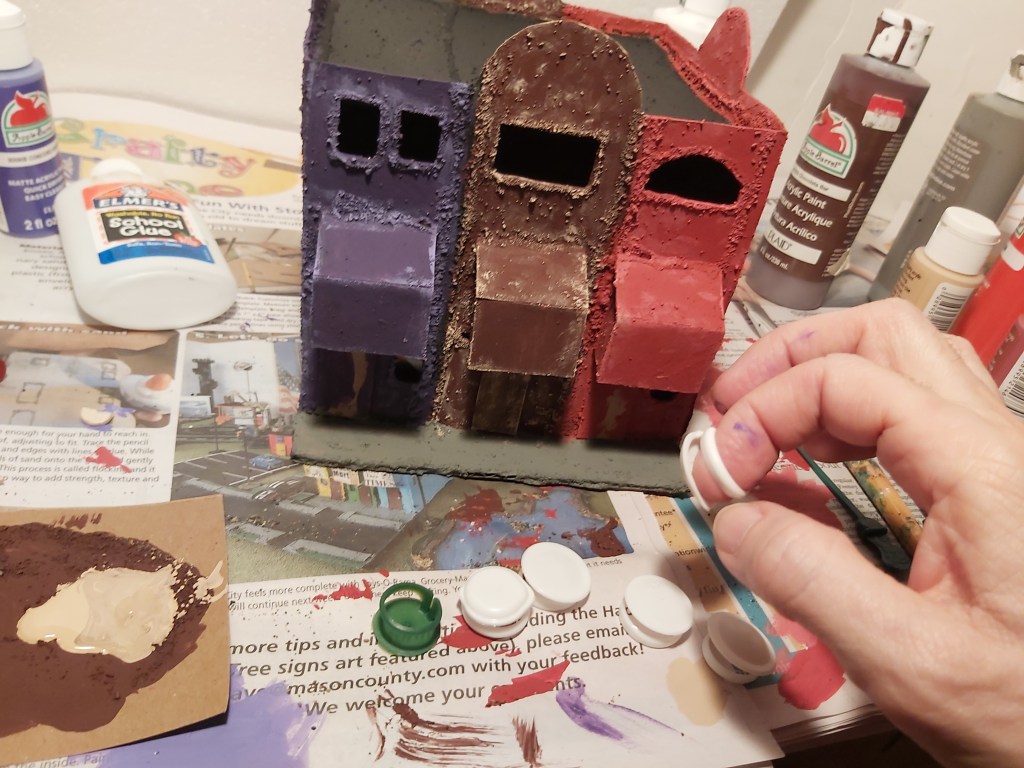
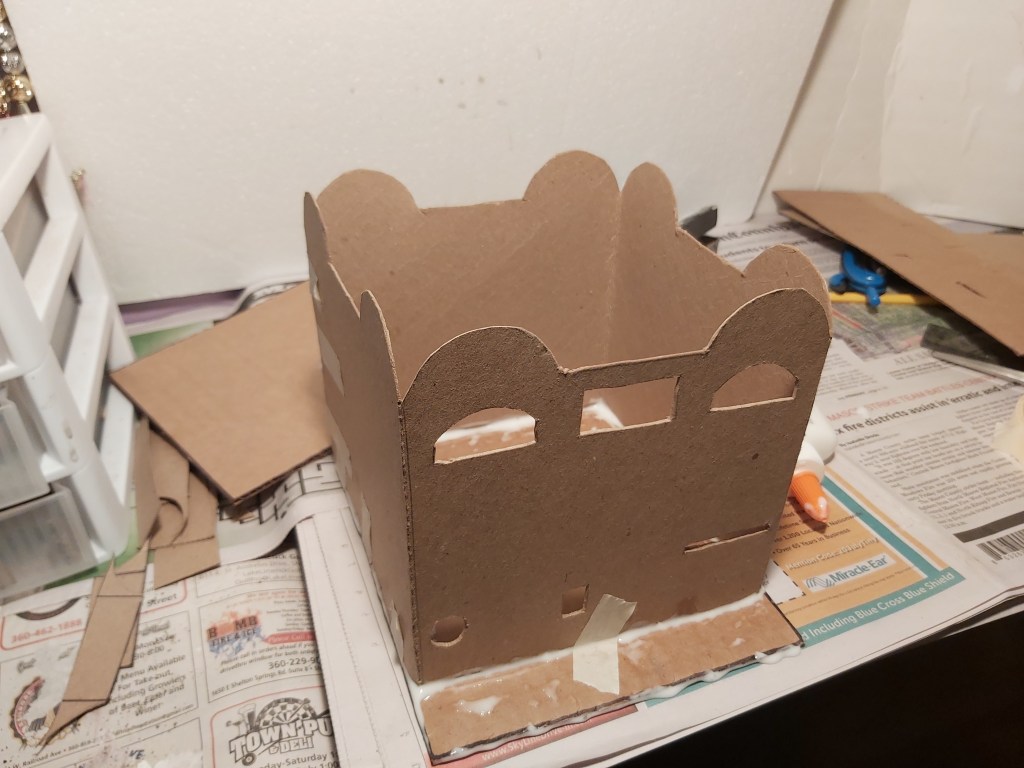
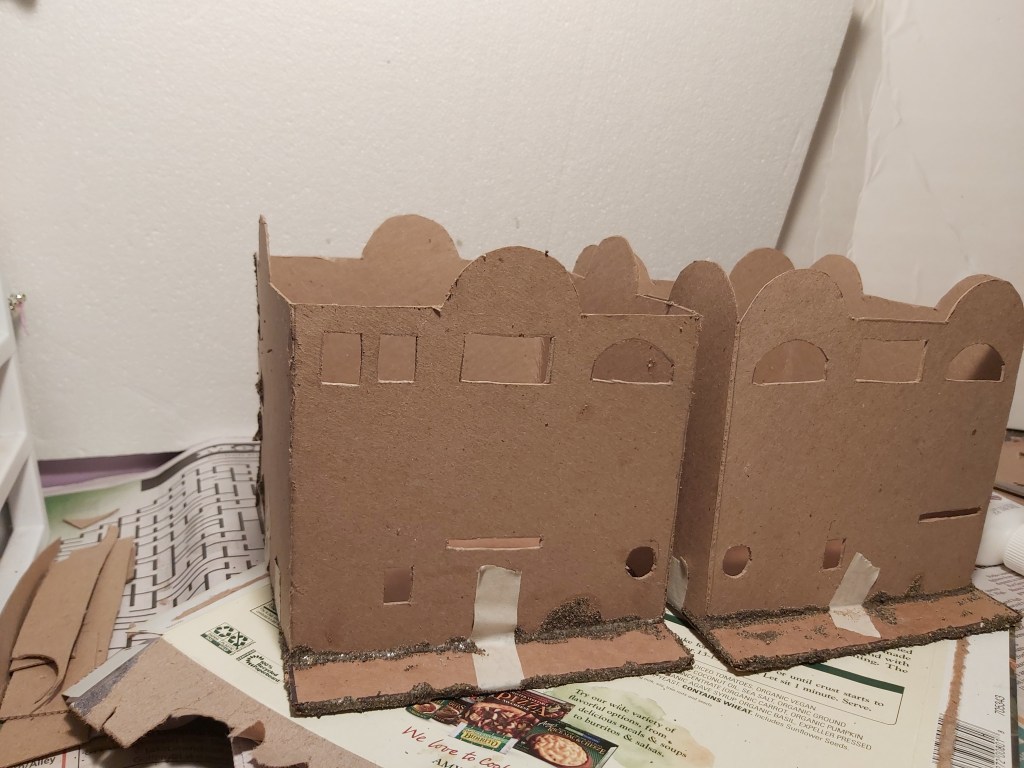
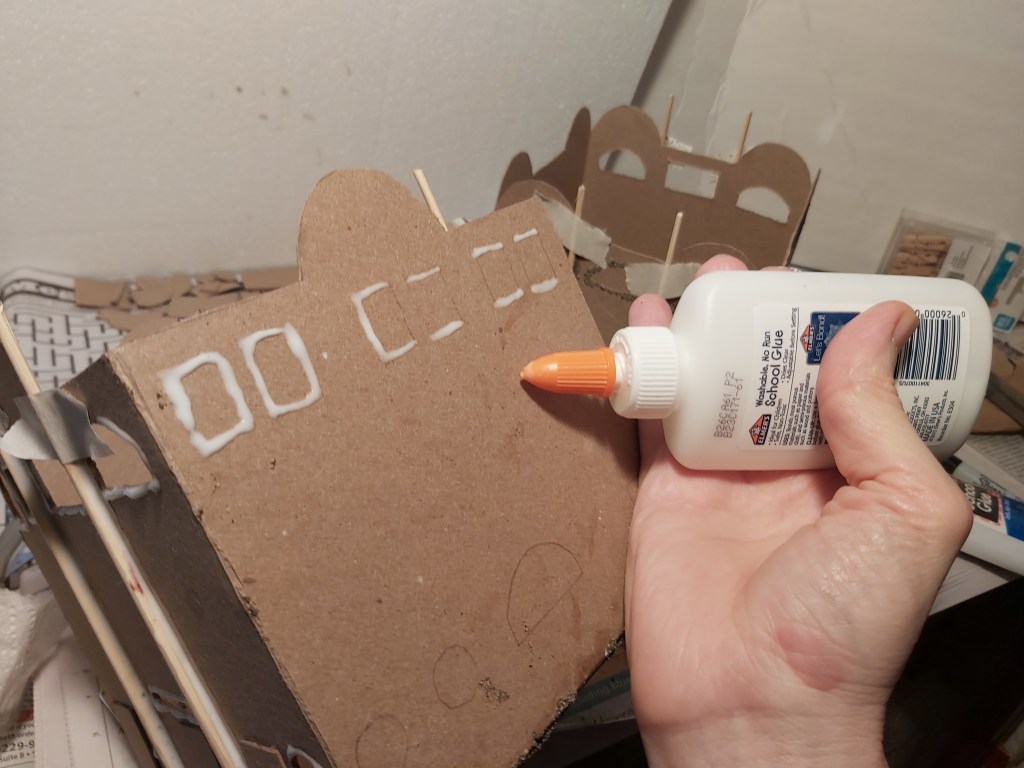
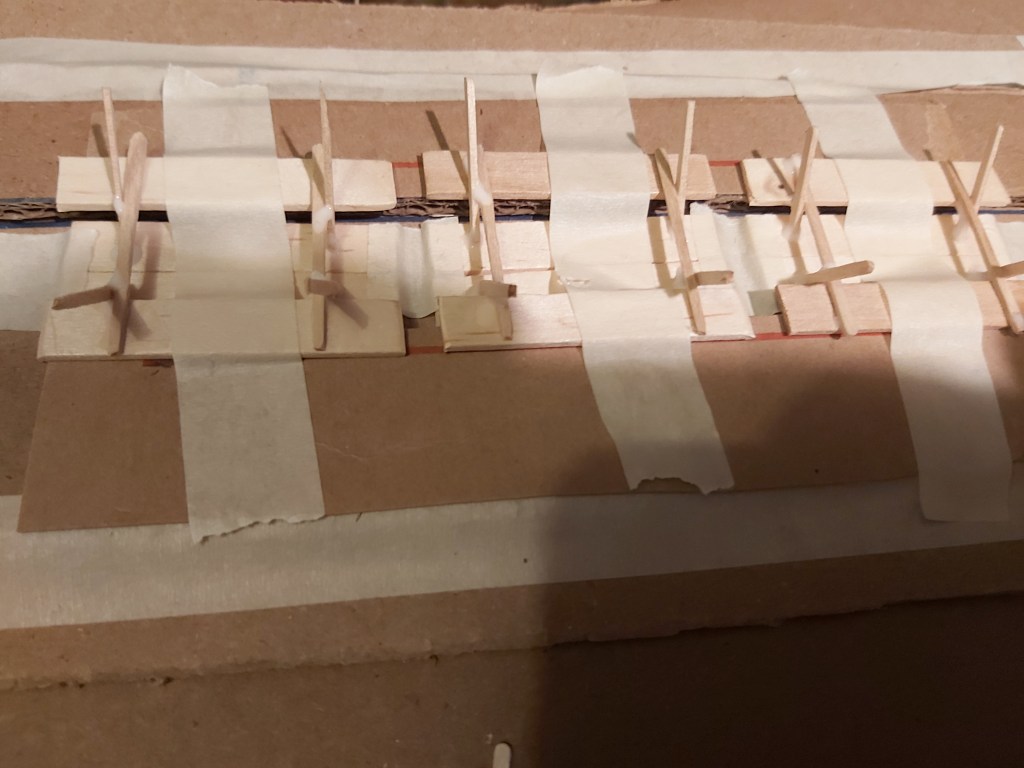
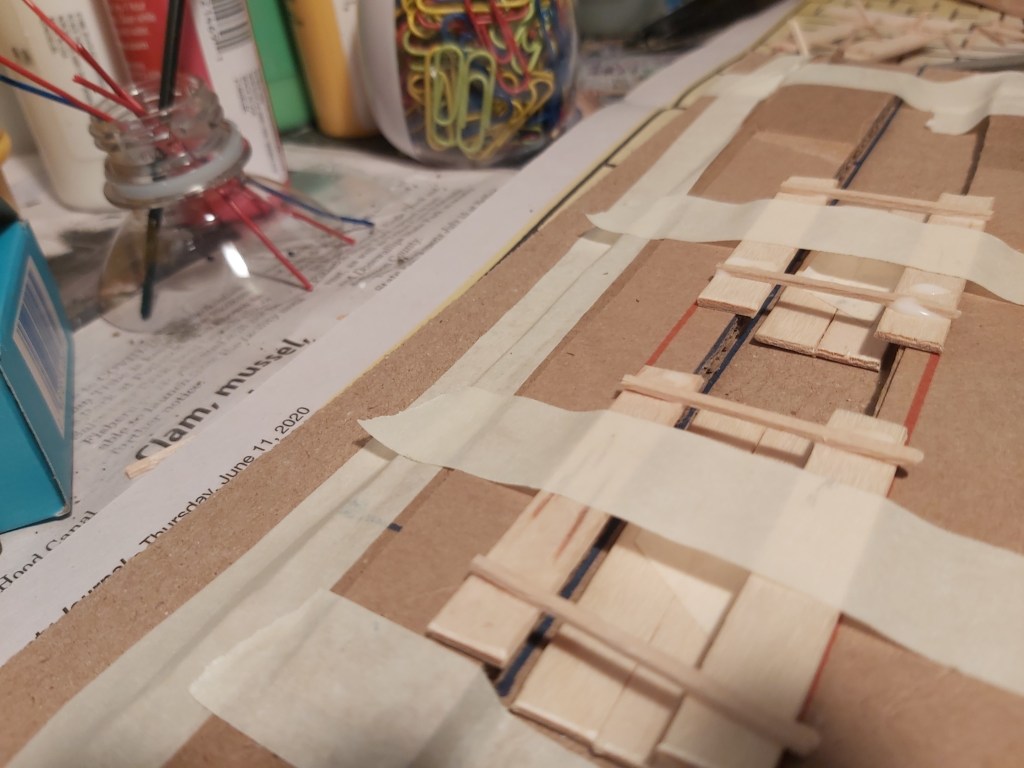
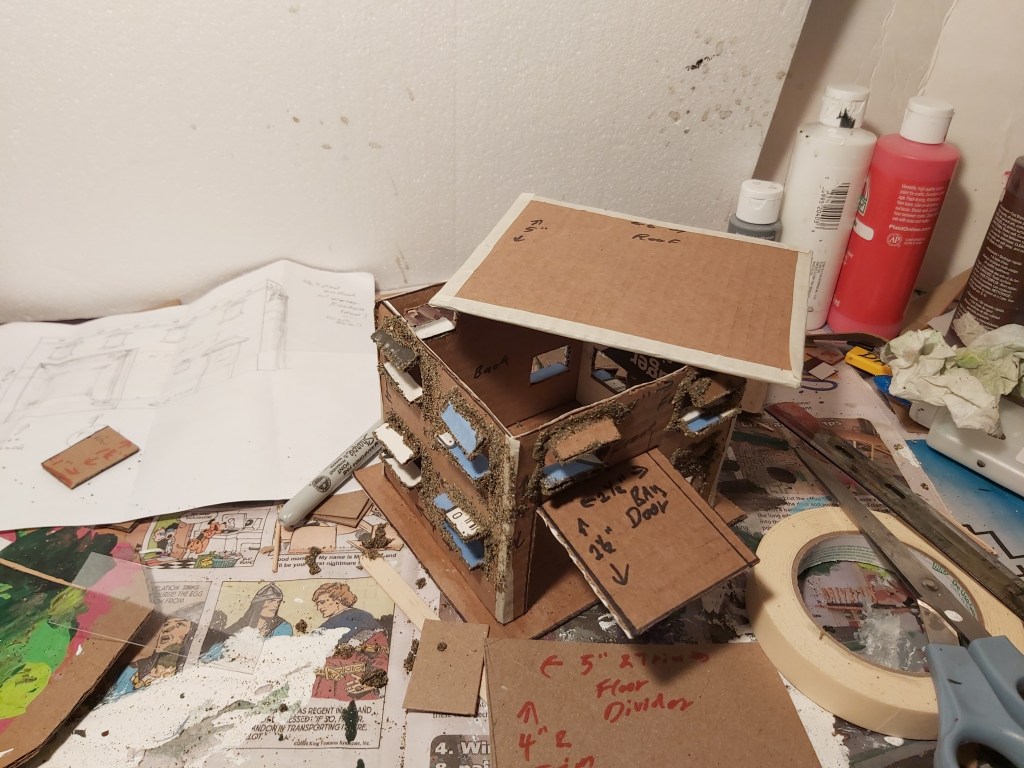
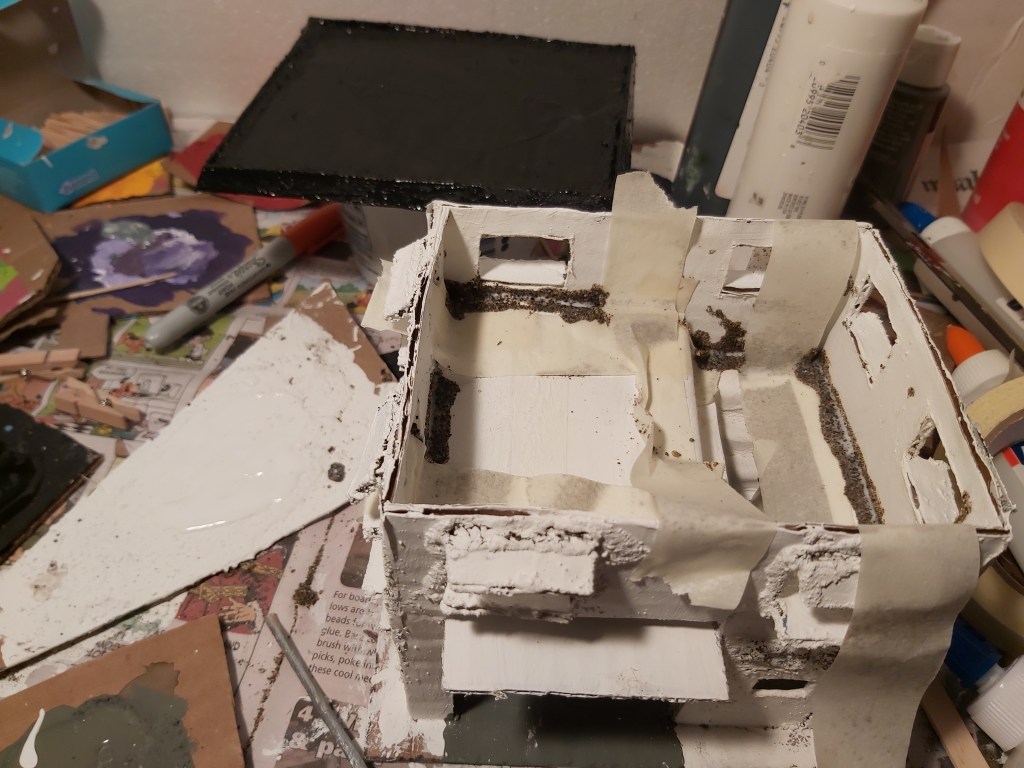
2. Assemble
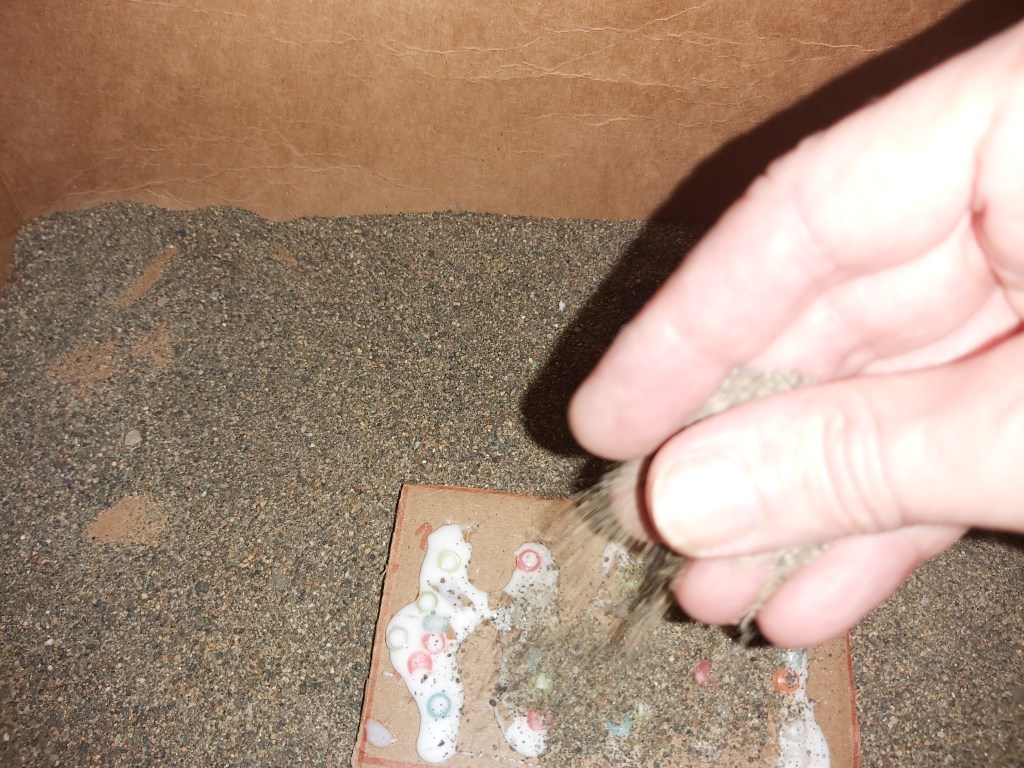
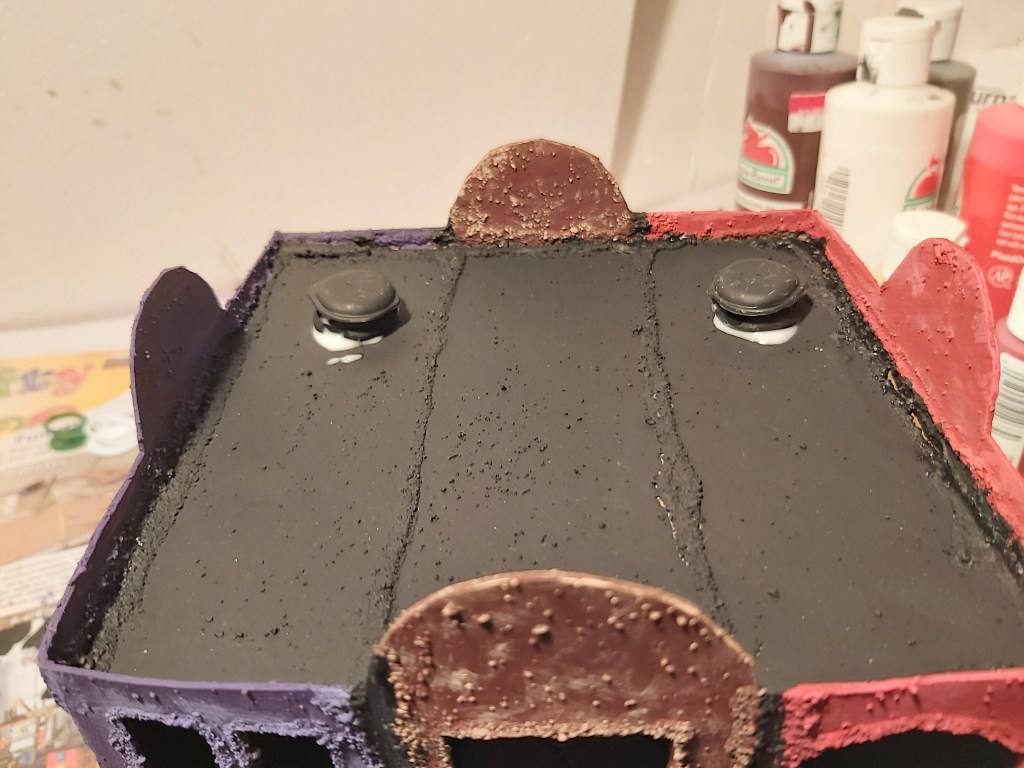
Mark and cut out windows. Glue wall and floor edges together, reinforce with masking tape and set aside to dry. Cut the removed window pieces in half for window ledges and awnings, glue to windows and flock with sand. Tilt off excess sand. Let dry. Add thin cardboard to the roof edges and prime underside white and top black.
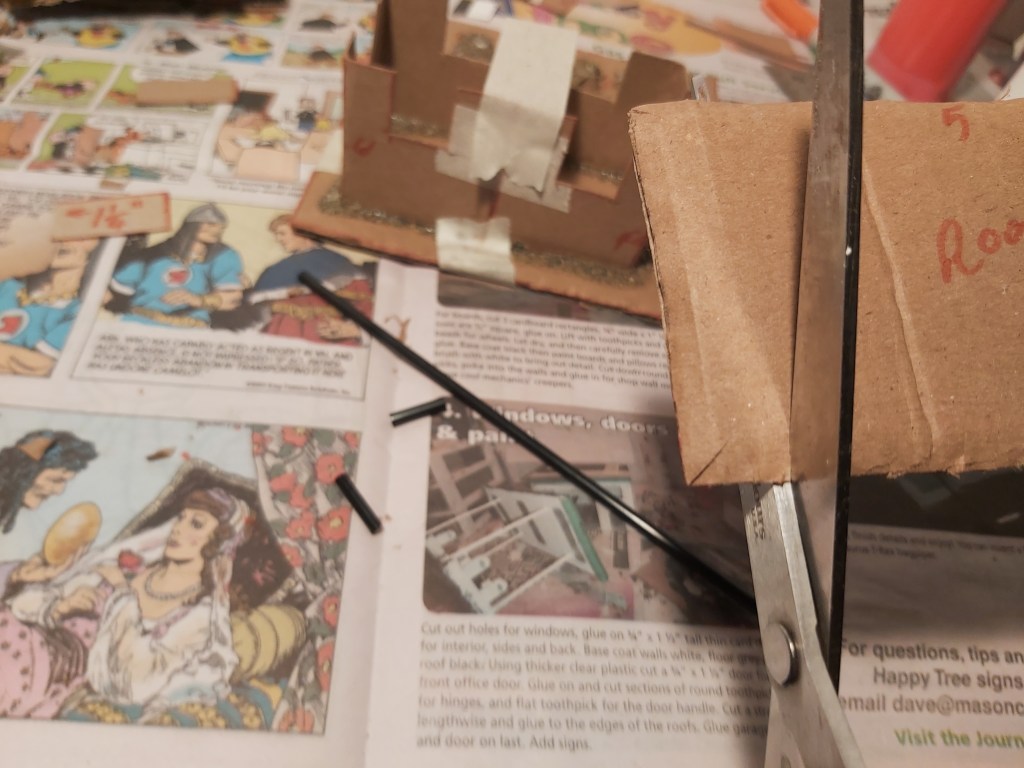
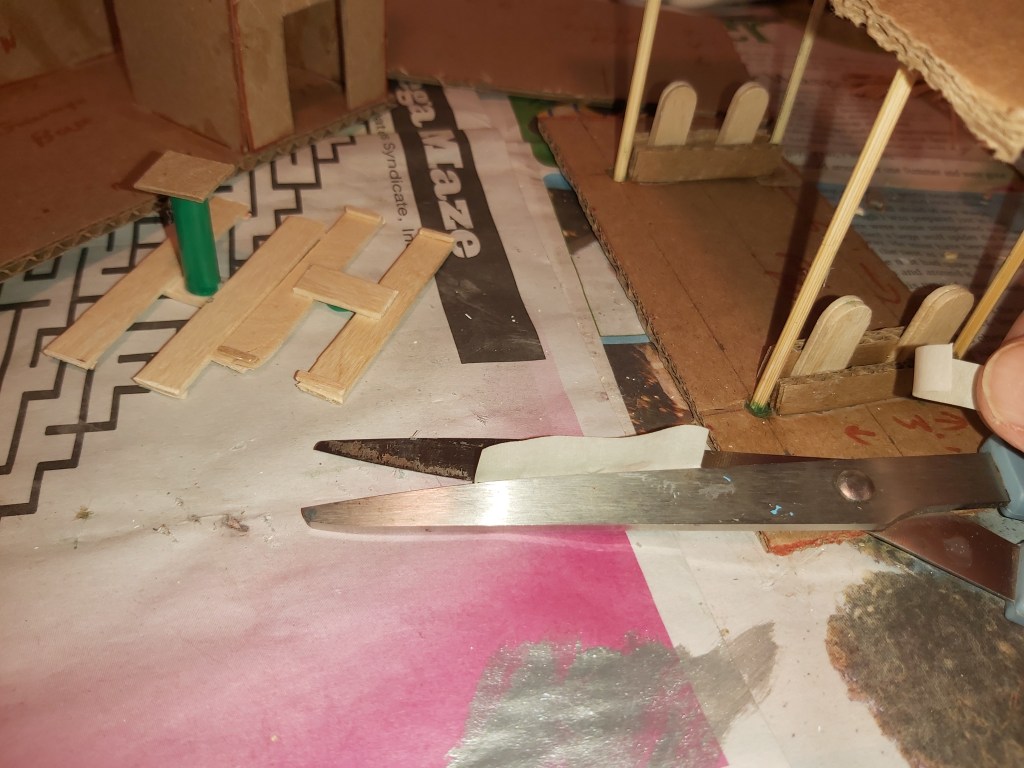
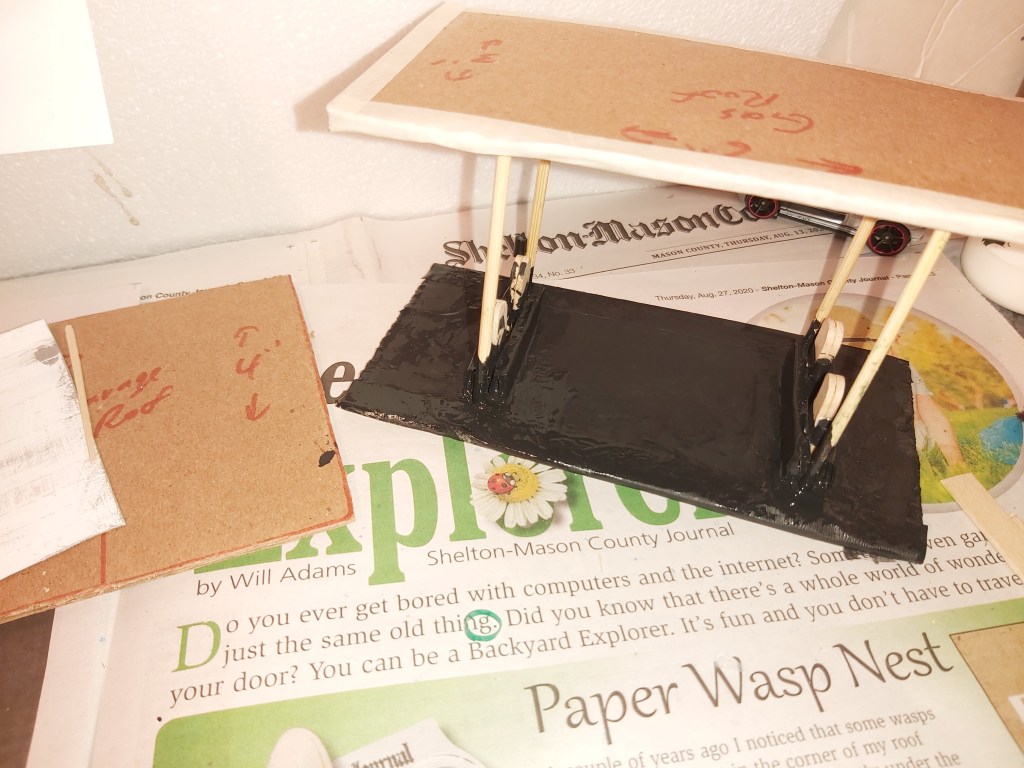
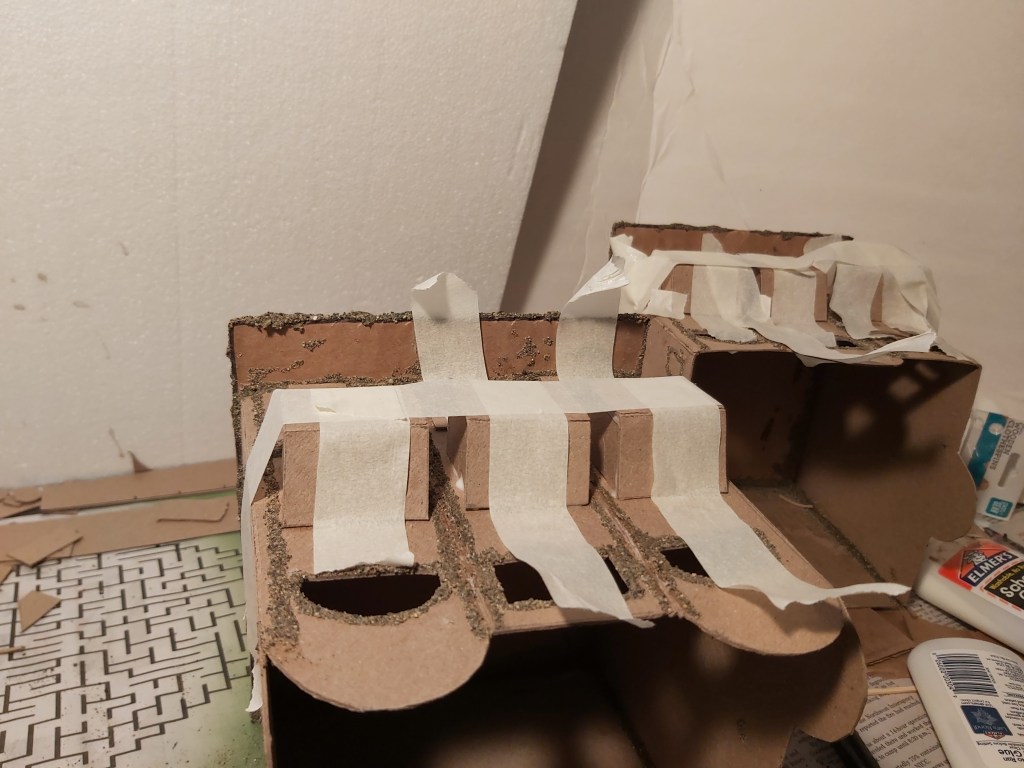
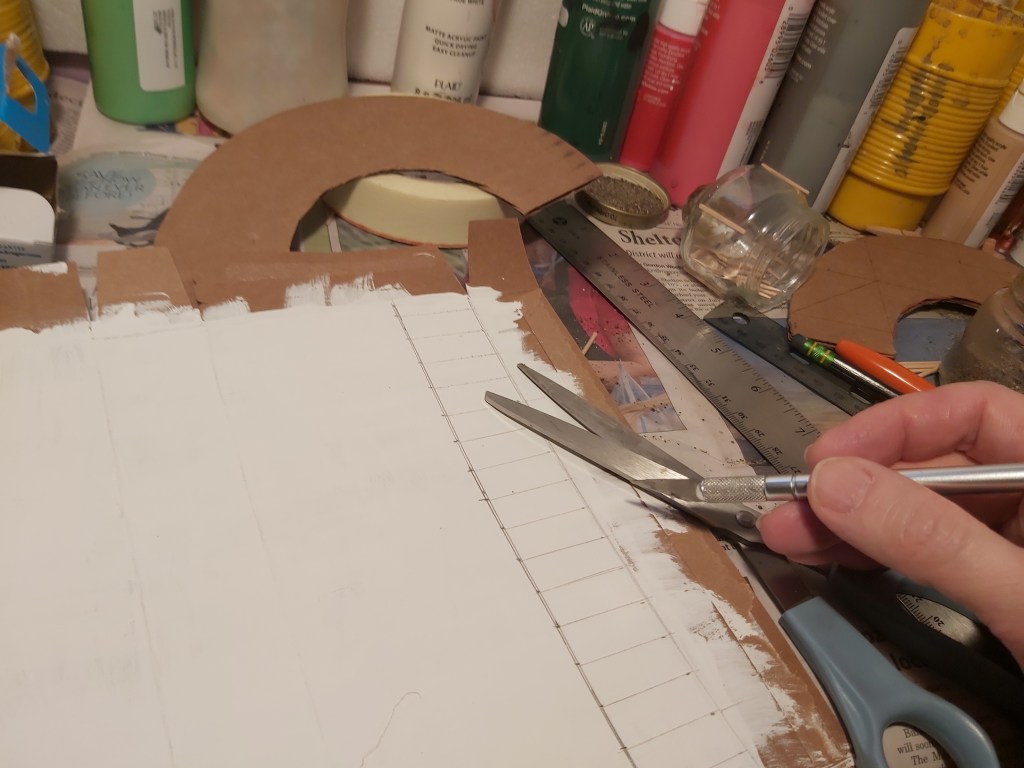
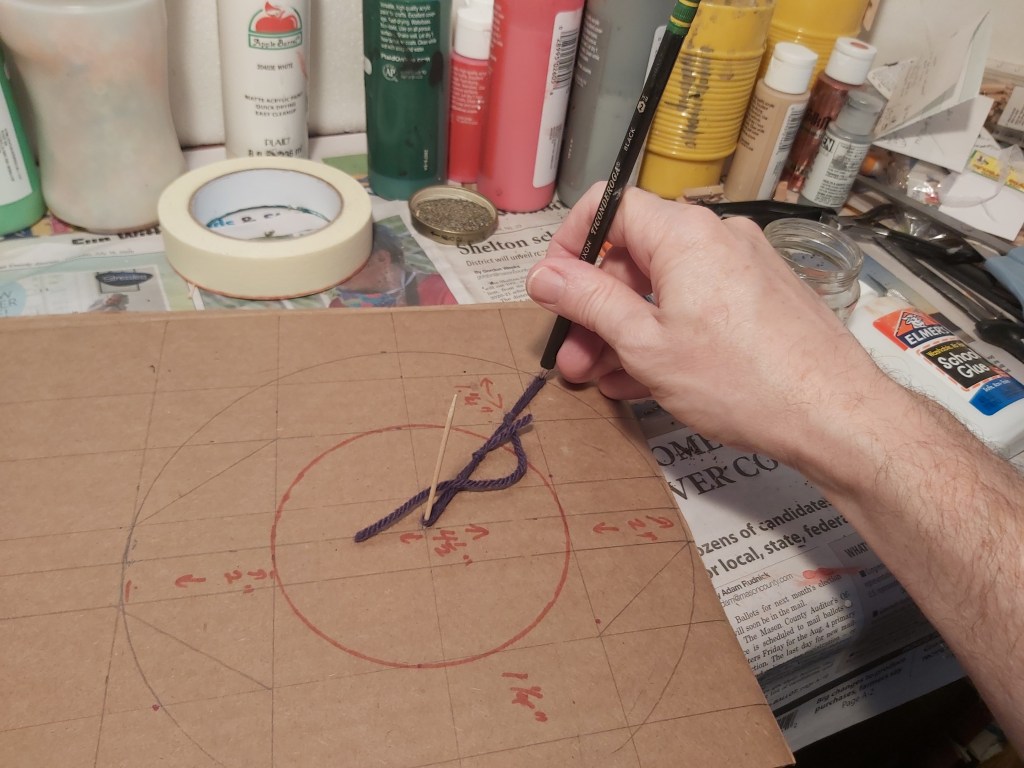
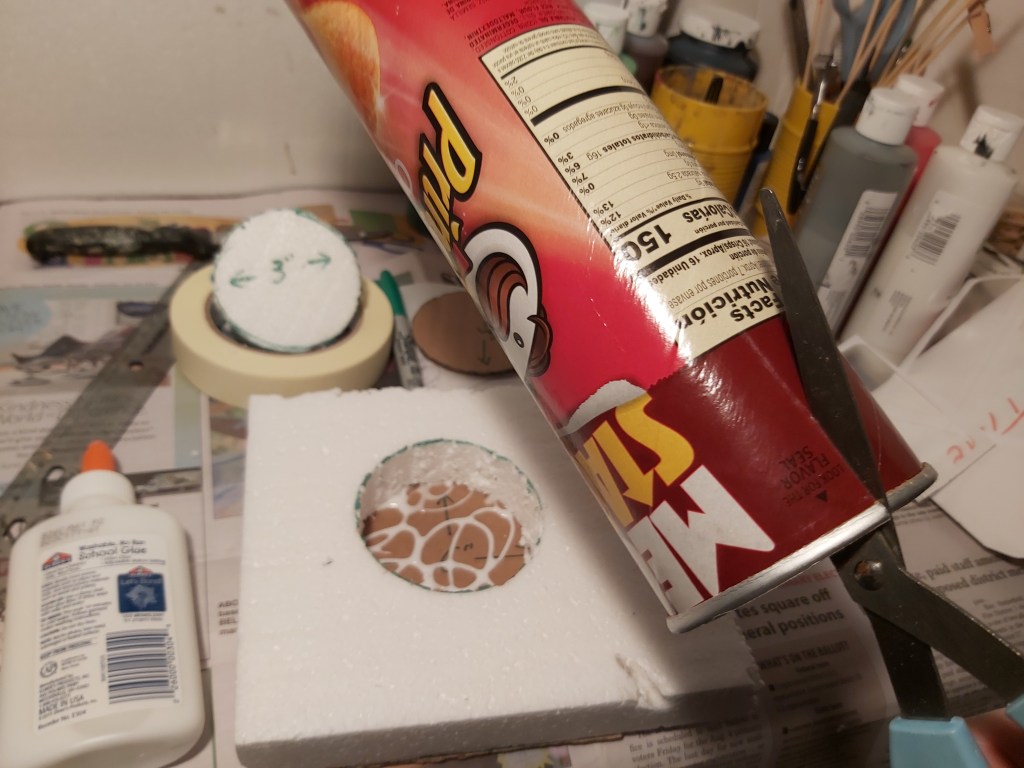
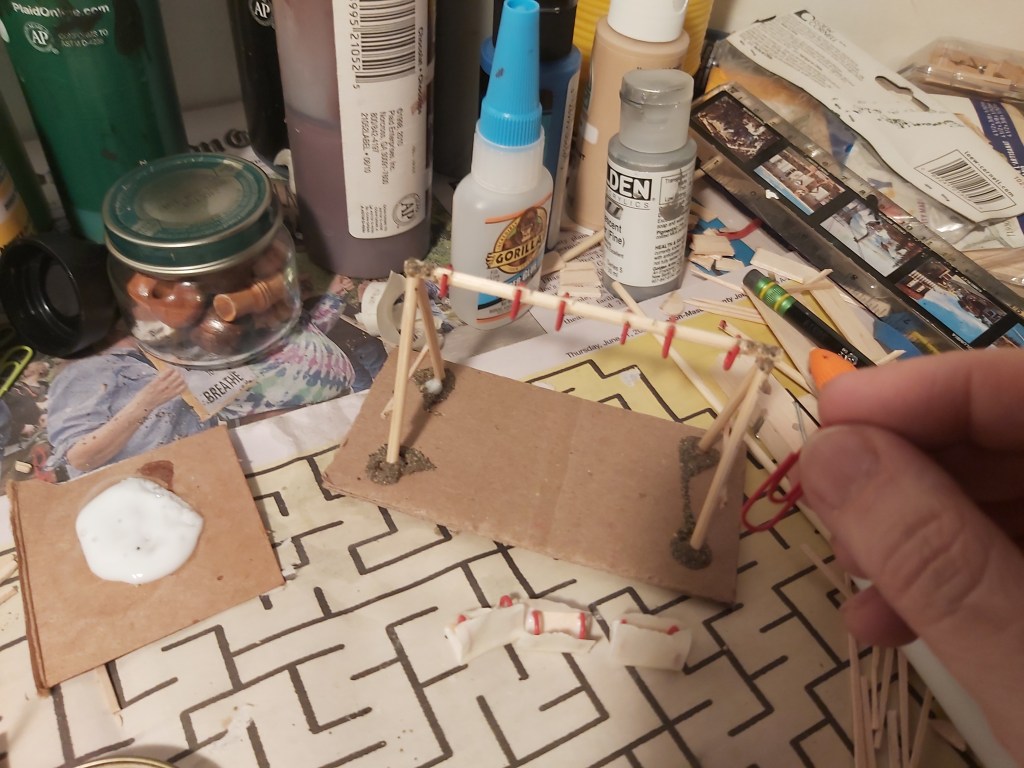
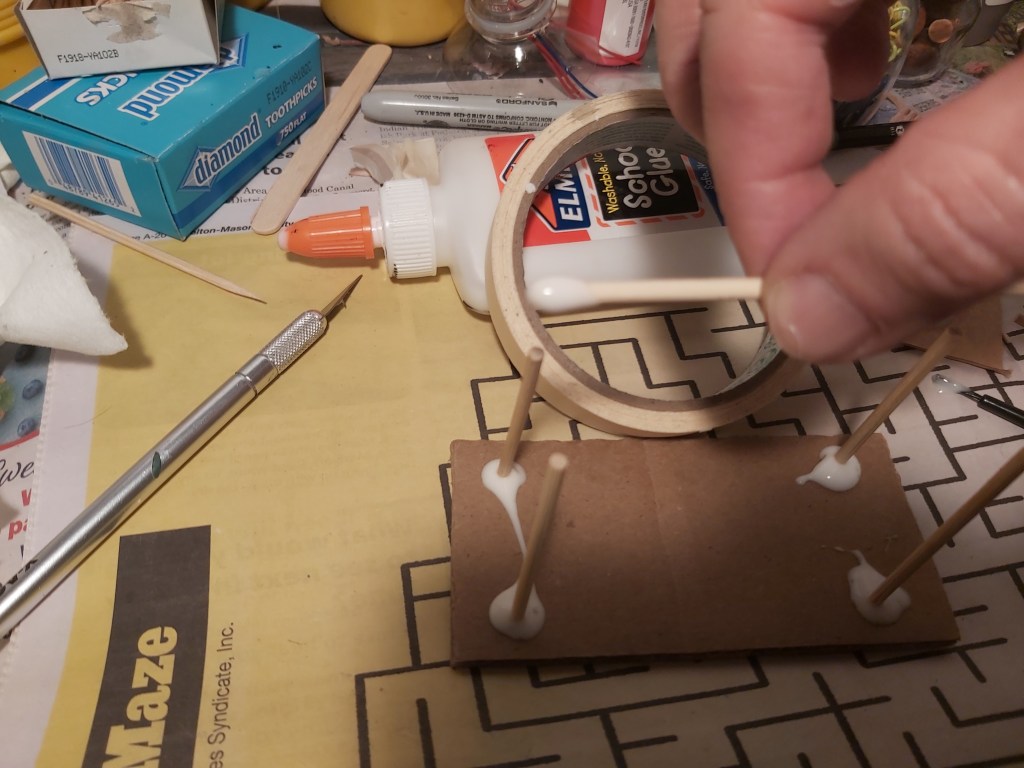
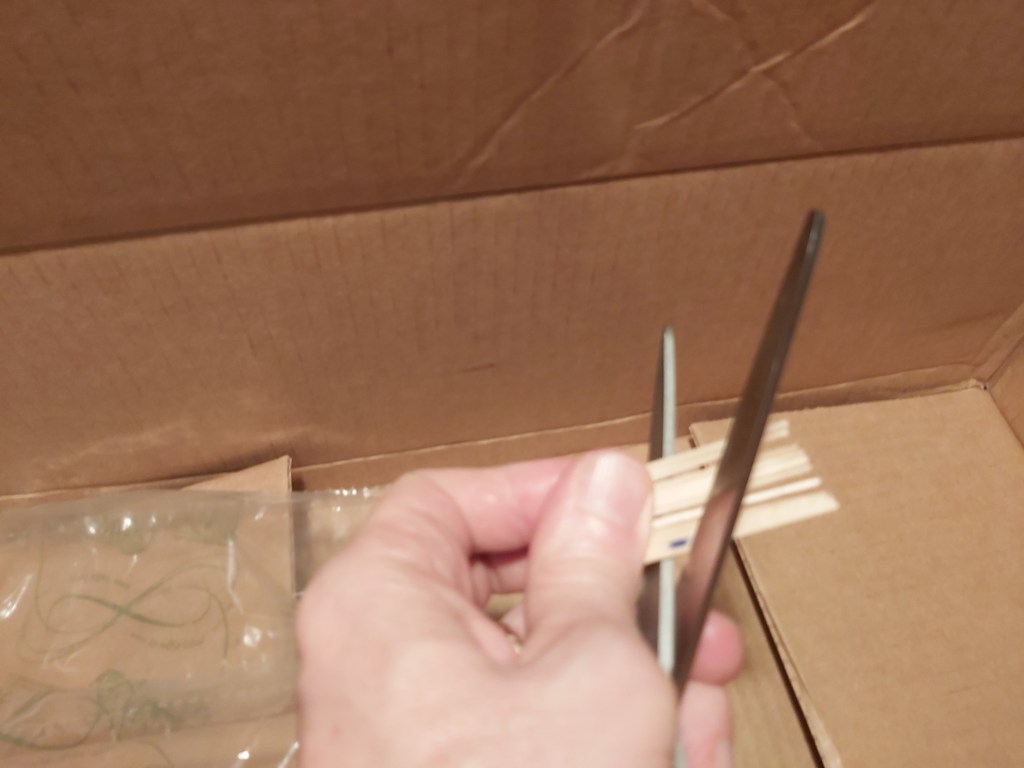
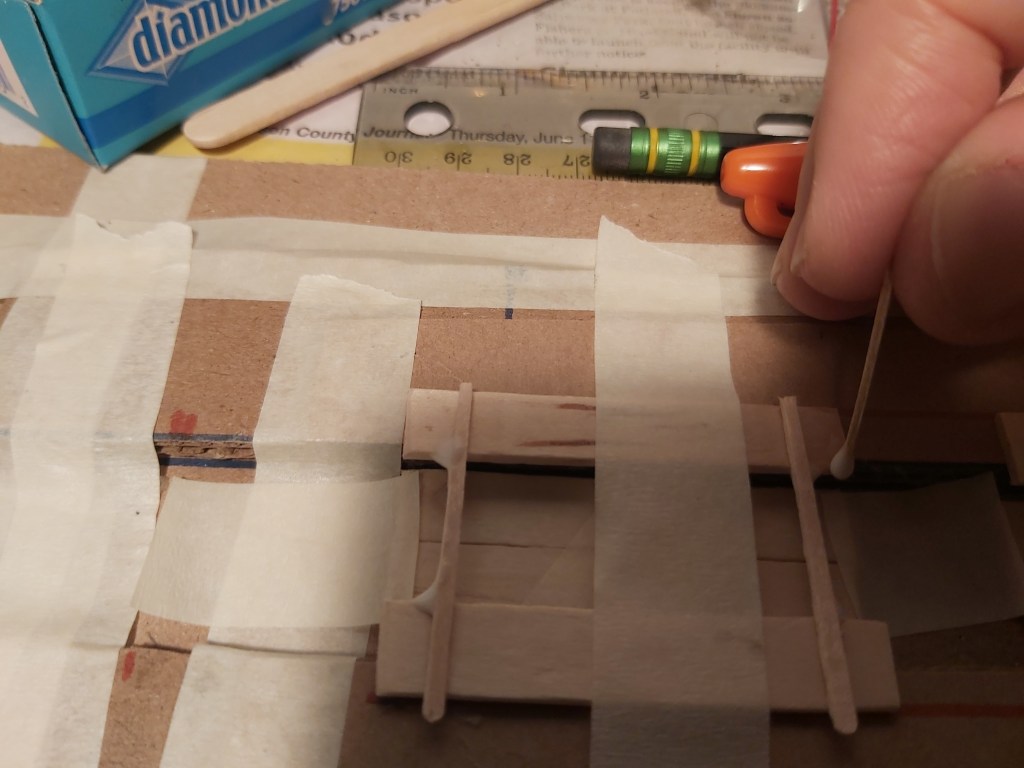
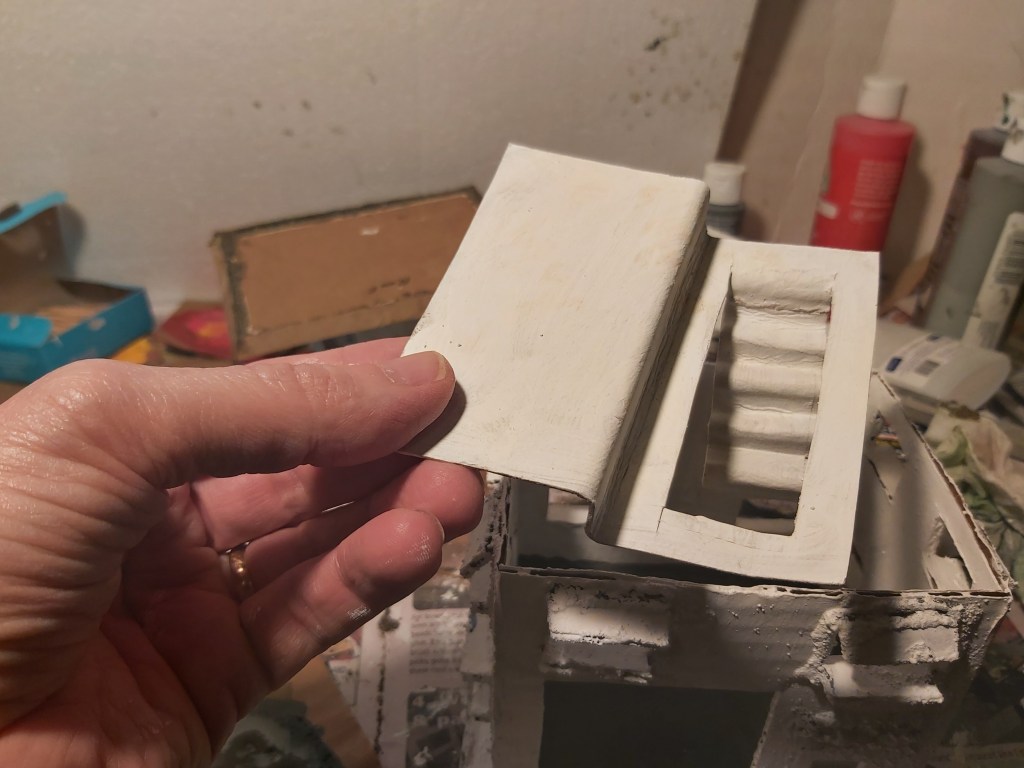
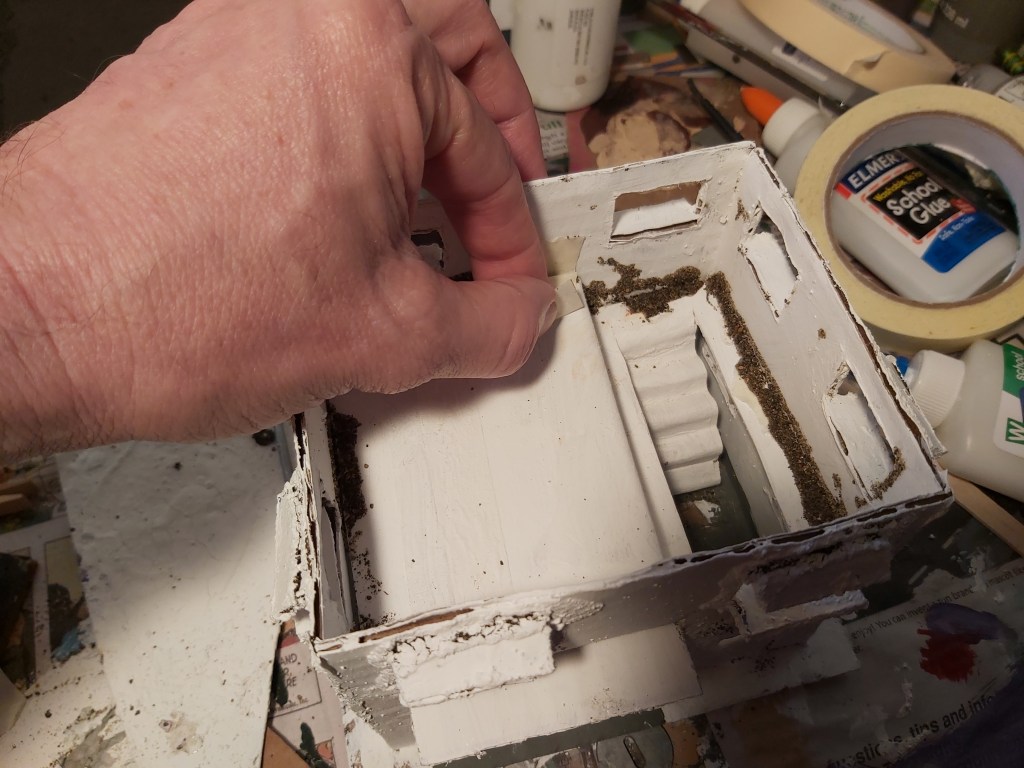
3. Fireman’s Pole
Mark and cut a second floor, with thin card, trimming to fit from a 5” x 4” rectangle. Prime it in white, let dry and cut a 1” gap, then fold an accordion for the stairs. Mark and cut a 1” circle for the fireman’s pole. Adjust the floor piece and glue. Reinforce with sand and let dry. Cut the bamboo skewer to 4” and paint silver.
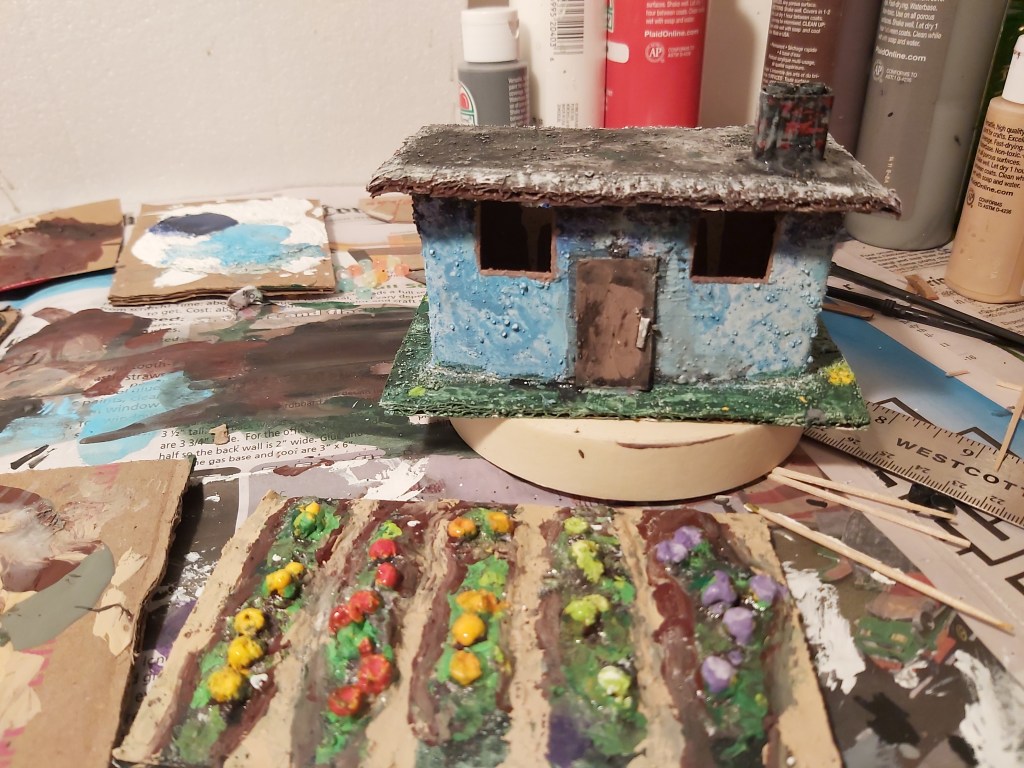
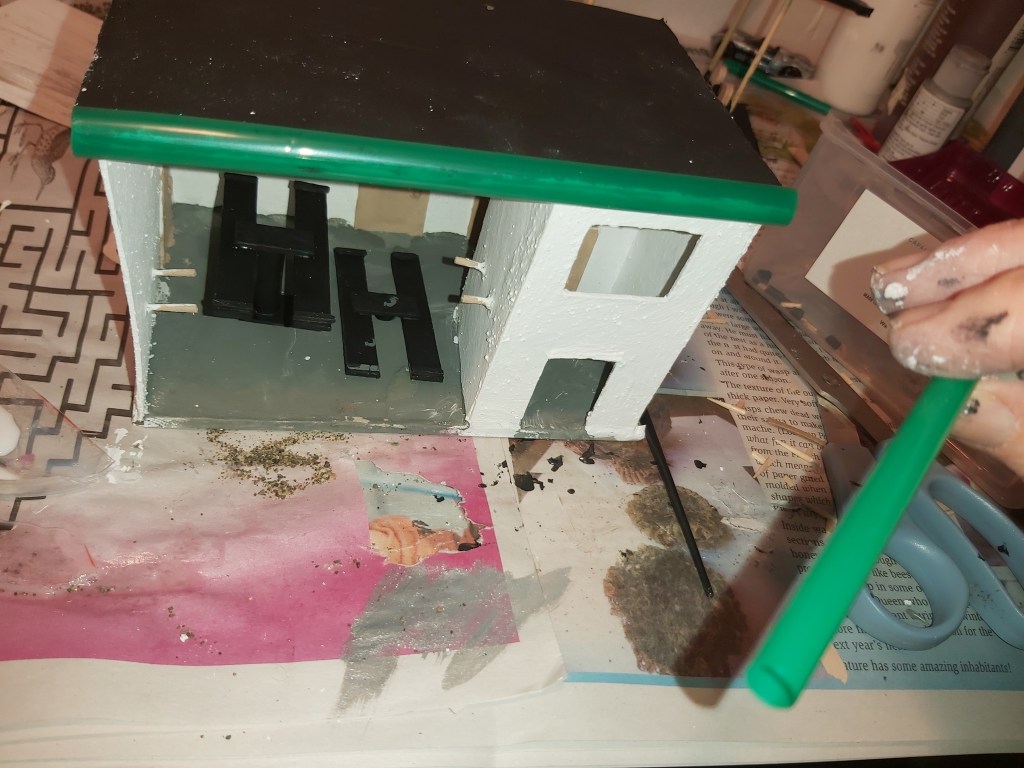
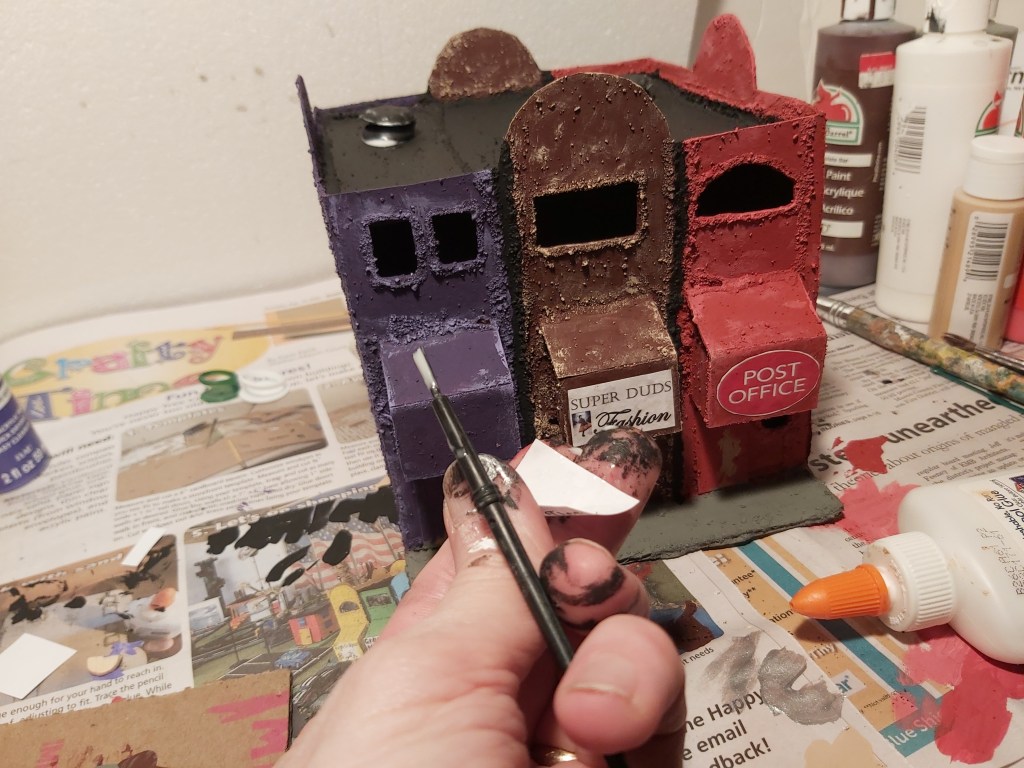
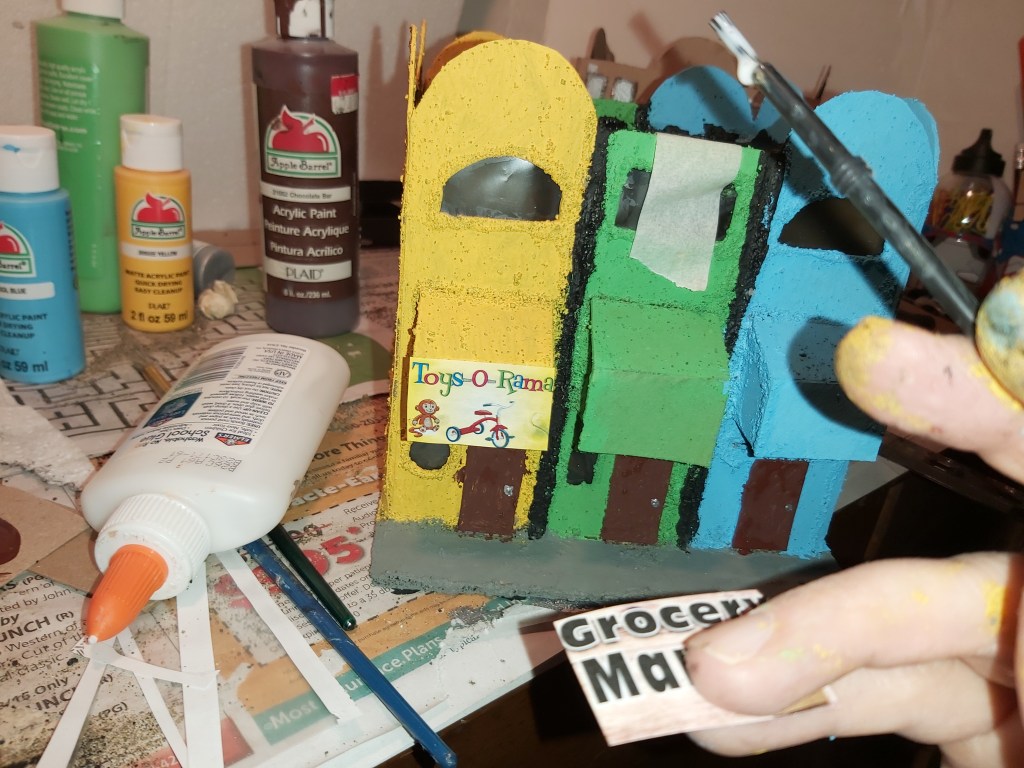
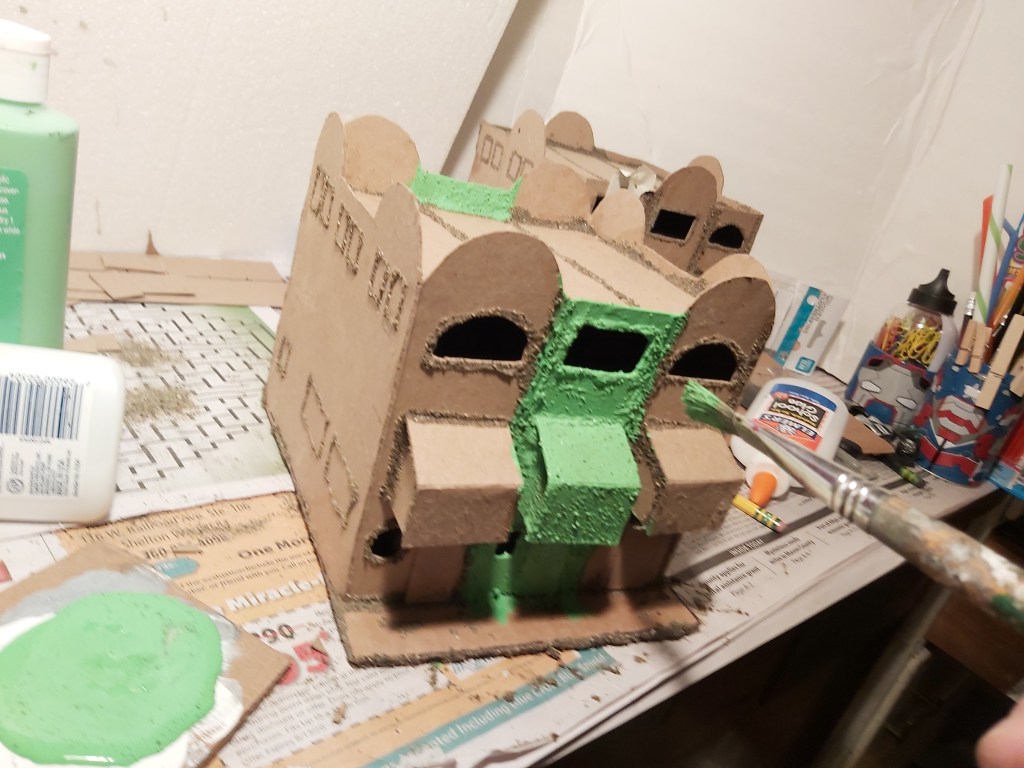
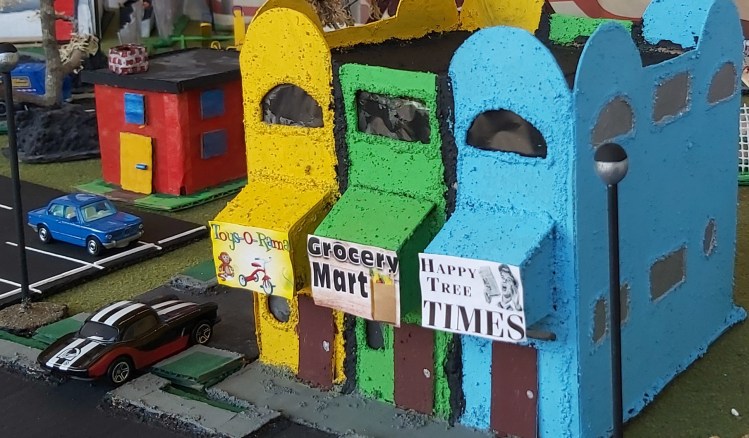
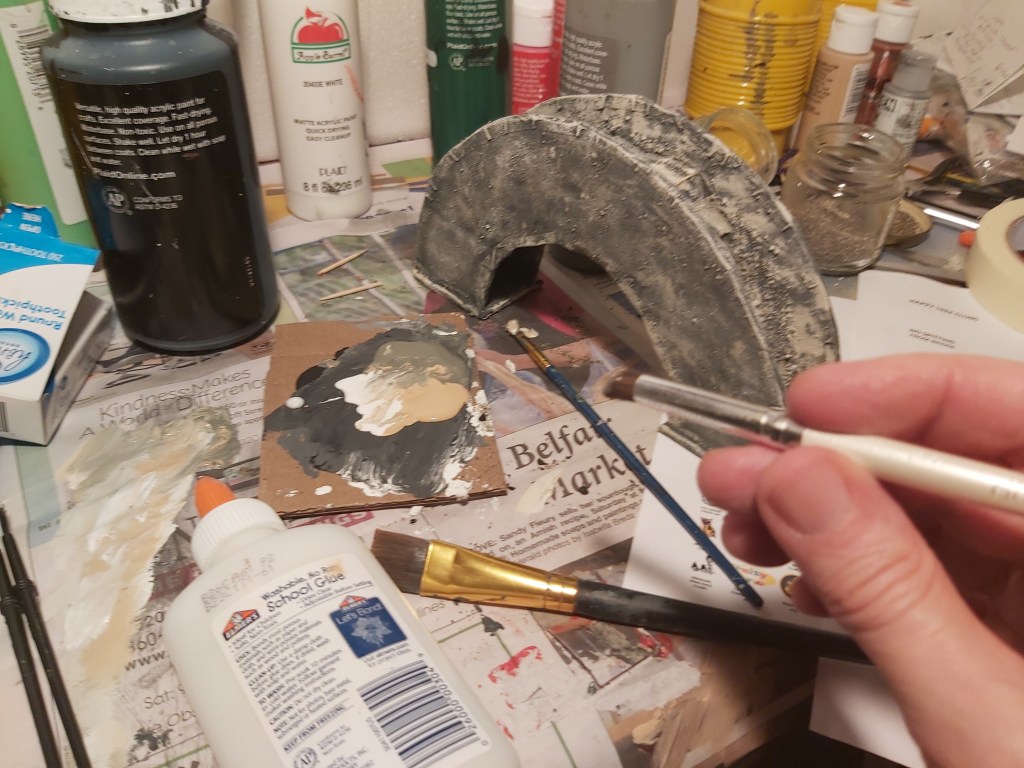
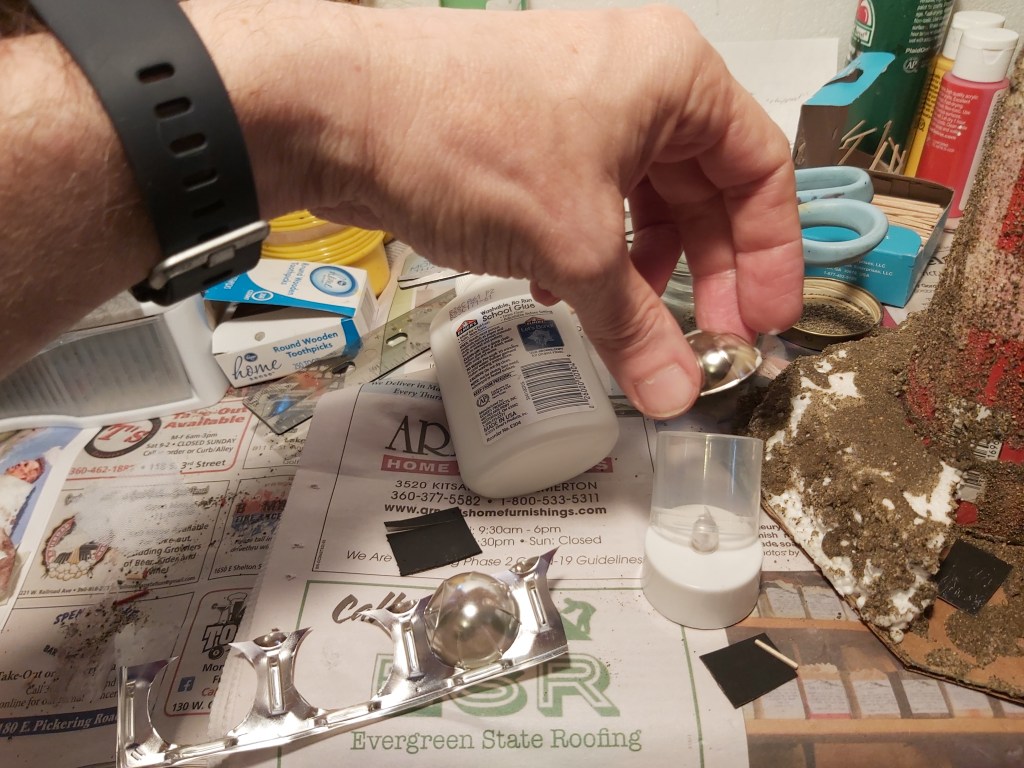
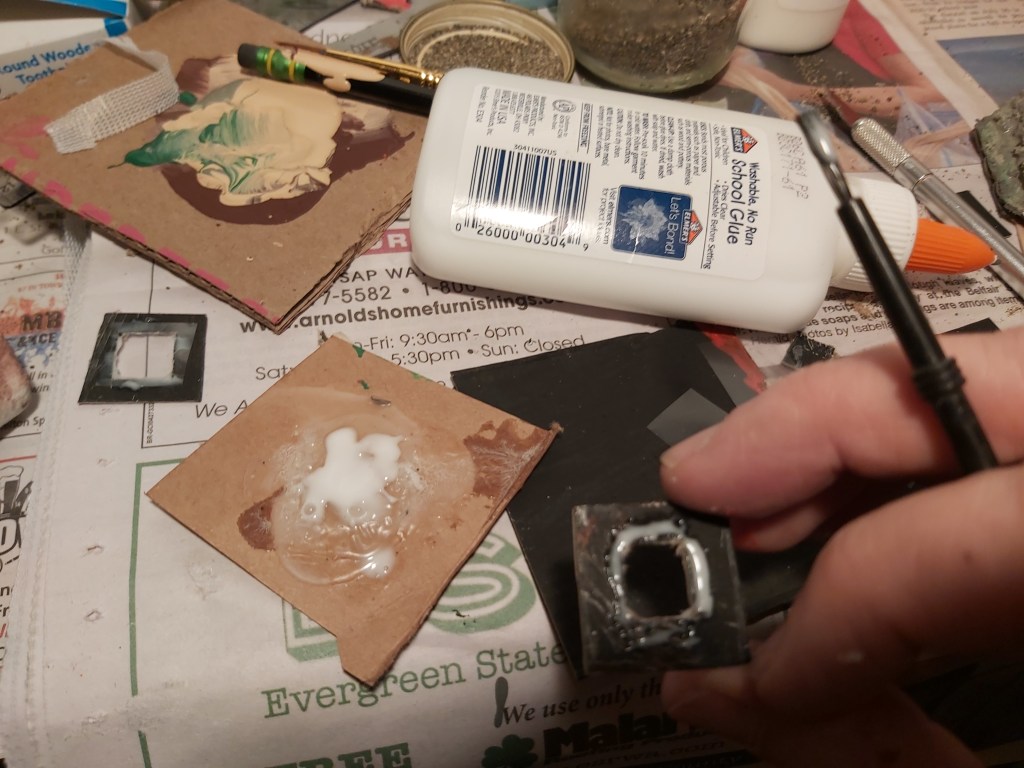
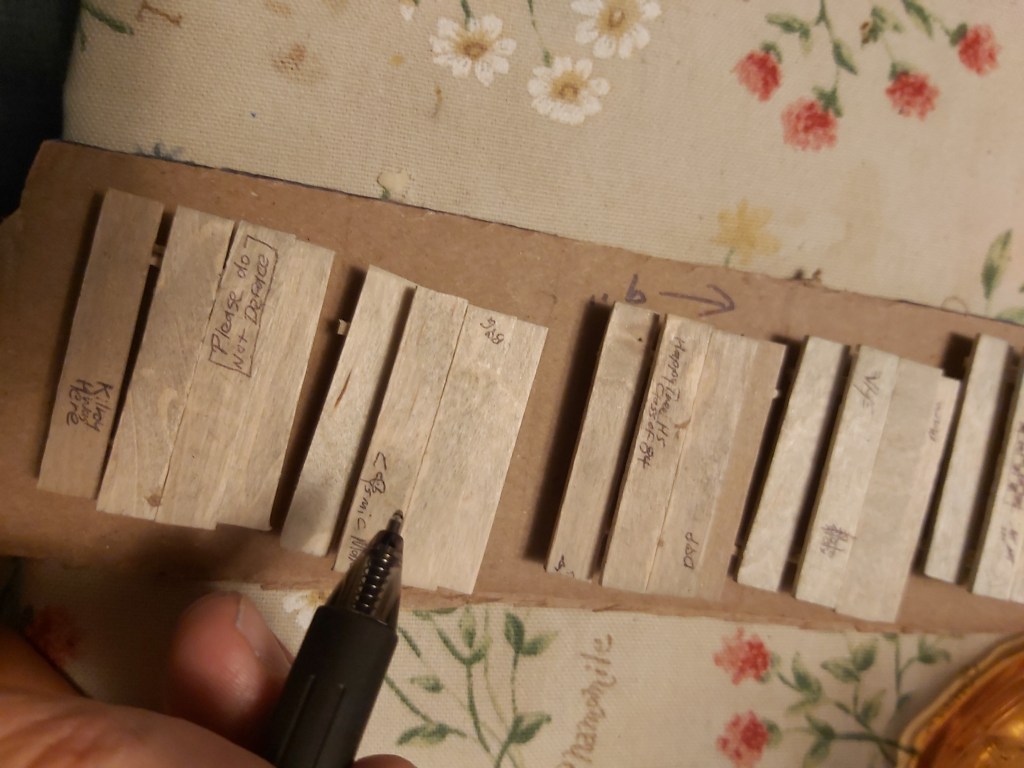
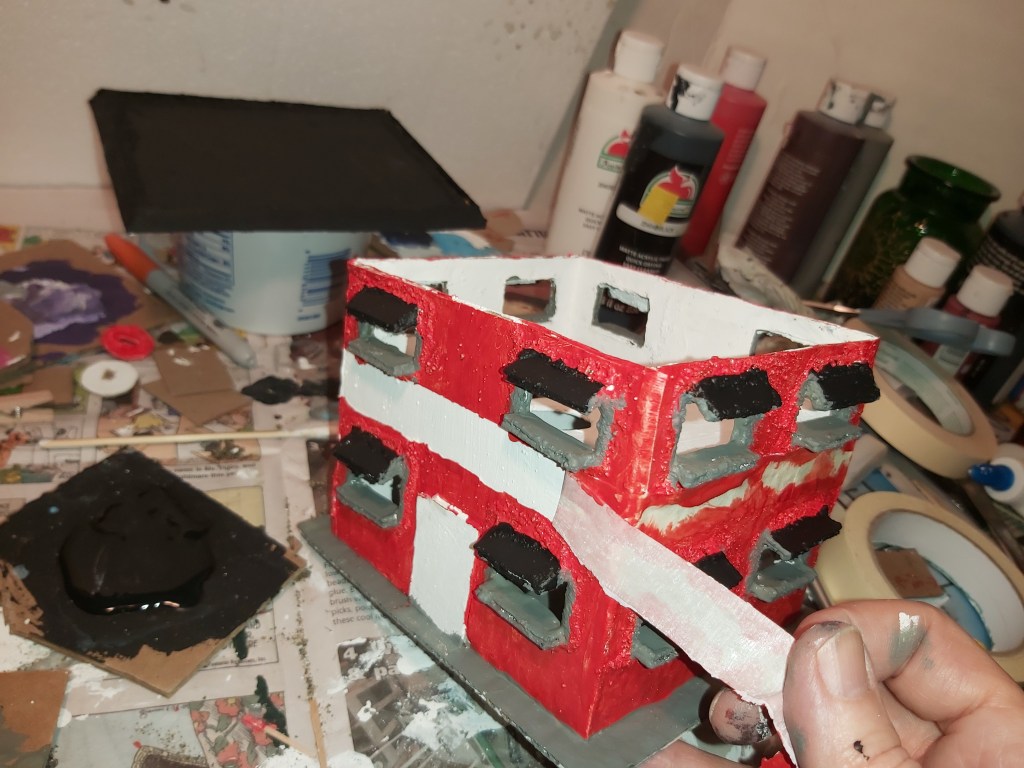
4. Mask and paint
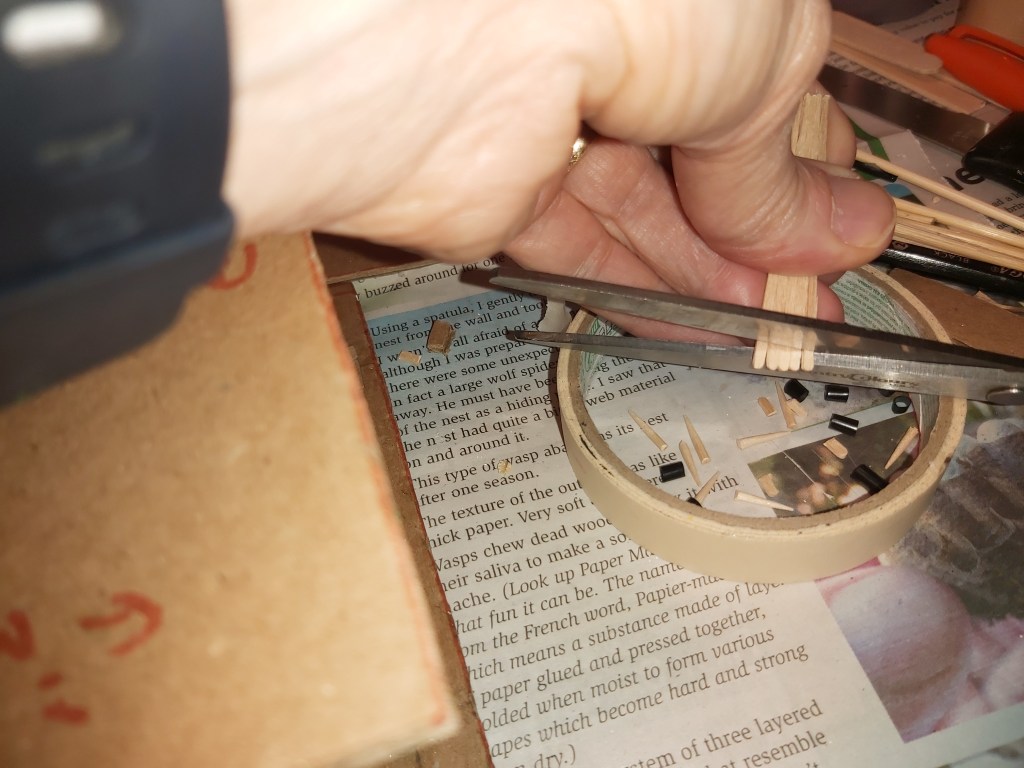
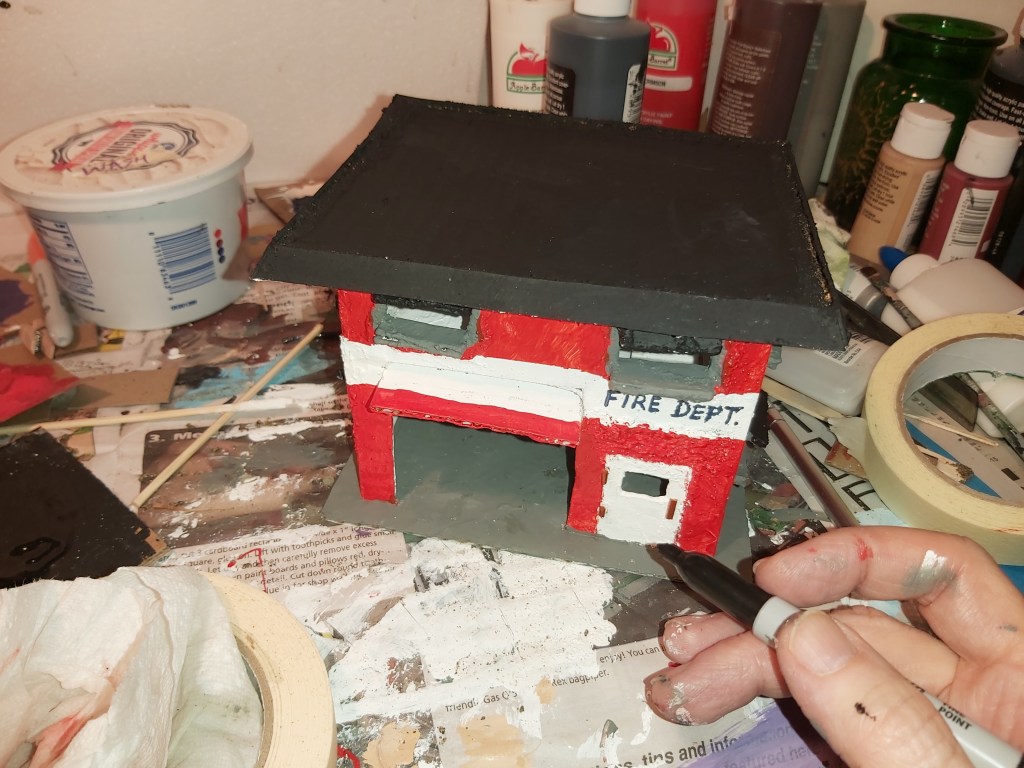
Neatly align a stripe of masking tape all the way around the building and press it on firmly to edges. Mask off the doors. Paint the outside of the building red, the floor, curbs, window ledges and frames grey, the window awnings black. Cut toothpicks and paint brass for handles and hinges. Paint the base of the fireman’s pole red and glue in place. Pull off masking tape and touch up paint.
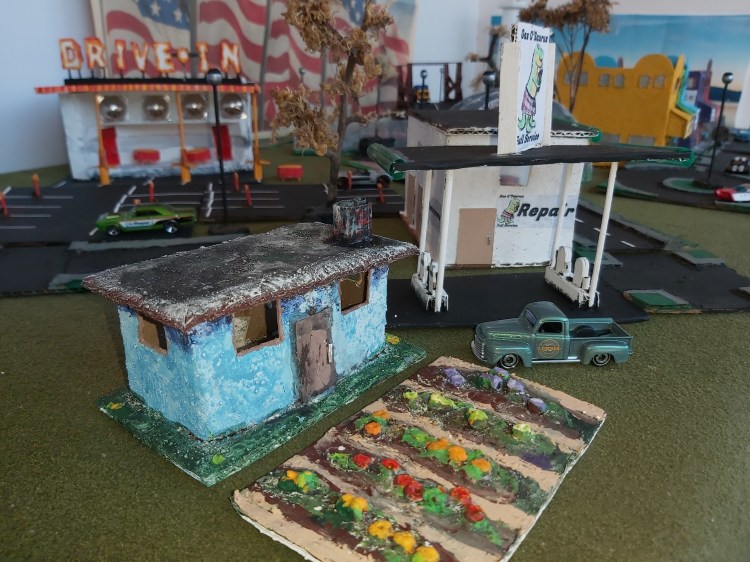
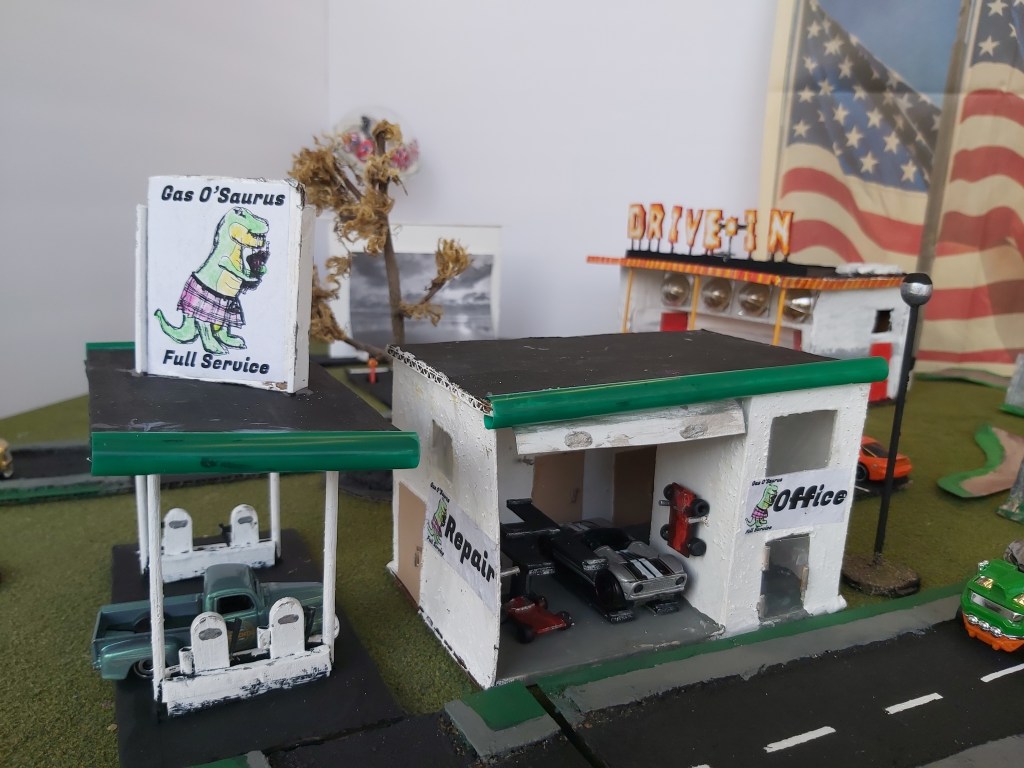
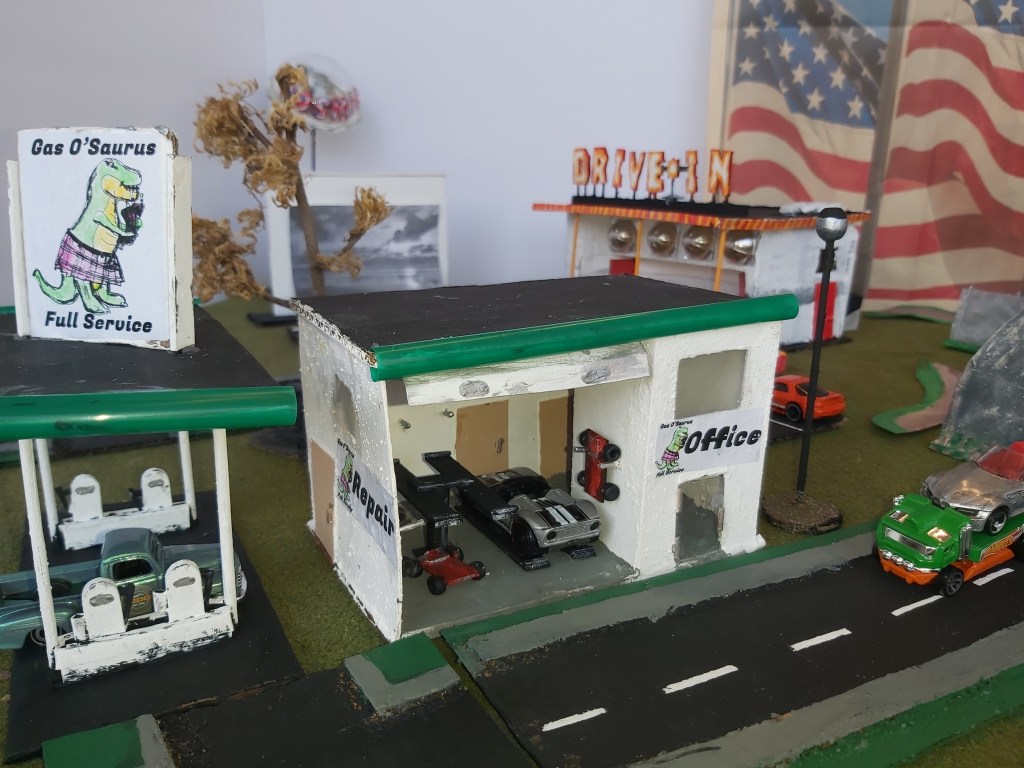
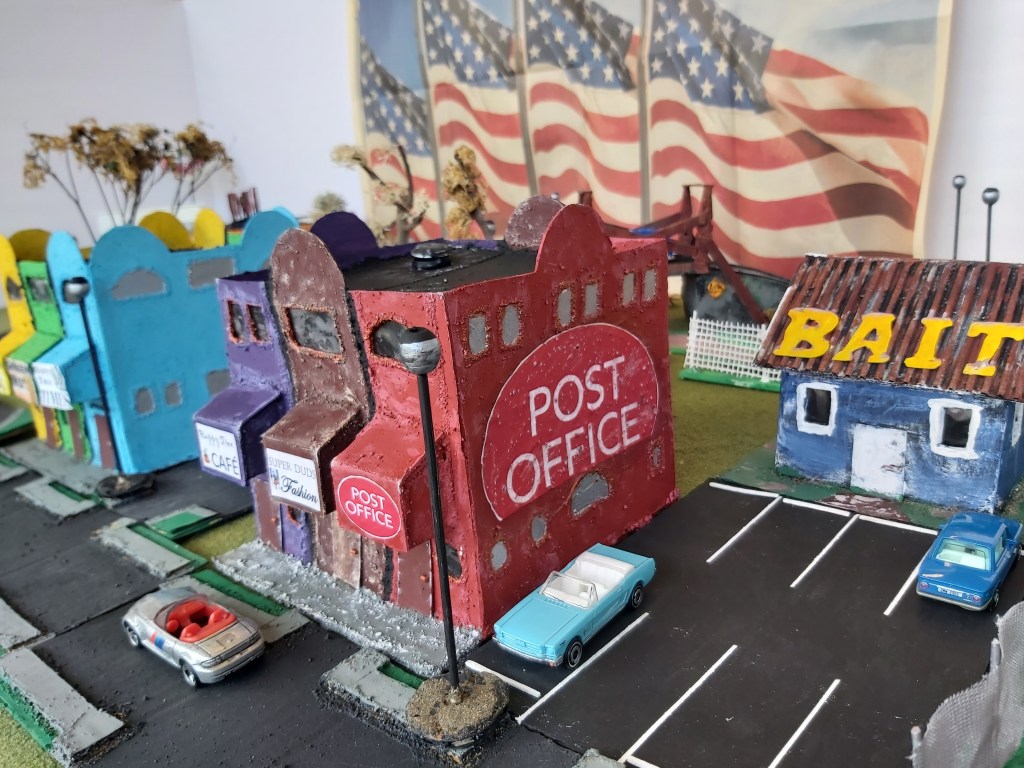
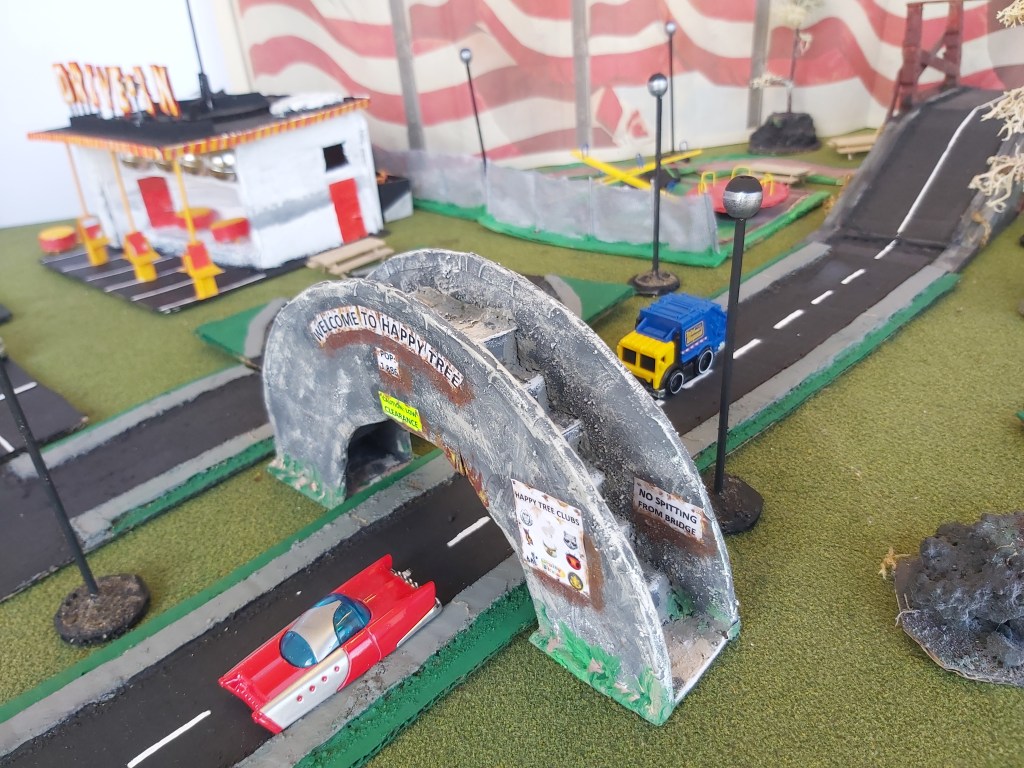
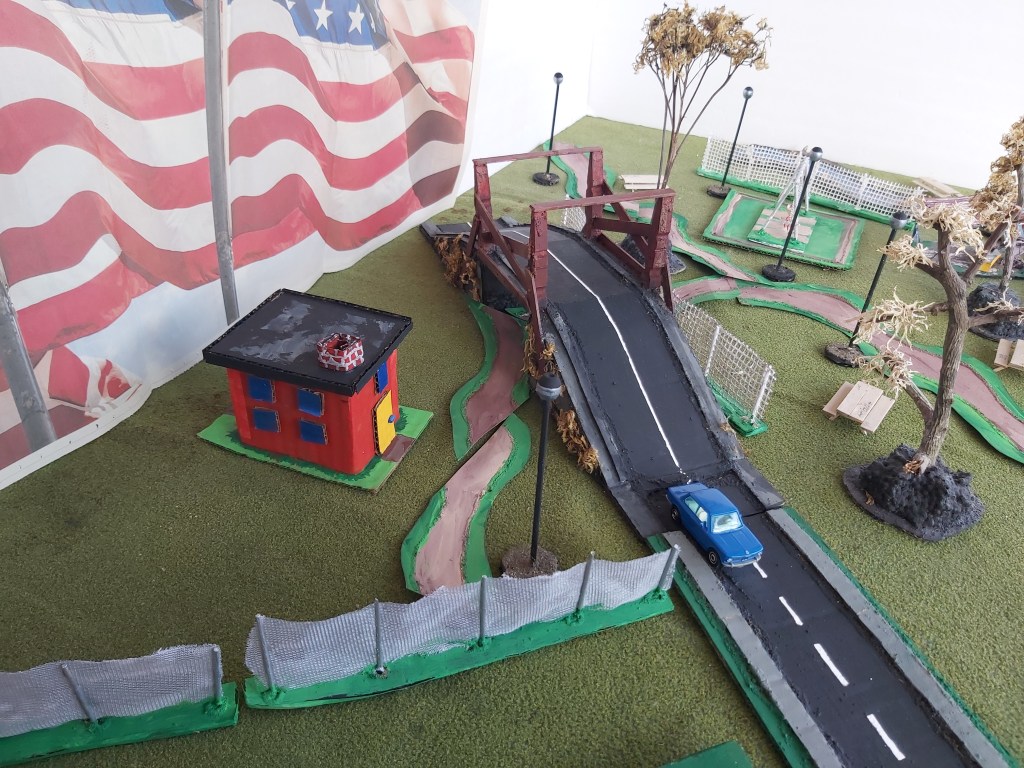
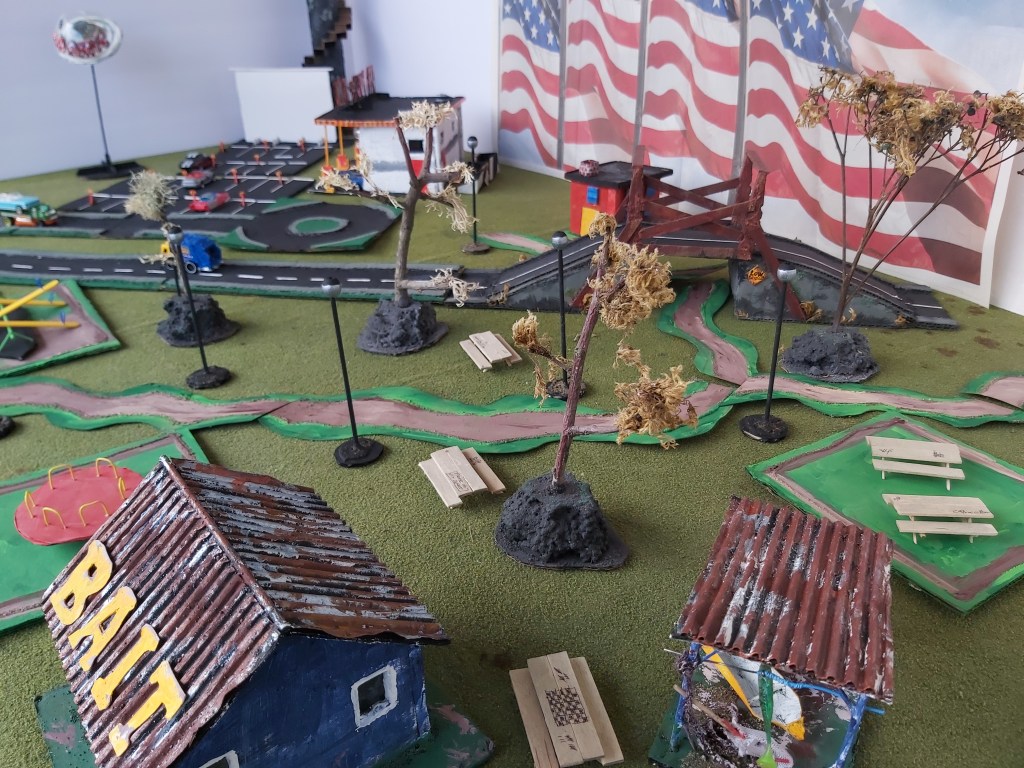
5. Happy Tree Fire Dept.
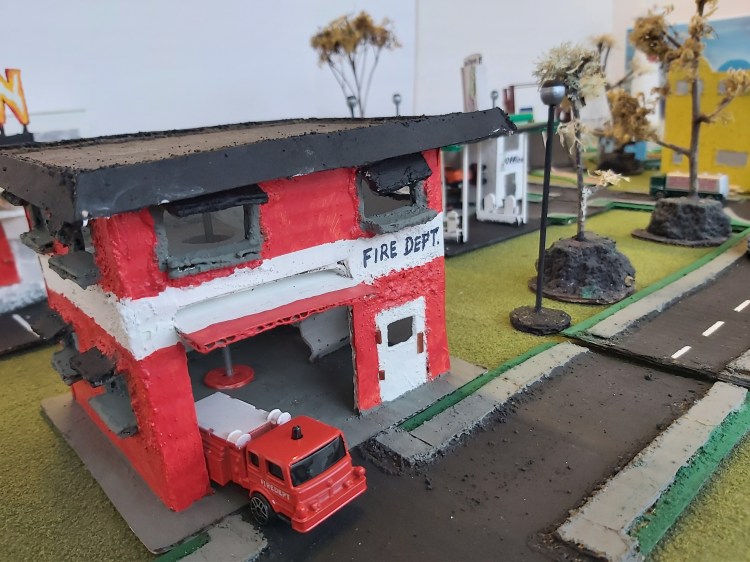
Use a fine tipped permanent black marker to add the FIRE DEPT. lettering above the door. Note the fireman’s pole visible through the top left window and the bay door. Thank you first responders!
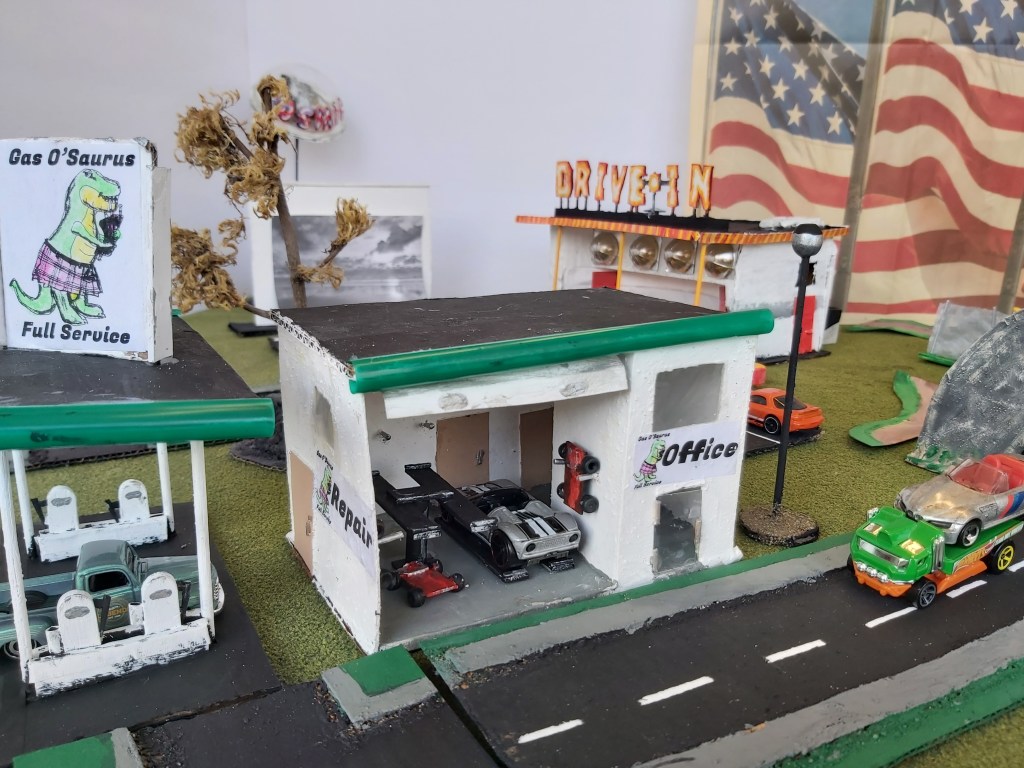
For questions, tips and information please email dave@masoncounty.com with your feedback. Visit the Journal office to see the display!